FIX: Boot Configuration Data File is Missing
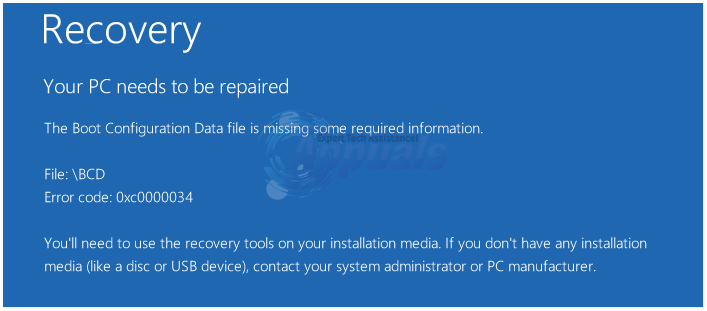
Windows uses Boot Configuration Data (BCD) file for boot-time configuration. This is a replacement of Windows XP’s boot[dot]ini file. If your Boot Configuration Data file has become corrupt or is missing, the Windows will not be able to start. You will be presented with missing boot configuration file errors such as Boot Configuration Data File is Missing. In most cases, the error is usually fixed using the Installation Media for your operating system. If you don’t have one, you will need to create one, search this site or ask in the comments below if you can’t find a guide or if you don’t know how to create one. Assuming that you have the installation media, proceed with the methods below.
Access Advance Recovery Options through Installation Media
Since you cannot boot the system, you will not be able to access the recovery options in the usual way. You will need the bootable DVD/USB for your operating system to access the recovery options. Follow this procedure to boot from DVD/USB. Insert your Windows installation DVD into the DVD drive. You can also use a USB installation media if have one. Change the BOOT order from BIOS and set it to boot from your installation media. Once done, start your computer and access system boot loader.
Method 1: Automatic Repair
- When Windows setup screen shows up, select language, time and currency format, and the keyboard or input method. Then click Next.
- On Install Windows screen, choose Repair your computer and select Troubleshoot. Be careful not to choose Install Windows option.
- Click the Advanced options and select Automatic Repair or Start-up Repair.
- Windows will search for the operating systems installed on your system. Select your operating system to repair.
- If automatic repair finds and repairs your computer, you are good to go. If automatic repair is unable to repair the computer, move to the second method below. Once the repair has completed, remember to remove the installation media, and then boot/reboot otherwise it will go back to the setup. If Automated Repair fails, proceed with Method 2.
Method 2: Command Line Repair
Boot your computer from the installation media using the method described above. When Windows setup screen shows up, select language, time and currency format, and the keyboard or input method. Then click Next.
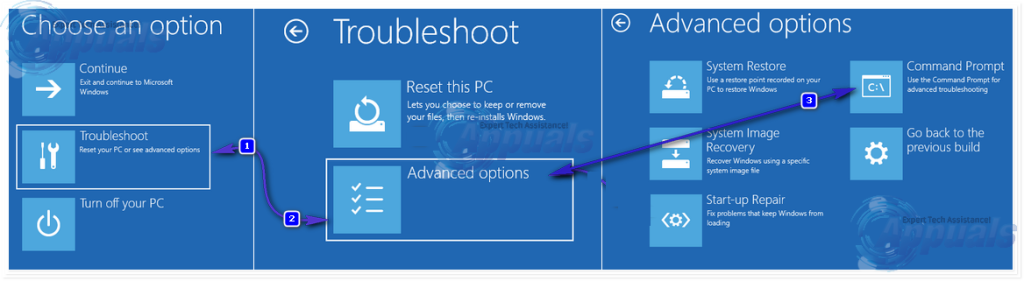
On Install Windows screen, choose Repair your computer and select Troubleshoot. On the next screen, select Advanced Options. On the next screen, select Command Prompt. Enter your username and password if prompted.
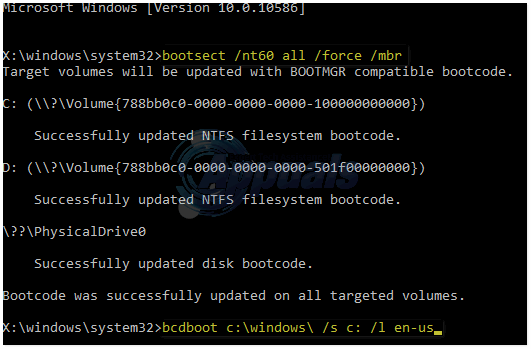
A command prompt screen will appear. Type the following command and press Enter.
bootsect /nt60 all /force /mbr
After this command completes, type the following command and press Enter.
bcdboot c:\Windows /s c: /l en-us
If your Windows installation drive is not the C drive, substitute C: with the drive letter. For example, if you have installed Windows on the D drive, the command will be bcdboot D:\windows
These two commands will repair your boot data. Now, you can restart your computer.
Once done, you should be able to boot without issues.