Fix: Unfortunately, (App Name) Has Stopped
The Android Operating System, far from perfect, has quite a few flaws; one of the most common and irritating is the fact that many Android applications tend to crash and force stop unexpectedly, producing the error message, “Unfortunately, (app name) has stopped.
This issue can be quite annoying, especially when it keeps on happening.
The following methods have proven effective in resolving the “Unfortunately, (app name) has stopped” issue:
Method 1: Clear the device’s cache.
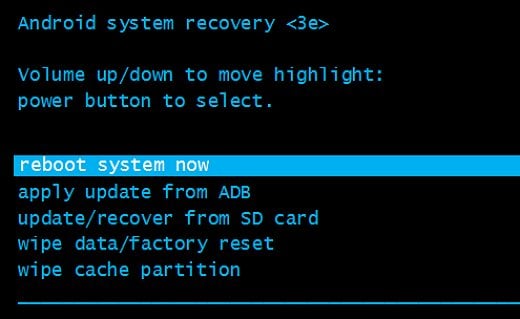
- Boot the device into Recovery Mode; the methods for doing so vary from one device to another.
- Use the Volume Rocker to highlight the ‘wipe cache partition‘ option, and press the Power button to select it.
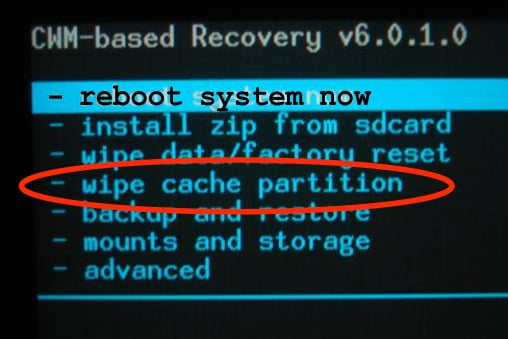
- Once done, highlight and select “Reboot System Now.
Method 2: Clear the data for the affected app.
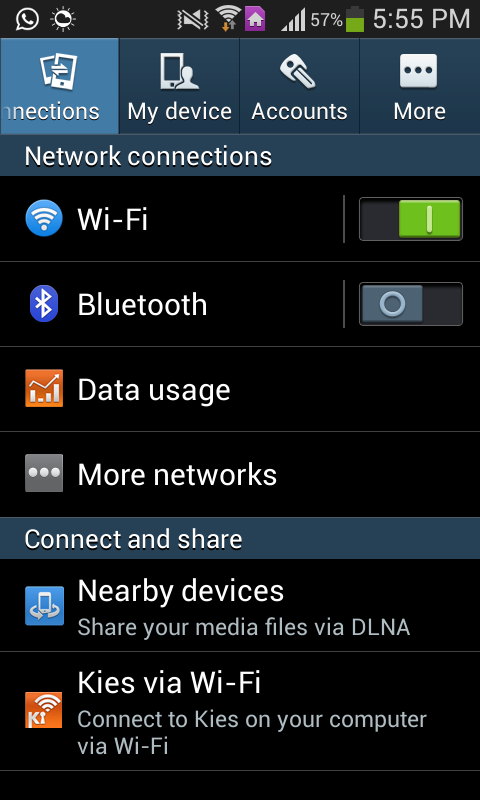
- Go to settings.
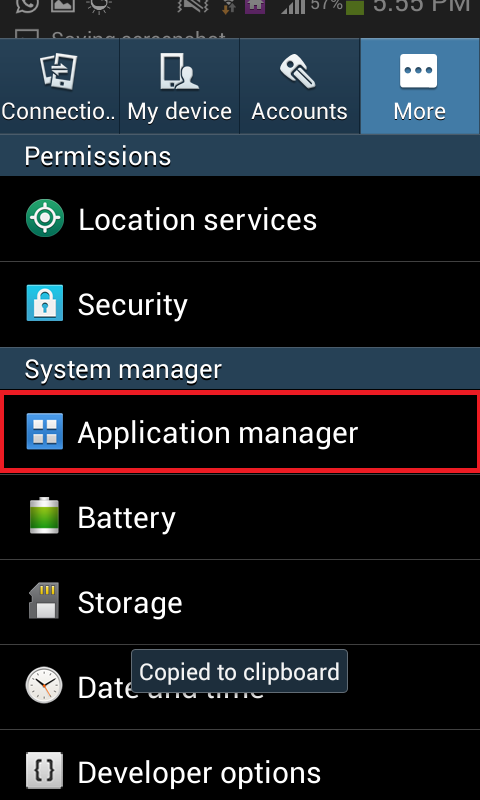
- Navigate to the device’s Application Manager.
- Look for and tap on the affected app.

- Tap on ‘Force Stop.’
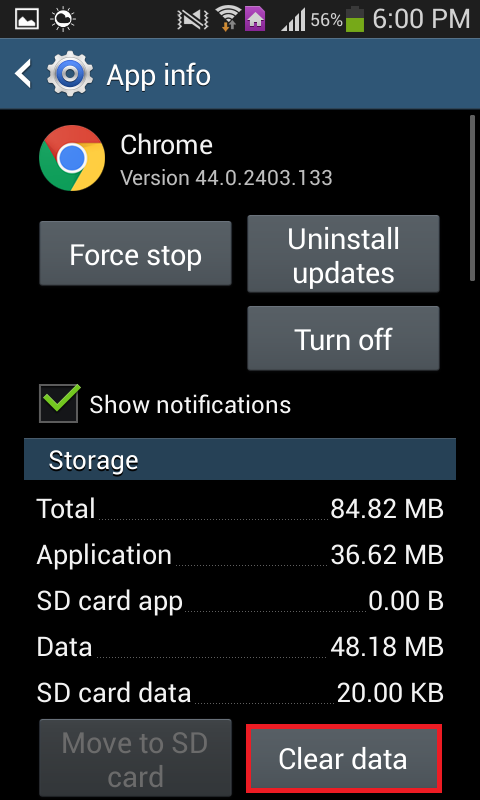
- Tap on Clear data and confirm the action.
Method 3: Uninstall the updates of the affected app.
- Go to Settings.
- Navigate to the device’s Application Manager.
- Look for and tap on the affected app.
- Press Uninstall updates.
- Run the app.
Note: This method works best for Google apps, such as YouTube and Chrome, as well as pre-installed apps, such as S Health.
Method 4: Update the app to its latest version.
- Open the Google Play Store.

- Search for and open the entry for the affected app.
- Tap ‘Update‘ and wait for the app to update.
- Run the app.
Method 5: Uninstall the app, and then reinstall it.
- Go to Settings.
- Navigate to the device’s Application Manager.
- Look for and tap the affected app.
- Press Uninstall, confirm the action, and wait for the app to be deleted.
- Reinstall the app from the Play Store.
Method 6: Reset the device to factory settings.
- Boot the device into Recovery Mode, the methods for doing which vary from one device to the other.
- Use the volume rocker to highlight ‘wipe data/factory reset‘ and the power button to select it.
- On the next screen, select “Yes – erase all user data.
- Wait for the device to be reset to factory settings.
- When returning to the main menu of Recovery Mode, select ‘reboot system now’ and then follow the on-screen startup instructions.
Note: This method should be used only as a last resort when none of the other methods work, because resetting an Android device to factory settings deletes any and all data not backed up on the device’s internal memory.