How to Fix Audio Crackling / Distorting in Windows?
Headphone outputting crackling, muffled or distorted audio on a Windows is due to misconfigured sound enhancements for the most part. Other factors that can cause such troubles are Outdated or faulty audio drivers or hardware incompatibility.
Prerequisites
Before moving on to the guide. Make sure that your headphone’s wire isn’t torn or damaged in any way that could lead to a problem. Once confirmed please proceed with troubleshooting methods mentioned below.
1. Select the correct output device in the sound settings
If an incorrect output device is selected in the sound settings it’ll result in issues such as distorted, muffled audio in the desired device. Here are the steps to manually select the output audio device:
- Press the Windows + I keys simultaneously to open the settings application.
- Navigate to Sound > Choose Where to play sound.
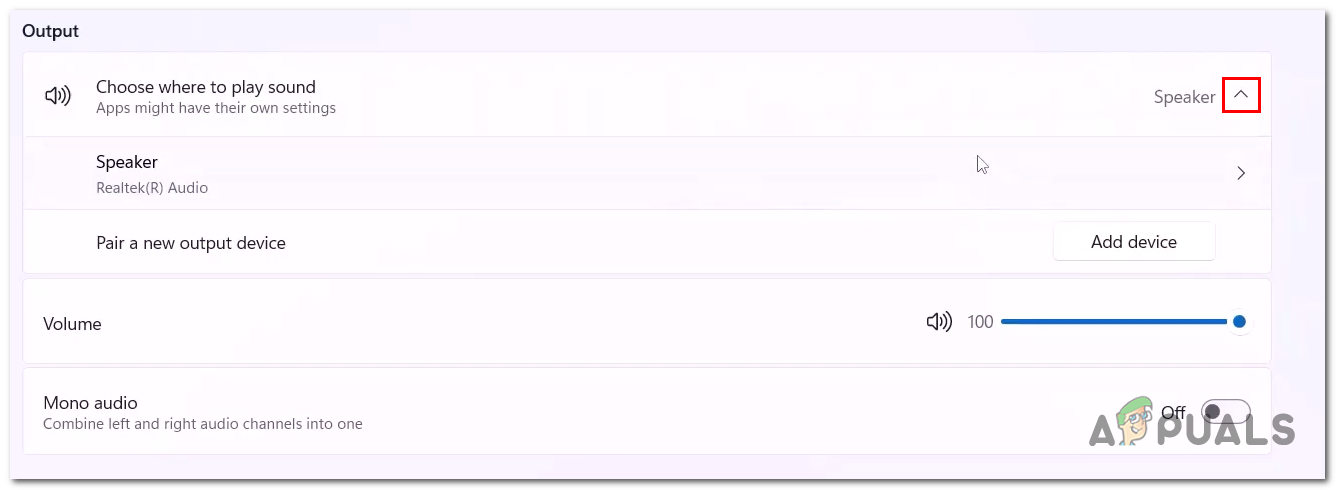
Selecting the output device in the sound settings - Select your headset.
- Try playing an audio track to check if the issue has been resolved.
2. Configure the Sound Sample rate
The higher the sample rate, the more accurately the audio can be represented digitally, resulting in a higher-quality audio output which reduces crackling and noise in your Headphone’s audio. In this method, we’ll manually tune up the sound sample rate to achieve better audio quality. Here are the steps to do so:
- Open Control Panel by searching for it in the Windows start menu.
- Navigate to Hardware and sound > Sound.
- Click on the Properties button.
- Open the Advanced tab.
- Under the Default Format section select the 24-bit 480000 Hz (studio quality) option.
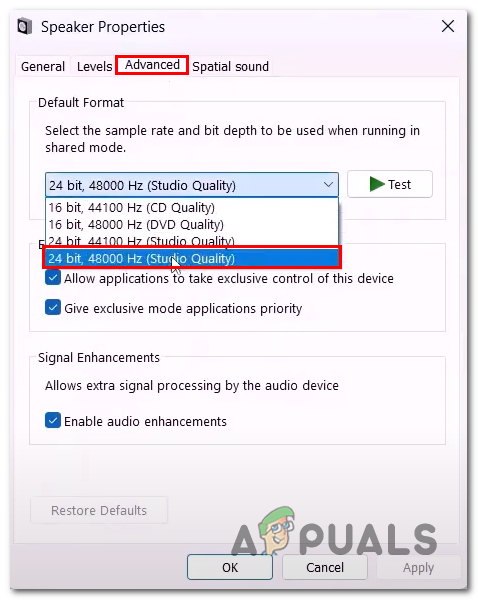
Selecting the 48kHz audio sample rate in the advanced audio settings - Save the Changes.
3. Disable Spatial sound
Spatial sound refers to the technology that creates an immersive, 3D audio experience by simulating sound from various directions and distances. If you’re experiencing issues with spatial sounds, such as distortion or inaccurate sound positioning, you may want to disable it.
Additionally, some people may prefer a more traditional stereo sound, especially if they are used to it or if spatial sound causes discomfort or disorientation. Follow these steps to disable the spatial sound:
- Press the Windows + Q keys simultaneously to open the windows start menu and in the search bar type Control panel and open it.
- Navigate to Hardware and sound > Sound.
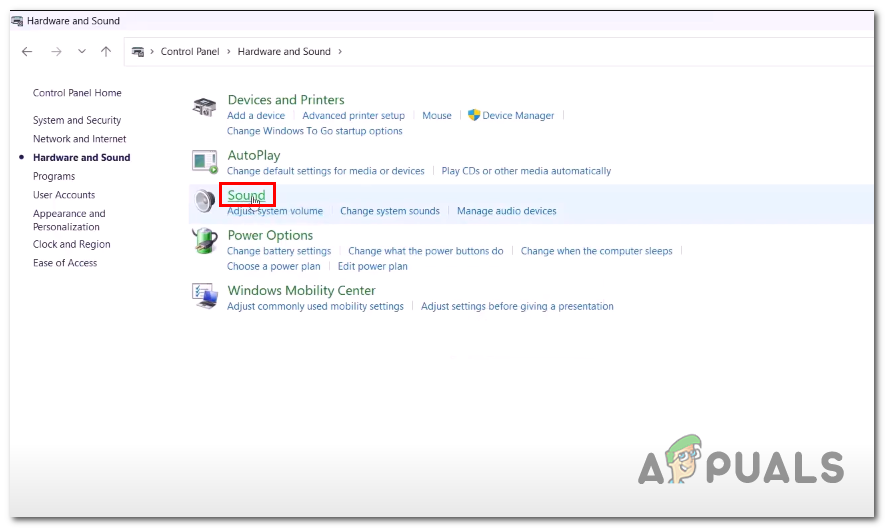
Opening the sound settings via the control panel - Select your output device and click on the Properties button.
- Open the Spatial sound tab.
- Turn off the spatial sound by checking the option under the drop-down menu.
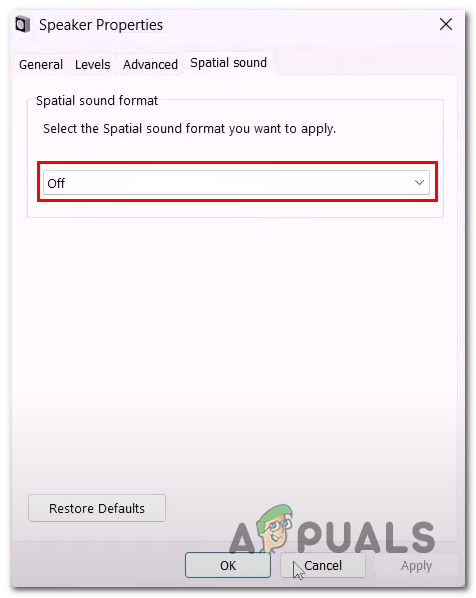
Turning off the spatial sound - Save the changes.
4. Disable Handsfree Telephony
Hands-free telephony refers to the ability to use a mobile device or a headset to make or receive phone calls without having to hold the phone to your ear. This feature often stops some apps from transmitting audio as it interprets the Bluetooth connection as a phone call.
We are going to disable the Handsfree Telephony feature to identify if the issue is due to this feature being enabled. You can enable it if the problem remains even after disabling it and you utilize this feature frequently. Here are the steps to disable it:
- Press the Windows + R keys simultaneously to open the Run dialogue box.
- Paste the following command to open the Device and printer’s window.
shell:::{A8A91A66-3A7D-4424-8D24-04E180695C7A} - Right-Click on your intended Bluetooth device and click on the Properties button.
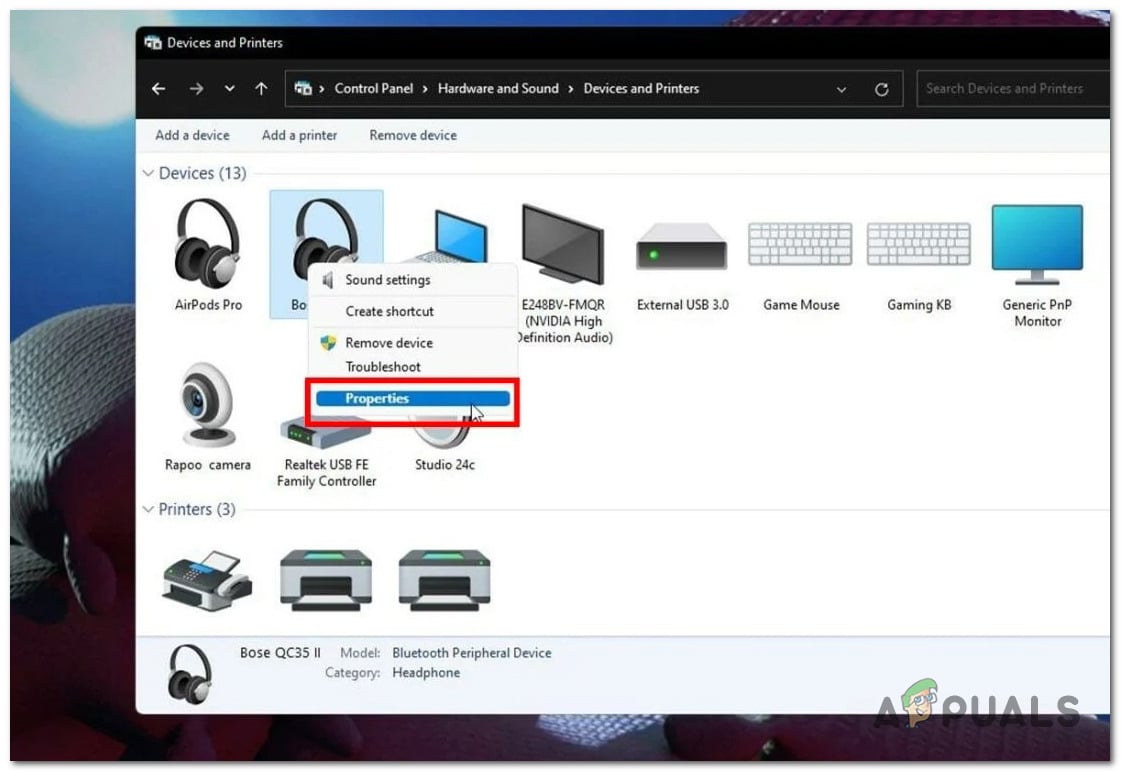
Opening the properties of your Bluetooth headphone - Open the Services tab and uncheck the “Handsfree telephony” option.
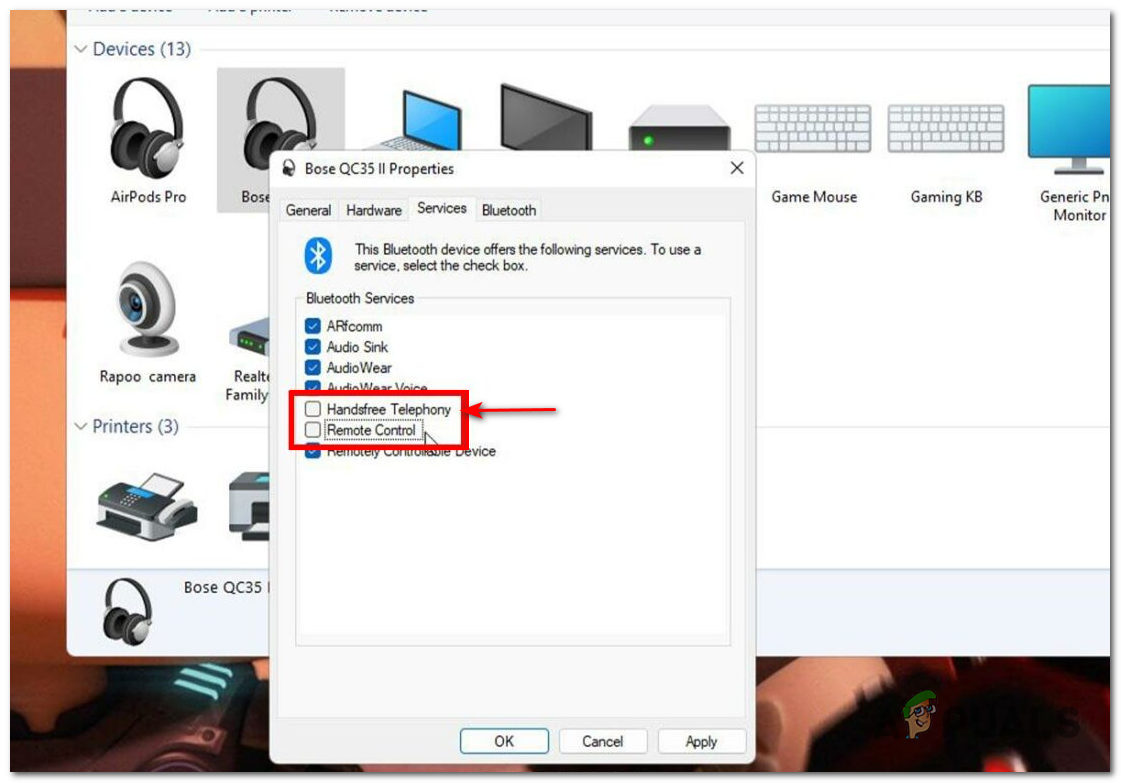
Unchecking the Handsfree telephony option in headphone properties
Keep in mind that not all audio devices may have the “Hands-free” option, and the option to disable hands-free telephony may vary depending on the specific device you’re using. If you’re having trouble finding the option to disable hands-free mode, you may want to consult the user manual for your device or contact the manufacturer’s support team for assistance.
5. Run the Audio troubleshooter
Windows comes built-in with an application to aid the user in such circumstances, this troubleshooter application helps diagnose and resolve common audio issues on your computer. When you run the audio troubleshooter, it will scan your system for problems with your audio devices, such as speakers or headphones, and attempt to fix them automatically.
The audio troubleshooter can fix a range of issues, such as audio playback problems, audio recording issues, sound quality problems, and more. It can also help identify issues with audio drivers, audio settings, or audio hardware. Here are the steps to run the Audio troubleshooter:
- Open the settings by pressing the Windows + I keys simultaneously.
- Under System settings, Navigate to Troubleshoot > Other Troubleshooters
- Click on the Run button beside the Playing audio option.
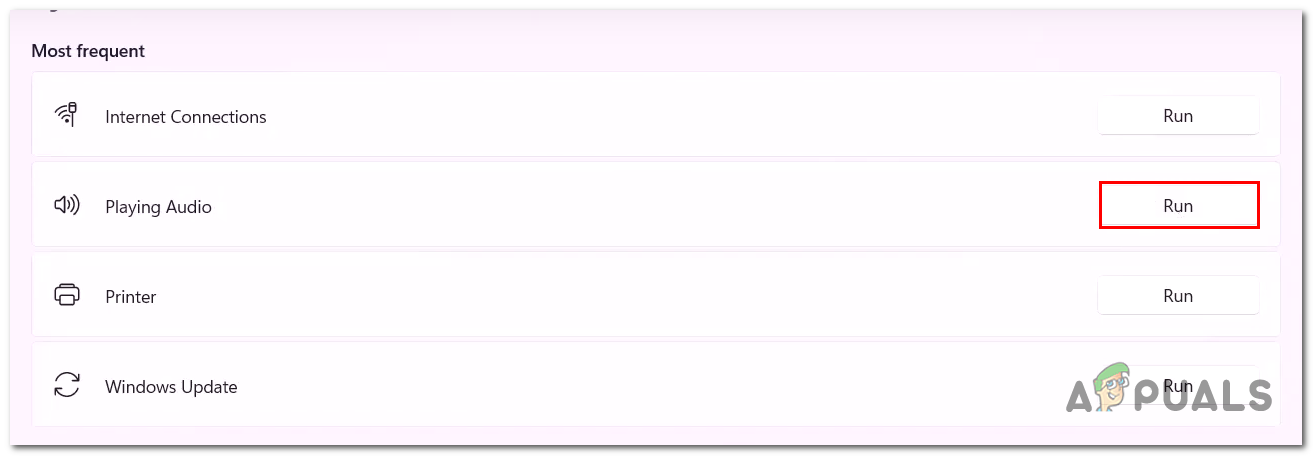
Running the Windows audio troubleshooter - Wait for a while, Once the troubleshooter is done processing. Try playing audio to check if the issue has been resolved. if not, continue to the next step.
6. Restart Windows audio service
Windows Audio Services are a set of system services that control the audio playback and recording functionality on a Windows operating system. These services are responsible for managing and controlling the audio devices and drivers installed on your computer, as well as ensuring that audio data is processed correctly.
If in such a case where this service isn’t functioning properly or is stopped, it may cause the user to face issues such as the one we are discussing. Here are the steps to restart the Windows audio services:
- Press the Windows + R keys together to open the Run dialogue box and in the run dialogue box search bar type “Powershell”.
- Paste the following command to stop the service
net stop Audiosrv
- Paste the following command to start the service, this way you have successfully restarted the service.
net start Audiosrv
7. Rollback audio driver
Rolling back audio drivers means reverting to a previous version of the audio driver software that was installed on your computer. This can be useful if you are experiencing problems with the current audio driver, such as audio playback. Here are the steps to roll back the audio drivers:
- Right-Click on the windows icon and click on Device Manager.
- Under Sound, Video and game controllers right-click on your audio device and click on Properties.
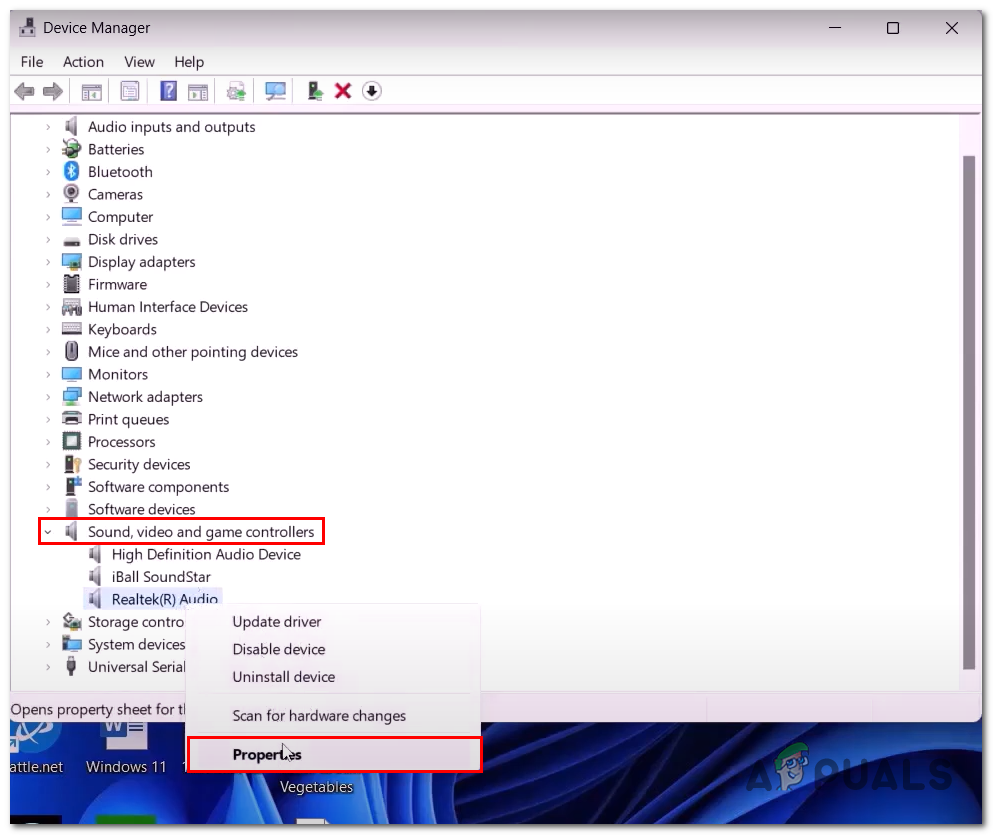
Opening audio device properties via the device manager - Click on the Driver option in the navigation menu.
- Click on the Roll back driver button.
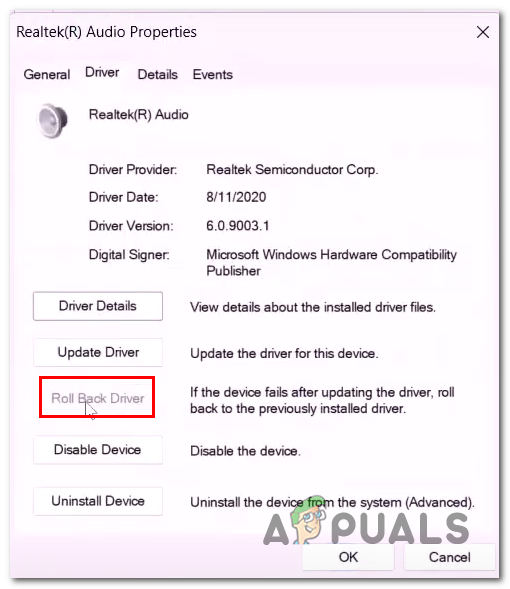
Rolling back audio drivers via the device manager - Proceed with the fairly straight-forward steps to roll back drivers to an older stable version
8. Update drivers
A faulty or outdated set of audio drivers may be the reason for your computer outputting choppy audio, in such a case you should update your drivers to the latest version. We’ll be downloading the latest copy of the drivers from our device manufacturer. Here are the steps to do so:
- Open your system manufacturer’s website, here are direct links to some generally used manufacturers.
Dell
Acer
HP
lenovo
- Once on the website, Specify your device.
- After that, Download the Realtek High Definition Audio drivers.
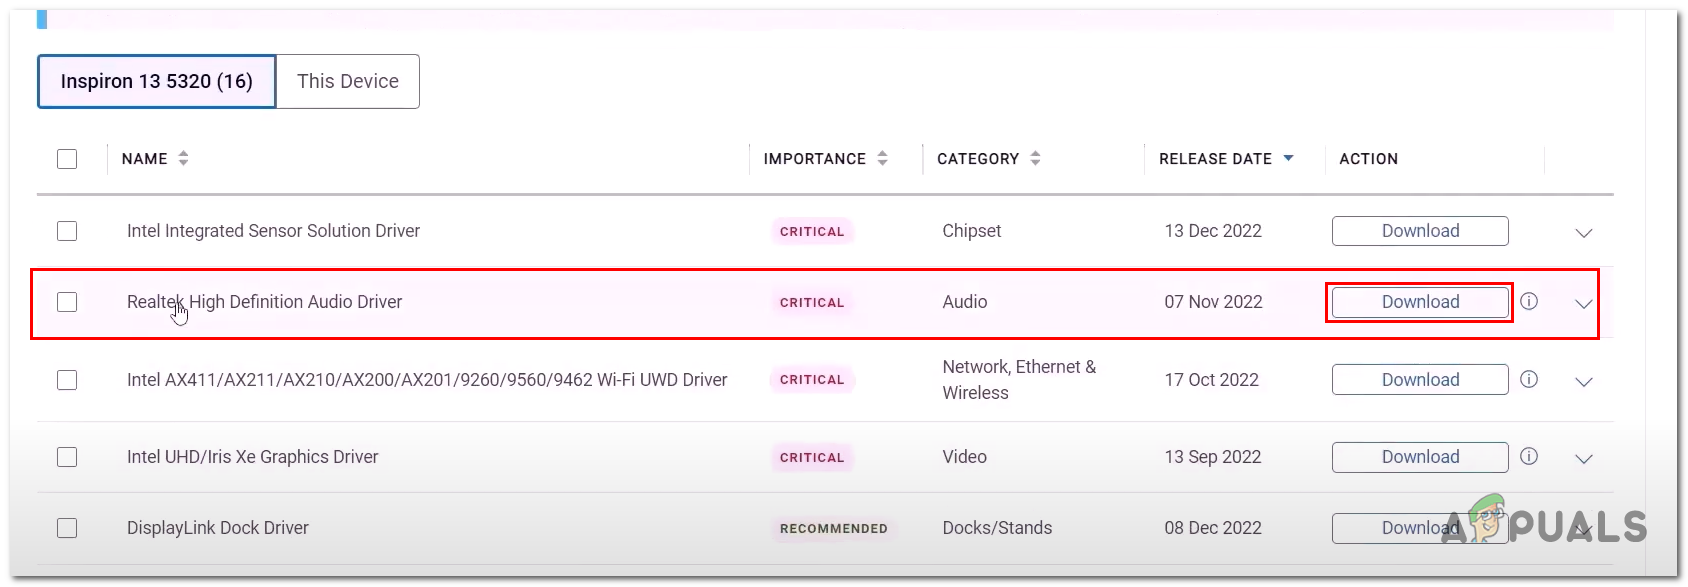
Downloading audio drivers - Install the drivers you downloaded by following the fairly straightforward steps.
9. Perform a clean boot
Clean boot is a troubleshooting technique during which a computer is powered on with a minimal set of drivers and background processes. This will help us identify if a third-party background application is causing the issue we’re facing with choppy output. Here are the steps to perform a clean boot:
- In the Windows start menu search bar type “System Configuration” and open it.
- Click on the “Services” tab to open it.
- Check the “Hide All Microsoft services”
- Now, Click on the “Disable all” button.
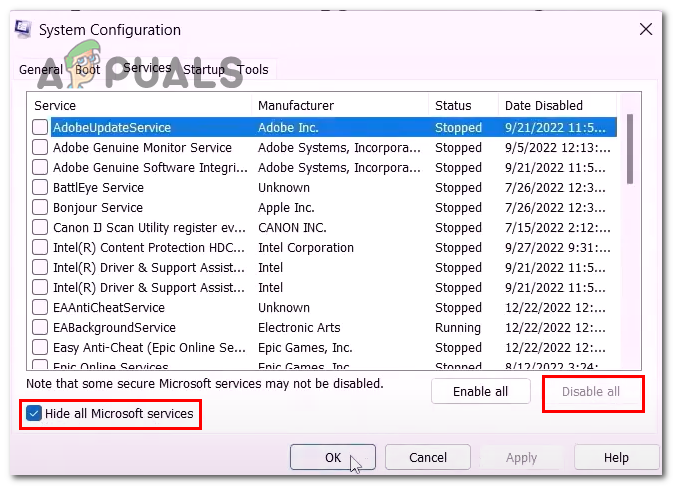
Performing a clean boot via system configurations window - Restart your computer.
Once your computer powers back on, Try playing any audio. If the problem doesn’t occur it means that the issue resides in a third-party application which you can narrow down by closing background processes one by one on the next startup.
10. Update your windows
The possibility of you facing this error might be due to an outdated or faulty version of windows installed on your computer. In such a case, it is advised to update your windows. Moreover, Microsoft technicians recommend that user keep their windows up-to-date to avoid bugs and errors such as the one in the discussion. Here are the steps to update your Windows:
- Open the Windows settings by pressing the Windows + I keys simultaneously.
- Navigate to Windows update and click on the Check for updates button.
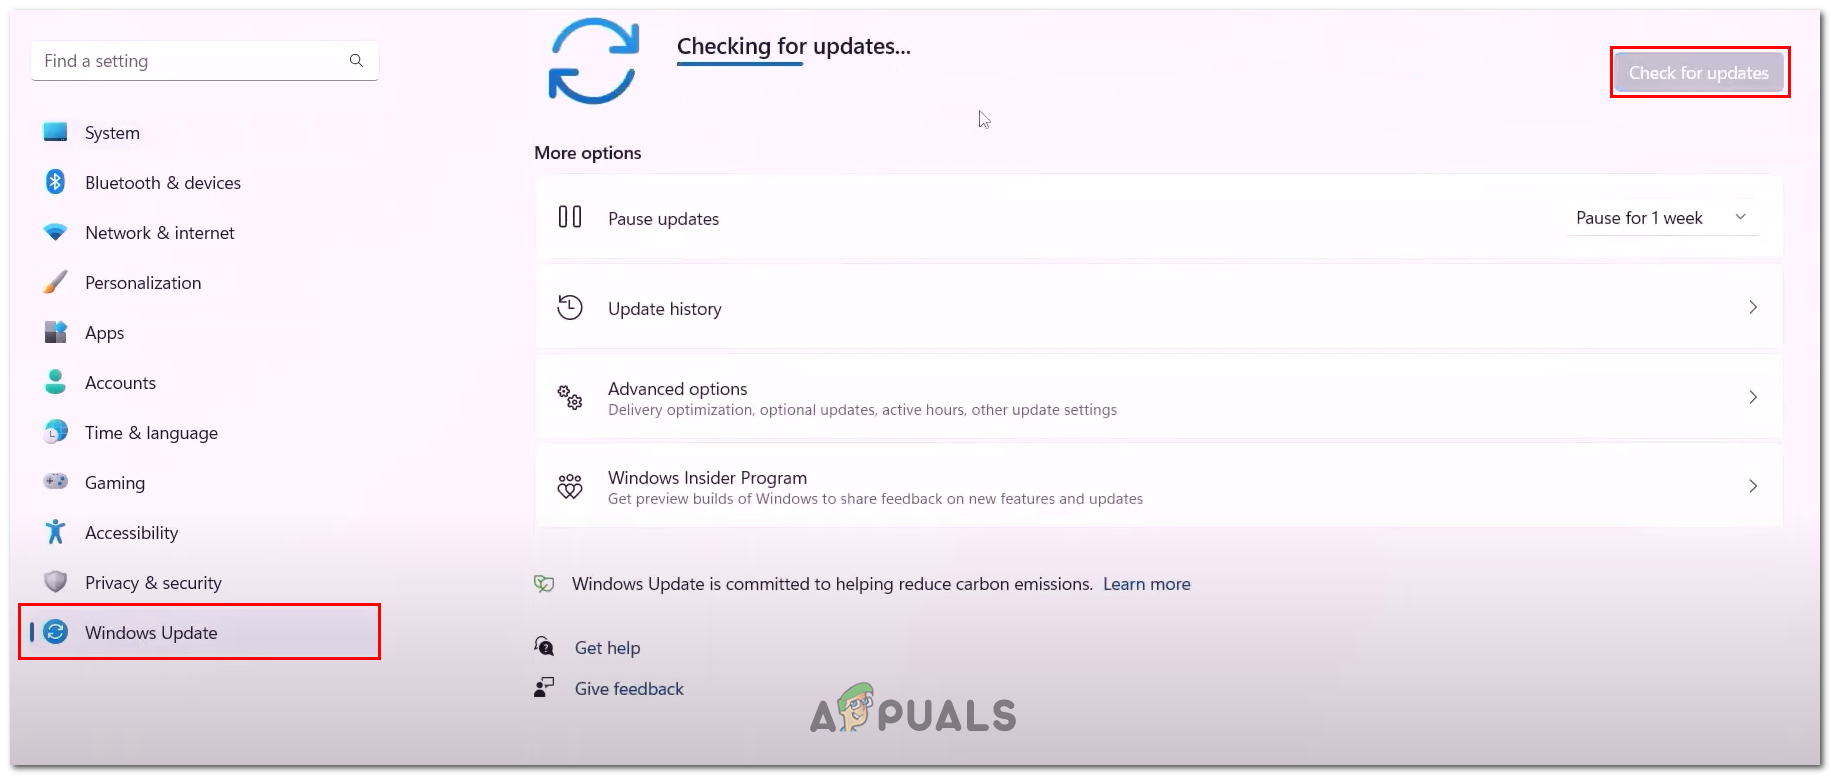
Updating Windows 11 via settings - Install if any updates are available.
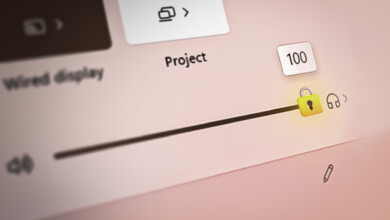
11. Reset your computer
Resetting your computer will result in a loss of data so before resetting your computer, backup your data. Performing a reset will restore the computer to its factory state. Here are the steps to reset your computer:
- Press the Windows + I keys together to open the settings.
- Navigate to Windows Update > Advanced options > Recovery > Reset this pc
- Click on the Reset PC button.
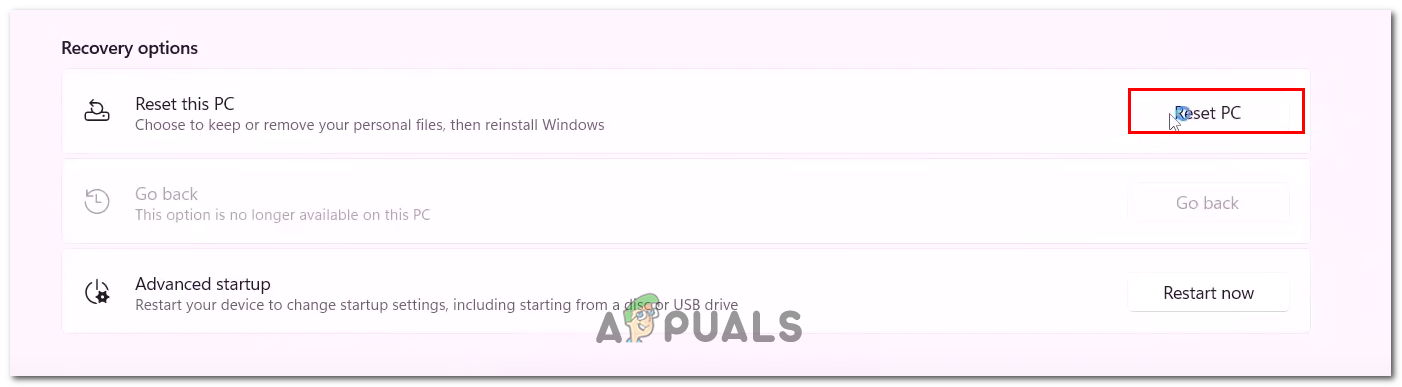
Pressing the Reset button in the recovery option - Click on Keep my Files.
- Now, Click on Local Install and hit the Next button
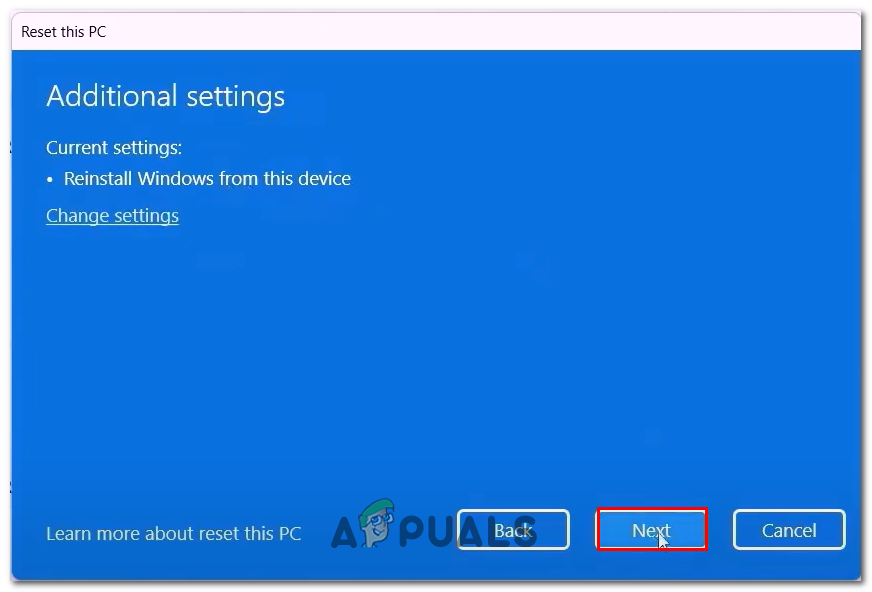
Clicking on the next button in the Reset this PC window
Now, Wait as this process may take a while to process. Once the processing is done try playing audio to check if the issue has been resolved.