How to Fix Wi-Fi Not Connecting Automatically on Windows Startup
Wi-Fi not connecting automatically on Windows startup can be a frustrating issue. It may stem from the power options settings of your network adapter, incorrect network drivers, or interference from third-party applications with the network adapters.
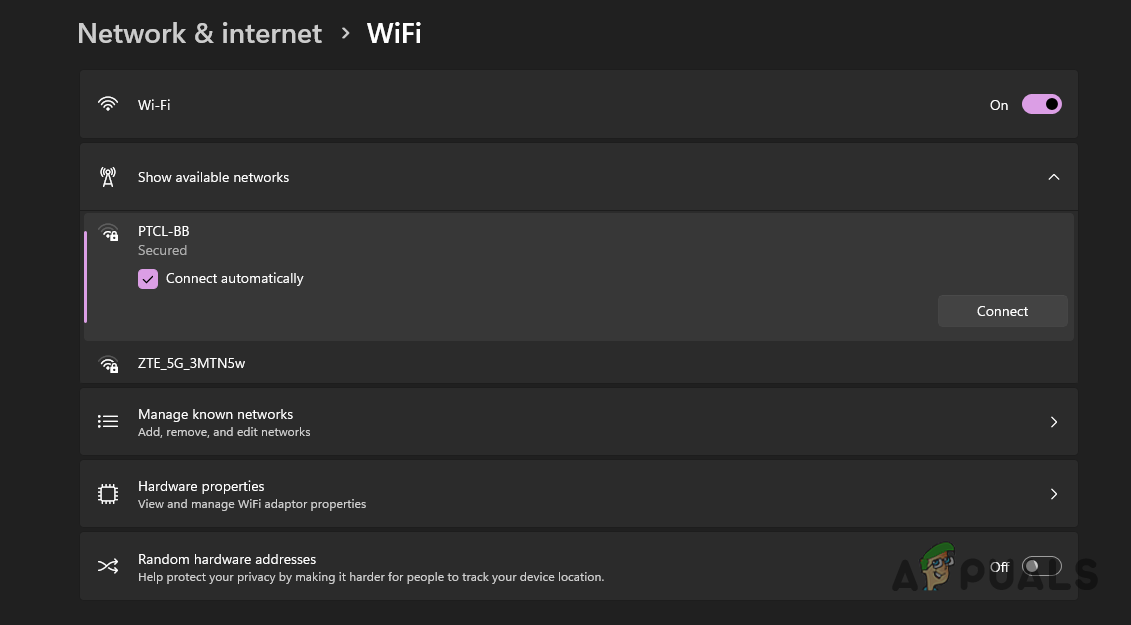
While this behavior doesn’t prevent manual connections to Wi-Fi networks, it’s not the most user-friendly experience. This article provides a list of proven methods to address the issue and help your Wi-Fi connection launch automatically on startup.
1. Change Power Plan Options
Adjusting your Wi-Fi adapter’s power settings is the first step you should take when dealing with automatic connectivity issues. Power Saving Mode, which can be configured within your selected Power Plan, can significantly affect wireless performance. To prevent interruptions, it’s best to opt for Maximum Performance.
- Open the Start Menu and search for Edit Power Plan. Click to open it.
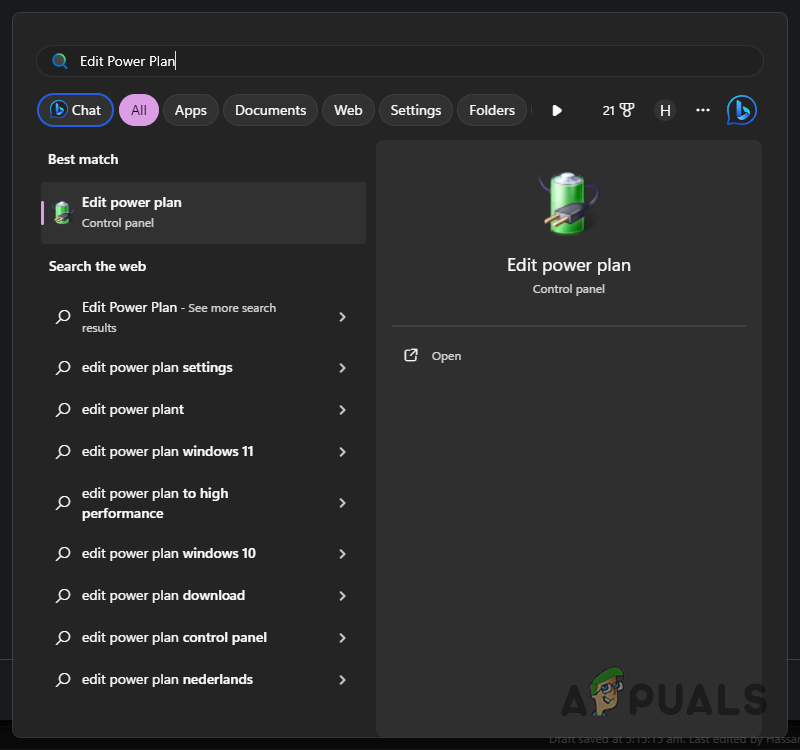
Opening Power Plan Options - Click on Change advanced power settings.
- In the new window, find and expand the Wireless Adapter Settings category.
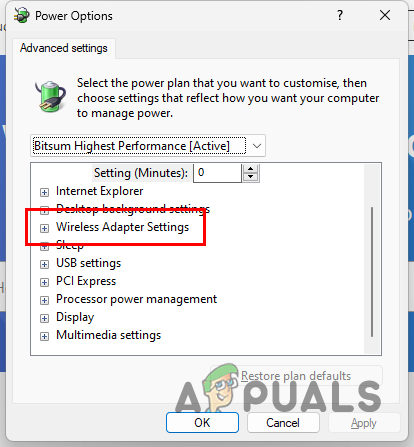
Expanding Wireless Adapter Settings - Now, expand the Power Saving Mode and make sure Maximum Performance is selected.
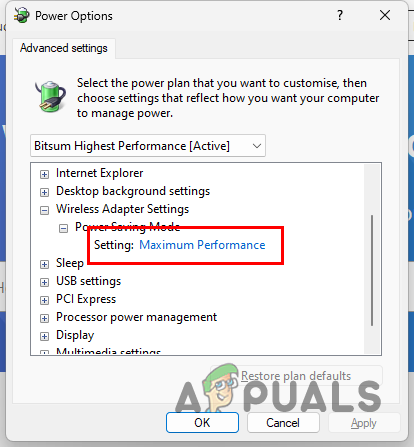
Changing Wireless Adapter Power Saving Mode - Click Apply, then OK, and check if the problem is resolved.
2. Install Proper Network Drivers
Inadequate network drivers can disrupt Wi-Fi functionality, so ensure you have the right ones for your adapter:
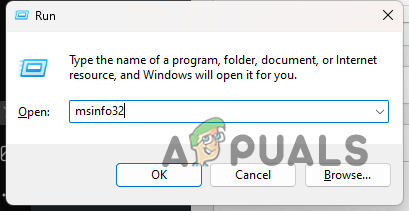
- Press Win key + R to open the Run dialog box, type in msinfo32, and hit Enter.
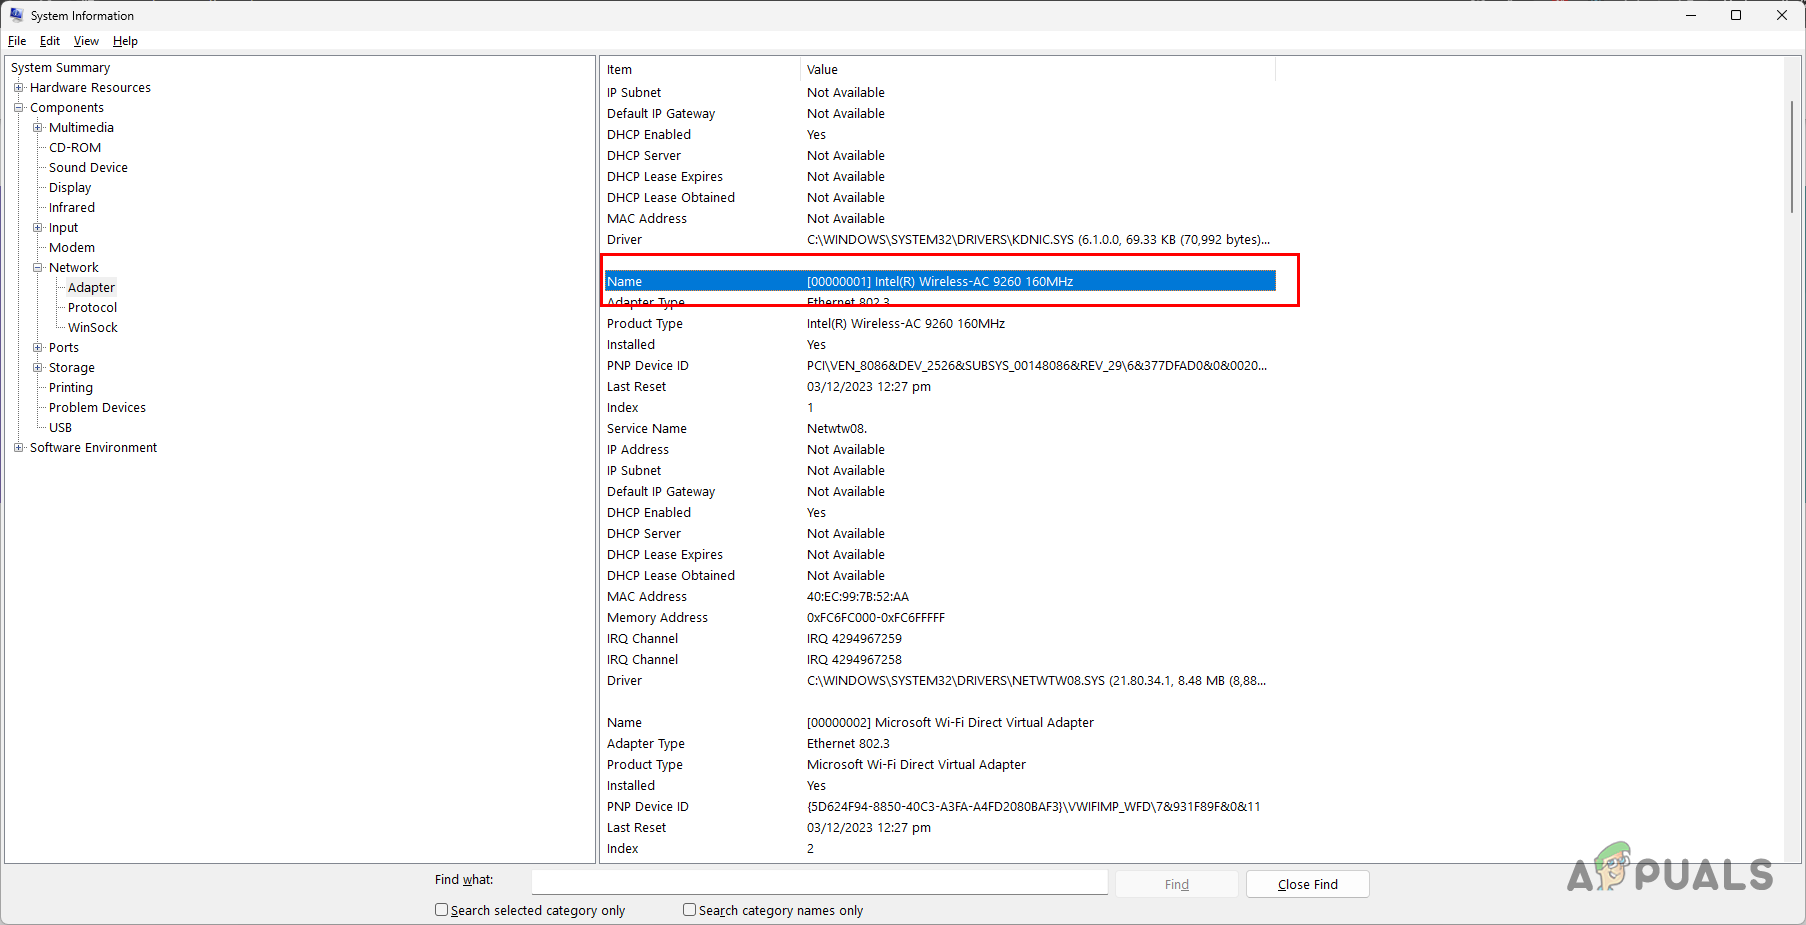
Opening System Information - In the System Information window, navigate to Components > Network > Adapter.
- Find your Wi-Fi adapter and manufacturer in the list of details.
Wi-Fi Adapter Details - Search for the manufacturer-specific drivers and install them.
- Check if installing the correct drivers resolved the automatic connection issue.
3. Disable IPv6 Protocol (if applicable)
Some connectivity issues may arise from using the IPv6 protocol over IPv4. If your ISP primarily uses IPv4, you may consider disabling IPv6 on your network adapter. However, before making any changes, verify with your ISP whether your connection utilizes IPv4 or IPv6. Switching off the IPv6 protocol when it’s not needed may help fix the auto-connectivity problem.
- Access Settings with Win key + I.
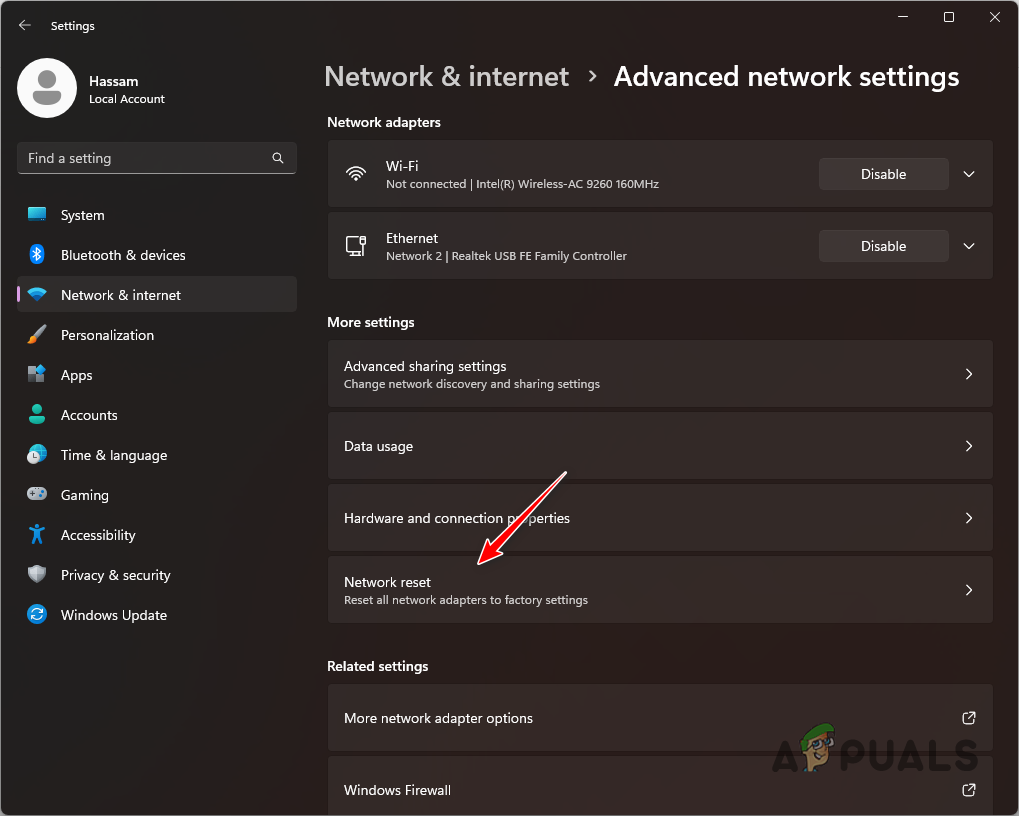
- Go to Network and Internet > Advanced Network Settings.
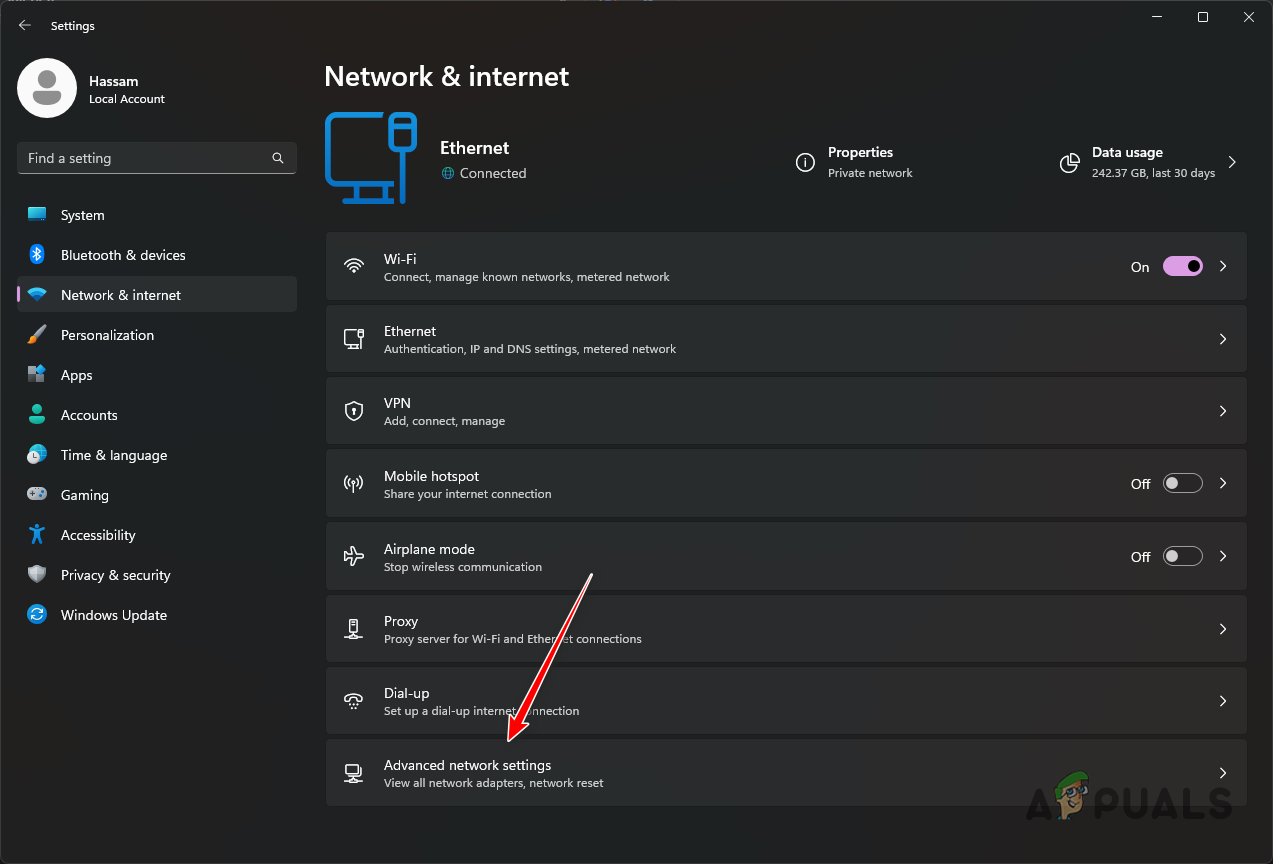
Navigating to Advanced Network Settings - Click the down arrow next to your Wi-Fi adapter.
- Select Edit from the menu.
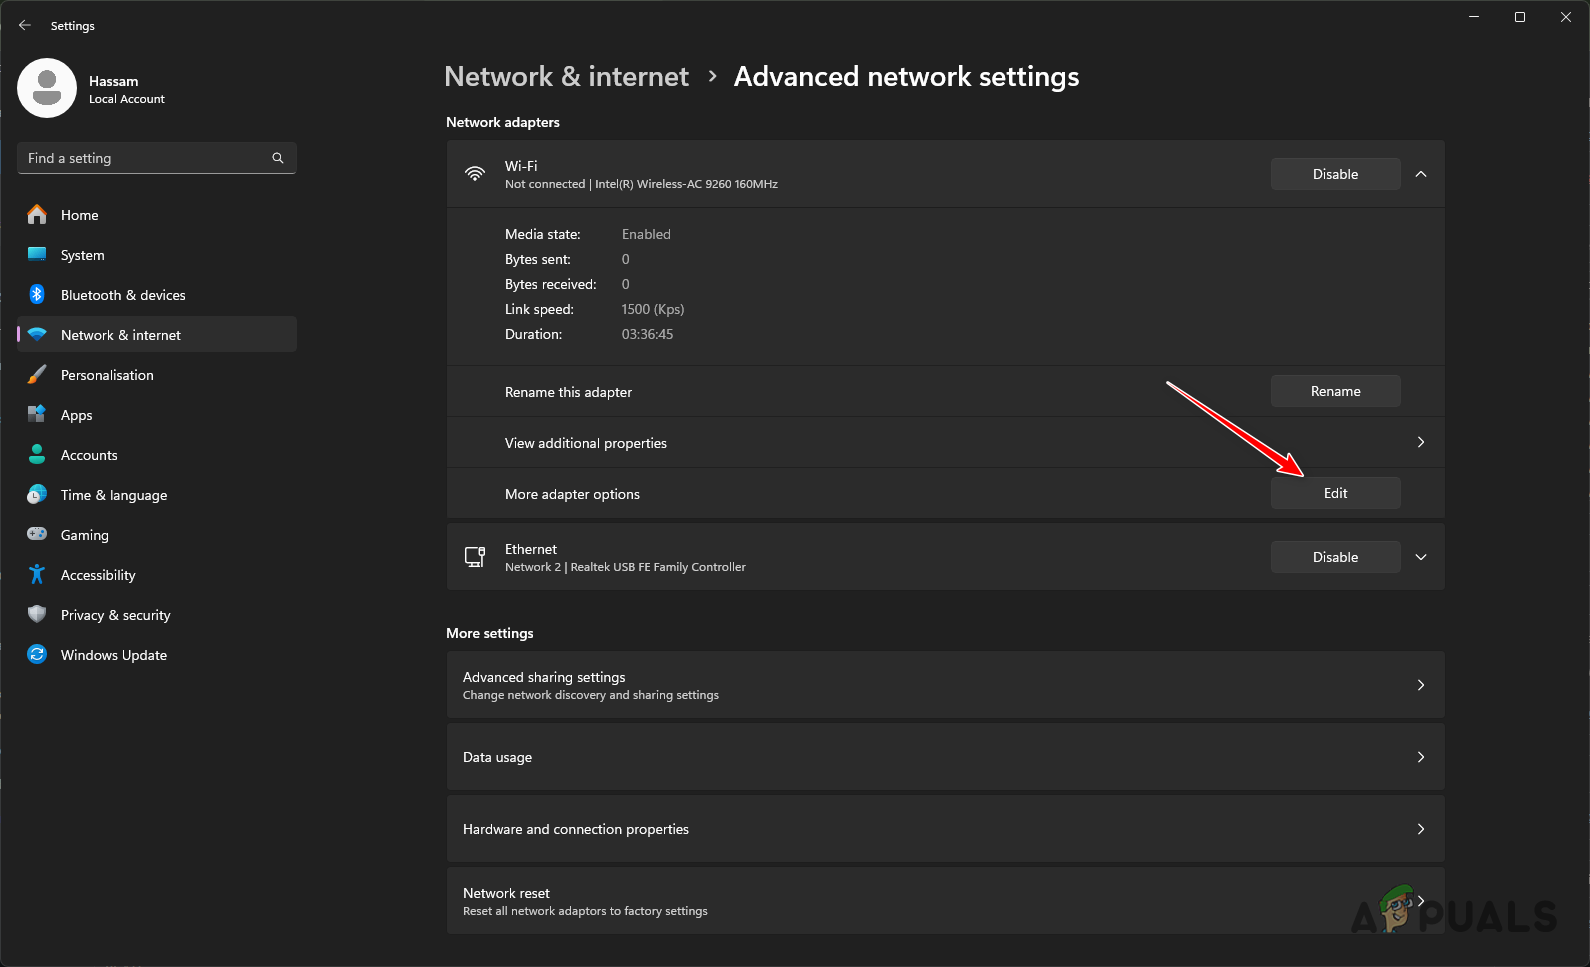
Editing Wi-Fi Adapter Options - In the Wi-Fi properties window, untick Internet Protocol Version 6 (TCP/IPv6).
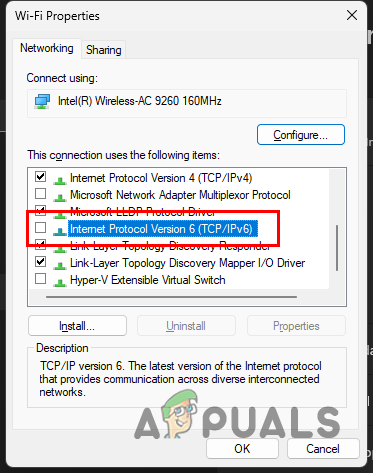
Disabling IPv6 - Click OK and see if that fixes the problem.
4. Disable Background Apps
Applications running in the background may interfere with network adapter processes. Filtering out and deactivating such apps can sometimes help in resolving auto-connectivity problems.
Checking for background processes and putting an end to them is relatively straightforward. If the processes have been causing the issue, you may find that your Wi-Fi connection reestablishes itself automatically after this is done.
- Right-click the Start Menu icon and open Task Manager.
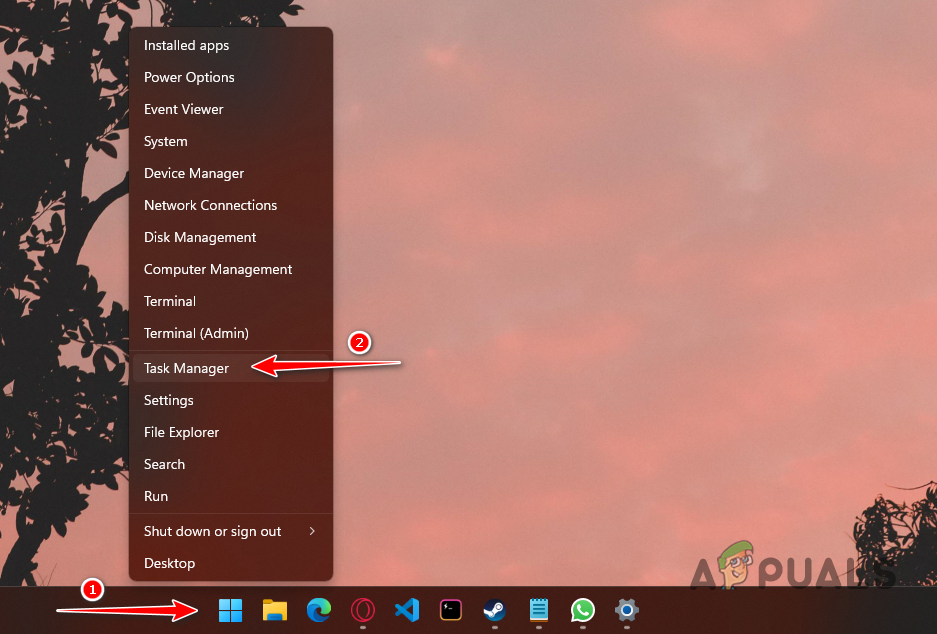
Opening Task Manager - Identify and select any third-party apps.
- Click End task for each one.
- Toggle your Wi-Fi off and on to test the connectivity.
5. Disable Wi-Fi Adapter Power Management
Windows has a feature that might disable Wi-Fi to save power when the adapter is not being actively used. To prevent this feature from causing connectivity issues, you can disable it. Disabling the power management function of your Wi-Fi adapter ensures it remains active, potentially solving the auto-connection problem.
- Search for Device Manager in the Start Menu and open it.
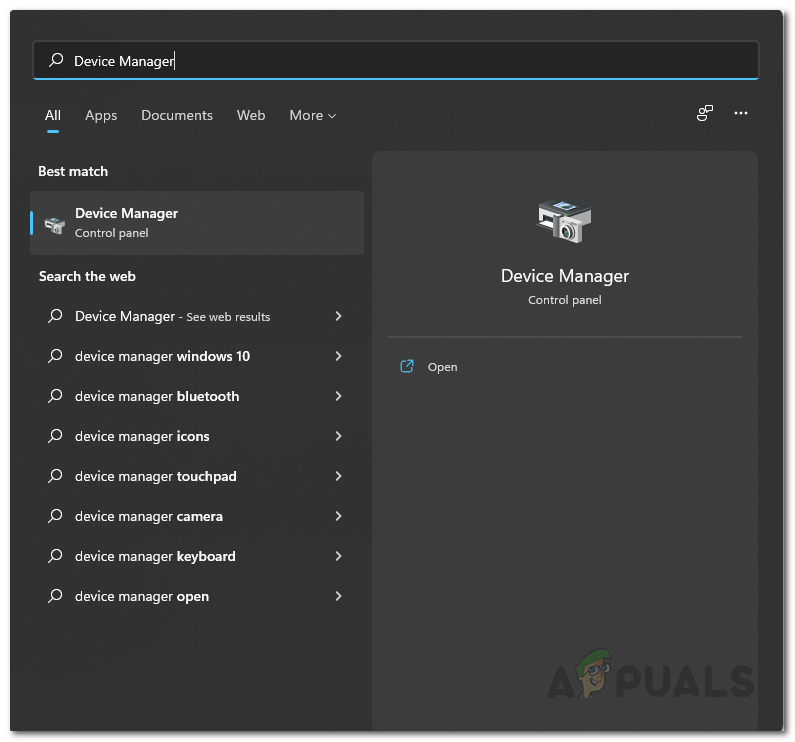
Opening Device Manager - Expand Network adapters.
- Right-click on your Wi-Fi adapter and select Properties.
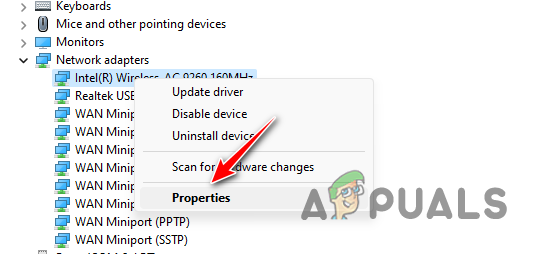
Navigating to Wi-Fi Adapter Properties - Switch to the Power Management tab.
- Uncheck Allow the computer to turn off this device to save power.
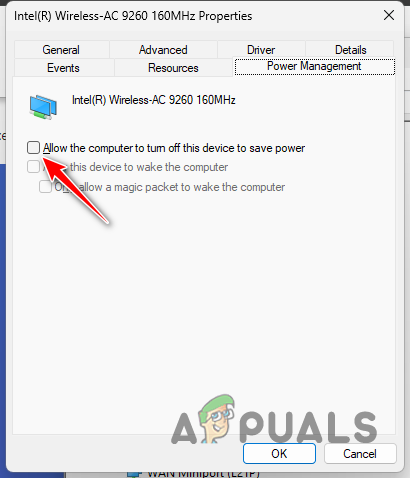
Disabling Power Management for Wi-Fi Adapter - Click OK.
6. Disable Simultaneous Connection Minimization
Windows contains a policy that reduces the number of simultaneous network connections, possibly affecting Wi-Fi functionality. If this setting is not required for your configuration, turning it off may permit the system to smoothly connect to available networks upon startup.
The Group Policy Editor in Windows lets you disable this policy, potentially leading to smoother automatic connections with your Wi-Fi network.
- Search for and open Edit group policy.
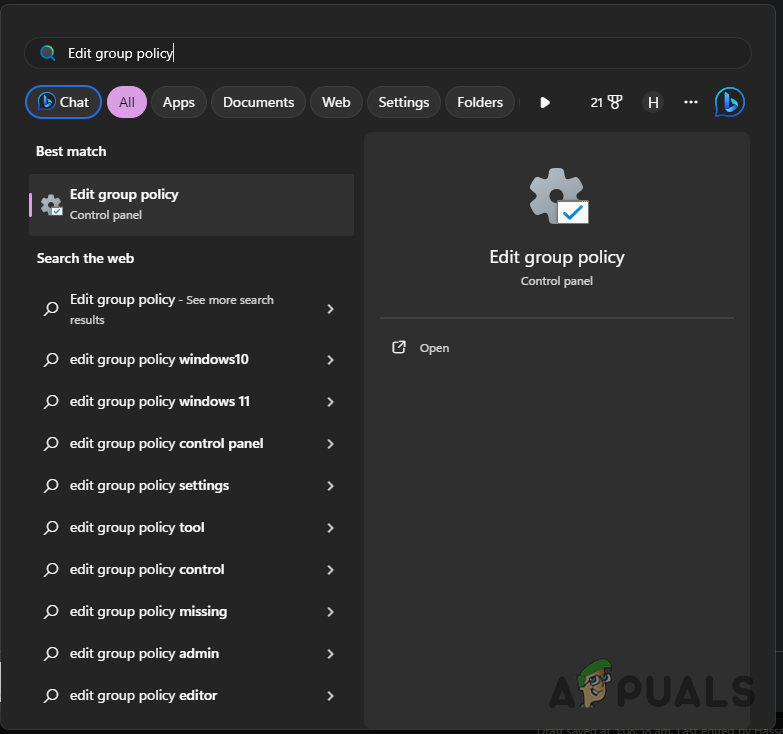
Opening Local Group Policy Editor - Navigate to Computer Configuration > Administrative Templates > Network > Windows Connection Manager.
- Double-click on the Minimize the number of simultaneous connections to the Internet or a Windows Domain policy.
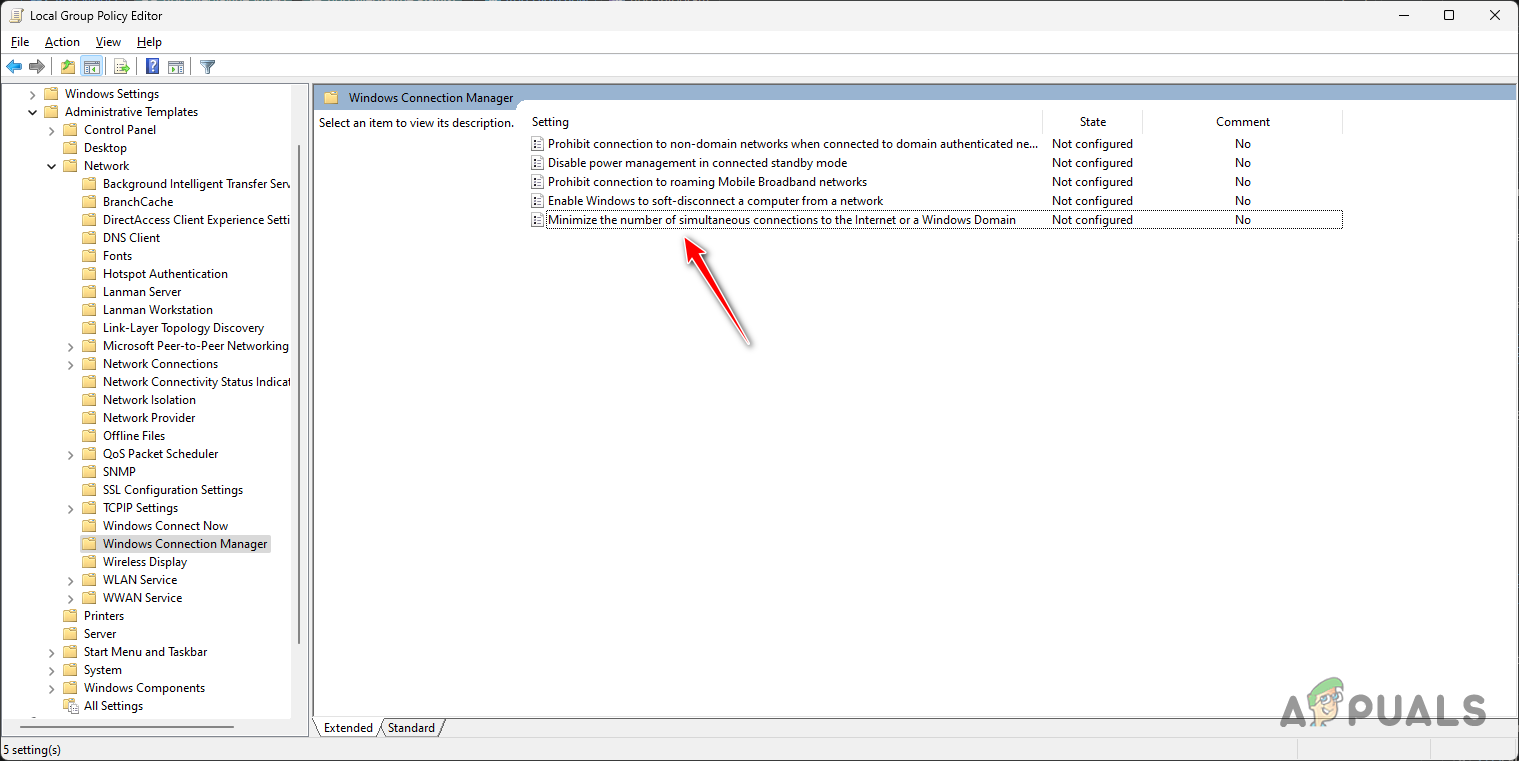
Opening Simultaneous Connection Minimization Policy - Select Disabled, click Apply, then OK.
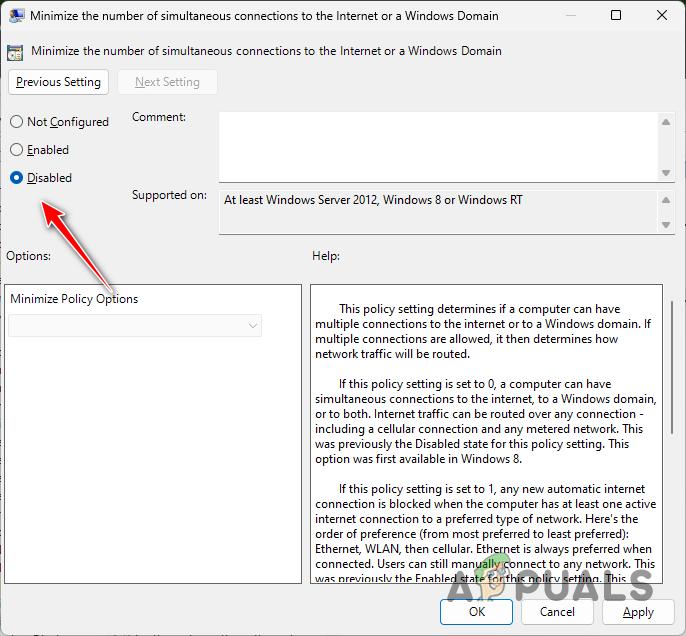
Disabling Simultaneous Connection Minimization Policy - Restart your computer to apply changes and check connectivity.
7. Reset Network Settings
If none of the above methods are successful, there may be deeper network configuration issues at play. Resetting network settings to their defaults might resolve any underlying problems that are causing connectivity failures.
- Open the Settings app (Win key + I).
- Navigate to Network and Internet > Advanced Network Settings > Network Reset.
Navigating to Network Reset - Click Reset now to start the network reset process.
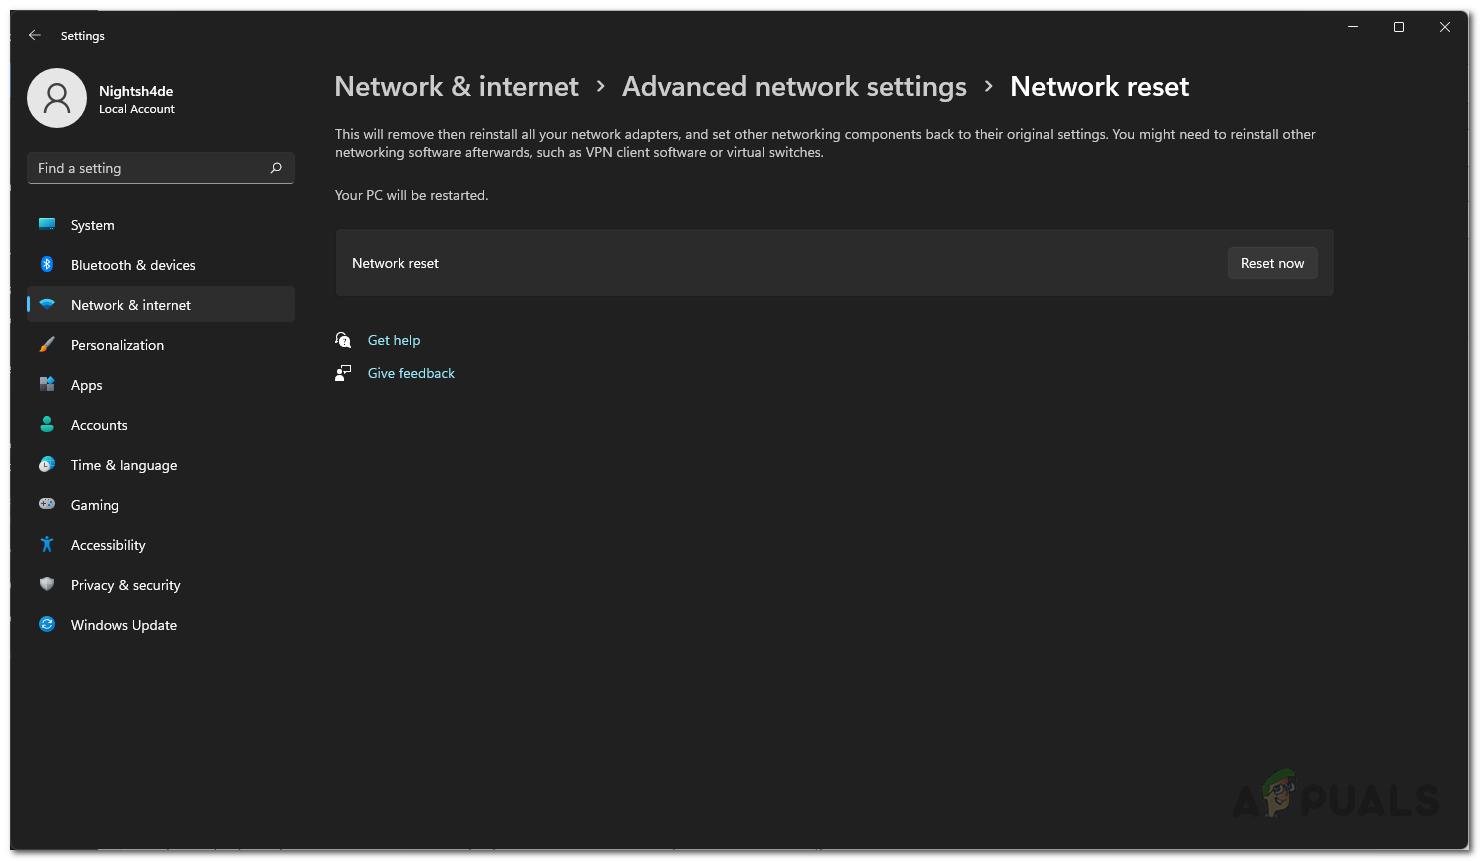
Resetting Network Settings - After the restart, verify if the Wi-Fi connects automatically.
8. Manually Assign IP Address
Additionally, issues can arise if your DHCP server is failing to appropriately assign an IP address to your PC. This can prevent your machine from establishing a network connection on Windows startup. Assigning a static IP address might provide a resolution, as the manually-configured IP address will be preserved across restarts, circumventing any DHCP server-related connectivity issues.
- Search for and open the command prompt from the Start Menu.
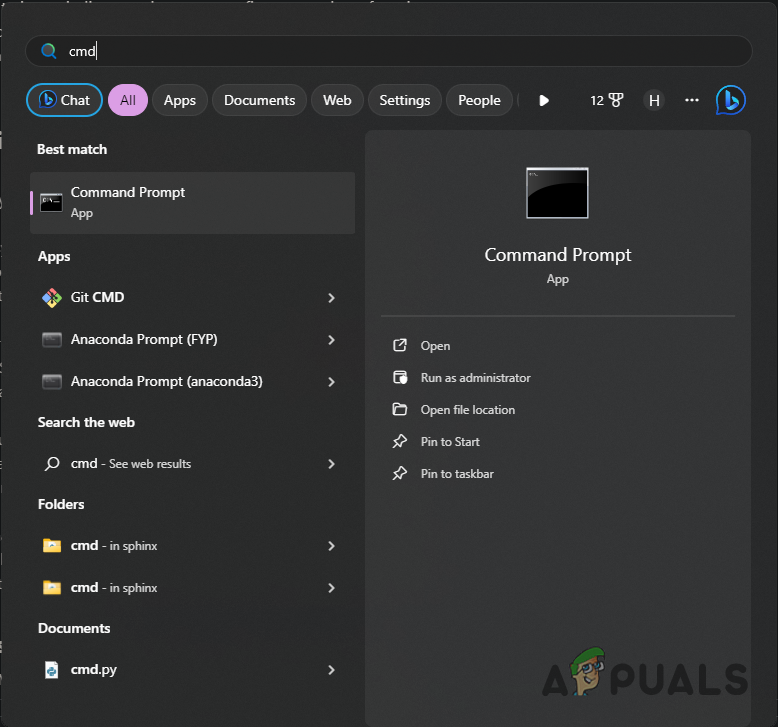
Opening Command Prompt - Type ipconfig to list your network details like Default Gateway and Subnet Mask.

Network Connection Details - Follow the Settings path: Network and Internet > Advanced Network Settings.
Navigating to Advanced Network Settings - Expand Wi-Fi settings, choose View additional properties, then click Edit next to IP Assignment.

Navigating to Wi-Fi Adapter Details - Enable IPv4, enter the Subnet Mask and Default Gateway, choose an IP outside the DHCP range, and set Google’s DNS if desired.
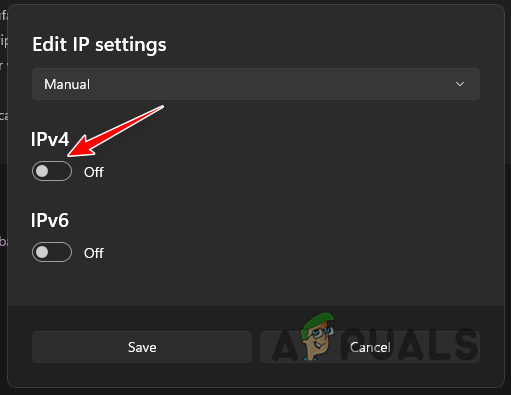
Enabling IPv4 - Save settings and verify the Wi-Fi connection.
These methods should resolve the Wi-Fi not connecting automatically problem. If issues persist, seek further assistance from the official Microsoft support team.