How to Stop 100% Disk Usage in Windows with These Proven Fixes
A slow and sluggish computer can often be attributed to your hard drive reaching its capacity limit. This is especially common when performing hard drive-intensive tasks, such as copying large files. However, there might be situations where your computer exhibits 100% disk usage without any apparent reason.
This can be a problem if a rogue process is running in the background, consuming system resources. To troubleshoot this issue, below is a list of different methods that you can follow.
1. Check Background Apps
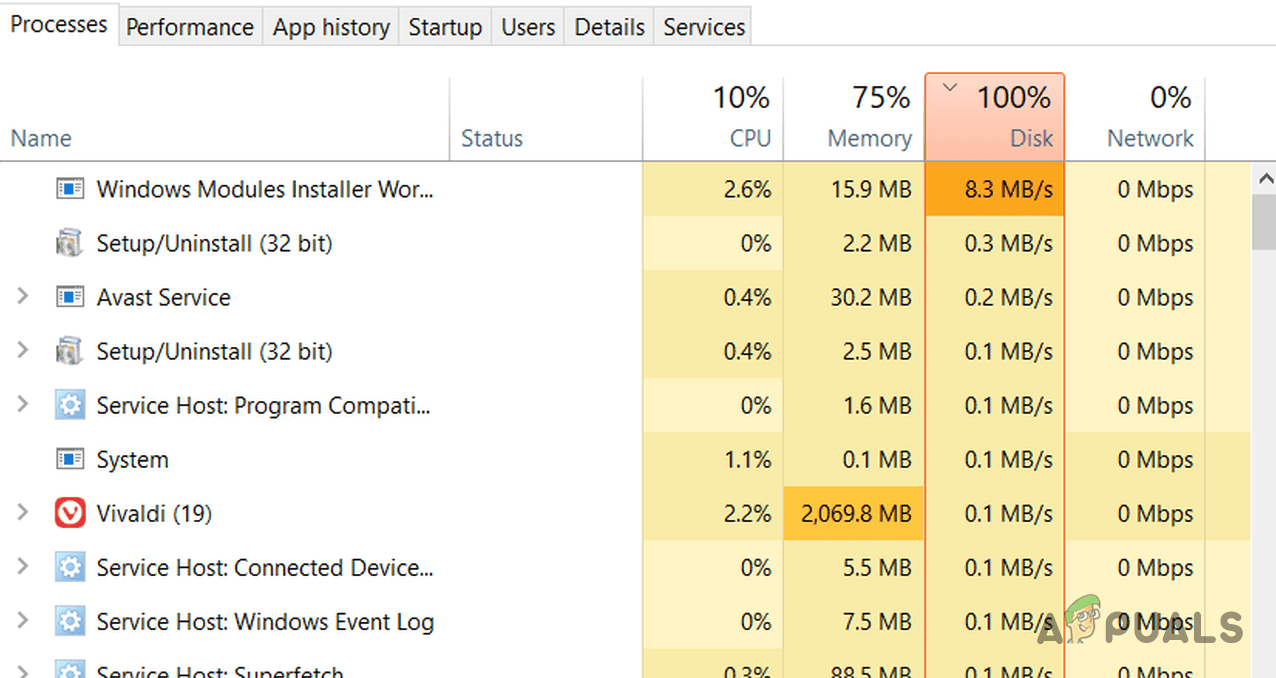
When dealing with 100% disk usage, your initial step should be to inspect any background apps in the Task Manager. Often, a background process that uses your disk excessively can lead to such issues. This typically happens when a process is not functioning correctly.
The culprits could vary, but commonly, processes like Your Phone and Microsoft Compatibility Telemetry are known to cause the problem. To resolve this, you’ll need to terminate the problematic background process.
Here are the steps to follow:
- Open Task Manager by right-clicking on the taskbar.
Opening Task Manager - In Task Manager, click on the Disk column to sort processes by disk usage.
- Identify the apps using the most disk resources and end them using the End task button.
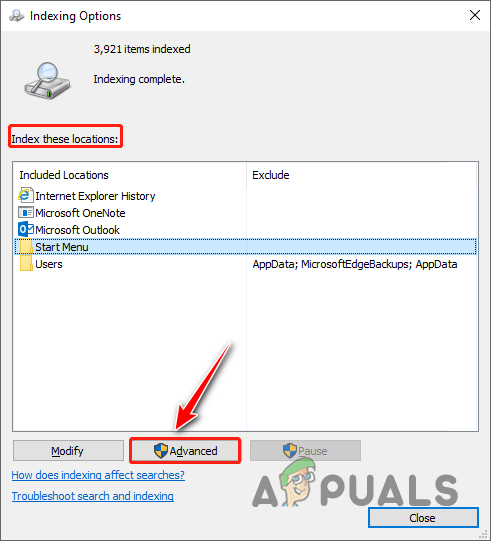
2. Rebuild Windows Search Index
Windows relies on indexing for faster search results, but this can sometimes become corrupted, leading to persistent 100% disk usage.
You’ll need to rebuild the Windows Search Index to address this. This deletes the current index and starts over. Follow these steps:
- Open the Control Panel by searching for it in the Start Menu.
- Click on View by and select the Small icons option.
- Select Indexing Options.
- Next, click the Advanced button.
Navigating to Advanced Indexing Options - Click the Rebuild button under Troubleshooting.
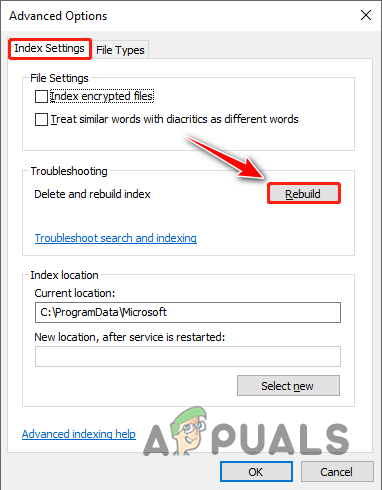
Rebuilding Search Index - Check if this resolves the issue.
3. Run Security Scan
100% disk usage can also stem from a malware or virus infection on your computer. Perform a system-wide security scan to eliminate any malicious files.
You can conduct the scan using a third-party antivirus application or Windows Defender. Below are the steps for a security scan with Windows Defender:
- Open the Start Menu and search for Windows Security. Launch it.
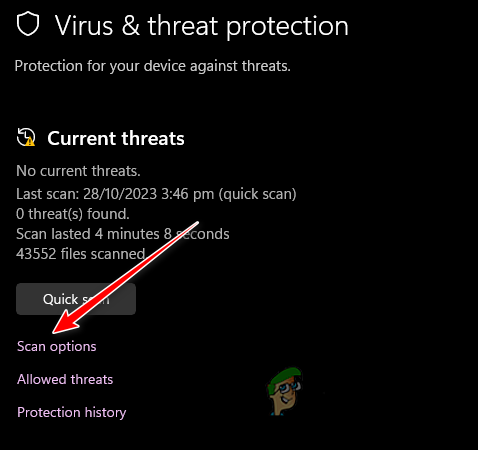
- Navigate to the Virus & threat protection tab.
- Choose Scan options.
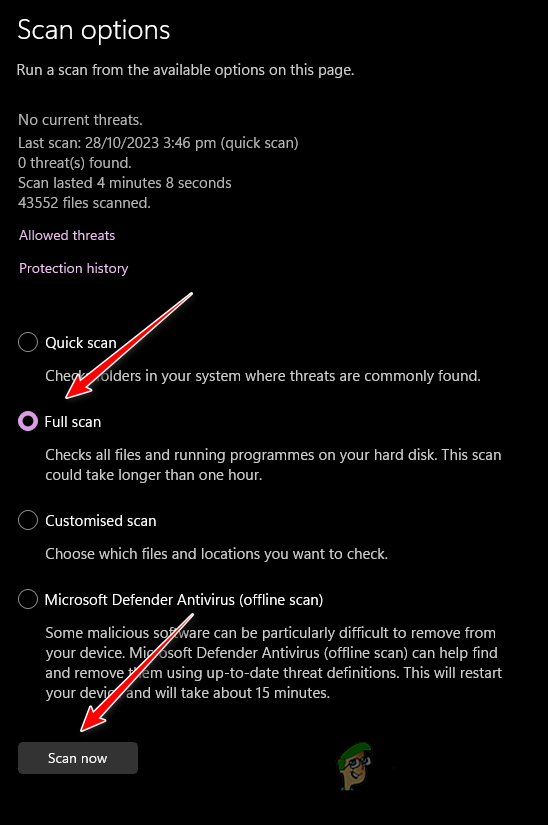
Navigating to Scan Options - Select Full scan and click Scan now.
Performing Full Windows Scan - Wait for the Windows Defender scan to complete and see if the problem persists.
4. Defragment Drives
Performance issues with hard drives can occur over time as data becomes fragmented. Windows provides a built-in utility to defragment and optimize your drives.
Doing so can often alleviate the 100% disk usage problem. Execute the instructions below:
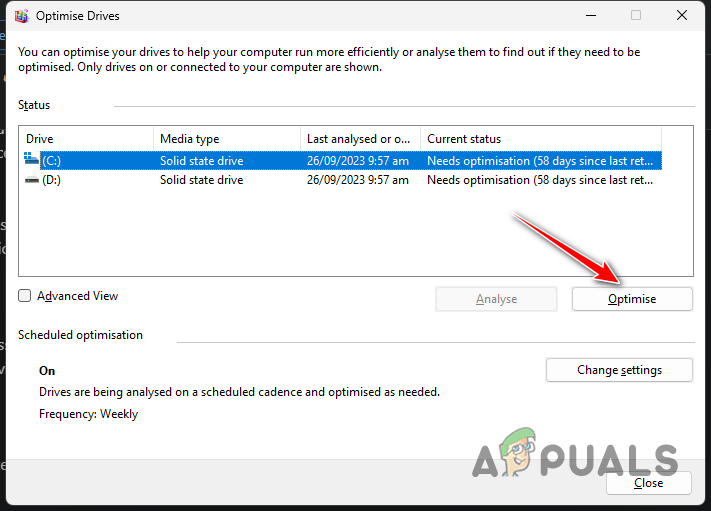
- Open the Start Menu and search for Defragment and Optimize Drives. Open the utility.
- Select your system drive and click Optimize.
Defragmenting Drive - Repeat the process for any other drives, if present.
- Determine if this has solved the issue.
5. Disable Google Drive and OneDrive Sync
Syncing files with cloud-based storage services like Google Drive or OneDrive frequently leads to high disk usage.
You can remedy this by halting the sync features in both applications. Here’s how you can do this for each application:
5.1. Google Drive
- Launch the Google Drive app on your computer.
- Click on the Settings icon and select Preferences.

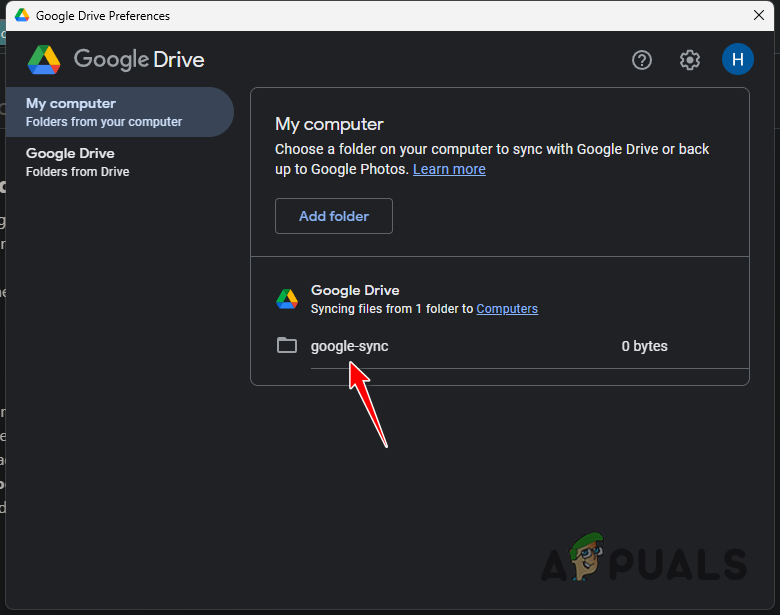
Navigating to Google Drive Preferences - In the My computer tab, click on the folders you have added.
Navigating to Sync Folders - Deselect Sync with Google Drive and Back up to Google Photos.
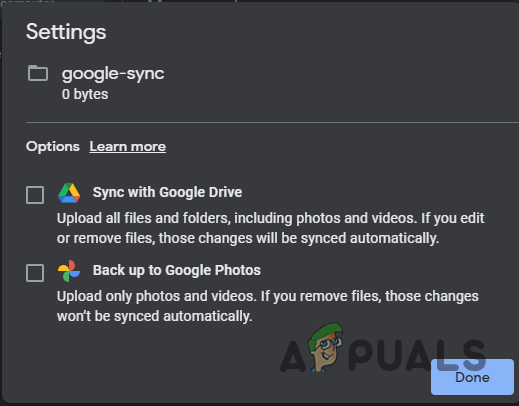
Disabling Google Drive Sync - Also, ensure you select Stream files from the Google Drive tab.

Selecting Stream Files Only
5.2. OneDrive
- Open the OneDrive app.
- Click on the Settings icon and choose Settings.
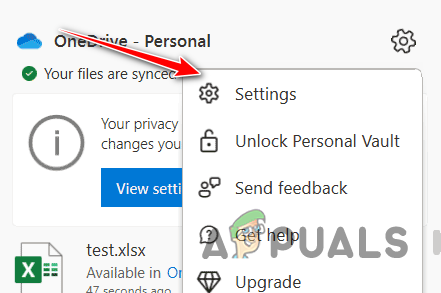
Navigating to OneDrive Settings - Under the Account tab, click Choose folders.
- Unselect all folders on the Choose folders screen and click OK.
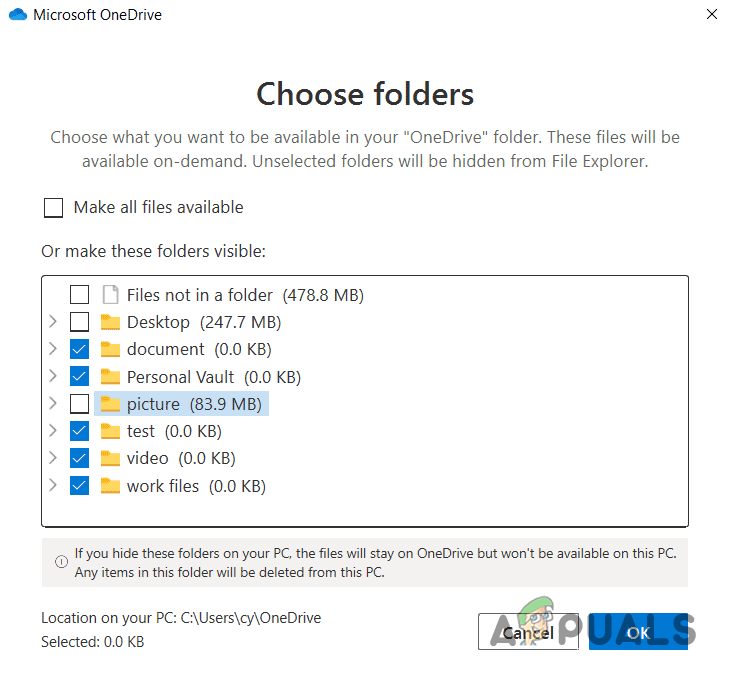
Removing Synced Folders in OneDrive
6. Repair Windows Image
Corrupted Windows system files on your computer might also be contributing to 100% disk usage. Repairing the Windows image using built-in utilities can fix the issue.
Here’s how:
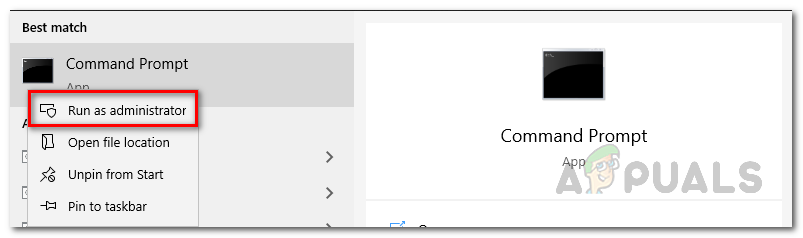
- Open the Start Menu and search for Command Prompt. Select Run as administrator.
Opening Command Prompt as Admin - Input the following commands one at a time, waiting for each to complete before proceeding:
SFC /scannow
DISM /Online /Cleanup-Image /CheckHealth
DISM /Online /Cleanup-Image /ScanHealth
DISM /Online /Cleanup-Image /RestoreHealth
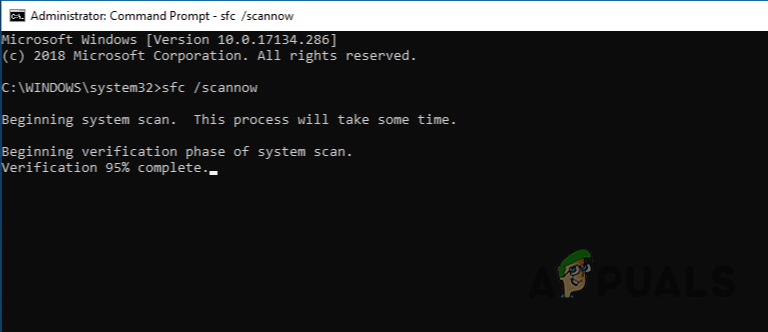
Repairing Windows 10 - Close Command Prompt and restart your PC afterwards.
- Examine to see if the disk usage issue persists.
7. Install Available Windows Updates
An outdated version of Windows may also be the cause of high disk usage. A Windows inconsistency that has already been addressed in newer updates could be responsible.
Ensure your Windows is up-to-date using the following steps:
- Access the Settings app using the Win key + I shortcut.
- Navigate to Update & Security, then Windows Update.
- Click Check for updates to download and install any available updates.
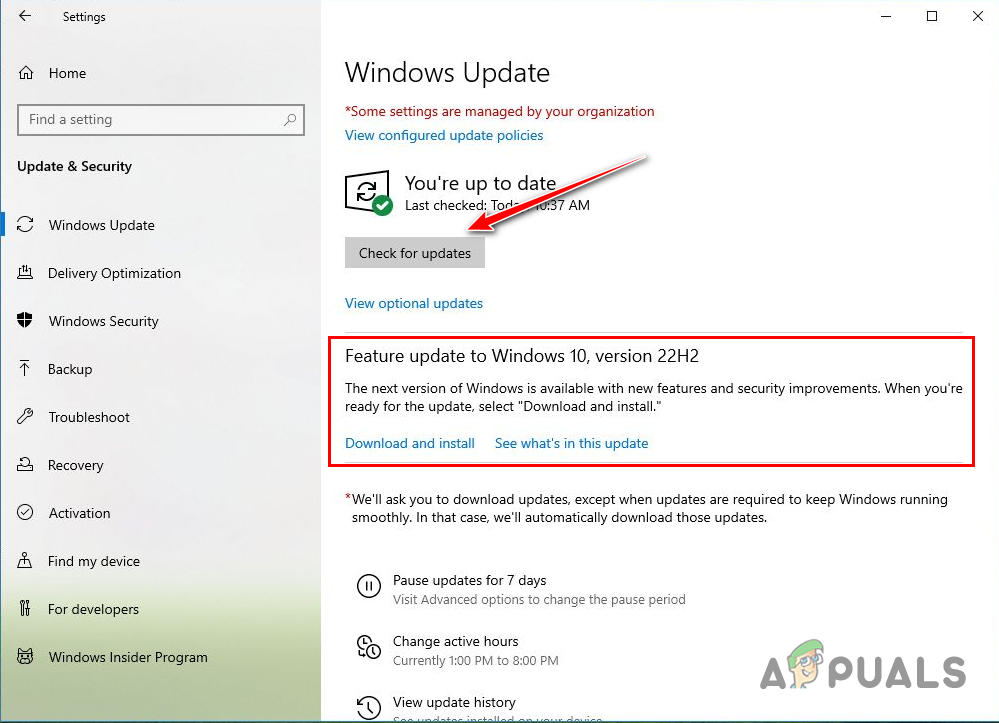
Updating Windows 10 - After updating, verify if the disk usage problem remains.
8. Disable Superfetch
Superfetch is a Windows service that preloads your most frequently used apps into memory, intending to speed up app launching times. However, this feature might adversely affect performance by preemptively loading apps that are not required.
To solve this, disabling Superfetch on your computer may be beneficial. Proceed as follows:
- Search for Command Prompt in the Start Menu. Choose Run as administrator.
Opening Command Prompt as Admin - In the command prompt, input the following command:
sc stop “SysMain” & sc config “SysMain” start=disabled
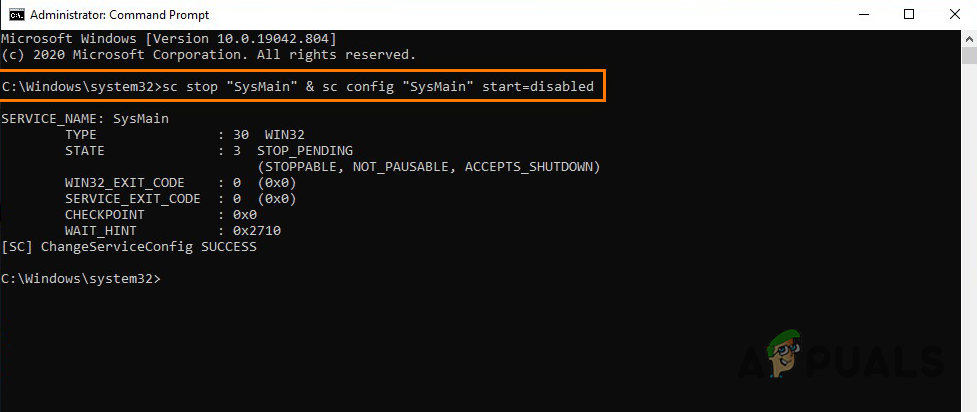
Disabling Superfetch - Restart your computer thereafter.
Note: If you later choose to re-enable Superfetch, you can do so with this command:
sc config “SysMain” start=auto & sc start “SysMain”
9. Disable Windows Search
The search function in Windows uses the indexed cache to locate files or folders swiftly. However, Windows Search can sometimes experience malfunctioning, causing continuous disk resource utilization.
Disabling the Windows Search service can help return the disk usage to normal levels. Follow the instructions below:
- Search for Command Prompt using the Start menu and select Run as administrator.
Opening Command Prompt as Admin - Input net.exe stop “Windows search” (with quotes) and press Enter.
- Wait for the service to stop.
To permanently disable Windows Search, follow the next steps:
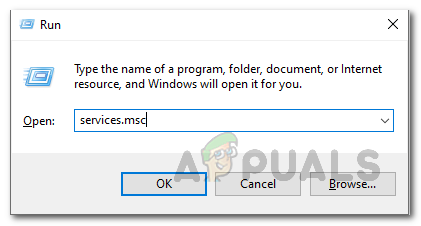
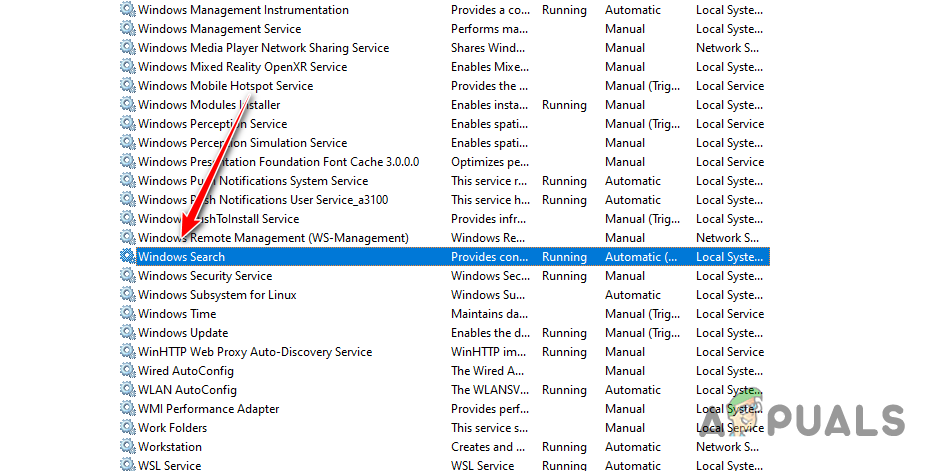
- Press the Windows key + R together.
- Type services.msc and hit Enter.
Opening Windows Services - Locate the Windows Search service and double-click on it.
Opening Windows Search Service Properties - Set the Startup type to Disabled.
- If the Service status is running, click the Stop button.
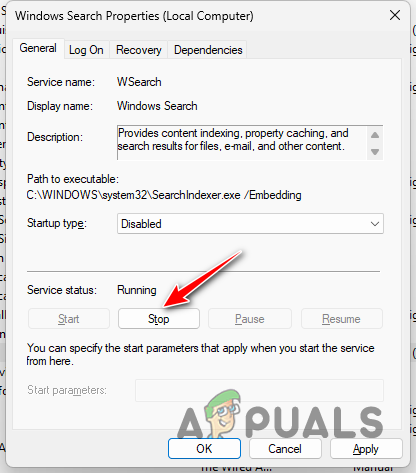
Stopping Windows Search Service - Hit Apply then OK.
To re-enable Windows Search, modify the Startup type back to Automatic.
10. Perform a Clean Boot
Executing a clean boot of your system can determine if a third-party service or program is responsible for the 100% disk usage problem. This process boots your computer with only the necessary Windows services.
Use the following steps:
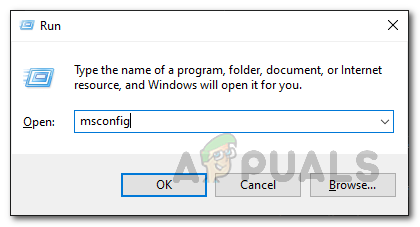
- Access the Run dialog box with the Win key + R.
- Type in msconfig and press Enter.
Opening System Configuration Utility - In the Services tab, tick the Hide all Microsoft services checkbox.
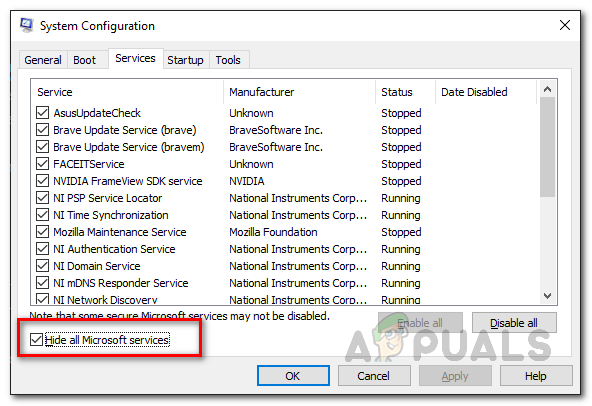
Hiding Microsoft Services - Disable all non-Microsoft services by selecting Disable all.
- Apply the changes.
- Switch to the Startup tab and open Task Manager.
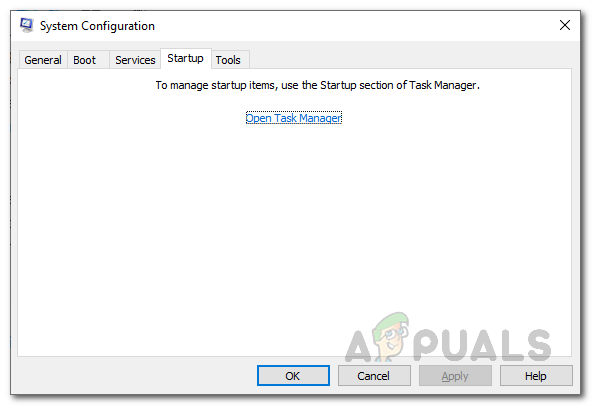
Opening Startup in Task Manager - In the Task Manager window, select each startup app and choose to disable them.
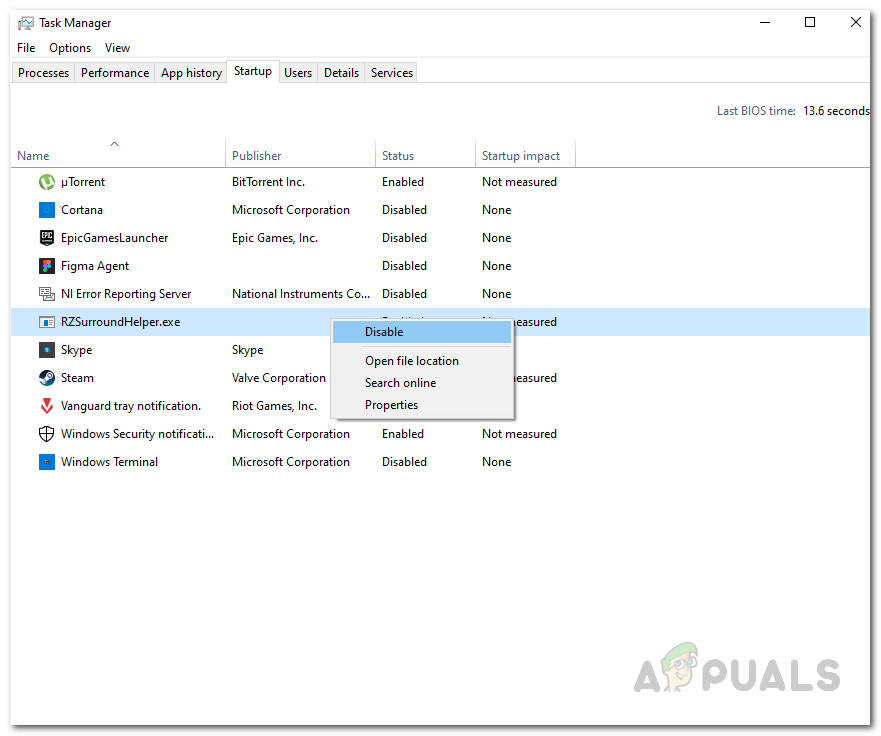
Disabling Startup Applications in Task Manager - Reboot your computer and observe if the disk usage issue has been resolved.
If the problem is resolved, it is advisable to enable services and applications one by one to identify the problematic software.
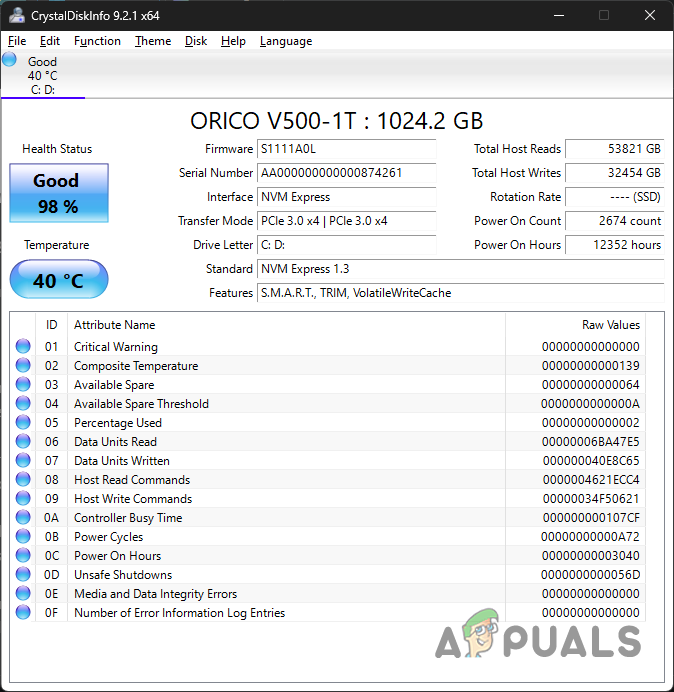
11. Check Disk Health
You can assess your drive’s health using third-party utilities. Should your drive’s health be in question, you might need to consider replacing the drive.
Hard drives, in particular, have a finite lifespan; after which, their reliability can significantly decrease. To check your drive’s health, the CrystalDiskInfo utility can be very useful. Just install the tool and run it to determine the health status of your drive.
The aforementioned solutions should help you overcome the 100% disk usage problem. However, if the issue persists, it may be time to reach out to the official Microsoft support for further assistance.
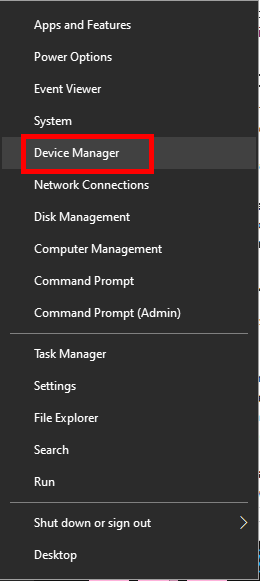
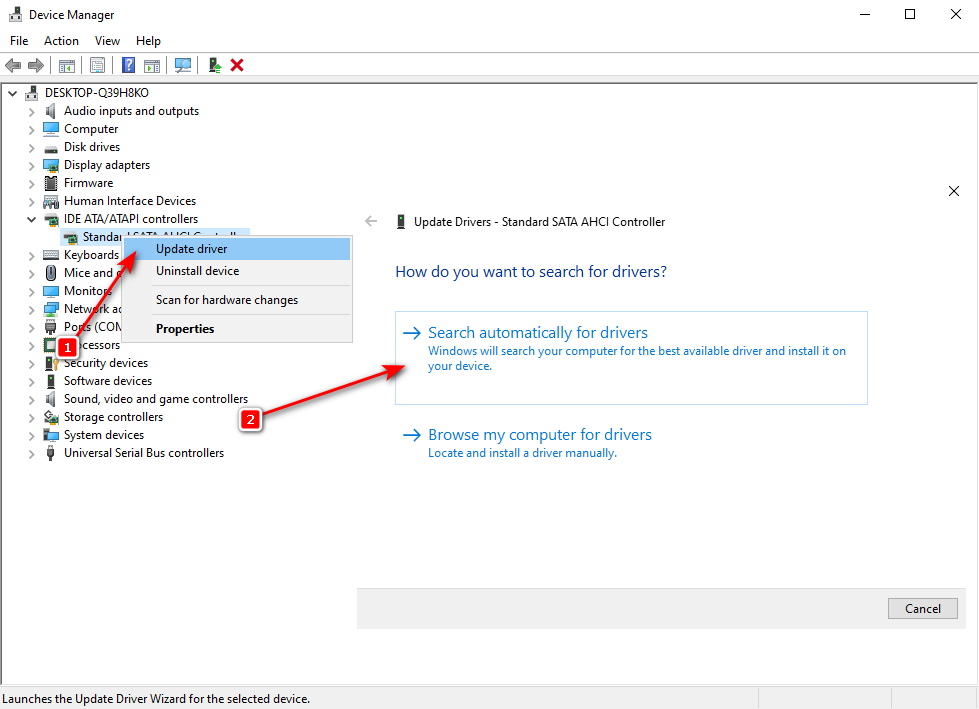
12. Update Drivers
Outdated or corrupt drivers can lead to performance issues, including 100% disk usage. Ensure that all your device drivers, particularly for the storage controller and chipset, are current.
- Press the Windows key + X and click on Device Manager.
- Expand the Storage controllers and IDE ATA/ATAPI controllers sections.
- Right-click each controller and select Update driver.
- Choose Search automatically for updated driver software and follow on-screen instructions.
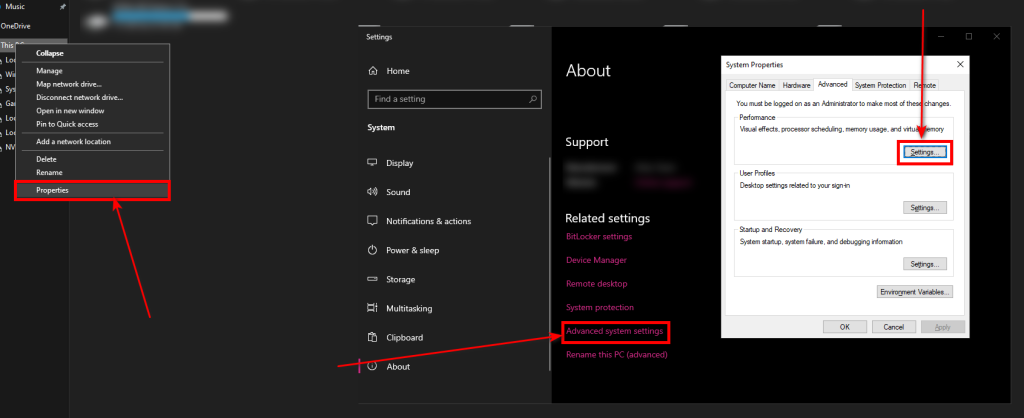
13. Reset Virtual Memory
Virtual memory is used as an extension of your computer’s physical memory. Incorrect virtual memory settings can cause high disk usage.
- Open the System Properties by right-clicking on This PC and selecting Properties.
- Click on Advanced system settings and go to the Advanced tab.
- Under Performance, click on Settings.
- In the Performance Options window, go to the Advanced tab again and click Change… under Virtual memory.
- Uncheck Automatically manage paging file size for all drives.
- Select the drive with the current paging file (usually C:), choose Custom size, and set both Initial size and Maximum size to values recommended by Windows. Click Set and then OK.
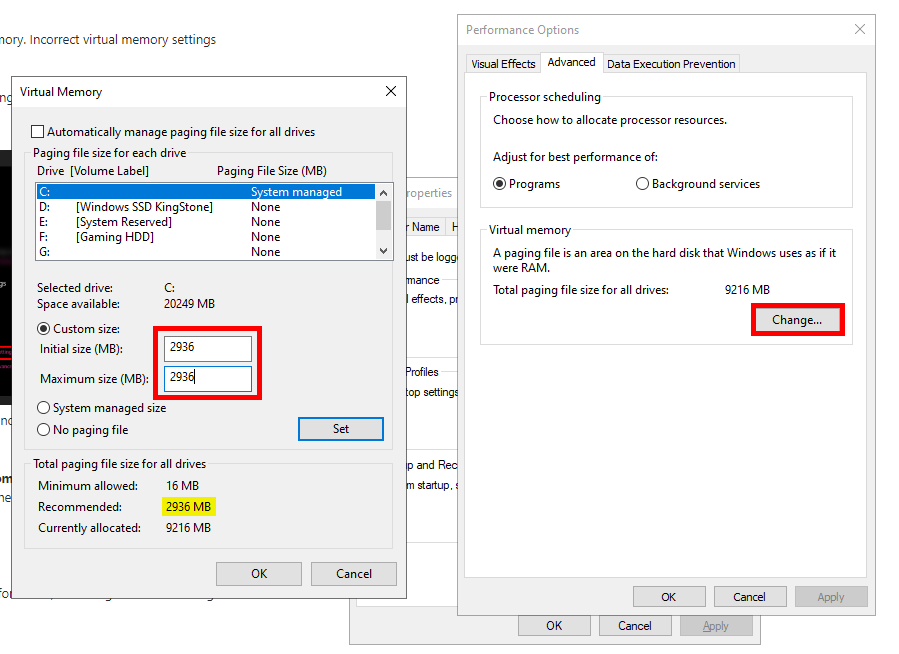
- Restart your computer.
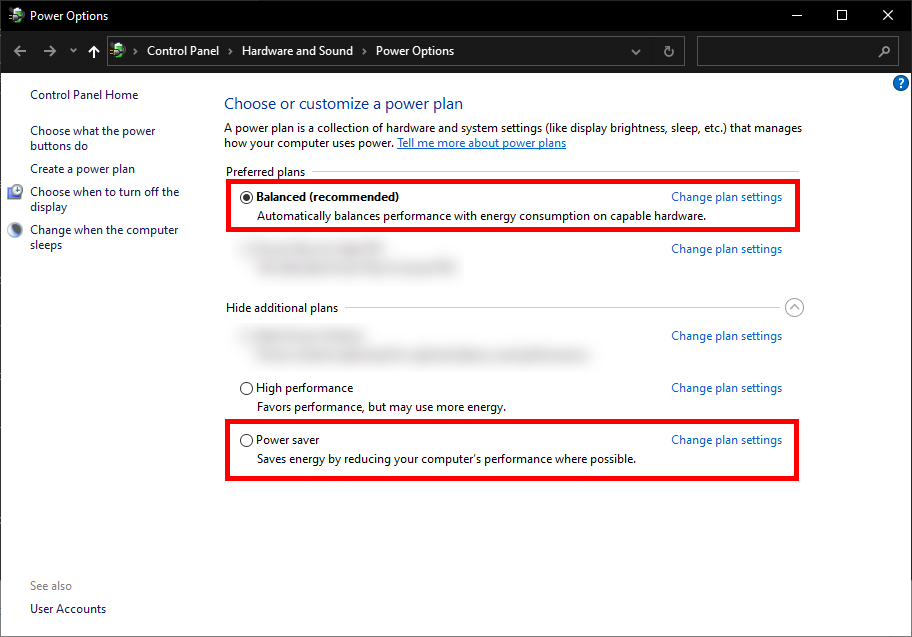
14. Change Energy Plan
The high-performance energy plan in Windows can increase system performance, but it might also lead to higher disk usage. Switching to a balanced plan could alleviate the issue.
- Open the Control Panel and go to Power Options.
- Select the Balanced (recommended) or Power saver plan.
15. Look for Hardware Issues
Sometimes, the problem could be related to the physical hard drive itself, such as loose connections or failing components.
- Shut down your computer and disconnect from power.
- If you have the technical know-how, open up your PC case and check all the connections to and from the hard drive, making sure they are secure.
- For laptops, you might want to take professional help instead of doing it yourself.