How to Fix Wireless Xbox One Controller Requires PIN on Windows 10?
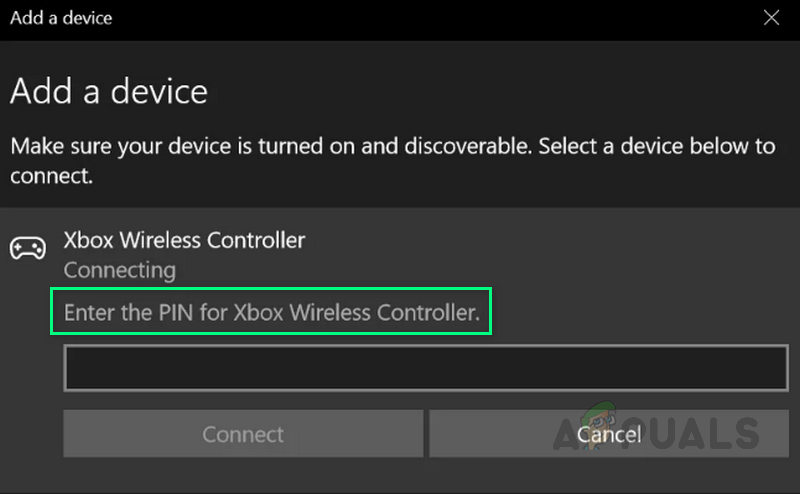
Xbox is easy to pair and use on a Microsoft Windows laptop or desktop but recently it has been reported multiple times by gamers on online support forums that wireless Xbox One Controller is asking for a PIN on Windows 10 to start although they have not set it up. This creates an unfavorable experience for gamers restricting them to play their games.
What Causes Wireless Xbox One Controller Requires PIN?
We have listed down some of the causes of this problem after reviewing the user’s feedback and technical authorities in detail. This problem may arise due to any of the following reasons:
- Outdated Device Drivers: It is the most common reason behind the pairing issues of Xbox One Controller with your computer/laptop. Unlike conventional controllers, Xbox Console needs to be updated manually. So when the device drivers are outdated they hinder the proper pairing of the device resulting in asking for a PIN. As they are a mismatch with Windows 10.
- Different Bluetooth Dongle: To connect Xbox Wireless Controller to your Windows 10 PC, you need to have an Xbox Wireless Adapter specifically for Windows. Many Laptops have this inbuilt. But if you have been trying to connect it to your normal Bluetooth adapter it would not connect and show an error.
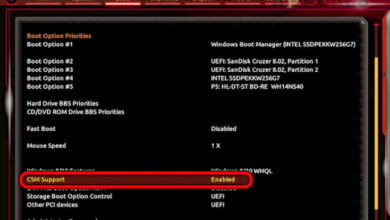
- Outdated Bluetooth Drivers: If it is asking for a pin, then your Bluetooth drivers may be outdated. It will prompt for a pin if the Bluetooth hardware version of the machine isn’t new enough or there is a hardware failure as Bluetooth less than v3.0 isn’t compatible for the Xbox Controller to connect to a PC.
- Outdated Windows Version: Windows 10 is used by billions of people worldwide and is the latest operating system out there but just like with many other operating systems, sometimes there are problems with an older version of them. As older Windows 10 versions may have issues connecting the Xbox One Controller properly.
Solution 1: Reset the XBOX Controller
This solution has been posted over several forums across the internet and a huge number of gamers have reported that this solution has worked for them perfectly. In this solution we are going to reset your Xbox One wireless controller to remove the PIN prompt it is showing. To do that correctly, follow these steps:
- Press and hold the Xbox button on the controller for 6 seconds to power off.
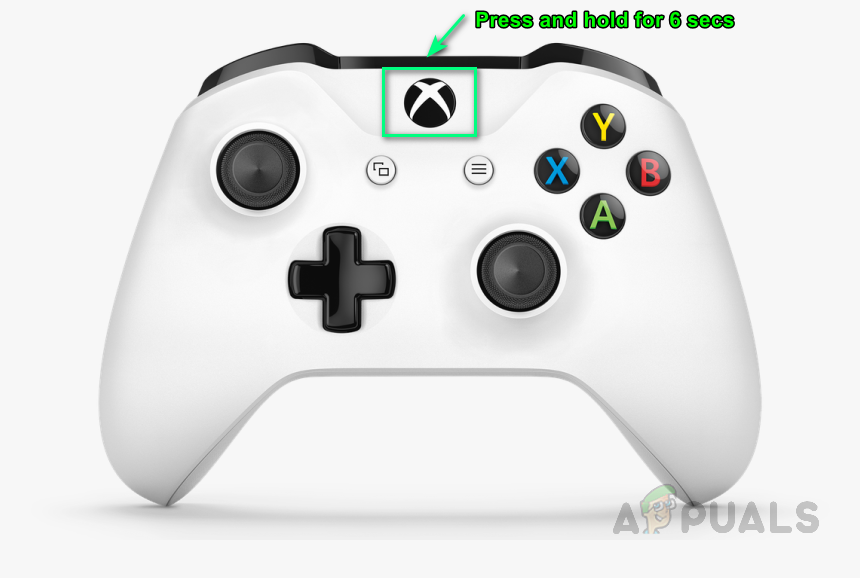
Powering off Controller - Press the Xbox button again to power it back on.
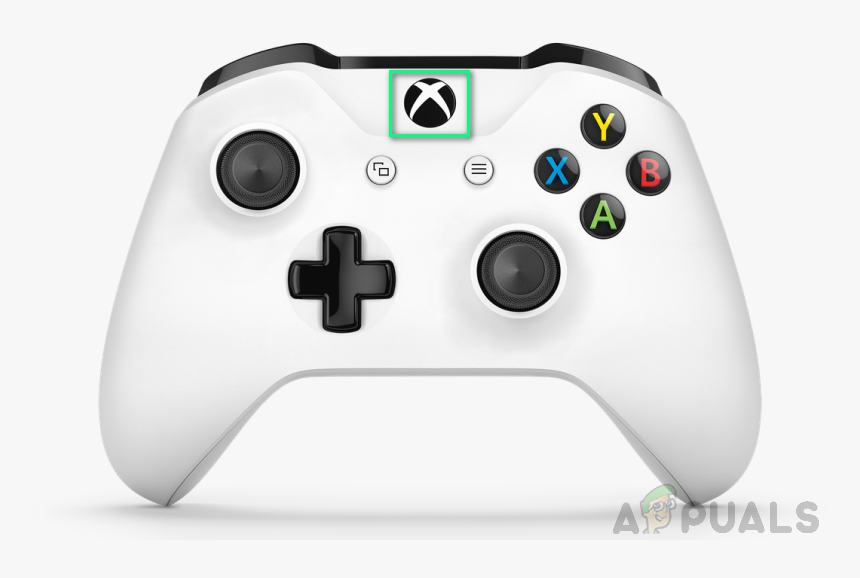
Powering ON Controller - Connect your Xbox Wireless Controller to your PC using a USB cable or the Xbox Wireless Adapter recommended for Windows 10.
This should fix your problem. If not, proceed with the following solutions.
Solution 2: Update Bluetooth Dongle/Wireless Adapter Drivers
The problem may also arise if your device i.e your computer/laptop is not equipped with the latest drivers for Bluetooth connectivity. In this solution, we are going to update device drivers manually. Follow these steps to update them properly:
- Click Start, type Device and select Device Manager.
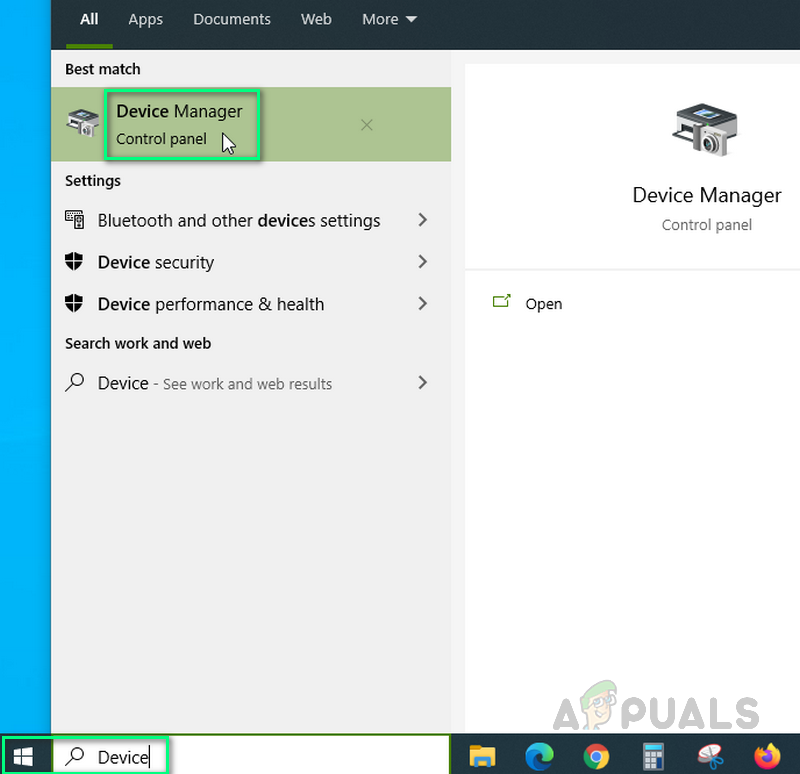
Opening Device Manager - Select Bluetooth from the list, right-click on it and select Update drivers.

Updating Bluetooth Drivers - Now try connecting your controller and it will work properly. This may fix your problem.
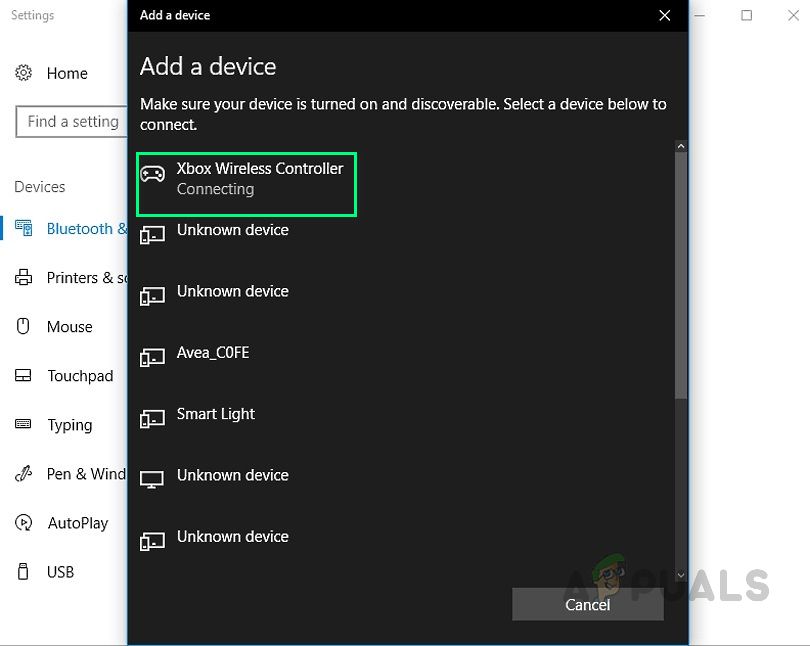
Connecting Controller
If you are using a Standard Dongle then you are most likely to encounter this issue as well – we have seen this resolve by using the official XBOX Wireless Adapter.
Solution 3: Update Your Controllers Firmware
In this solution, we are going to update the Xbox One Controller firmware as the outdated version can be causing the error. There are three ways to do this properly. Follow the respective steps to update in your preferred way: Update through Micro USB Cable:
- Press and hold the Xbox button on the controller to turn it off. Once it’s turned off, keep it in that state for a few minutes. You can also take off the battery pack, and leave it for a few minutes.
- Press the Xbox button again to power it back on.
- Now connect your Xbox One Wireless Controller to the Xbox using a USB cable to update drivers.
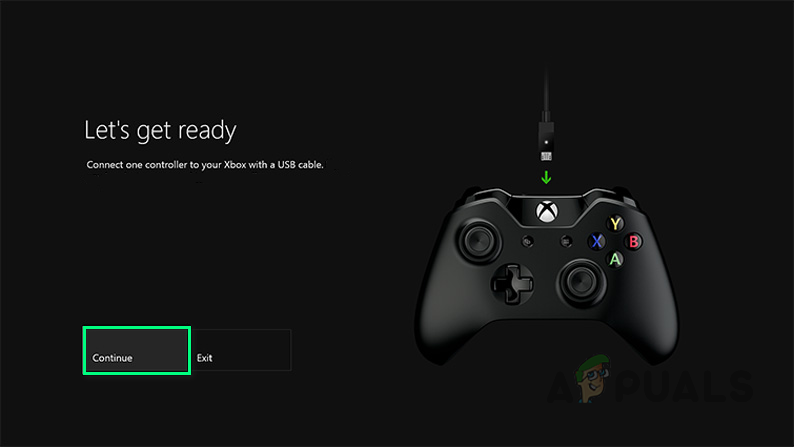
Connecting Controller with USB Cable - To check for updates manually, open its Settings > Kinect & devices > Devices & accessories > select your controller and update.
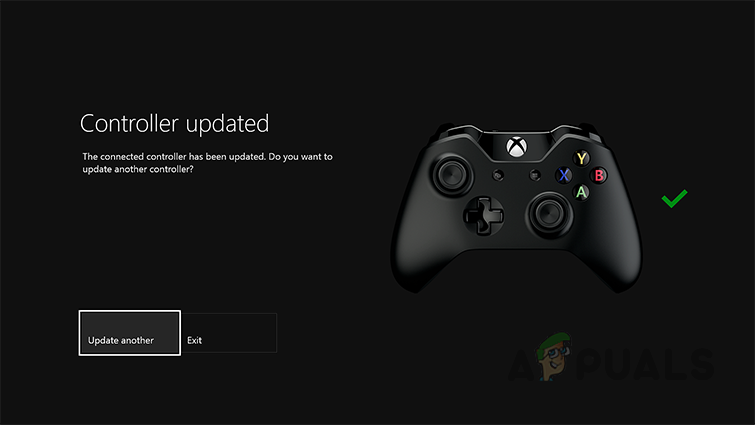
Updating Firmware - Restart your PC and try connecting your Xbox Controller over Bluetooth.
- Now try connecting your controller so it may resolve your problem.
Update through PC:
- Download the Xbox Accessories App from the Microsoft Store.
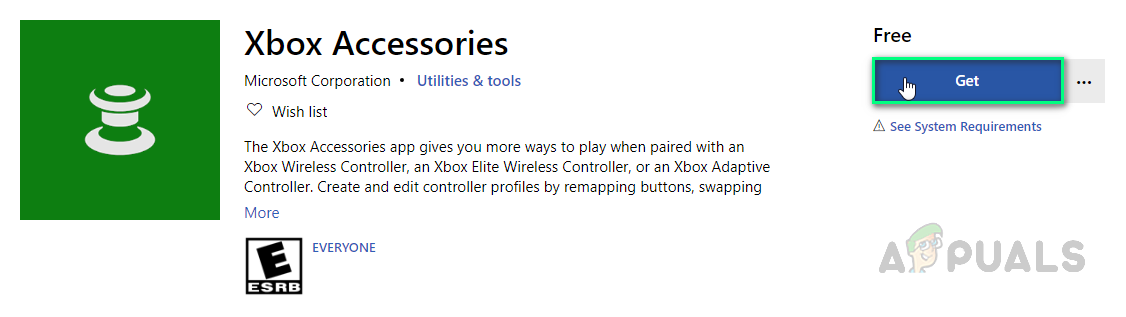
Downloading Application - Open the Xbox Accessories app.
- Connect your Xbox One Wireless Controller by using a USB cable or the Xbox Wireless Adapter for Windows.
- Install the update.
- Now try connecting your controller. This may fix your problem.
Update Wirelessly:
- Press the Xbox button to open the guide.
- Select Profile & system > Settings > Devices & streaming > Accessories.
- Select the Xbox One Wireless Controller you want to update.
- Check the firmware version for your Xbox Controller.
- Select Update and then continue to get them.
- Now try connecting your controller. This may fix your problem.
Solution 4: Use Xbox Wireless Adapter
This problem may also arise if you are using your normal Bluetooth adapter and trying to connect. The adapter may be old or can be of less version. Because the controller supports a Bluetooth dongle of v4.0 or above. Xbox recommends its dedicated wireless adapter for its controller specifically for Windows 10 to attain a stable connection. This may fix your problem. Note: Some users have reported that they have tried pairing the controller to a different PC and it worked without asking for a PIN. Then, powering it off and switching back to their own desired PC resolved the problem.
Solution 5: Update Windows 10
If none of the above solutions have worked out for you then the reason for this issue might be arbitrary. Therefore, follow these steps to reinstall Windows latest version perfectly:
- Click Start, type windows update and click Windows Update settings.
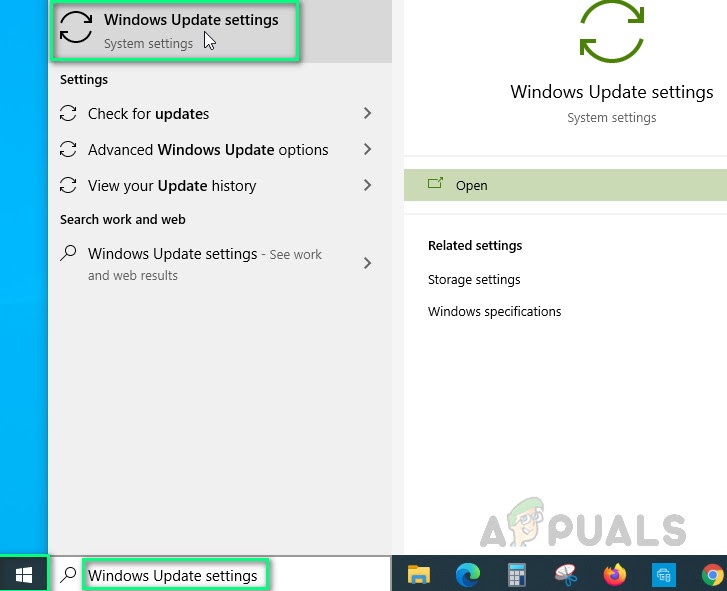
Opening Windows Update Settings - Now click Check for updates.
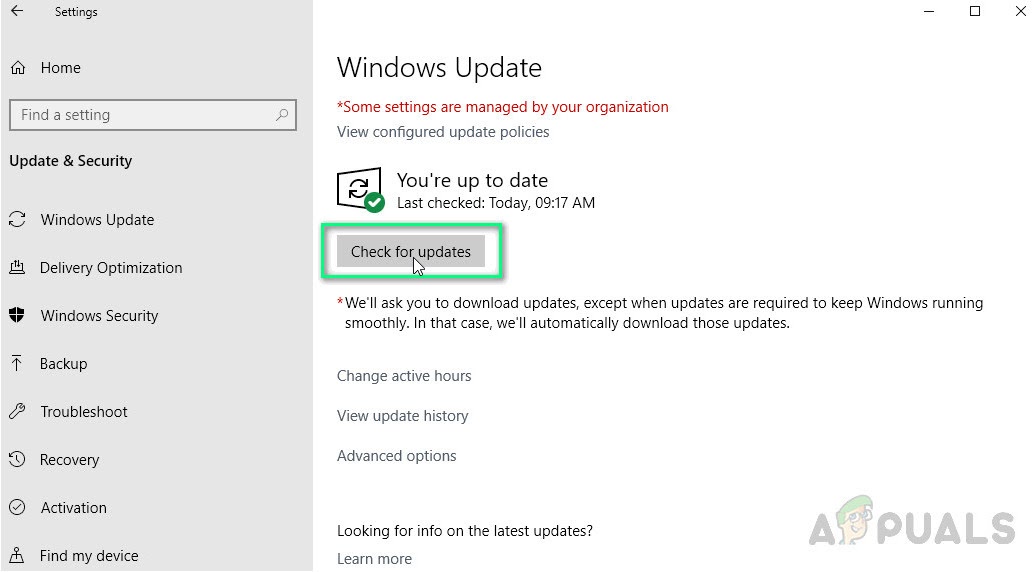
Checking Windows Updates - Click Download and Install to let Windows install the latest update.

Installing Windows Updates - Restart your computer and your game. This should finally fix your problem.