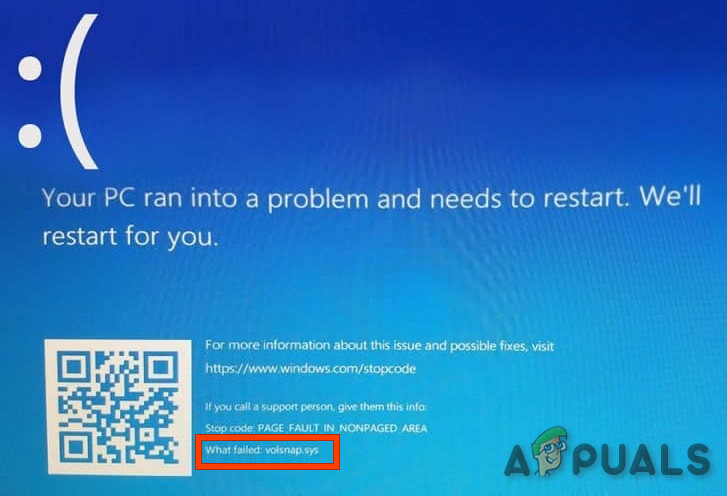
Resolve Volsnap.sys Blue Screen Error (BSOD) on Windows 10
The Volsnap.sys Blue Screen Error (BSOD) can occur due to many reasons but primarily because of the RAM or Hard Disk Issues, incompatible firmware, VSS issue, corrupt drivers or malware infection.
What causes Volsnap.sys Blue Screen Error (BSOD)?
After deeply going through the user reports and analyzing them, we can conclude that this error can occur due to primarily software related problems and some of them are:
- Junk Files: Junk files conflicting with the applications/Windows results in Volsnap.sys Blue Screen Error (BSOD).
- Volume Shadow Service: Volume shadow service can cause this problem when it is triggered wrongly or stuck in the loop.
- Boot Problem: If your system’s boot files and tables are not in place then it can result in the Volsnap.sys Blue Screen Error (BSOD).
- Corrupted Volsnap.sys File: Corrupted Volsnap.sys can cause this error.
- Antivirus/Firewall Issue: If any of the system’s files wrongly detected by Anti-virus as malware can cause the Volsnap.sys Blue Screen Error (BSOD).
- RAM: If RAM is having a problem in its proper operation then it can cause Volsnap.sys Blue Screen Error (BSOD)
- Corrupted System Files/Volumes: If any of the system files/volumes are corrupted then it can force the system to Volsnap.sys Blue Screen Error (BSOD).
- Conflicting Update: Microsoft is known to release buggy updates and any buggy update can cause the Volsnap.sys Blue Screen Error (BSOD).
- Conflicting Drivers: Newly installed hardware driver can cause Volsnap.sys Blue Screen Error (BSOD).
- Outdated Device Drivers: Outdated device drivers can cause Volsnap.sys Blue Screen Error (BSOD).
- Outdated Windows: Outdated OS can cause Volsnap.sys Blue Screen Error (BSOD).
- Corrupted Windows: Corrupted Windows Installation can cause Volsnap.sys Blue Screen Error (BSOD).
- BIOS problem: Outdated/incompatible BIOS can cause the Volsnap.sys Blue Screen Error (BSOD).
Before starting the troubleshooting process please make sure to have a thorough look at our article on Most Common Fixes of BSOD.
Solution 1: Clean Up the Junk Files
Junk system files are usually old configurations of your system which get accumulated over time and are not required by the system anymore. These files also include junk data of your Web browser, for example, old cookies, etc. Microsoft Store also deposits junk files with time.
Even though the junk files are not used by the system, there can be times when these files conflict with any essential settings of applications or even with the Windows OS. It is always recommended to clean up this accumulated junk files from your system every now and then. You can use the Windows built-in Disk cleaner to clean up the system from these junk files. This cleaning may solve the problem of Volsnap.sys BSOD error.
- Boot the system in the Safe Mode.
- Press the Windows button and then type “disk cleanup”. Then click on the Disk Cleanup in the list that pops out.

Disk Cleanup in Windows Search Box - Wait for a little while so the Windows could complete its operation of identifying the junk files.

Disk Cleanup Starting - In the resulting Window, drag down the scroll bar a bit to find the Temporary files Check the CheckBox in front of it and choose OK.

Temporary Files in Disk Cleanup - If you want to have more space to be released, tick the box in front of the category to clean it.
Restart your computer to see if it is finally clear of the Volsnap.sys Blue Screen Error (BSOD).
Solution 2: Stop Volume Shadow Service
Windows Service Volume Shadow Copy which is also known as the Volume Snapshot Service (VSS) is a Windows technology for creating backup copies/snapshots of the PC. The kernel driver of this VSS service is volsnap.sys and the error we are facing is also referring to this, so, this service can be the cause of the error we are facing. To make sure that this service is not the culprit, we should stop this service. Follow the steps mentioned below to stop this service.
- Boot your system in the Safe Mode.
- In Safe Mode, Press Windows Button and type “services” and press enter to open the Services.

Type Services in Windows Search Box - Scroll down the list of services to find “Volume Shadow Copy” and Right Click it and then click on stop. If it is already stopped nothing is required to do.

Stop Volume Shadow Copy - Double click this service to open its properties page.
- In front of the startup type, click on the drop-down menu and select the “disabled”.

Disable Volume Shadow Copy - “Apply” and “OK”.
“Restart” the System and check if Volsnap.sys Blue Screen Error (BSOD) has left your system.
Solution 3: Run Bootrec Command
Whenever users experience a BSOD, we recommend that they make that their system’s boot files and tables are in place. For this purpose, Windows has a built-in utility known as Bootrec. Bootrec command is used to repair MBR and boot.
- Boot from the Windows 10 installation media.
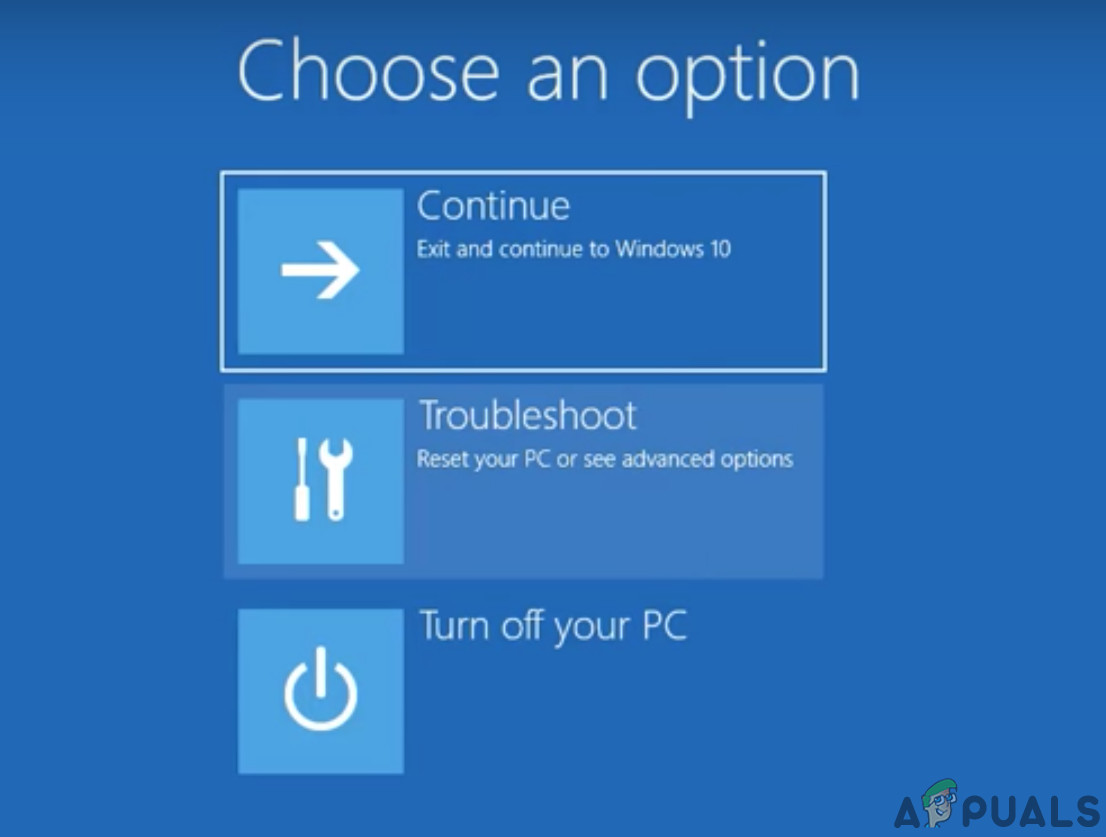
- After booting into setup, select Repair Computer.
- Select Troubleshoot.
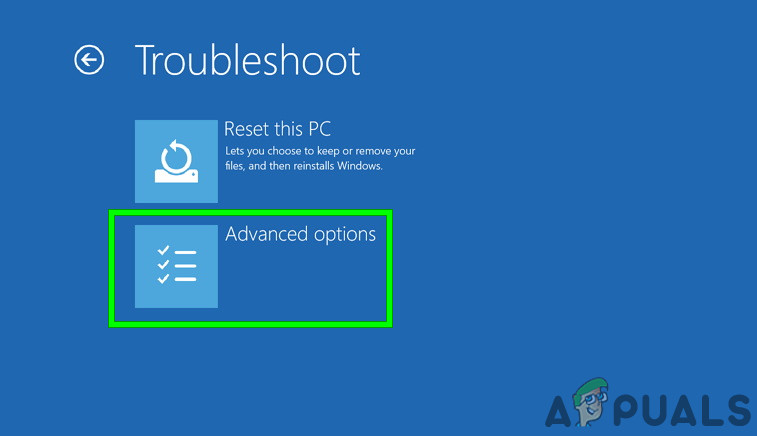
Troubleshoot in Windows RE - Click Advanced Options.
Advanced options in Troubleshoot screen - Select Command Prompt.
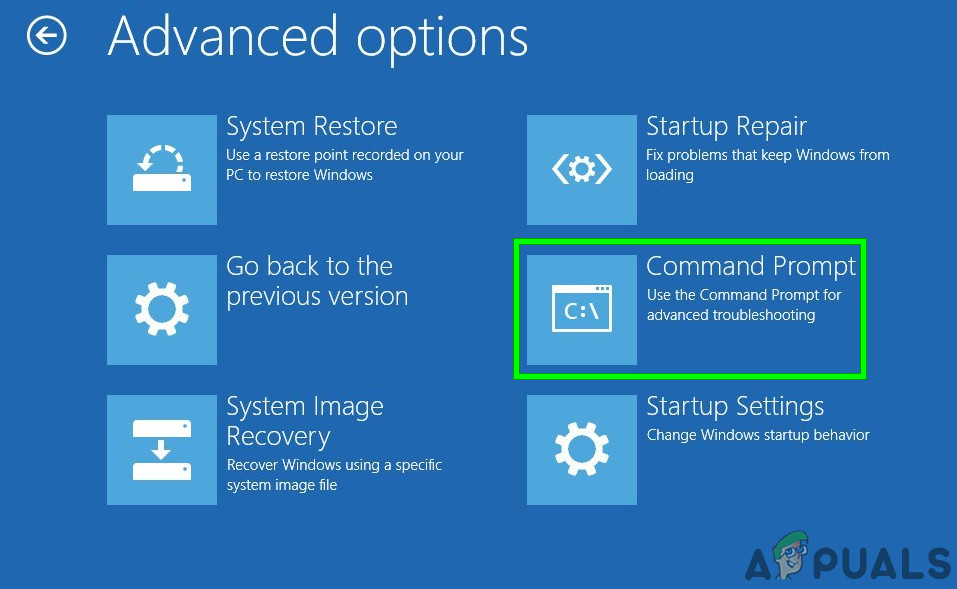
Click Command Prompt - Once Command Prompt opens, type in the command below and make sure you click Enter afterwards:
BOOTREC /FIXMBR
and press Enter.
- Once the command is completed, in the Command Prompt type
BOOTREC /FIXBOOT
and press Enter.
- Wait for the operation to be completed and then Type in Exit.
Once you’re done, restart your device and check if the issue is resolved.
Solution 4: Replace Corrupted Old volsnap.sys File
The main cause of this error could be Volsnap.sys file. Replacing this file can solve the problem. We can get another copy of the Volsnap.sys from Windows.old folder (windows.old\windows\system32\drivers\). Windows.old folder is created when you upgrade from one version of Windows to another. The Windows.old folder consists of all the files & data from the previous installation of Windows. You can also copy from Windows Installation media or another working PC.
For Windows.old Folder
- If you can boot into the system either normally or via safe mode, boot into the system Press Windows button and type cmd in the search bar on your desktop and right-click Command Prompt& select Run as administrator. And move to step 7.

Run Command Prompt as Administrator - If you cannot boot into the system then you should use installation media to boot into the system.
- After booting into setup, select Repair Computer.
- Select Troubleshoot.
Troubleshoot in Windows RE - Click Advanced Options.
Advanced options in Troubleshoot screen - Select Command Prompt.
Click Command Prompt - Once you get to the command prompt type:
Diskpart

Diskpart Command - Then to list all partitions type
list volume

List Volume Command - Find the name of your windows drive, write exit to exit the diskpart and then just go to the volume by C:\ or E:\ or whatever the name of your windows partition is.
- Then run the copy command and path to the old volsnap.sys file for example.
copy C:\windows.old\windows\system32\drivers\volsnap.sys C:\windows\system32\drivers\volsnap.sys
- You should use your system’s partition where Windows was installed.
For Windows Installation Media.
There are a lot of cases when Windows.old folder is not available or deleted. In that case, you can boot into the Windows Installation media (use step 2 to 6 in the For windows.old folder section to open the command prompt)
- When in command prompt type
x:\sources
- Then search widows drive e.g. if it was “D:\” then select it and enter copy command with correct drive letter e.g. D:\
copy x:\windows\system32\drivers\volsnap.sys D:\windows\system32\drivers\volsnap.sys
- Reboot PC
Using an Ubuntu live USB.
You can use the Ubuntu live USB to copy the Volsnap.sys file. To create an Ubuntu live USB please consult our article on How to Create an Ubuntu Bootable USB.
When logged in the Ubuntu
- Copy Volsnap.sys file from the Windows.old folder and go to the Windows Installation Drive and then move to windows\system32\drivers\ and paste there.
- If Windows.old folder is not available and Windows Installation Media is available, insert the installation media into the system and then open the installation media and navigate to
windows\system32\drivers\
and copy the Volsnap.sys file and go to the Windows Installation Drive and then move to
windows\system32\drivers\
and paste there.
- If you have copied from another system on a USB, then insert that USB into the system and copy the Volsnap.sys file from it and go to the Windows Installation Drive and then move to
windows\system32\drivers\
and paste there.
After when you have copied the file, by using any method, restart the system and see if the problem is solved.
Solution 5: Reset Windows
Windows 10 allows its users to reset their PCs’ OS to its factory settings and all the applications, drivers, services that did not come with the computer will be uninstalled. Also, all changes made by the user to the system’s settings & preferences are nullified. For the personal files and data of the user which is stored on the computer, the user will be prompted to opt-out from either to keep them or remove them while resetting the computer
- Ensure your PC is off.
- Press the power button to turn on your PC and when you see the Windows logo hold the power button down until PC shuts down automatically.
- Repeat thrice.
- Automatic Repair screen will pop up.
- Then wait for Windows to diagnose your PC.

Diagnosing Your PC - When the “Startup Repair” screen appears and says it could not repair your PC then Click Advanced options.

Automatic Repair - Click Troubleshoot in the Windows Recovery Environment.
Troubleshoot in Windows RE - On the Troubleshoot screen, click Reset this PC.

Reset This PC - Choose whether you want to keep or delete your files and apps.

Keep or Remove Files - Click “Reset” to proceed
Follow the instructions shown on the screen and when the reset process is complete, check if the Volsnap.sys Blue Screen Error (BSOD).
Solution 6: Update BIOS
BIOS is the main component of any system which is the first thing that starts up after the system is powered on. BIOS connects & loads all the attached devices and then OS is loaded.

So, updating the BIOS may solve the problem if the blue screen was occurring because of this (even though this is very rare).
Warning: Proceed at your own risk as interrupting or failing to update the BIOS at any point might brick your computer and non-recoverable damage to the whole system.
To update BIOS of your system, follow our undermentioned articles.
Hopefully, the Volsnap.sys Error is solved, and you can use the system without any problem.


