How to Fix ‘Transmit Error Code 1231’
Some Windows users are encountering the ‘Transmit error: code 1231‘ when trying to ping or trace a machine that is missing from a local workgroup. This problem is reported to occur on Windows 7, Windows 8.1, and Windows 10.
After investigating this particular issue thoroughly, it turns out that there are several different scenarios that might be causing this error code. Here’s a shortlist of potential culprits:
- Machine name contains lower case letters – Keep in mind that Windows 10 made some changes regarding the NETBIOS resolution that will essentially make machines containing lower case letters invisible in workgroups. In this case, you can fix this problem by renaming the problematic machines with upper case letters only.
- There’s a problem with the Network adapter – As it turns out, this problem can also occur due to a bad network adapter driver or a glitch that is causing it to miscommunicate data to a workgroup administrator. To fix this issue, you’ll need to reinstall the network adapter or replace it with the generic version.
- Network discovery is disabled – It’s a known fact that you will see this error if certain machines that are part of your workgroup don’t have the Network Discovery and Automatic Setup features enabled in their Network and Sharing Center. If this scenario is applicable, you’ll be able to fix this problem by making these modifications on every machine that’s triggering this error when pinged or traced.
- TCP / IP Inconsistency – Under certain circumstances, this problem can also be caused by an underlying TCP or IP glitch that is causing the machine to be unreachable by other computers that are part of that workgroup. In this case, doing a complete TCP/IP reset on every affected PC should take care of the issue for you.
- Windows 10 requirement – Keep in mind that on Windows 10, there’s a requirement stating that every machine that’s part of a workgroup must be upper-case only. However, you can resolve this requirement with a .bat script and avoid the error without renaming every involved machine manually.
Method 1: Renaming the Missing Machines
As it turns out, this problem is most likely occurring due to a NETBIOS resolution change that was implemented with a Windows 10 update that ended up making machines part of a workgroup CASE-SENSITIVE.
So if you have a workgroup ported over from an older Windows build (resulted from an upgrade), you might find yourself in a situation where machines that have names containing both lower and upper case letters will no longer be visible.
This can be achieved by accessing the machine containing lower and upper cases and changing the name of the PC to the upper-case only.
However, depending on your Windows version, the steps of doing so will be different. We’ve created 2 separate guides to accommodate every Windows user. Feel free to follow the sub-guide associated with the Windows version that you’re using.
A. Changing the Machine Name on Windows 10
- Press Windows key + R to open up a Run dialog box. Next, type ‘ms-settings:about‘ and press Enter to open up the About tab of the Settings app.

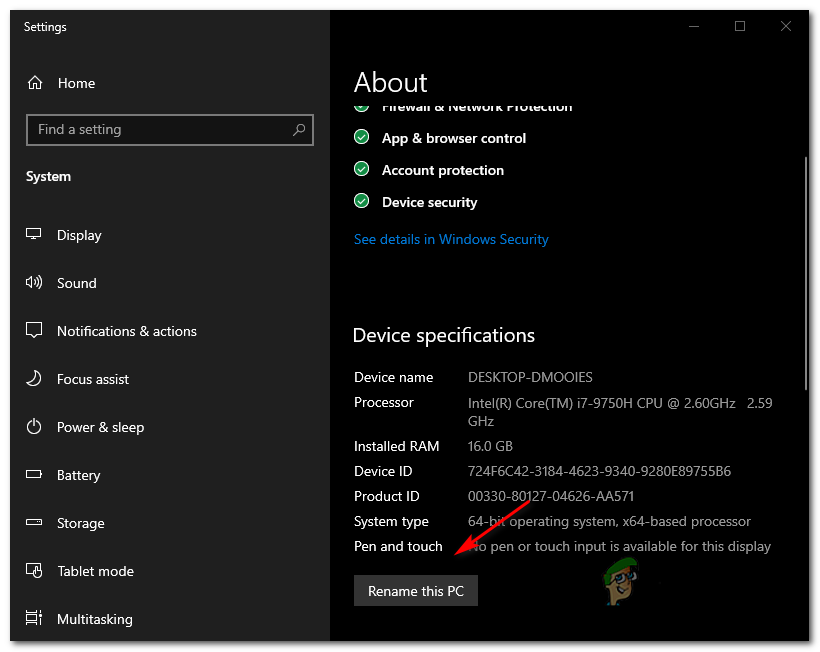
Accessing the About tab of the Settings app - Once you’re inside the About tab, move over to the right-hand section, scroll down to Device specifications and click on Rename this PC.
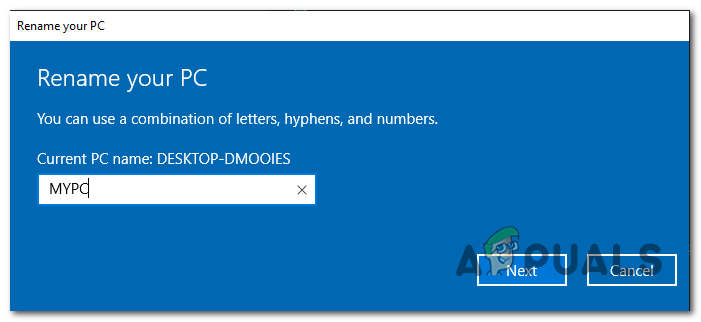
Renaming the PC on Windows 10 - Inside the Rename your PC, enter an upper case only name for your machine and hit Next.
Renaming the machine with uppercase letters only - Wait until the operation is complete, then click on Restart Now and wait for the next startup to complete.
B. Changing the Machine Name on Windows 7 and Windows 8.1
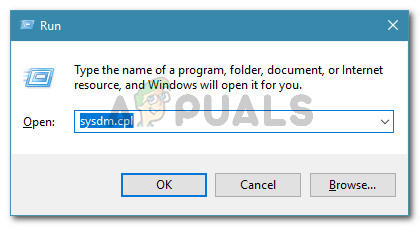
- Press Windows key + R to open up a Run dialog box. Next, type ‘sysdm.cpl‘ inside the text box, then press Enter to open up the System Properties screen.
Run dialog: sysdm.cpl - Once you’re inside the System Properties screen, click on the Computer Name tab, then click on the Change button.
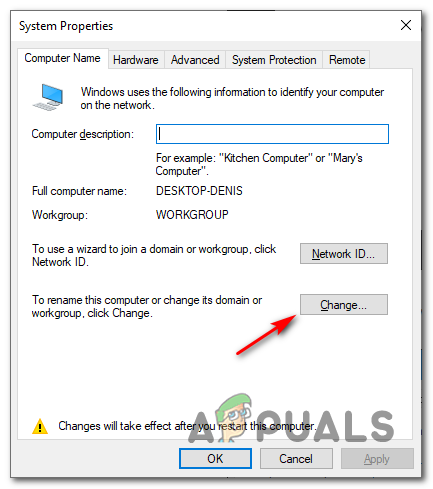
Changing the name on a Windows 7 and Windows 8.1 - Inside the Computer Name / Domain Changes window, change the text under Computer name to upper case letters only.
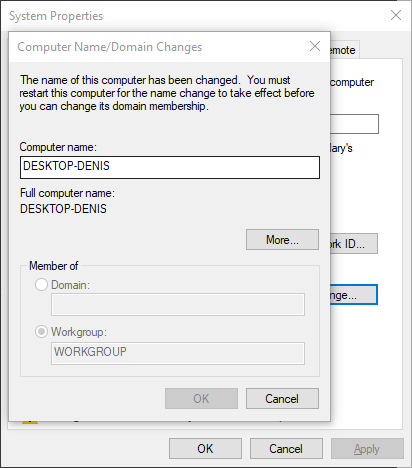
Changing the name of the machine on Windows 7 and Windows 8.1 - Restart your computer and wait for the next startup to complete.
Once you change the name of the machine to uppercase only, ping or retrace it once again and see if you’re still encountering the same Transmit error: code 1231.
If this problem is still occurring, move down to the next potential fix below.
Method 2: Reinstalling the Network Adapter
According to some affected users that managed to fix this problem, this issue can also occur due to a glitch with the network adapter that makes the machine invisible for the local workgroup.
If this scenario is applicable, you should be able to fix this problem by reinstalling the network adapter and ensuring that you install the latest driver version available.
In case you’re not sure how to do this, follow the instructions below to reinstall the Network adapter using the Device Manager utility:
- Start by ensuring you are connected to the Internet via an ethernet cable.
- Open a Run dialog by pressing Windows key + R. Next, type ‘devmgmt.msc’ and press Enter to open up Device Manager.
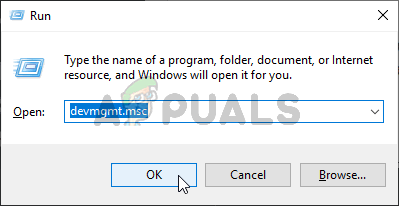
Running Device Manager - Inside Device Manager, scroll down through the list of installed devices and expand the drop-down menu associated with Network Adapters.
- From the Network Adapter drop-down menu, right-click on your default network adapter and choose Uninstall from the network menu.
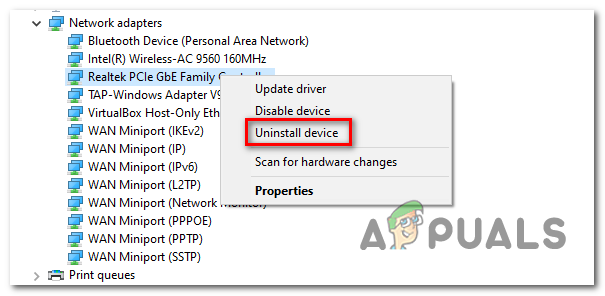
Uninstalling the network adapter - Confirm the uninstallation attempt, then wait for the operation to complete.
- At the end of this procedure, internet access will be cut. When this happens, restart your computer in order to allow your OS time to install a generic equivalent.
- Once your computer boots back up and the generic network adapter driver is installed, Internet access should be restored.
- Ping or trace the machine that was previously triggering the error code and see if the issue is now resolved.
In case the same Transmit error: code 1231 issue is still occurring, move down to the next potential fix below.
Method 3: Enabling Network Discovery and Automatic Setup
As it turns out, the Transmit error: code 1231 can also occur in instances where computers part of the homegroup are not configured to be discovered over the network or Automatic Setup is not enabled.
If this scenario is applicable, you should be able to fix this problem by accessing the Advanced sharing settings on every involved computer and adjusting the default Network discovery behavior.
Here’s a quick guide on how to make this modification on Windows 7, Windows 8.1, and Windows 10:
Note: The steps below are universal and should work regardless of which Windows version that you’re using. Keep in mind that you need to repeat the steps below with every computer that’s part of the workgroup.
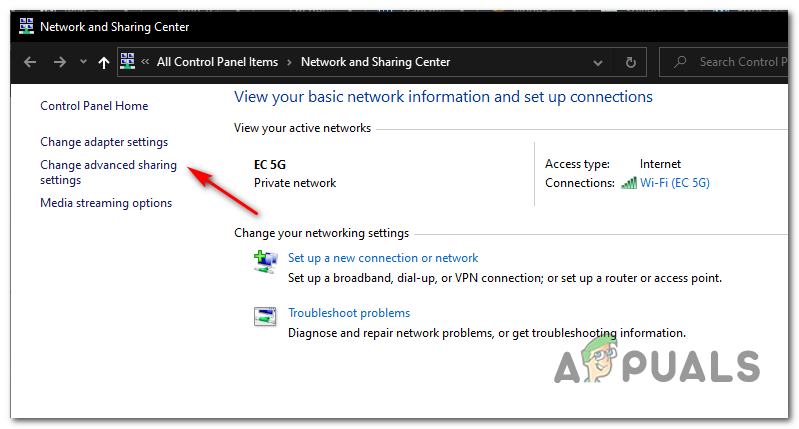
- Press Windows key + R to open up a Run dialog box. Next, type ‘control.exe /name Microsoft.NetworkAndSharingCenter‘ inside the run box to open up the Network and Sharing Center menu.

Opening the Network and Sharing Center using a Run command - Inside the Network and Sharing Center, click on Change advanced sharing center from the vertical menu on the left.
- Next, expand the profile that’s currently active and enable Turn on Network discovery.
- Once Network Discovery is enabled, check the box associated with Turn on automatic setup of network connected device.
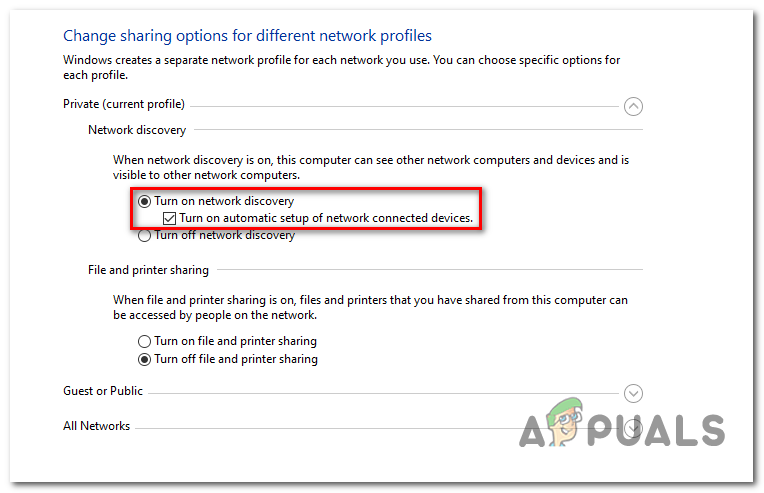
Enabling Network Discovery and Automatic Setup - Save the changes you’ve just imposed, then go ahead and repeat this operation with every computer that’s part of your homegroup.
If the same problem is still occurring, move down to the next potential fix below.
Method 4: Doing a Complete TCP / IP reset
As it turns out, this problem is often time associated with a TCP / IP configuration problem. In most cases, this ends up being associated with a glitch having to do with the network adapter or it’s a classic case of a bad DNS range.
If this scenario is applicable, you should be able to fix this problem by doing a complete TCP / IP reset on every computer that’s part of the local workgroup.
This operation has been confirmed to be successful by a lot of affected users that were previously encountering the Transmit error: code 1231.
Here’s a quick step by step guide on performing a complete TCP / IP reset:
Note: The instructions below are universal and will work regardless of which Windows version you’re currently using.
- Press Windows key + R to open up a Run dialog box. Next, type ‘cmd’ inside the text box and press Ctrl + Shift + Enter to open up an elevated command prompt.

Type “cmd” into the Run dialog - Inside the elevated Command Prompt, type the following commands in order and press Enter after each one to do a complete TCP / IP reset:
ipconfig /flushdns
nbtstat -R
nbtstat -RR
netsh int reset all
netsh int ip reset
netsh winsock reset
- Once every command has been processed successfully, ensure that you repeat this method on every computer that’s part of your homegroup.
- Initiate the ping or trace attempt again and see if you’re still stuck with the same code 1231 transmit error.
If the same problem is still ongoing, move down to the next potential fix below.
Method 5: Creating a .bat script
If you want to avoid having to rename every computer that’s part of the workgroup to upper-case only, there’s one solution that will remove this requirement from Windows 10.
But in order to enforce it, you’ll need to create a .bat script that’s capable of modifying the way workgroups work on Windows 10.
If you are prepared to go this route, start following the instructions below to create a bat script that’s capable of resolving the Transmit error: code 1231:
- Press Windows key + R to open up a Run dialog box. Next, type ‘notepad.exe’ inside the text box and press Ctrl + Shift + Enter to open the Notepad utility with admin access.
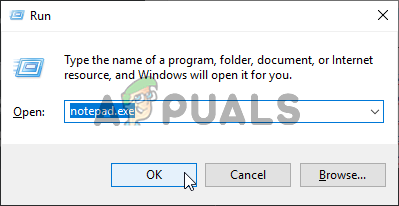
Opening the Notepad utility with admin access Note: When prompted by the UAC (User Account Control), click Yes to grant admin access.
- Once you’ve successfully opened Notepad with administrative access, paste the following code inside the text box exactly as below:
sc.exe config lanmanworkstation depend= bowser/mrxsmb10/nsi
sc.exe config mrxsmb20 start= disabled
- Once the code is successfully added, use the ribbon bar at the top to click on File > Save As… from the newly appeared context menu.

Using the Save As menu - Choose a location where to save this script and name it however you want, but make sure that the name ends with the extension .bat before clicking Save.
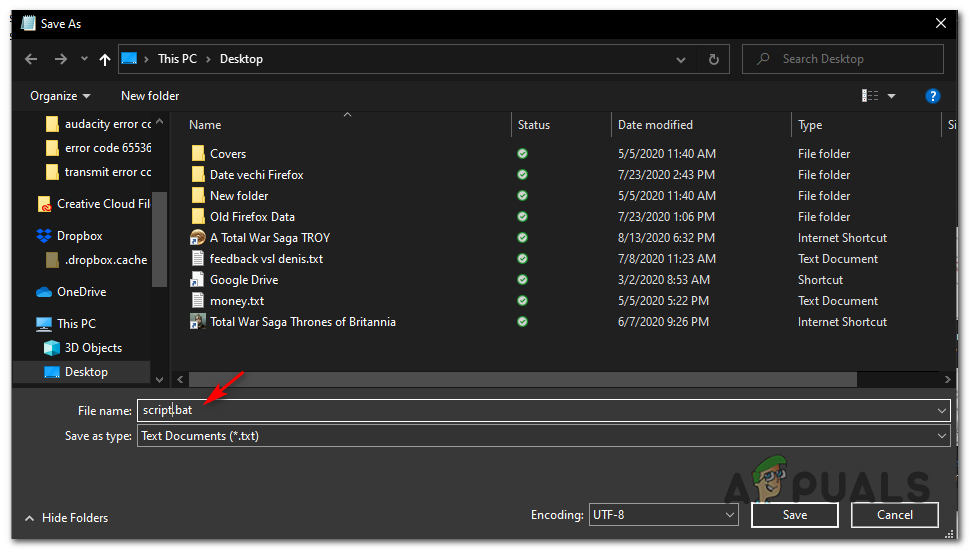
Creating the script .bat file - Once the script is successfully created, open File Explorer and navigate to the location where you previously saved the .bat file.
- After you get to the location of the script, right-click on the file and choose Run as administrator from the newly appeared context menu.
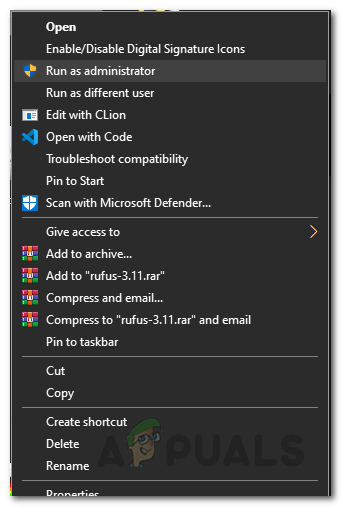
Running as an Administrator - Wait until the operation is complete, then restart your computer and see if the problem is resolved after the next successful startup.