How to Resolve Multiplayer Not Working Issue in Palworld?
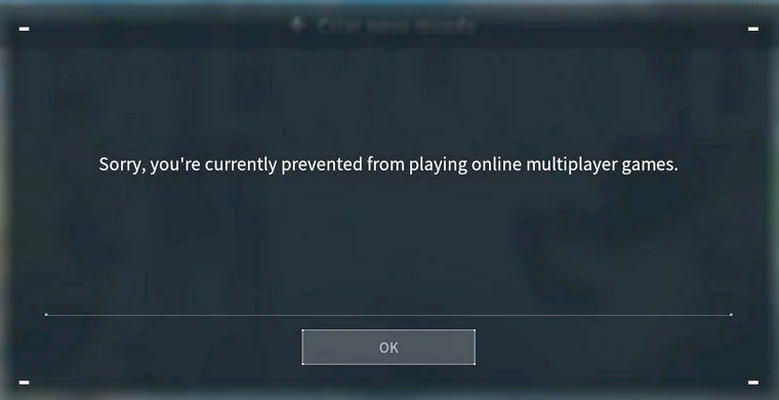
When attempting to play Palworld in multiplayer mode, players often experience issues where the game fails to connect to servers, resulting in error messages such as Failed to Host Multiplayer Session, Your device is unable to host multiplayer sessions, and OnCreateSessionComplete Delegate bWasSuccessful == False. These messages suggest that multiplayer functionality may be restricted in the player’s environment.
The reasons for multiplayer features in Palworld not working can vary. They can include server issues or configuration problems with your own device. While server-related issues are beyond our control, we can certainly ensure that your device is configured properly.
When this issue presents itself, error messages you encounter typically stem from bugs, misconfigured game and device settings, or issues with the server.
Let us now address this problem with the following solutions.
1. Basic Troubleshooting
- Server Status: Verify that the Palworld servers are operational.
- Compatibility: Confirm that your device supports multiplayer in Palworld. Certain older Xbox models may not be compatible.
- Network Connection: Check that your network connection is stable and that no concurrent processes, such as background downloads, are monopolizing bandwidth.
- Restart: Perform a cold restart of both your console or system and router.
- Update: Ensure all related components, including the game, console firmware, system OS, and device drivers, are current.
- Alt-Tab Caution: Avoid using the Alt-Tab keys during the launch of Palworld’s multiplayer mode.
- Overclock Reversion: Reset your system and RAM speeds to their original, stock values.
- Drop Rate Adjustment: For multiplayer games, increase the dropped items limit above the 3K threshold.
- FPS Setting: If necessary, lower the game’s FPS settings from unlimited to 90.
- Server Address Usage: To connect to a server in multiplayer mode, input the server address in the connect box rather than using the recently joined server list.
- Game File Integrity: Use the verification feature to check and repair the Palworld installation.
- Session Relog: Sign out and back into Palworld or its launcher.
2. Launch Palworld and Its Launcher as an Administrator (PC Only)
Insufficient administrative privileges can prevent Palworld or its launcher from accessing essential resources for multiplayer functionality, leading to failures. Granting administrative rights can resolve this issue.
2.1. For Epic and Steam
- Right-click the Epic or Steam launcher icon and select Run as Administrator.
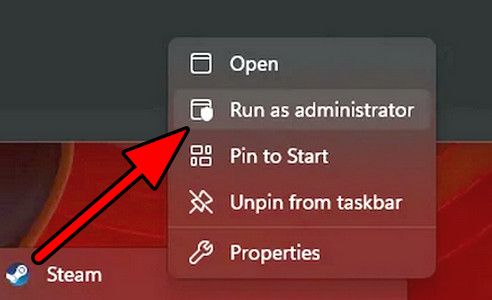
Open Steam as an Administrator - Approve the action in the User Account Control (UAC) dialog and start Palworld.
2.2. For Palworld
- Press the Windows key and type Palworld.
- From the search results, right-click on Palworld and choose Run as Administrator.
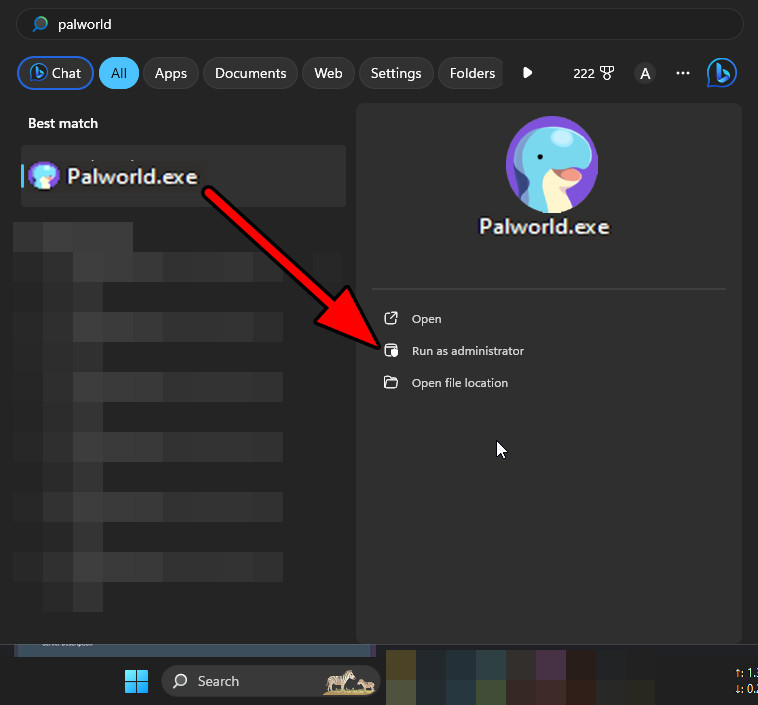
Open Palworld as an Administrator - Click “Yes” on the UAC prompt and attempt to play a multiplayer match.
2.3. For Xbox App
- Start the Xbox app and locate Palworld within it.
- Right-click on Palworld and choose to create a desktop shortcut.
- Right-click the new Palworld shortcut on your desktop.
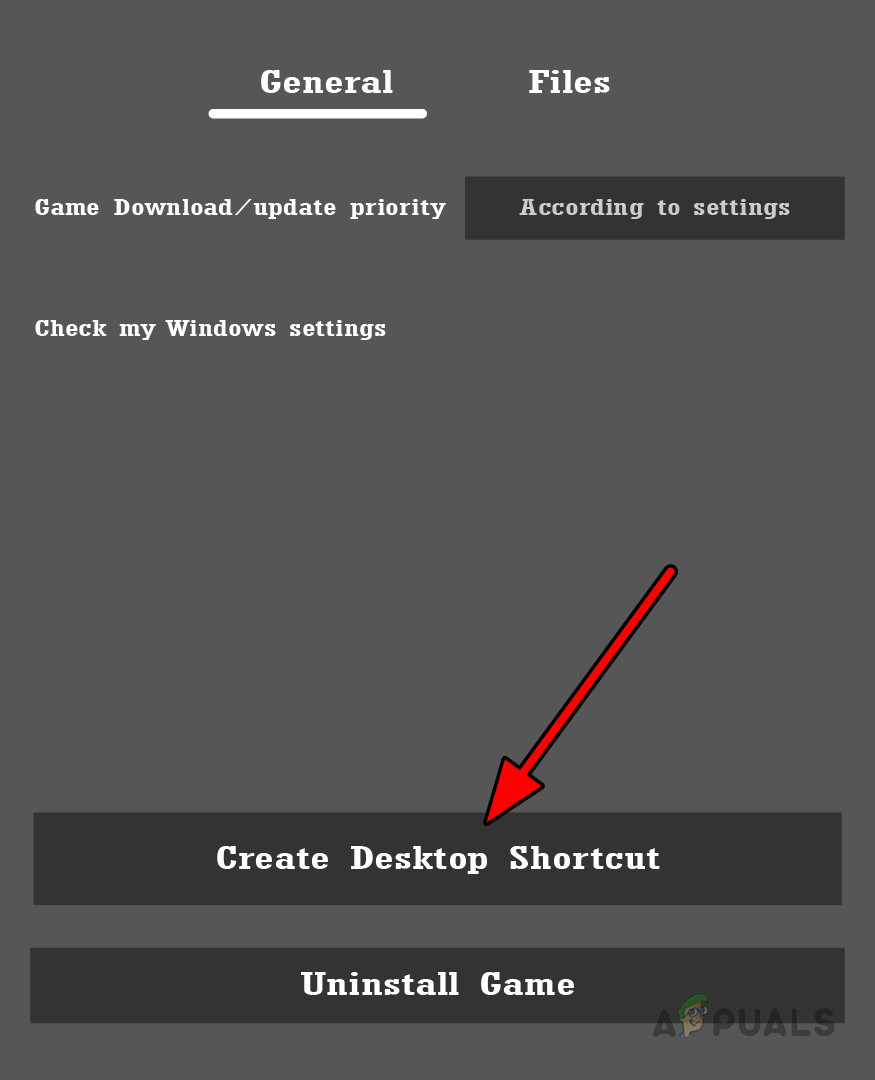
Create a Desktop Shortcut of Palworld in the Xbox App - Choose “Run as Administrator” and confirm in the UAC dialog.
2.4. Launch Through the Installation Directory
- Open the game launcher as an administrator, then navigate to the File Explorer.
- Proceed to the game’s installation directory and right-click on the Palworld.exe file.
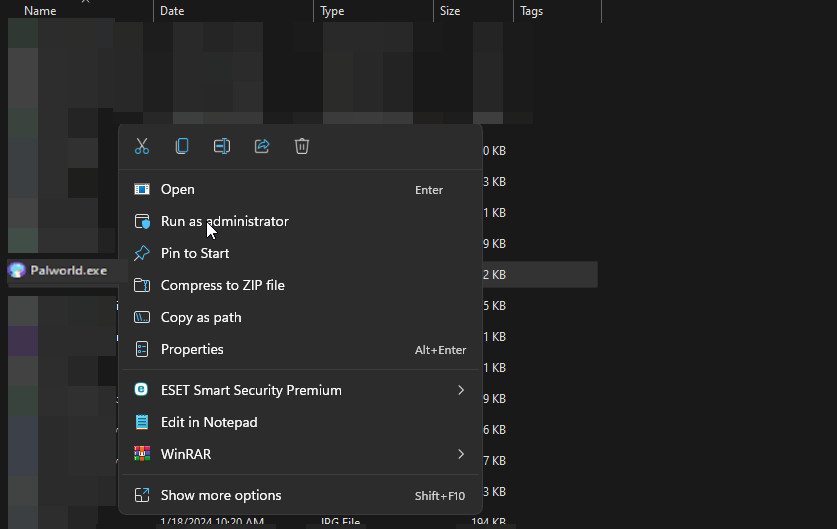
Open Palworld.exe as an Administrator - Choose “Run as Administrator” and launch the game.
- If the problem persists, close both the game and the launcher.
- Reopen the launcher as an administrator and navigate to the Win64 folder within the installation directory. For Steam users, this path typically is:
steamapps\common\Palworld\Pal\Binaries\Win64
- Run Palworld-Win64-Shipping.exe as an administrator and attempt starting a multiplayer game.
For Xbox app users, run Palworld-WinGDK-Shipping.exe as an administrator from the Xbox Games folder.
3. Enable Multiplay in Palworld Settings File (Steam Only)
If multiplay is disabled in the settings file of Palworld, multiplayer functionality will be affected. By enabling this option in the PalWorldSettings.ini file, you may resolve your problem.
Note that this only applies to Steam, as private servers are not yet supported on other platforms.
- Exit Palworld and close Steam.
- Navigate to the game’s installation directory. Commonly, the path is:
Steam\steamapps\common\PalServer\Pal\Saved\Config\WindowsServer
- Select the PalWorldSettings.ini file (the .ini extension may be hidden) and open it with Notepad.
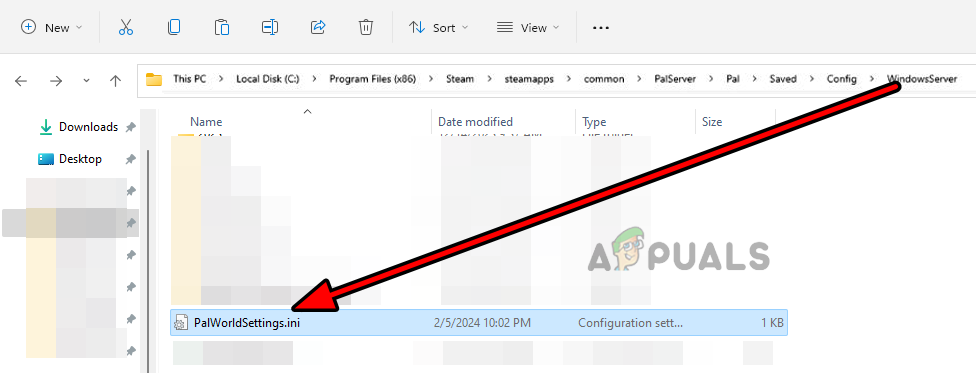
Open PalworldSettings.ini - Find the bIsMultiplay entry and change its value to true. It should look like:
"bIsMultiplay=true"
- Save the changes and exit the file.
- Reboot your system and start Palworld.
4. Clear the Alternate Mac Address on the Xbox
The Alternate MAC Address on an Xbox is used to connect to networks that require certain MAC addresses. If Palworld is struggling to query its servers and other players due to this MAC address, multiplayer functionality may be compromised.
Clearing the Alternate MAC address may resolve the issue.
- Open the Xbox Guide and navigate to Profile & System > Settings > Network Settings > Network type (wired or wireless) > Advanced Settings > Alternate MAC Address.
- Choose Clear. Afterward, restart your console.
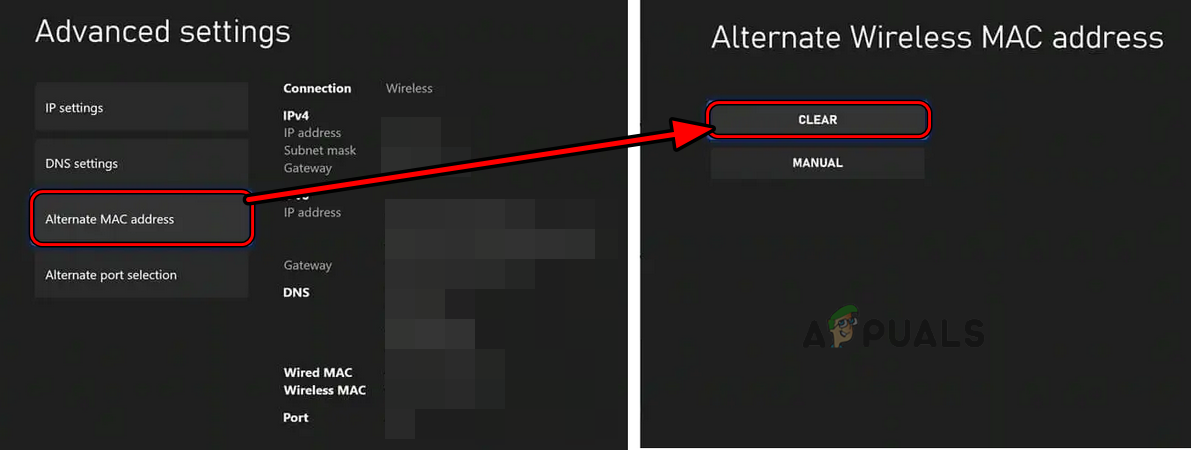
Clear Alternate MAC Address of the Xbox - Relaunch Palworld and test the multiplayer feature.
5. Change Processor Affinity for Palworld (PC Only)
If Palworld is not making optimal use of your system’s processor architecture, multiplayer may not function correctly. Changing the processor affinity settings for the game might provide a solution.
Warning:
Modify these settings at your own risk. Altering processor affinity can lead to system instability, crashes, and other unintended issues.
- Run Palworld but don’t load a world. Then, press the Windows key to make the taskbar appear and the game switch out of full-screen mode.
- Right-click on the taskbar and launch Task Manager.
- Locate Palworld, right-click, and choose Go to Details. You might have to expand the process tab first.
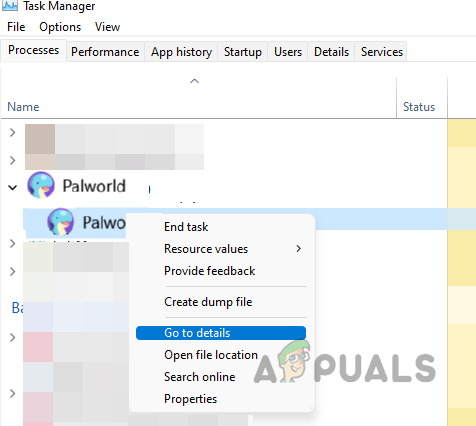
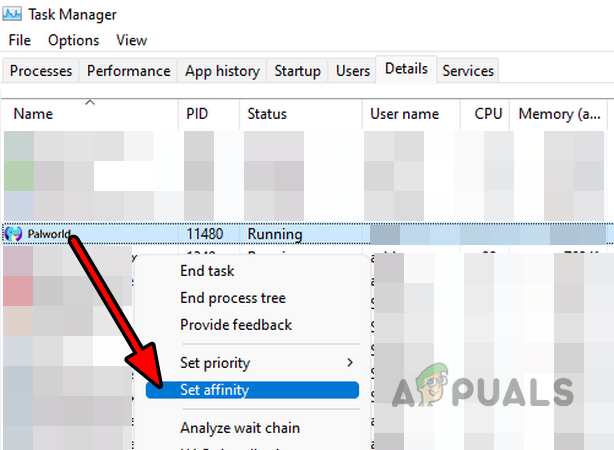
Go to Details of Palworld in the System’s Task Manager - In the Details tab, right-click on the Palworld executable and select Set Affinity.
Set Affinity of Palworld on Windows - Uncheck All Processors and manage the following CPUs:
CPU 0
CPU 1
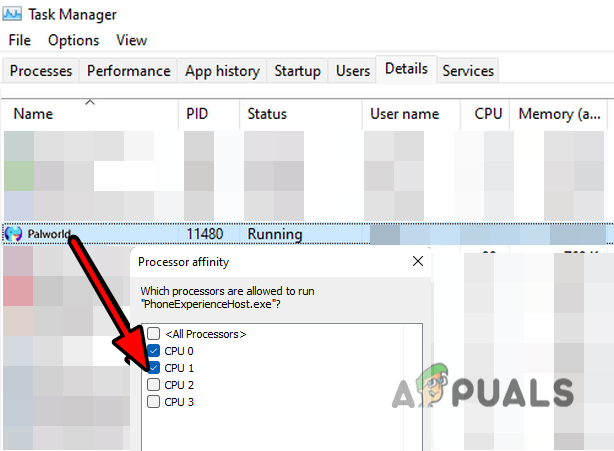
Uncheck All Processors and enable CPU 0 and CPU 1 for Palworld - Confirm by clicking OK, but don’t close Task Manager.
- Return to Palworld and load a multiplayer world.
- Afterward, go back to Task Manager and revert the setting to All Processors.
6. Add Exception for Palworld in Your System’s Antivirus, Firewall, or Adblocking Service
If your antivirus, firewall, or adblocking service is restricting Palworld’s access to necessary modules or directories where multiplayer sessions are saved, this might interfere with multiplayer connectivity.
Creating an exception for Palworld in these system-protection applications may fix the issue. Below, we outline the process for ESET, though steps may vary for other security products.
Warning:
Proceed with caution when altering antivirus settings or disabling it, as this could expose your system, network, or data to potential threats.
6.1. Retrieve Palworld from Quarantine and Set Exceptions
- Start up ESET and go to Tools.
- Select Quarantine and search for any Palworld-related files.

Restore Palworld from the Antivirus’s Quarantine - If such files are quarantined, right-click them and select Restore to.
- Direct the restoration path to the Palworld installation directory and save.
- Switch to the Computer Protection tab and access the Real-Time File System Protection gear icon.
- Choose Edit Exclusions, then press Add.
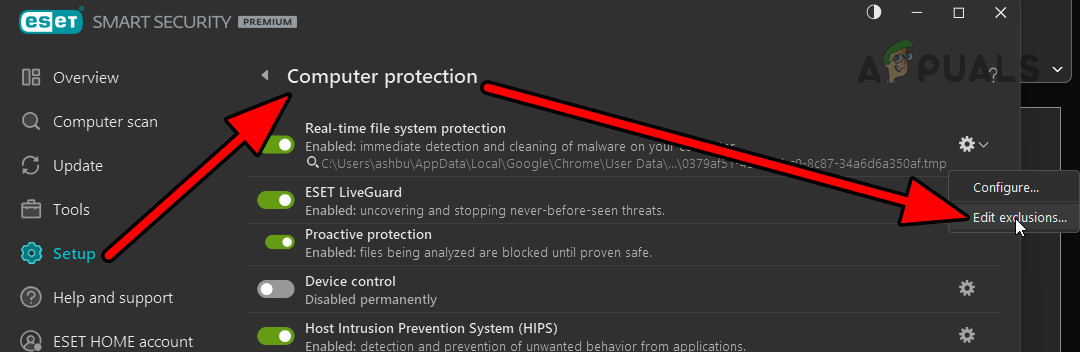
Edit Exclusions for Palworld in the Antivirus - Click the ellipses icon in the Path box and navigate to the Palworld installation directory.
- Press OK and attempt to launch Palworld.
6.2. Temporarily Disable Antivirus
- Right-click on the ESET icon in the system tray and choose Pause Protection.
- Approve the action in the UAC prompt, then right-click on ESET again.
- Select Pause Firewall and try running Palworld.
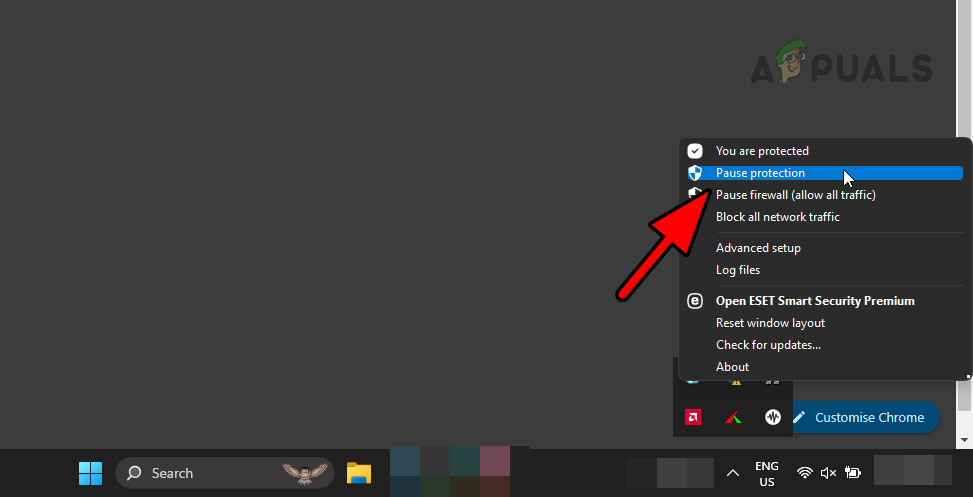
Pause ESET Protection and Firewall
6.3. Whitelist in Adblocking Service
For an adblocking service, such as Adguard Home, ensure that the following URL is whitelisted:
telemetry.palworldgame.com
7. Explore Different Network Configurations
In instances where Palworld cannot connect to its servers due to network configuration issues, trying different network options might solve the problem.
7.1. Switch to a Private Connection
- Select the network icon in the system tray and click the right arrow next to your connection.
- Click the Info icon and change the network connection to Private.
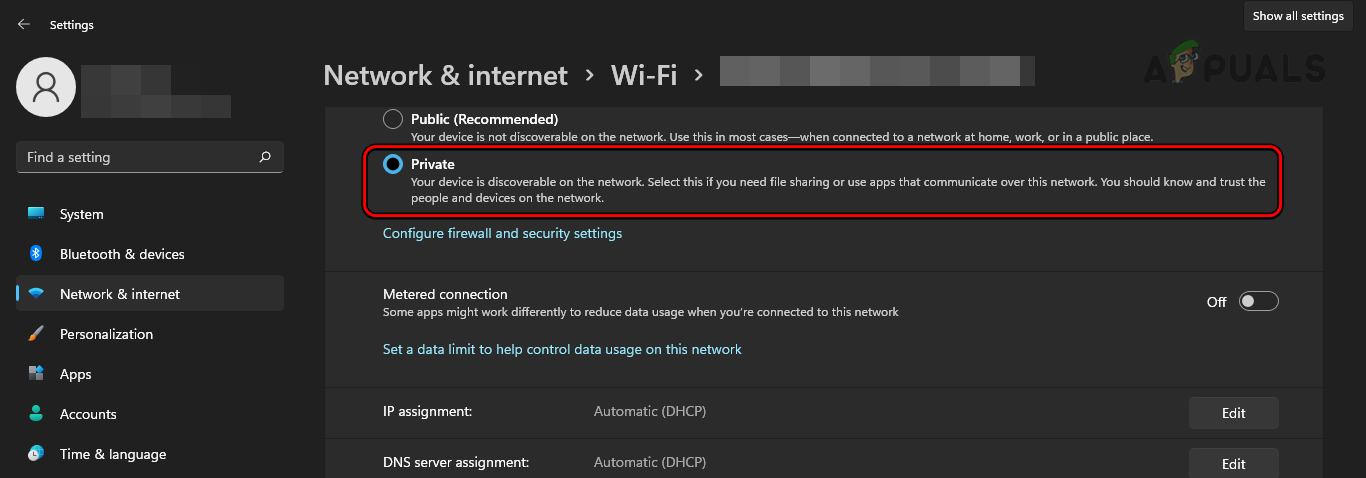
Change the Network Type to Private on a Windows PC - Relaunch Palworld and check its online functionality.
7.2. Modify DNS Settings
Let’s walk through the process of editing DNS settings on a Windows PC.
- Right-click on the network icon in the system tray and choose Network and Internet Settings.
- Proceed to Advanced Network Settings > More Network Adapter Options.
- Right-click on your network connection (ethernet or Wi-Fi) and select Properties.
- Double-click on Internet Protocol Version 4 (TCP/IPv4).
- Select Use the Following DNS Server Addresses and input the following:
Preferred DNS Server: 8.8.8.8
Alternate DNS Server: 8.8.4.4
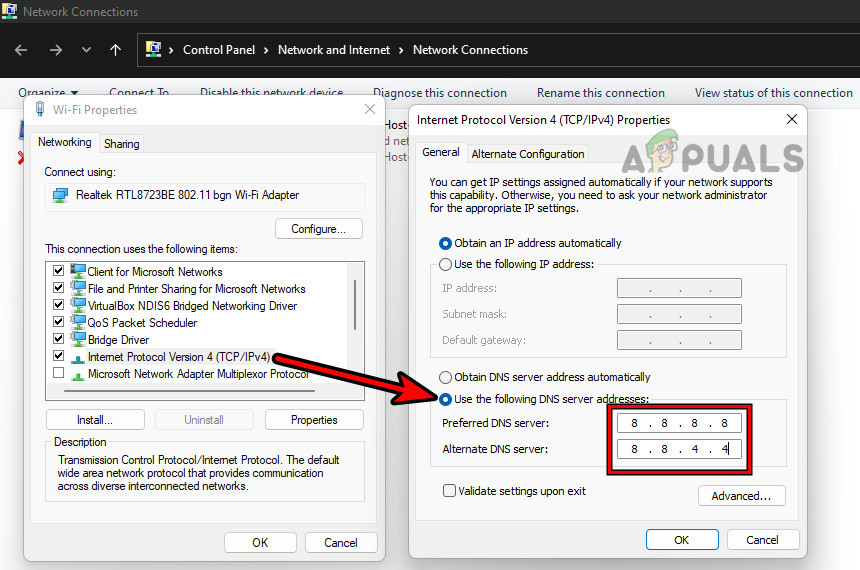
Set the Windows System’s DNS to Google DNS - Apply the new settings and launch Palworld.
7.3. Connect to an Alternative Network
- Disconnect your device from the current network.
- Restart your device and connect to a different network, such as a mobile hotspot.
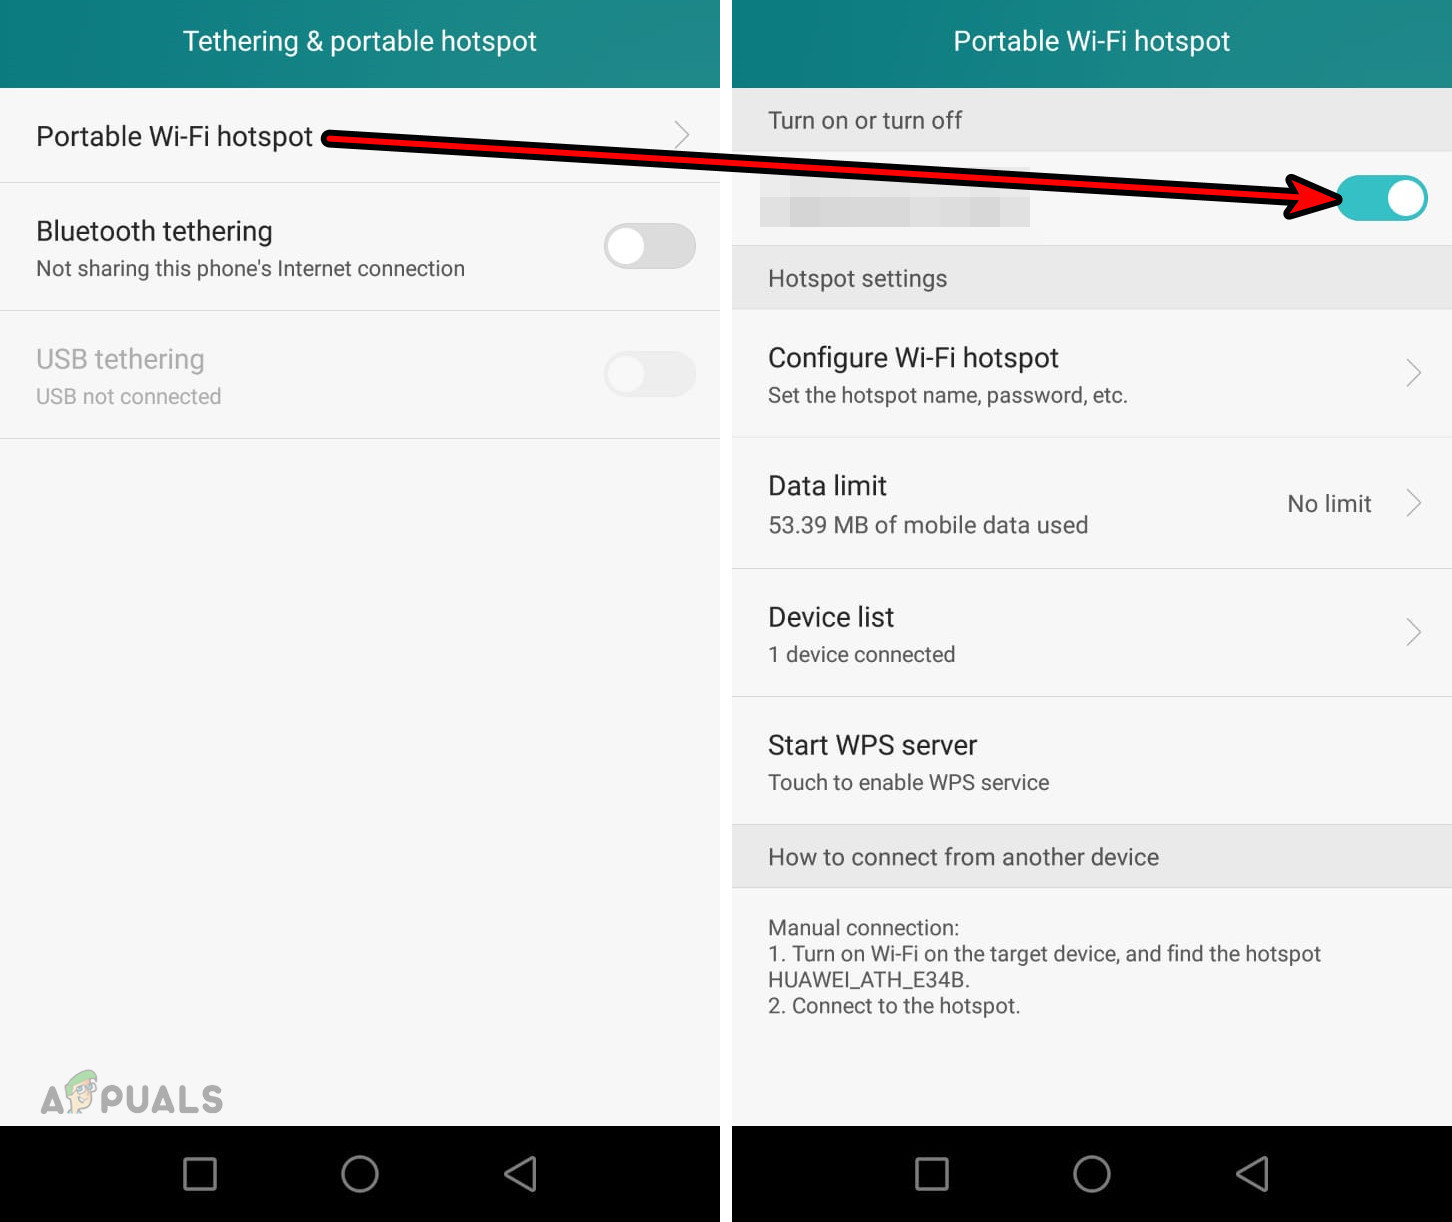
Enable the Android Phone’s Hotspot - Try accessing Palworld’s online mode again.
If the issue remains unresolved, consider whether the game functions when connected through a VPN.
8. Toggle the Multiplayer Feature On and Off
Sometimes the game’s systems that manage multiplayer functionality may fail to operate correctly. Disabling and then re-enabling the feature can often restore functionality. Note that this method won’t work if the Multiplayer option is greyed out.
The following methods can be applied to reactivate the multiplayer option:
8.1. Disable, Teleport, and Re-enable
- Start Palworld and choose Start Game.
- Select your multiplayer world and select Change World Settings.
- Turn Multiplayer to Off, converting it to a single-player mode.
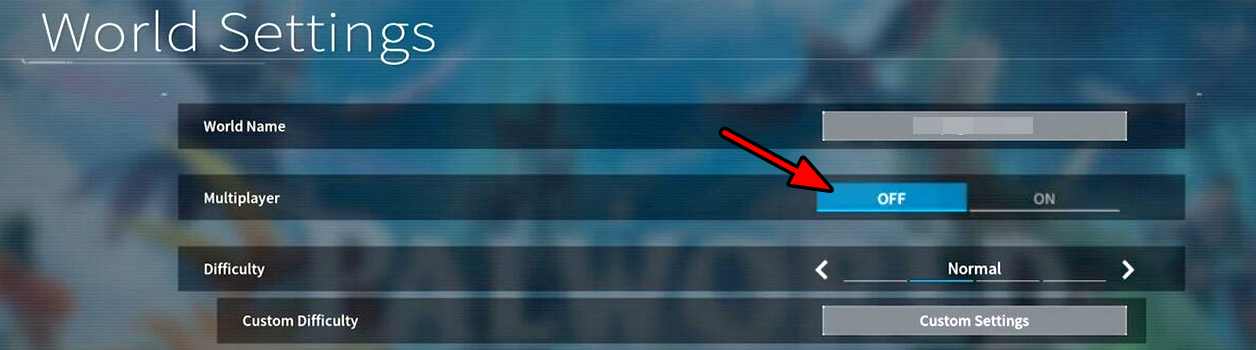
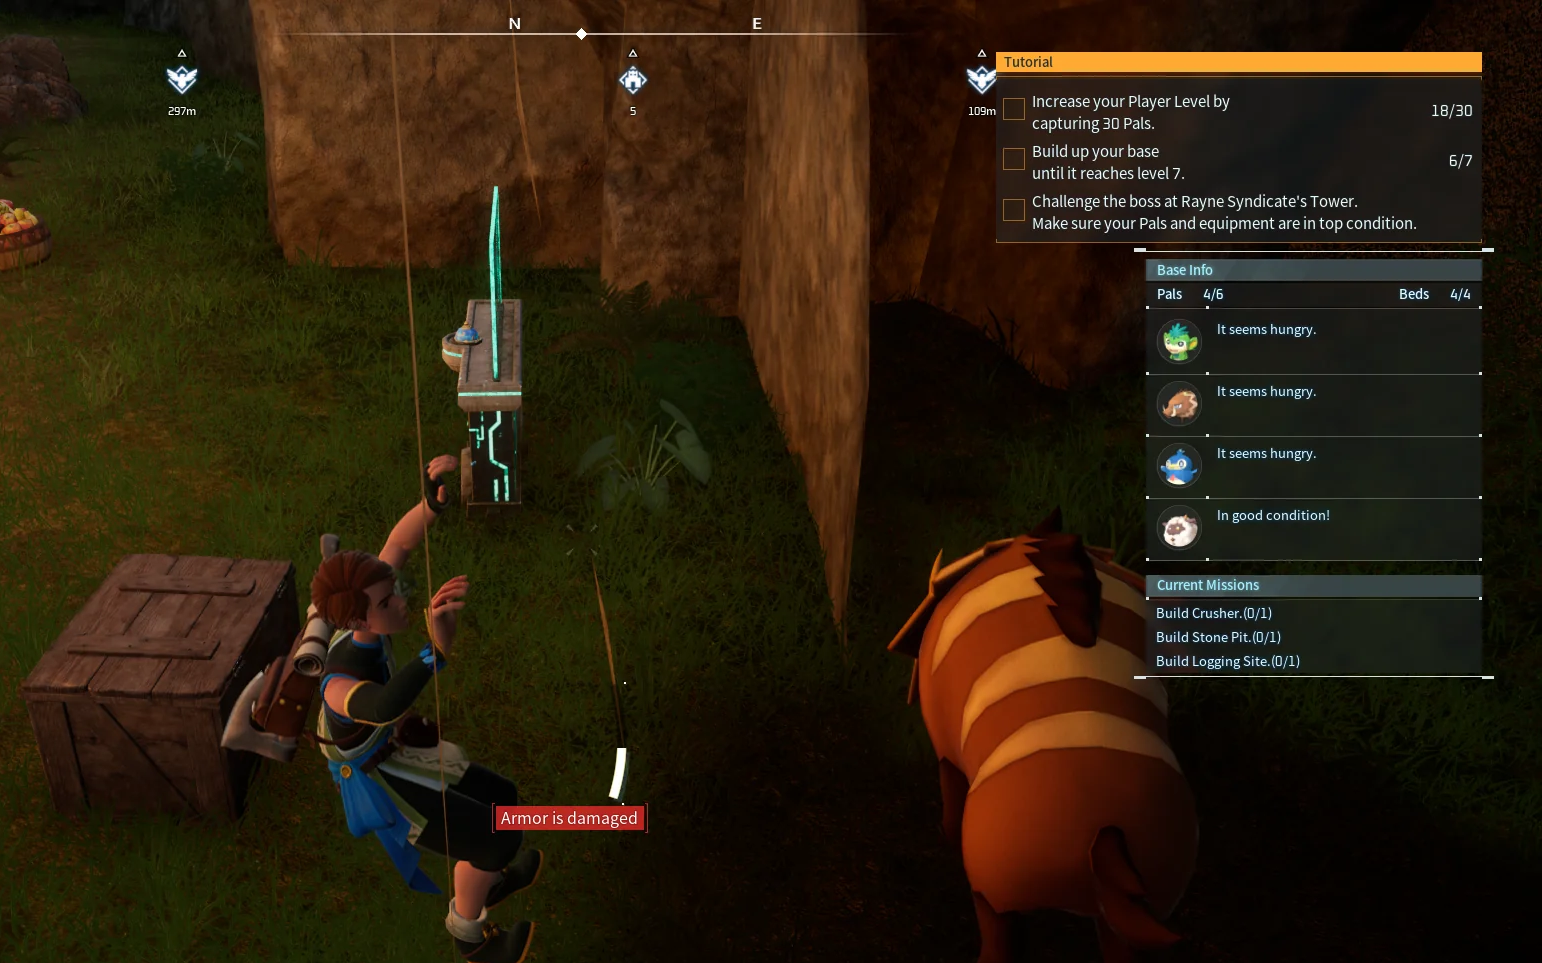
Disable Multiplayer in Palworld - Enter the game world, then fast travel to a distant location such as the Tower of Rayne Syndicate’s summit.
- Exit the game, switch back to the title screen, and re-enable Multiplayer.
- Restart the game and the server.
8.2. Disable Multiplayer, Move Pals to Pal Box, and Re-enable
- Deactivate Multiplayer, then load your world.
- Transfer all pals (including those within the viewing fence) and the humans to the Pal Box.
Put Pals in the Pal Box in Palworld - Stash all equipment and inventory in storage units. Be sure to pick up stray items like ore off the ground and properly store them.
- Ensure your character carries nothing.
- Fast travel to a remote location away from your base.
- Leave the world and switch Multiplayer back on.
8.3. Create a New Multiplayer World
- Launch Palworld and hit Start Game.
- Opt for Create New World and key in a new name for this world.

Create a New World in Palworld - Configure the world settings to your liking, ensuring you enable Multiplayer.
- Enter the newly created world, complete a few tasks, then exit the game.
- Reload your primary multiplayer world. If the issue persists, establish a single-player world, log into it, exit, and switch the game to multiplayer mode.
8.4. Host Configuration for Single Player and Multiplayer Switch
Perform these steps on the host’s computer.
- Open Palworld and pick the desired world.
- Set it to Single Player and proceed into the game.
- Head to your Pal console within your base area (not at the host’s).
- Move all assigned pals to your storage, clearing out any base workers.
- Exit the game and change the setting to Multiplayer.
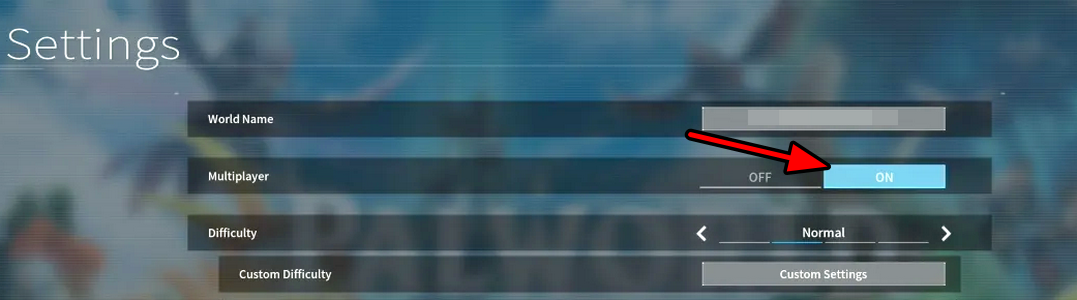
Enable Multiplayer on Palworld - Attempt to play Multiplayer on your device or console.
8.5. Join Another Player’s Multiplayer World
- Start Palworld and opt to join another player’s world.
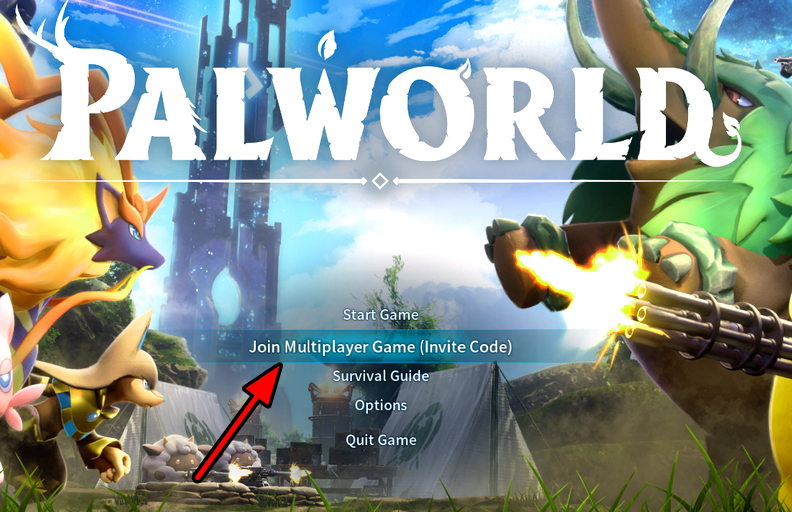
Join the Multiplayer Game of Another Player in Palworld - Engage in activities and then exit that world.
- Access your multiplayer world, which should now be functioning correctly.
If none of these solutions work, contemplate uninstalling Palworld, rebooting your PC or console, and then reinstalling Palworld. If the problem persists, consider resetting your PC or console while preserving games and files. As a last measure, a factory reset of your PC or console might be necessary.