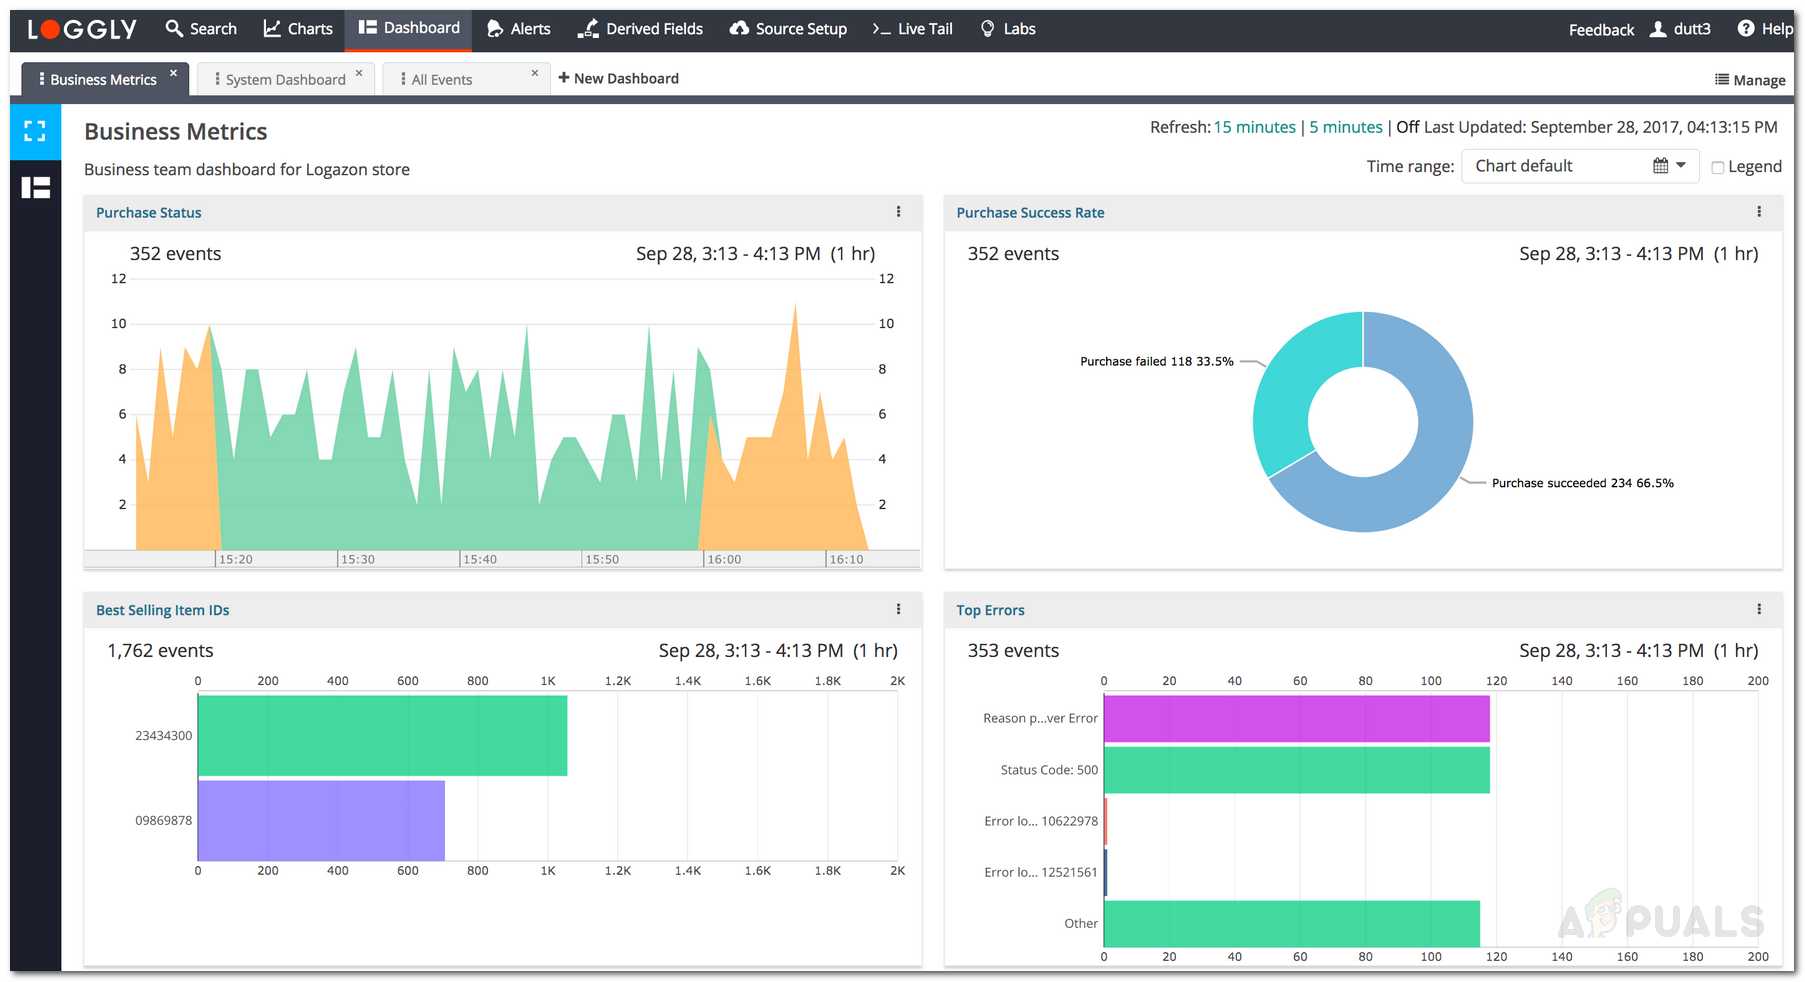
Using LOGGLY for log analysis & monitoring
Logs are important to every network administrator. We all know that every device generates logs that contain information on the activity of the device. With how vast the networks are becoming day by day, the importance of logs is increasing drastically. Stumbled upon an issue? Check the logs. The system is not functioning properly? Check the logs. This is but just a small drop of things that you can resolve via the logs generated by various devices. It is quite clear for a network to perform and operate with any issues, the logs generated have to be monitored. Fortunately, this was realized way back and since then, several automated tools have been developed to help you do this.
The mere size of the logs generated by a device can be huge and you will be engulfed by the veritable volume of the logs should you choose to log the logs manually (no pun intended). Therefore, using an automated tool is compulsory and not a choice. Unfortunately, your system does not know any structure and hence it doesn’t know what and how to structure the logs being generated. As a result, the logs created are random and ambiguous and you will never know where to start. Fortunately, however, this now comes a feature in various different log monitoring tools including the one that we are going to show you today i.e. none other than Loggly.
Loggly is a cloud-based log monitoring and management solution developed by Solarwinds, a company known for its colossal system and network management products. In this article, we will be showing you how to set up Loggly by adding your system for log monitoring and then, later on, illuminate certain features like creating alerts for various activities. So let us get started.
Getting Loggly
As we mentioned earlier, Loggly is a cloud-based solution, so it does not require any installation. However, you will have to deploy the tools on your system that will send the logs to Loggly for monitoring. To get Loggly, simply head on to this link where you can either buy the product or start off a free trial to check how it works. Once you have signed up for Loggly, login to your account and you are all set. Now, it is time to set up the source of the logs.
Setting up Loggly
Once you have successfully logged into your account, you will be taken to the Loggly panel. The first thing that you will have to do is to set up the source of the logs, meaning the system whose logs you wish to monitor. To do this, follow the below instructions:
Windows:
- On the top panel, click on Source Setup.
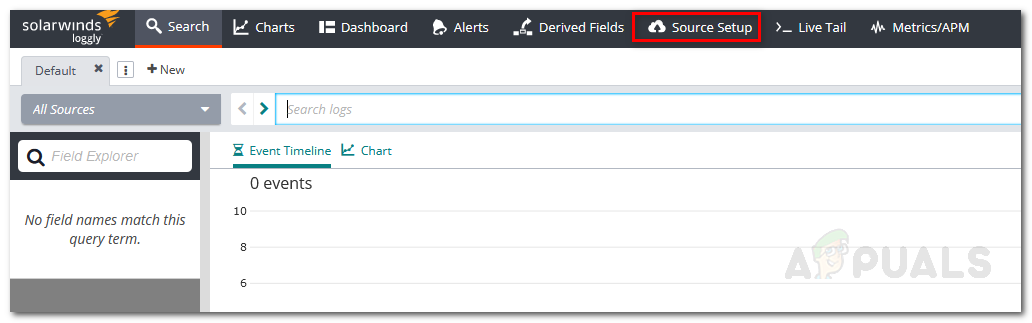
Loggly UI - On the left-hand panel, expand the Operating System menu by clicking on it and then select “Windows System Log.”
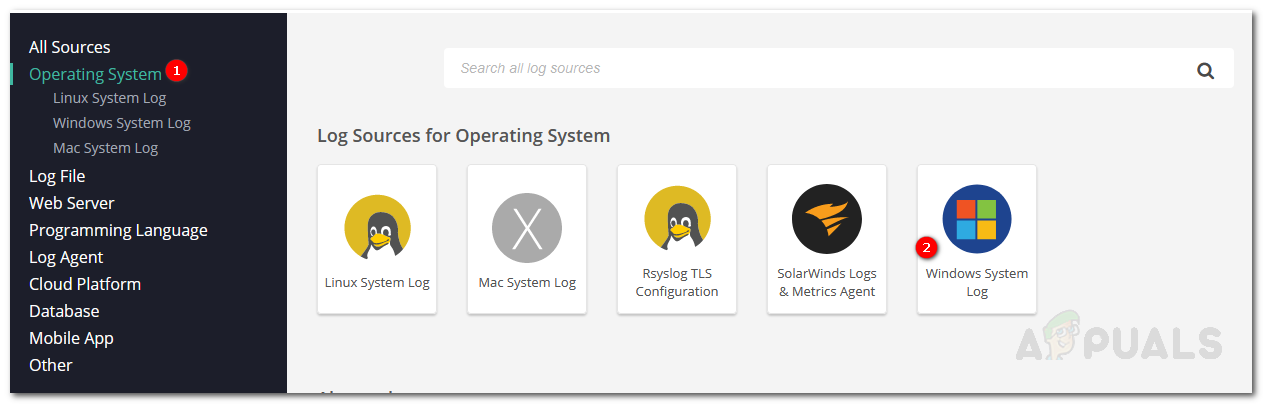
Source Setup - Follow the on-screen instructions i.e. download the Nxlog tool for log monitoring and then paste the configuration provided on the page in the config file of nxlog.
- Once you have followed all of the instructions provided, make sure that the tool is sending logs to Loggly by clicking Verify.
- After that, click on Show me my logs to start monitoring.
Linux:
- If you wish to log a Linux system, just choose Linux System Log from the Operating System drop-down menu.
- Copy the commands provided and paste them into a terminal window one by one.
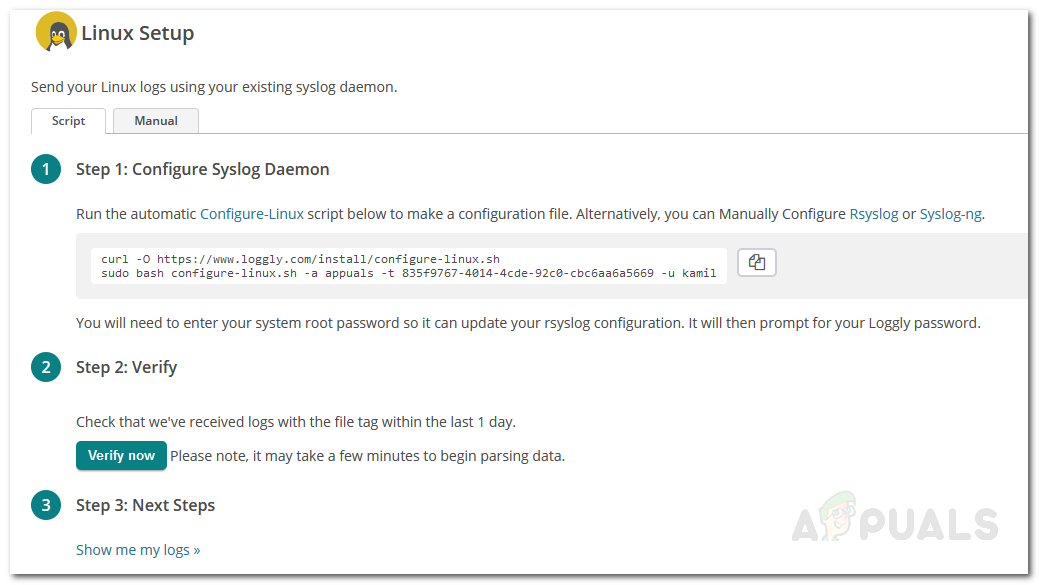
Linux System Log - Make sure you have root access so that it can update the config files.
- Verify that Loggly is receiving the logs by clicking the Verify button.
- You can now start monitoring your logs by clicking ‘Show me my logs’.
Note: Please note that the logs might not be listed directly as it takes a few minutes for the tool to start managing and listing them.
Monitoring a Single File
If you do not want to monitor your whole operating system and want to log just a particular file, you can do so pretty easily. Loggly enables you to log a single file should you choose to do it. Here’s how to do it for Linux and Windows:
Windows:
- Go to Source Setup.
- On the left-hand side, click on Log File and then select Windows File Monitoring.
- Follow the onscreen instructions and edit the config file as described on the page.
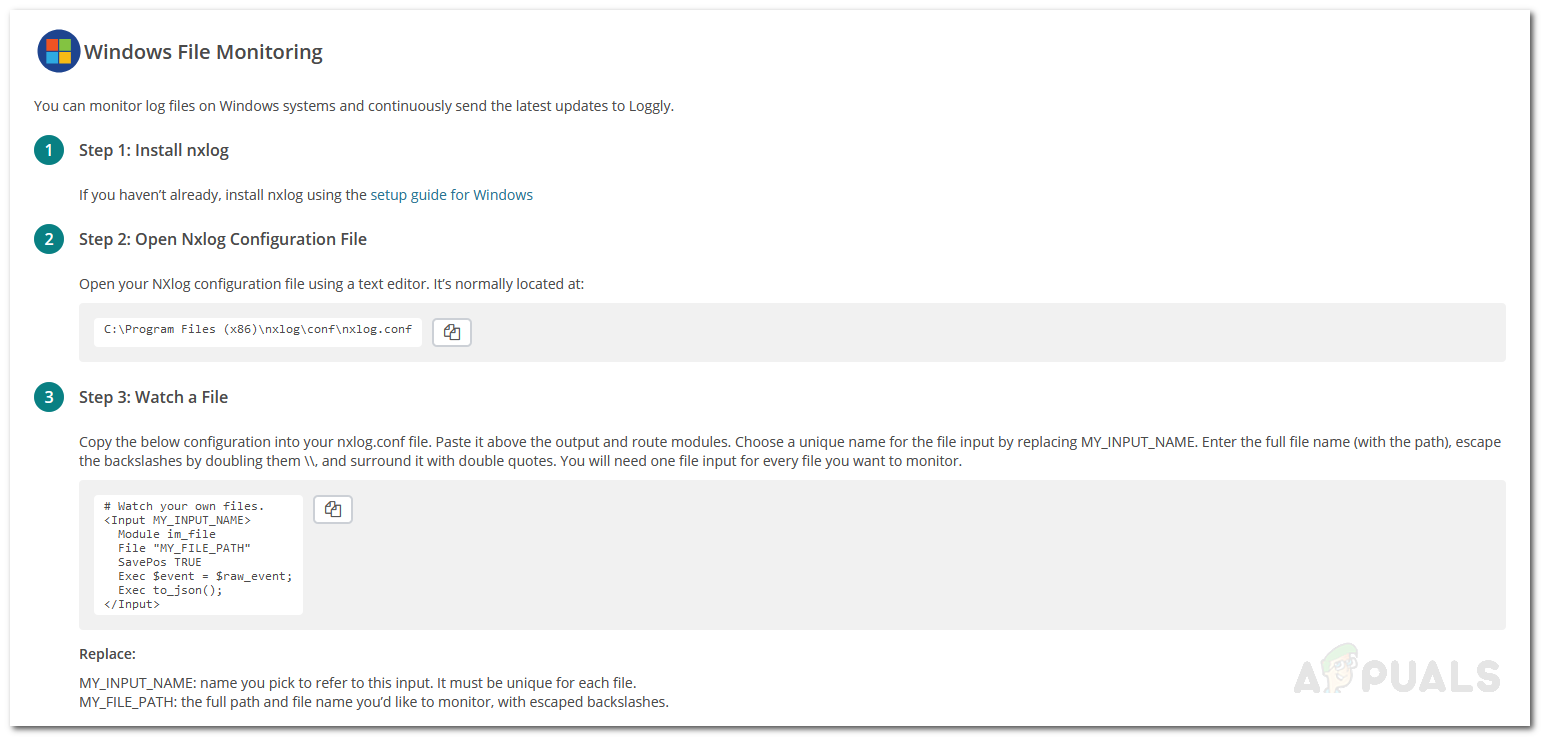
Windows File Monitoring - Once done, you can verify that Loggly is receiving the logs by clicking the Verify button.
- Start monitoring the logs my clicking ‘Show me my logs’.
Linux:
- To monitor a single file on Linux, choose Linux File Monitoring on the Source Setup page.
- Copy the commands provided and paste them into a terminal window.
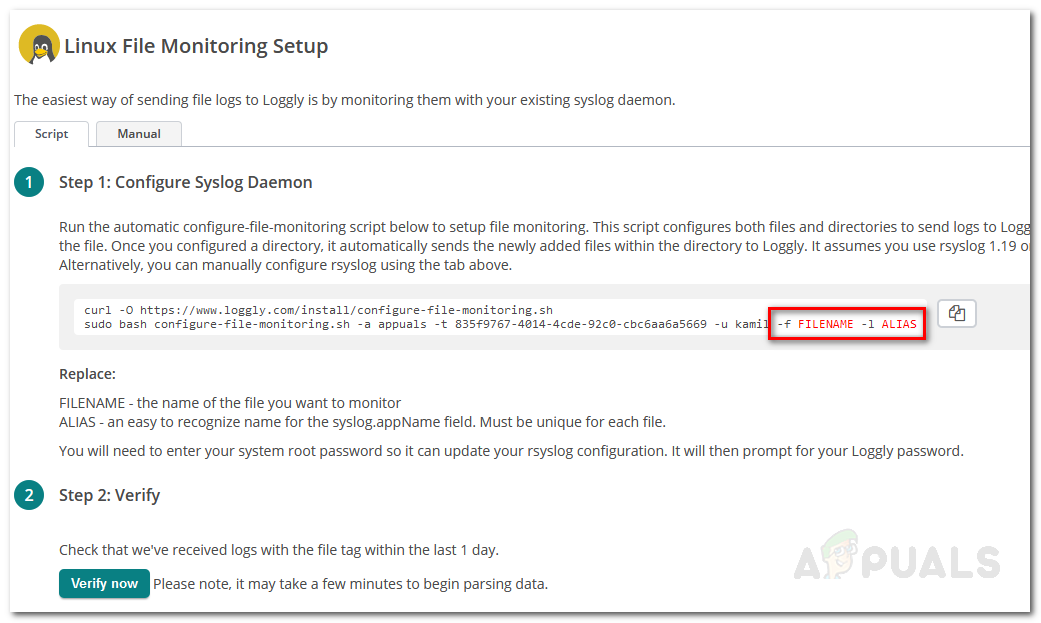
Linux File Monitoring - Make sure that you insert the filename and alias as mentioned on the page before entering the commands.
- Verify that you are receiving the logs and then click ‘Show me my logs’ to start monitoring.
Creating Alerts
If you want, you can have the tool to send you alert emails or send the alert to an endpoint so that the required action can be taken. To do this, follow the instructions given:
- On the top panel, click on Alerts.
- You will be taken to the Alerts page where all the present alerts will be listed. Click on the Add New button to create a new alert.
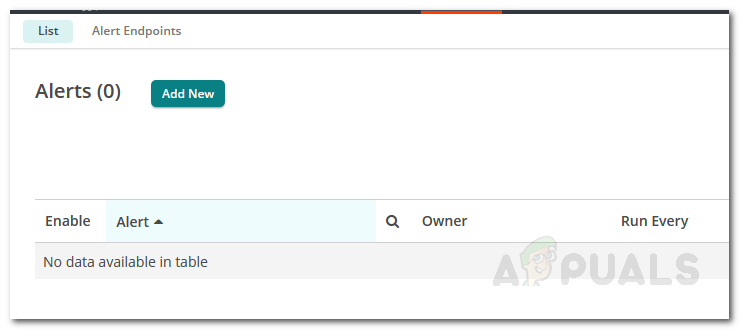
Loggly Alerts - Give the alert a name and then fill out the form by providing the required information that depends on the type of alert you are creating.
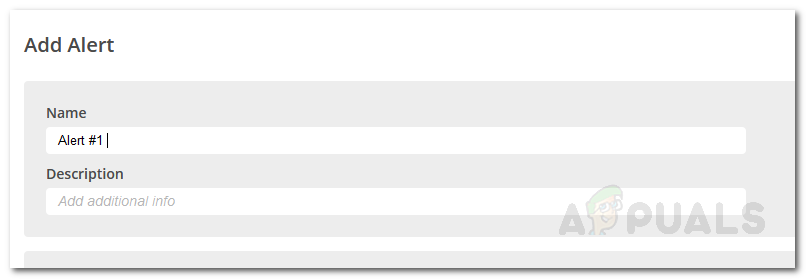
Adding an Alert - Once done, you can have it send you an email or send it to an endpoint that you will have to specify.
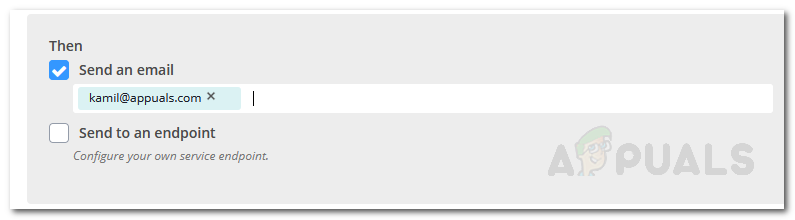
Adding an Alert - Afterwards, click on Save to save the alert.