How to Keep Your Microsoft Teams Status Always Green?
When using Microsoft Teams, the best way to indicate that you are currently active is to change your status to green. Your status will remain green until the system detects inactivity. However, sometimes Microsoft Teams may automatically change your status to Away, even when you are actively using your computer.
This common issue is typically due to your system entering an idle state, prompting Teams to automatically change your status, which can give the impression that you’re inactive. This guide will provide you with all the simple methods you need to keep your Microsoft Teams status green.
1. Use an App to Simulate Mouse Movements
To prevent Microsoft Teams from changing your status to Away due to inactivity, you can use an app to simulate mouse movements. By doing so, it continuously signals to Microsoft Teams that you are actively using your computer, even if you need to step away momentarily. The simulated movements prevent the program from switching your status to Away, making sure that you consistently appear to be present and engaged.
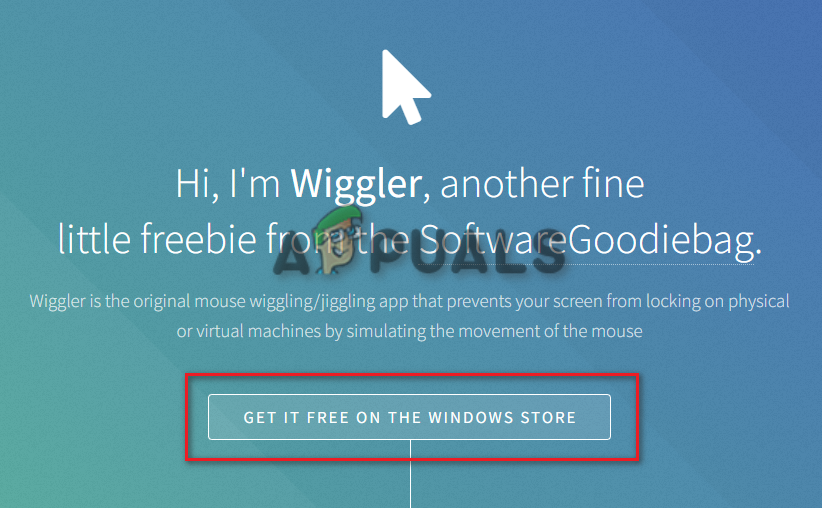
- Open the official Wiggler website.
- Click on the Get free on the Windows Store option.
Get free on the Windows Store - Get the app by clicking on the Get in Store app option.
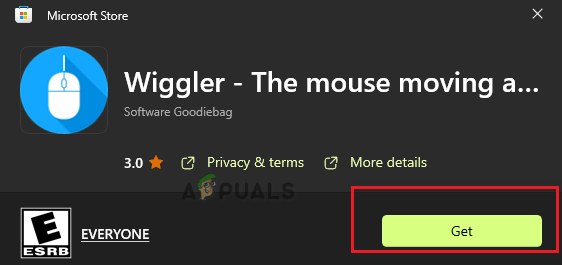
Get in App store - Once in the Microsoft Store, select Get to download and install the app on your system.
Downloading app on MS store - After downloading, simply click Open.
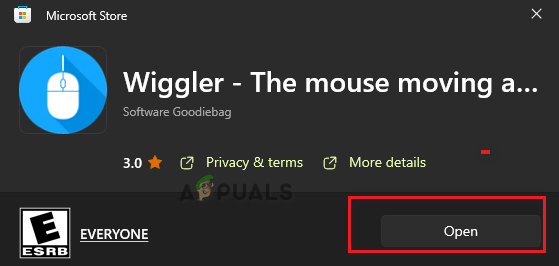
Opening the app - Within the app, click on the Start option under Basic.
Starting Wiggler app - Now, the app will keep your mouse in motion, maintaining an active state.
2. Set the Duration for Your Active Status
To keep your status consistently showing as Available, this clever feature in Microsoft Teams allows you to predefine how long your active status will last. By setting a specified duration, you avoid the default inactivity timeout, making sure your colleagues can see you’re ready to collaborate without manual updates.
- Launch the Microsoft Teams app on your system.
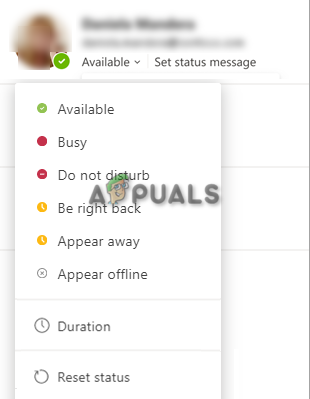
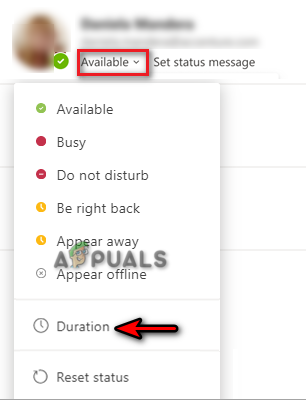
- Click on the status option below your name.
- Select the Duration option above Reset Status.
Setting status duration - Under Status, click on the drop-down menu and select Available.
- Choose the duration for which you want your status to remain Available. It is advisable to select a custom reset duration.
- Confirm your selection by clicking Done.
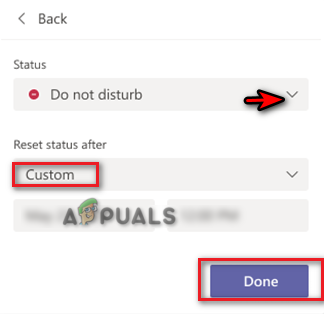
Resetting status to custom time
3. Create a Meeting with Yourself
To cleverly trick Microsoft Teams into thinking you’re engaged in work-related activity, setting up a meeting with yourself is a useful workaround. By doing so, Teams treats the session as an active engagement, thus keeping your status set to Available. This can be especially useful during times you’re working on tasks without direct interaction with the app but still wish to signal to colleagues that you’re not away from your desk.
- Open your Microsoft Teams account (you can open it from the taskbar).
- On the left side of the window, select Calendar.
- In the upper right corner, click on the Meet now button and choose Start Meeting.
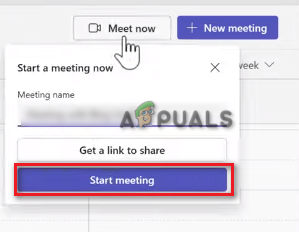
Starting Microsoft Teams meeting - Minimize the meeting window and click on your profile.
- Select Available to set your current active status.

Setting status as Available
4. Set a Status Message
By updating your status message in Microsoft Teams, you actively inform the platform, and your colleagues, of your presence. This customized message not only serves as a direct line of information but also cleverly keeps your status active by signaling to the system that you’re engaging with the app, countering any automatic shift to an Away state.
- Click on your profile and choose the Available status.
- Begin crafting a status message by selecting the Set status message option.
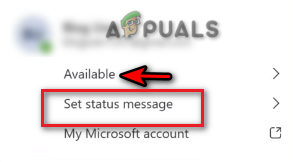
Setting a status message - In the provided box, type a message that indicates your availability. Avoid using generic phrases.
- From the drop-down menu under Clear status message after, select Never.
- Once your message is ready, click Done to apply the changes.
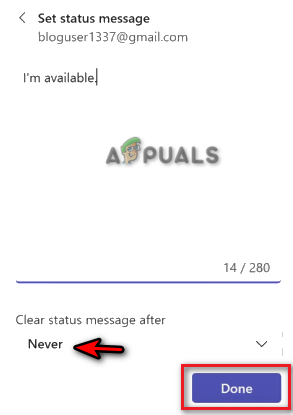
Typing a status message
5. Disconnect the Current Profile From Teams
Disconnecting the current profile from teams effectively resets the association between your account and the Teams client, which may be necessary if your status keeps displaying incorrectly. This turn it off and on again approach refreshes the system’s understanding of your activity, making sure that your presence indicators in Teams align with your actual usage.
- Press Win + I to open the Windows Settings page.
- Go to Accounts > Access work or school.
- Select your work account and click on the Disconnect button.
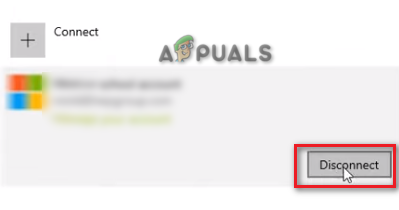
Disconnecting account - Wait a few minutes, then re-add your account to Teams.
- By reconnecting, you should successfully resolve the active status issue.
6. Use a Deactivation Script to Stay Active
The deactivation script method leverages a simple yet clever VBScript which prevents your computer from entering sleep mode by simulating a virtual key press at regular intervals. This continuous activity signals to Microsoft Teams that you’re still active, making sure your status remains Available, without you needing to physically intervene.
Just run the script, set your desired awake time, and free yourself from the burden of manual status updates. It’s the perfect hands-off solution for an always-active presence on Teams.
- Activate the Run Command by pressing Win + R.
- Type Notepad to open the Windows Notepad.
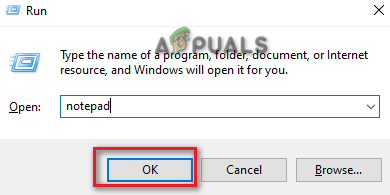
Opening the notepad - Copy and paste the script below into Notepad.
Dim objShell, lngMinutes, boolValid Set objShell = CreateObject("WScript.Shell") lngMinutes = InputBox("How many minutes do you want to keep your system awake for? Enter duration in minutes:", "Awake Duration") If lngMinutes = "" Then 'If the user opts to cancel the process Exit Sub End If boolValid = IsNumeric(lngMinutes) And lngMinutes > 0 If boolValid Then For i = 1 To lngMinutes WScript.Sleep(60000) ' Sleep for 60 seconds objShell.SendKeys("{SCROLLLOCK 2}") Next MsgBox "Forced awake time over. Returning to normal routine.", vbOKOnly + vbInformation, "Task Completed" Else MsgBox "Incorrect input, the script won't run. You can only input a numeric value greater than zero.", vbOKOnly + vbCritical, "Task Failed" End If - Select File and choose the Save As option.
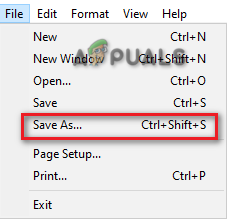
Saving the file - Save the file in .vbs format (for example, KeepAwake.vbs) on your desktop.
- Right-click on the new .vbs file and select Open.
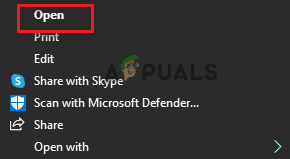
Opening the txt file - Enter the duration for which you wish to stay active.
- Click OK to activate the script.
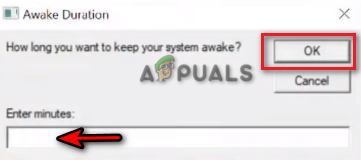
Setting the awake duration - Your Microsoft Teams status will remain active for the specified duration.