How to Fix ‘Error 0x00000093’ INVALID_KERNEL_HANDLE on Windows?
Users have been experiencing a blue screen of death issue with the error code 0x00000093. The blue screen of death returns the INVALID_KERNEL_HANDLE stop code which is really important in order to figure out what’s causing the problem. In this case, such a problem is usually caused by the memory sticks on your computer and in some rare cases, due to the interference of a third-party application. Regardless of the cause, the problem in question can be really annoying as it restarts your computer frequently and you are unable to use it. In this article, we will take you through the process and show you how to resolve the problem in question.

As it turns out, the blue screen of death messages are pretty common in Windows and it has plagued the users for quite the same. In addition to that, they are really annoying and sometimes are really difficult to solve without the proper technical knowledge. Like we have mentioned above, the primary reason you may encounter the INVALID_KERNEL_HANDLE blue screen of death code is when there are issues with your RAM sticks in which case you will have to run a memory diagnostic test to figure out what the problem could be. On top of that, in some rare cases, the problem can also originate due to some third-party software on your computer. The latter can be pretty easily resolved as compared to the first one. With that said, let us get started and walk you through some potential workarounds that you can implement to resolve the problem in question.
Run SFC Scan
The first thing that you should do when you encounter the problem in question is to make sure that your system files are safe and not damaged. Using System File Checker or SFC can help you achieve just that. It is a built-in Windows utility that scans all of your system files to see if there are any corruptions. In case it finds any corrupted files on your computer, they will be replaced by a compressed cache that is located on your computer. On top of that, we will be using the DISM or Deployment Image Servicing and Management tool to repair the image in case of any corruption.
Now, if the issue in question is being caused by corrupted system files on your computer, then running an SFC scan should resolve the problem for you. To run an SFC scan, follow the instructions given down below:
- First of all, you will need to open up an elevated command prompt. To do this, open up the Start Menu and search for cmd. Right-click on the result shown and from the drop-down menu, click the Run as administrator option.

Opening up Command Prompt as an Admin - Once the command prompt window is open, type in the following command and hit Enter:
sfc /scannow
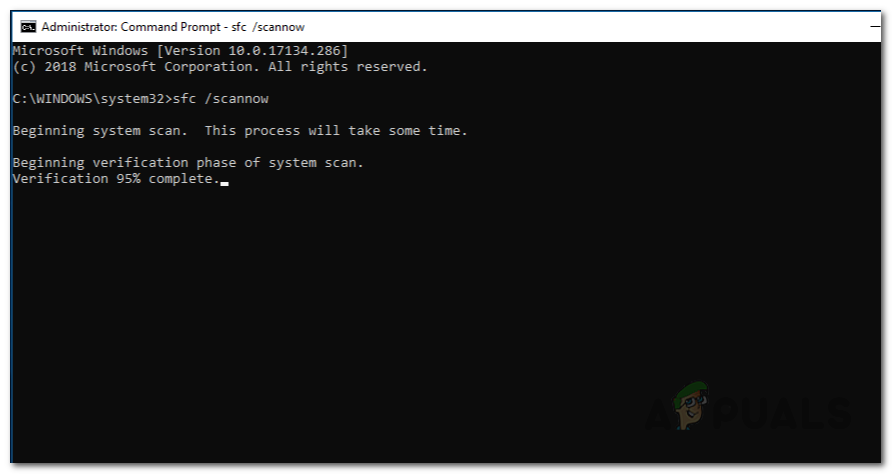
Running SFC Scan - This will initiate the scan on your computer. Wait for it to complete.
- Once the SFC scan has been completed, in the same command prompt window, copy and paste the following command to run the DISM utility:
Dism /Online /Cleanup-Image /RestoreHealth
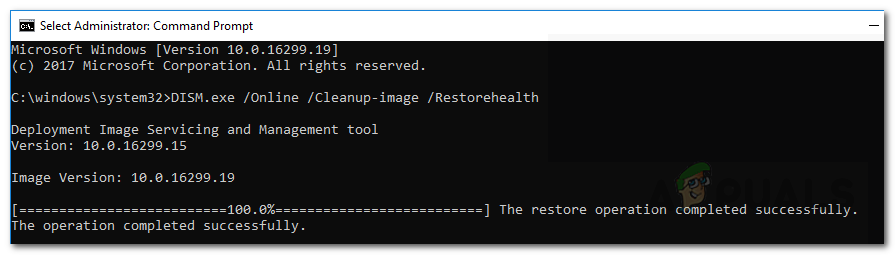
Restoring System Image Health - After that has been done as well, restart your computer and see if the blue screen of death problem still occurs.
Run Memory Diagnostic Test
As it turns out, one of the reasons that you may encounter the problem in question is due to bad RAM sticks. This happens to be the cause of such issues more often than not. The problem can be from incorrectly seated RAM to simply RAM sticks simply gone bad. In the case of the latter, you will have to replace your RAM sticks in order to get your system working.
Fortunately, there is a built-in Windows utility that lets you check the health of the RAM sticks that are installed on your computer. This utility is called the Windows Memory Diagnostic and it can help detect any problems that may be occurring with the memory on your computer. To run the memory diagnostic tool, follow the instructions given down below:
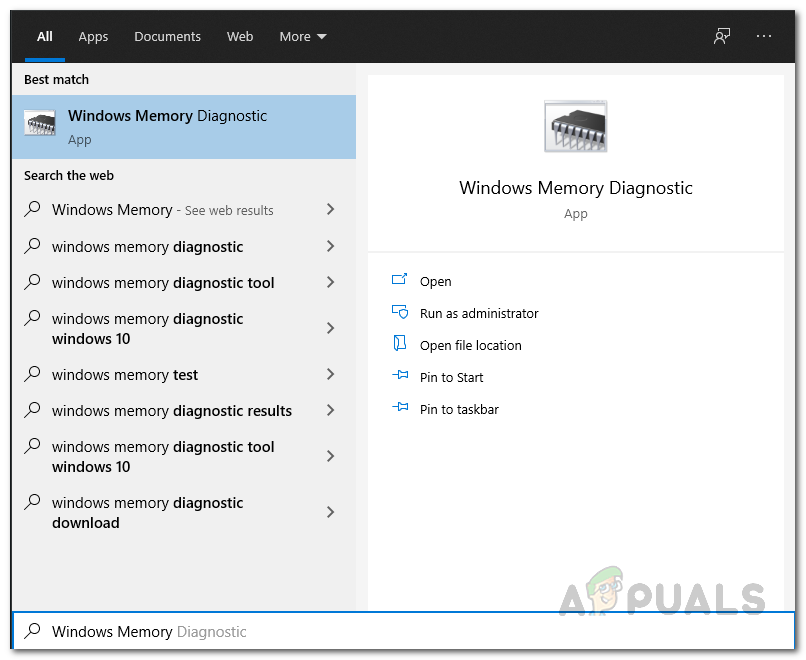
- First of all, open up the Start Menu and search for the Windows Memory Diagnostic tool. Open up the app when it is shown.
Opening up Windows Memory Diagnostic Tool - Now, on the Windows Memory Diagnostic dialog box that appears, click the Restart now and check for problems (recommended) option shown.
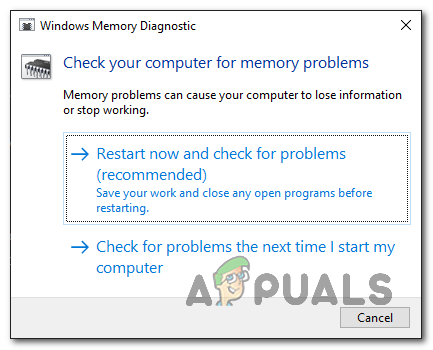
Windows Memory Diagnostic Tool - Your system should restart at this point so wait for it. The Windows Memory Diagnostic tool will start automatically upon a restart so wait for the process to complete.
- Once it is scanning the memory on your computer, your computer will restart once again and when it boots up, you will be shown if there were any issues found in the notification.
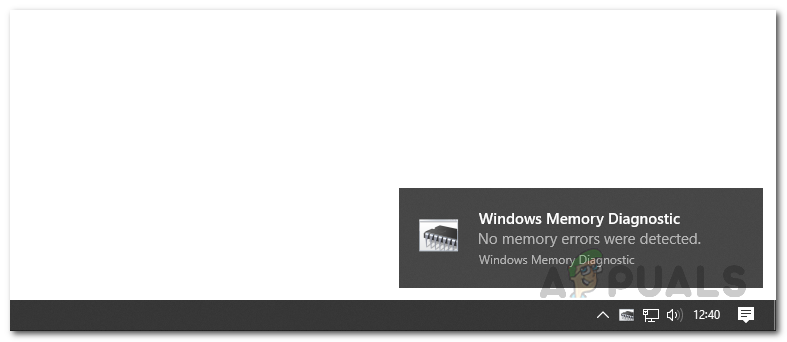
Memory Diagnostic Test Results - In some cases, you may also see a “Hardware problems were detected” error message when running the utility. This can be often due to faulty RAM sticks.
Boot in Safe Mode
Like we have mentioned earlier, another possible cause of the problem in question can be the third-party apps that are installed on your computer. This can happen sometimes due to the third-party services that are running in the background on your computer. This is often caused by an underlying issue with the application and in such a case the developers have to resolve the problem and push an update.
To verify this suspicion, you can start your PC in safe mode that will start your computer in a limited state which means that only important files and drivers will be allowed to run as the computer boots up. To do this, follow the instructions that are provided down below:
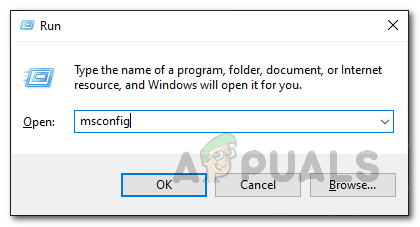
- First of all, open up the Run dialog box by pressing Windows key + R on your computer.
- Inside the Run dialog box, type in msconfig and hit the Enter key.
Opening up System Configuration - This will open up the System Configuration window. Switch to the Boot tab on the window.
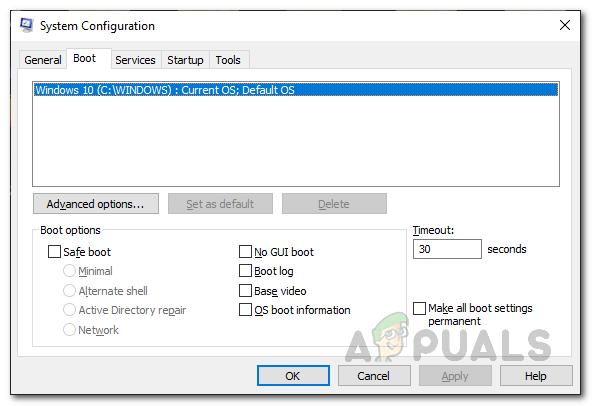
System Configuration Boot Tab - Under Boot options, click the Safe boot checkbox and then click the Apply button.
- Finally, hit OK and then restart your computer.
- In case the problem goes away in safe mode, it will be obvious that your issue is being caused by an app on the computer. In such a case, you can try removing all of the applications or drivers that you may have installed recently prior to the error. That should resolve the problem for you.
Perform a Clean Install
Finally, if none of the methods above have worked out for you, then, unfortunately, you will have to perform a clean install to resolve the issue. This means that you will lose all of the software that you have installed in the system drive as well as any files or data that is stored in there. In such a case, we would recommend creating a backup first of your important data before proceeding. In order to perform a clean install, you will be needing a bootable USB drive so make sure that you have one. After that, you can follow our guide on clean install Windows 10 which takes you through the whole process step by step.


