How to Fix Windows Defender Error 0x800106ba
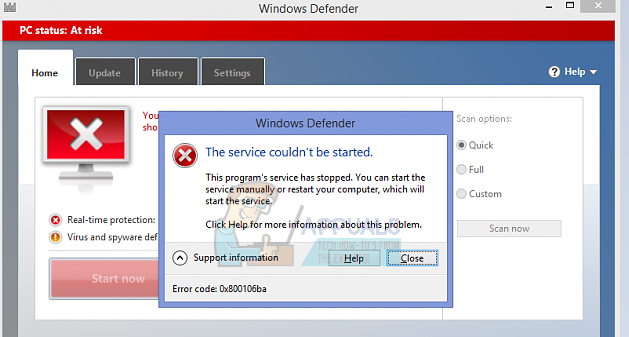
This error 0x800106ba occurs when Windows fails to initialize the Defender application. When you try to run Windows Defender, you will receive one of the following messages: “Windows Defender: Application failed to initialize: 0x800106ba” or “Application failed to initialize: 0x800106ba. A problem caused Windows Defender to stop. To start the service, restart your computer or search Help and Support for instructions on how to start a service manually.
The way Microsoft has designed Security Essentials and Defender is that if Security Essentials is running, then Defender will be turned off. If you wish to run Defender, but have Essentials installed, you will first need to remove Essentials (that’s the first step in troubleshooting this). However, Essentials is better than Defender, so if you take my advice, there is no need to dig into defending Defender if Security Essentials is working properly.
If you are still worried about running Defender, I would suggest getting the AVG Anti-Virus Free application, which will do the defender’s job. However, you should only run one anti-virus at a time. Running more than one will cause issues when multiple programs are scanning the same files, and it will create a mess.
Now, if you want to go with Defender, then follow the methods below:
Method 1: Register the DLLs.
1. Hold the Windows key and press R.
2. In the Run dialog, type ‘regsvr32 wuapi.dll‘ and click ‘OK‘.
3. Repeat the steps for the following DLLs, replacing the DLL file with the following and registering all of them.
4. Once complete, disable all other antivirus applications on your computer and attempt to open the Defender application.
Method 2: Uninstalling/Disabling Third-Party Antivirus Programs
If you want to have a third-party antivirus program but you want Windows Defender to be first in performing its tasks, you need to disable or uninstall it in order to avoid conflicts. Make sure that you uninstall every bit. It is better to restart your computer after the uninstallation process is finished. You can also try to disable the third-party program, but sometimes, only disabling the third-party program doesn’t remedy the issue. So, uninstalling it does the work.
Method 3: Set Windows Defender Service to Automatic.
Since Windows Defender is a built-in program in Microsoft Windows, setting its service to automatic instead of manual can be a little bit tricky. Follow the steps below to set it up.
- Click on the Cortana search box and type “Services.” Right-click on the Services application and run it as an administrator. The Services application displays a list of Windows services, which are either running or disabled.

- Navigate through the list to find Windows Defender Services. It should display “Running” under Status and “Automatic” under Startup Type. If it doesn’t, right-click on it and select Properties. Set the Startup type to Automatic and start the service by clicking “Start“. Restart your PC in order to apply the changes. Check for Windows Defender errors by scanning your local drives.
