[FIX] Error (Code 43) with AMD Radeon GPU
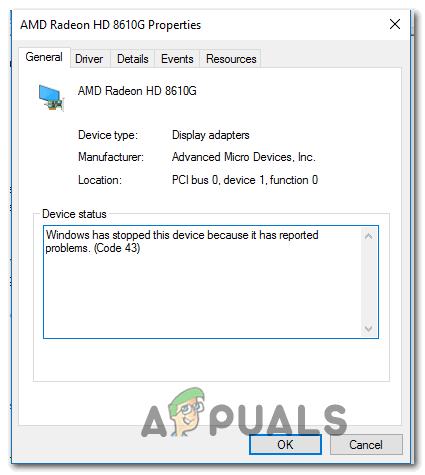
The Error Code 43 (Windows has stopped this device because it has reported problems) is encountered inside Device Manager by Windows users using an AMD Radeon GPUs. Typically, affected users discover this problem after noticing that the Device Manager entry associated with the AMD Radeon GPU has a yellow exclamation point.
As it turns out, there are several different potential scenarios that might end up causing the Error Code 43:
- Bad driver installation – One of the most common instances that might end up causing this issue is as bad migration from the generic drivers to the dedicated equivalents. If this scenario is applicable, you should be able to fix the problem by running the Hardware and Device troubleshooter and applying the recommended fix.
- AMD driver is outdated – Keep in mind that certain AMD GPUs (particularly older models) are not updated through Adrenalin. Instead, this task is handled by Windows Update. If this scenario is applicable and you’re actively blocking new updates from installing on Windows 10, you should be able to fix the problem by installing every pending Windows update (Important and Cumulative).
- GPU driver conflict – If you’re facing this problem on a configuration that has both integrated and discrete graphics solution, you’re likely dealing with a driver conflict. This is fairly common with DELL and Lenovo computers since they tend to pre-load drivers. In this case, you should uninstall every driver and dependency installed belonging to AMD before going through the official channels to install the latest versions again.
- Bad motherboard driver – As it’s been confirmed by several affected users, this problem can also occur due to a severely outdated motherboard firmware driver that is not compatible to run on Windows 10. In this case, you should be able to fix this problem by installing the latest available BIOS firmware for your motherboard.
- System File Corruption – Under certain circumstances, this problem can also occur due to an issue caused by some type of system file corruption that ends up affecting your operating system. If this scenario is applicable, you should be able to fix the problem by using a procedure like clean install or repair install to restore every Windows component back to the default values.
- GPU firmware is not optimized for crypto-mining – In case you are seeing this error code while attempting to mine for cryptocurrencies, you will likely need to install a patch in order to remove the clock limit and allow for higher refresh rates. This is applicable if you have a multi GPU configuration and you’re using this rig mainly for crypto mining.
- Custom firmware is affecting standard operation – If you purchased a second-hand GPU that was previously used for crypto mining, you might expect general instability if you use it conventionally in a single GPU setup for regular operations. In this case, you should be able to take care of the error by reinstalling the default firmware.
Method 1: Running the hardware and device troubleshooter (Windows 10 only)
If you recently installed the GPU driver (or a compatible update), you might be dealing with a glitch facilitated by a bad driver installation. In case you’re seeing the Error Code 43 on Windows 10, you might be able to fix this problem by running the Hardware and Device troubleshooter and applying the recommended fix.
This built-in utility will scan your current configuration for any driver inconsistency and will attempt to fix the problem by re-installing the generic drivers or clearing the temp cache associated with the hardware component in case a problem is identified.
Several affected users have confirmed that this operation successfully allowed them to get rid of the error code 43 so they could finally use their AMD Radeon card without issues.
Here’s a quick guide on running the Hardware and Device troubleshooter utility on a Windows 10 computer:
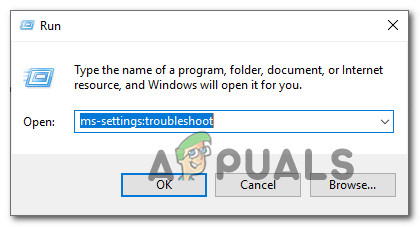
- Press Windows key + R to open up a Run dialog box. Next, type ‘ms-settings:troubleshoot’ and press Enter to open up the Troubleshooting tab of the Settings tab.
Accessing the Troubleshooting tab - Inside the Troubleshooting tab, scroll all the way down to the section named Find and Fix other Problems and click on Hardware and Devices.
- Next, from the newly appeared context menu, click on Run the Troubleshooter from the newly appeared context menu.
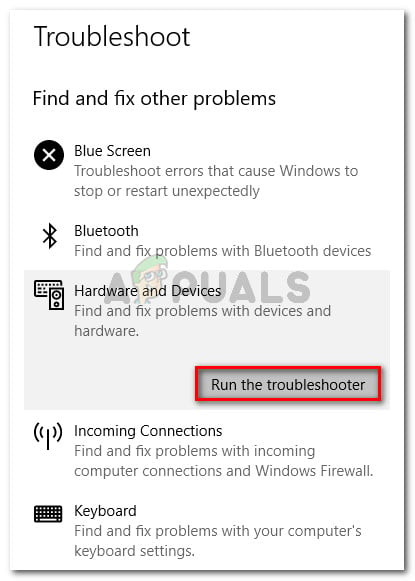
Click on Hardware and Devices and click on Run the troubleshooter - After you start the Hardware and Devices troubleshooter, wait until the initial scan is complete. In case a viable repair strategy is identified, click on Apply this fix to enforce the recommended fix.

Apply this fix - After the fix is successfully applied, restart your computer and see if the problem is fixed at the next computer startup.
If you’re still seeing the Error Code 43 in Device Manager when inspecting the entry associated with your AMD Radeon card, move down to the next potential fix below.
Method 2: Install every pending Windows Update
As it turns out, this problem can also occur due to the fact that your AMD drivers are severely outdated because Windows Update is not allowed to install the latest available driver updates. Keep in mind that certain AMD GPUs are specifically built to be updated and maintained by the Windows Update component.
If this scenario is applicable and you’re using a GPU card that should be outdated via WU, you need to make sure that your OS version is actually allowed to install pending GPU drivers. To do this, take a trip to the Windows Update screen and install every pending cumulative and critical update until you manage to bring your Windows 10 build up to date.
Several affected users have confirmed that after doing this and restarting their computer, the error 43 was no longer occurring in Device Manager.
Follow the instructions below to install the latest version of Windows Update:
- Open up a Run dialog box by pressing Windows key + R. Next, type “ms-settings:windowsupdate” and press Enter to open up the Windows Update tab of the Settings tab.
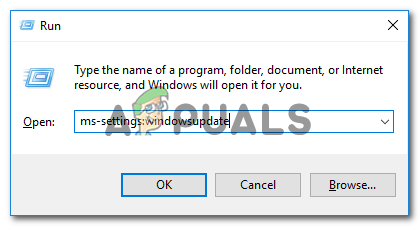
Opening the Windows Update screen - Once you’re inside the Windows Update screen, move over to the section on the right, then go ahead and click on Check for Updates. Next, follow the on-screen instructions to install every pending update (important and cumulative updates), then restart your computer after every available update is installed.
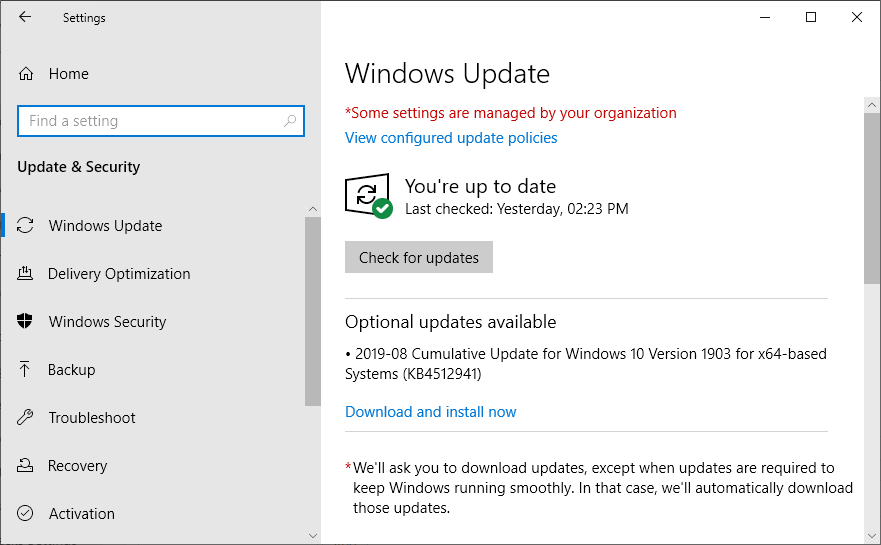
Check for Windows Update Note: If you have a lot of different updates waiting to be installed, you might be prompted to restart your computer before you get the chance to install each one. If this happens, do as instructed, then return to the Windows update screen and resume the installation of the remaining updates.
- Once every available Windows Update is installed, open Device Manager once again and see if you’re still seeing the same error.
In case your AMD GPU driver still appears with an exclamation point and shows Error Code 43 (Windows has stopped this device because it has reported problems), move down to the next potential fix below.
Method 3: Updating the GPU Driver
If you’re already using AMD’s dedicated drivers and you’re still seeing the same error code, chances are you’re dealing with a conflict between the dedicated GPU drivers and the generic equivalents that were already installed by default. This is a fairly frequent occurrence with DELL and other manufacturers with the tendency of including a fleet of pre-loaded drivers.
Several affected users facing the same problem have confirmed that the problem was finally resolved after they used Device Manager to uninstall the current driver versions and then using the official AMD channels to install the latest compatible version of the driver.
- Press Windows key + R to open up a Run dialog box. Next, type ‘devmgmt.msc’ and press Enter to open up Device Manager.

Running the Device Manager - Once you’re inside Device Manager, scroll down through the list of installed devices and expand the drop-down menu associated with Display Drivers.
- Inside the Display Adapters menu, right-click on the entry associated with your AMD GPU and choose Uninstall Device from the newly appeared context menu.
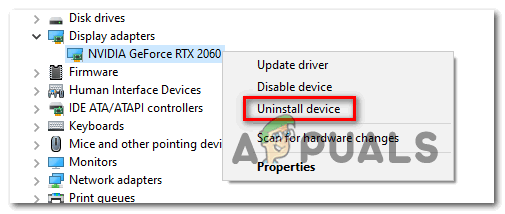
Uninstall the GPU Devices - Next, follow the on-screen prompts to complete the installation of the driver, then close the Device Manager window.
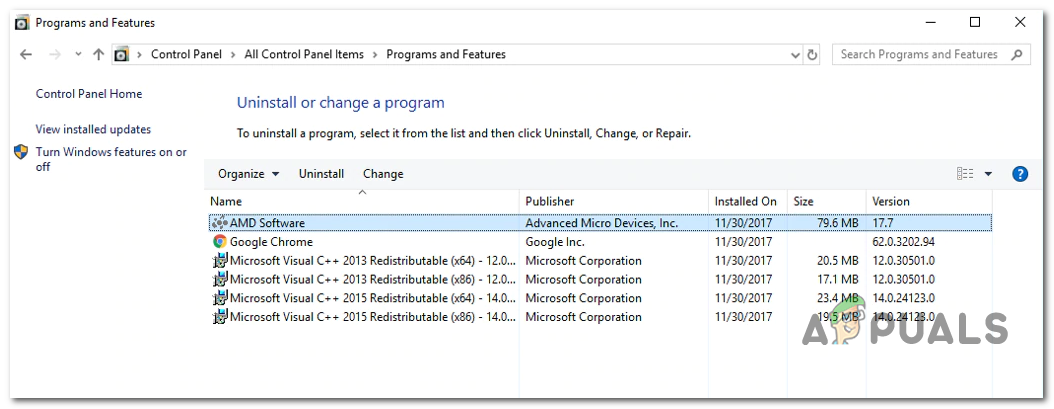
- Press Windows key + R once again to open up another Run dialog box. At the next prompt, type ‘appwiz.cpl’ and press Enter to open up the Programs and Features menu.

Type appwiz.cpl and Press Enter to Open Installed Programs List - Once you’re inside the Programs and Features menu, start by clicking on the Publisher column so you can easily spot every software belonging to your GPU component.
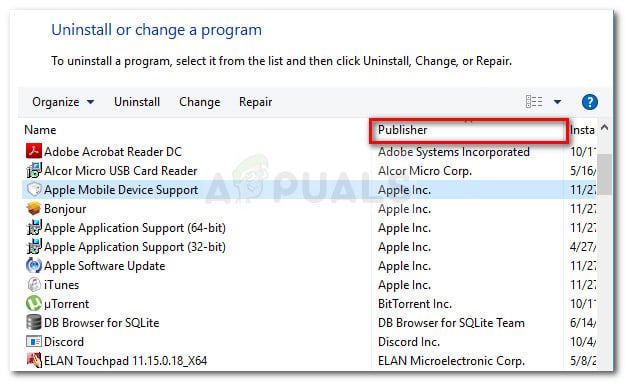
Click the Publisher column to order the app results - Next, go ahead and uninstall every driver that is signed by AMD Corp. This includes the main Catalyst software and any other supporting software that you might have installed.
Uninstalling the AMD Software Note: After the drivers are uninstalled, your computer should automatically make the switch to the generic equivalents.
- Once every relevant component is uninstalled, restart your computer and wait for the next startup to complete.
- After your computer boots back up, visit the official AMD driver download page and use the Auto-Detect feature or select your GPU model manually, then download & install the latest version of the compatible drivers.
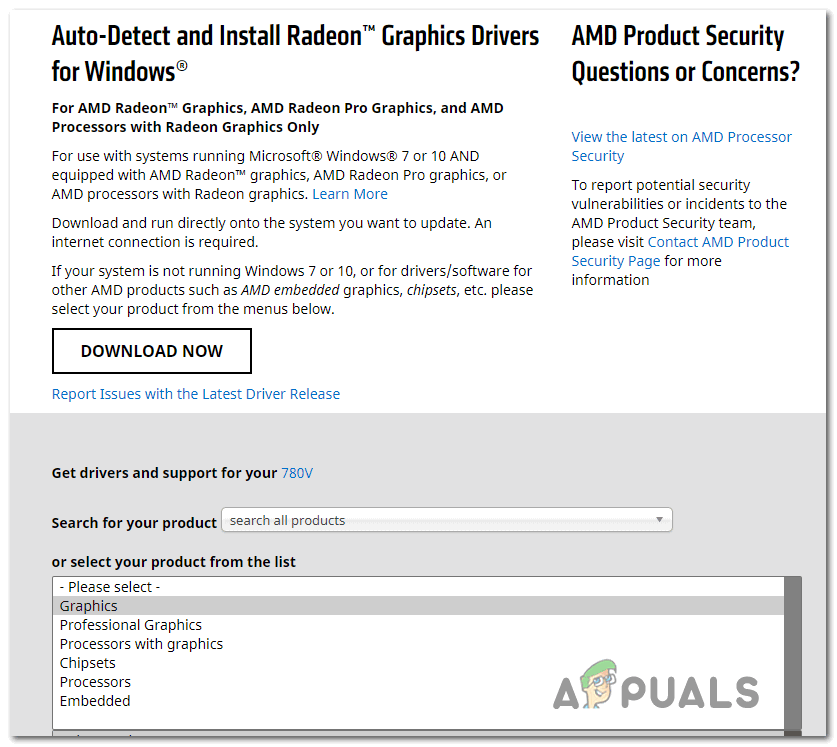
Downloading the latest version of the AMD driver - Follow the on-screen prompts to complete the installation of the latest available AMD driver, then open Device Manager once again and see if the problem is still persisting.
Method 4: Updating Motherboard Drivers
According to some affected users, you might also encounter this problem if you’re using an older motherboard driver that has not yet been updated for Windows 10. This can end up causing certain issues with newer AMD GPU models.
If this scenario is applicable, you should be able to fix the problem by going through the official channels and forcing your motherboard drivers to update. This particular fix has confirmed to work by a lot of different affected users, particularly those with older motherboard versions.
Here’s a general guide that will help you update your motherboard drivers:
Note: Keep in mind that this is just a general guide meant to point you in the right direction. The exact download pages and instructions of updating your motherboard drivers are specific to the model you’re using.
- Visit the official motherboard manufacturer website and download the latest versions of your motherboard drivers.
Note: if you’re don’t know your motherboard model, you can use Speccy or similar software to discover it.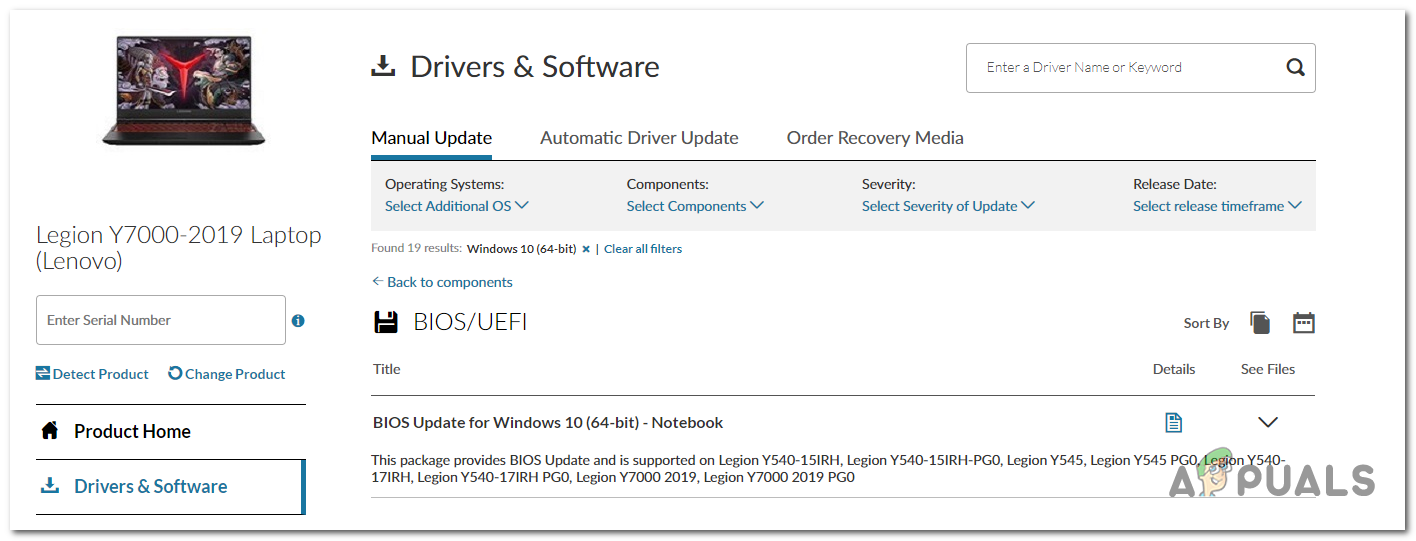
Downloading the motherboard driver - Follow the on-screen prompts to install the updated motherboard drivers, then restart your computer and see if the problem is now fixed.
Note: Keep in mind that depending on your motherboard, the steps, and tools used in the installation of the new BIOS version will be different. Nowadays, most manufacturers have their own proprietary software (like E-Z flash for Asus and MFFlash for MSI) that will simplify this operation exponentially.
In case the same problem is still occurring, move down to the next potential fix below.
Method 5: Performing a Repair install / Clean install
If none of the potential fixes above have worked for you, chances are the problem is being caused by some type of underlying system file corruption that is affecting your GPU drivers. If you got this far without results, it’s clear that you will not be able to fix this problem conventionally.
Several other users that struggled with the same problem have confirmed that they were finally been able to fix the problem by resetting every Windows component to their default values.
When it comes to doing this, you have two different approaches – You can either go for a clean install or a repair install.
A clean install is an easier approach since you can initiate the procedure directly from the Settings app and you are not required to use a compatible installation media. However, unless you back up your data in advance, be prepared for data loss on the drive where Windows is installed.
If you want to avoid this problem and keep all your personal data, games, applications, and even some user preferences, you should go for a repair install (also known as an in-place upgrade). This will help you preserve data installed on the OS drive, but it has a couple of disadvantages:
- You will need to use a compatible installation media
- The procedure is way more tedious than a clean install.
In case you already did this with and you’re still facing the same problem, move down to the final fix below.
Method 6: Installing the ATIKMDAG-Patcher (if applicable)
If you’re seeing this error while attempting to use your AMD GPU to mine for cryptocurrencies, you’ll likely need to modify the default firmware of your GPU before you will be able to mine consistently without encountering errors like the 43 error code.
Some users that were previously unable to mine for crypto have confirmed that the problem was finally fixed after they installed a custom firmware version that optimized the graphics card behavior to remove the clock limit and allow for higher refresh rates.
If this scenario is applicable to your current situation, you might be able to fix the problem by installing a user-created GPU firmware for AMD & ATI GPUs called AMD / ATI Pixel Clock Patcher.
Note: This is not official software maintained by AMD, so take some time to research before deciding whether you really want to install a user-developed firmware on your GPU.
If you want to go through with this, follow the instructions below:
- Open your default browser and download the latest version of the AMD / ATI Pixel Clock Patcher.
- Once the download is complete, use software like 7 zip, WinZip or WinRar to extract the contents of the archive in a separate folder.
- After the extraction is complete, right-click on the atikmdag-patcher executable and click on Run as administrator from the newly appeared context menu.
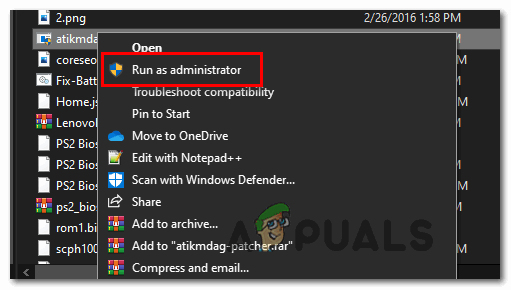
Running Executable as administrator - Next, follow the on-screen prompts to complete the installation, then restart your computer once the operation is complete.
- At the next startup, now that the patch is successfully installed, open Device Manager once again and see if the problem is now fixed.
In case you were already using a custom firmware for your GPU or this scenario was not applicable, move down to the final fix below.
Method 7: Flashing your GPU Firmware
If none of the potential fixes above have worked (and this includes a repair install/clean install), it’s very likely that the error is firmware related. Keep in mind that similar to motherboards, GPUs have their own sort of BIOS that keeps voltages, frequencies, and other internals in check.
Issues of this kind are typically reported by people that are using multiple AMD GPUs to mine for cryptocurrencies and are forced to work with modified GPU firmware. If you brought a used GPU and the previous owner used it for crypto mining activities, you might expect to encounter this problem.
A problem with the GPU firmware can produce a myriad of issues including the Error Code 43. Some users dealing with the same problem have confirmed that they finally managed to fix the problem by restoring their AMD GPU back to their default BIOS.
IMPORTANT: Keep in mind that flashing the card’s firmware is extremely risky. Messing it up might end up bricking your GPU rendering it useless. Do not attempt this method unless you’ve done this before, or you can afford to experiment with this fix.
If you understand the consequences and you’re ready to apply this fix, follow the instructions below:
- First things first, start by downloading the flashing utility for AMD. Just visit the link with your browser, and click on the Download button associated with your OS version and wait for the archive to be successfully downloaded.
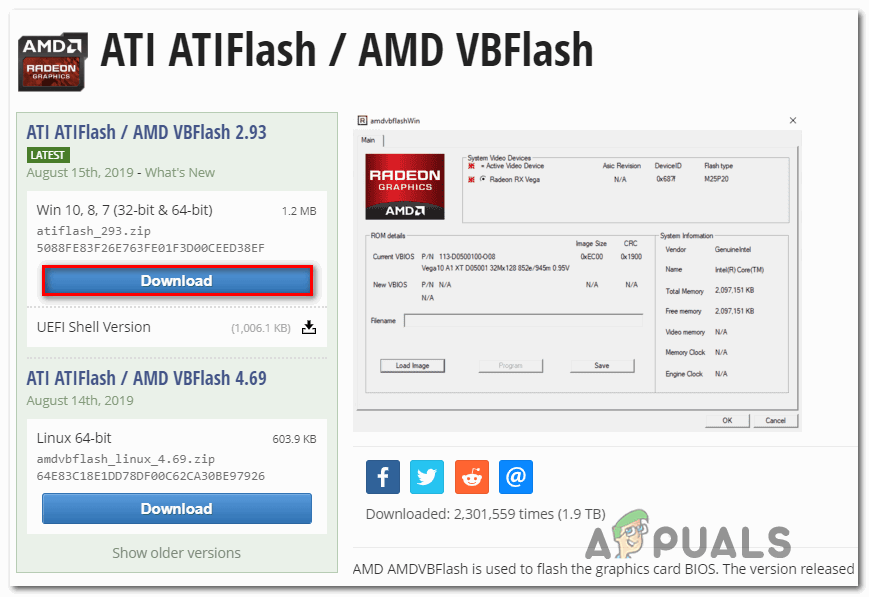
Downloading the latest version of ATIFlash / AMD VBFlash - Once the download is complete, extract the contents of the archive and put them in a separate folder.
- On your browser, access the VGA BIOS Collection web page so you can download the default firmware for your AMD GPU.
- Next, use the Refine Search Parementer filters to locate the correct firmware by setting the GPU Brand, the Card Vendor, Bus Interface, and Memory type.
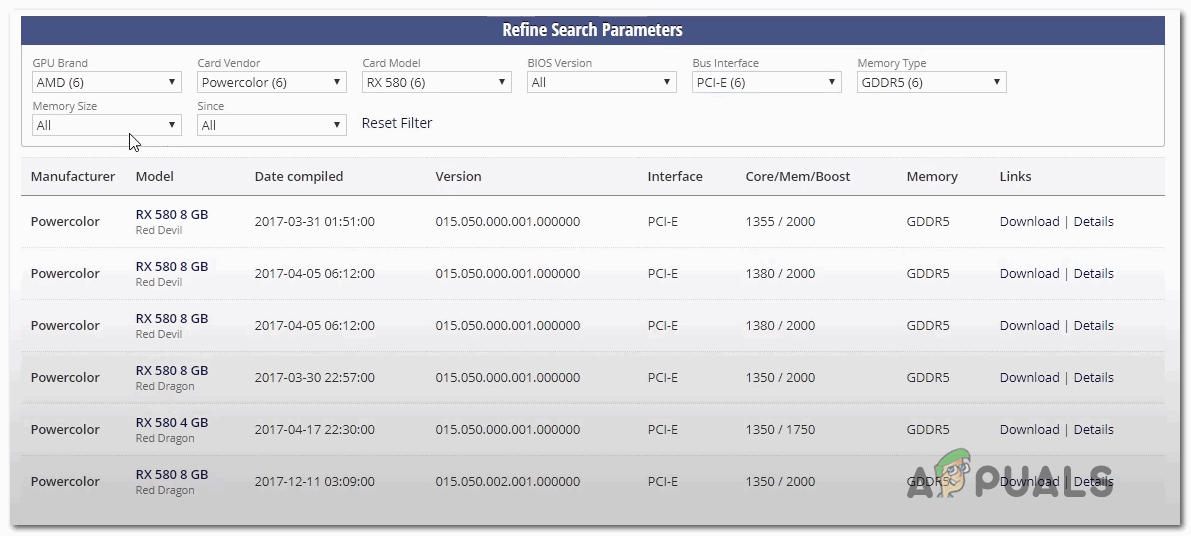
Refine Search Parameters - Once you manage to locate the correct BIOS of your GPU model, click the Download button and wait for the operation to complete.
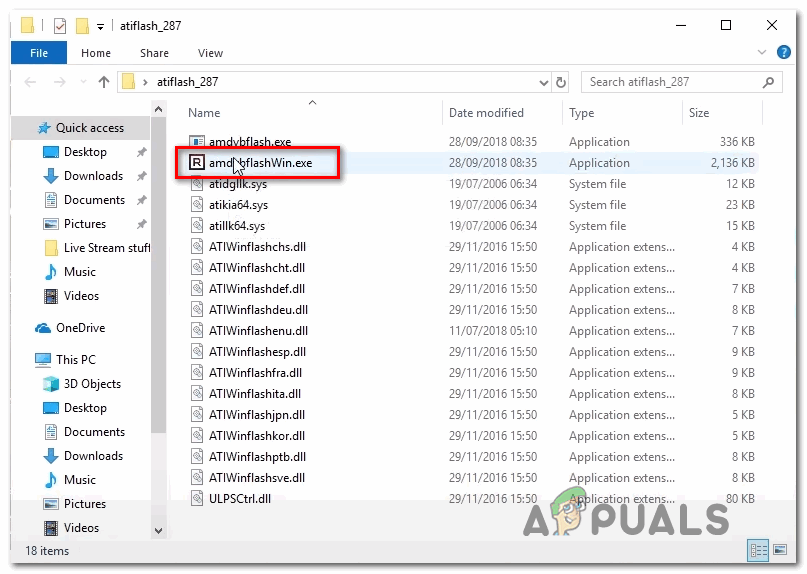
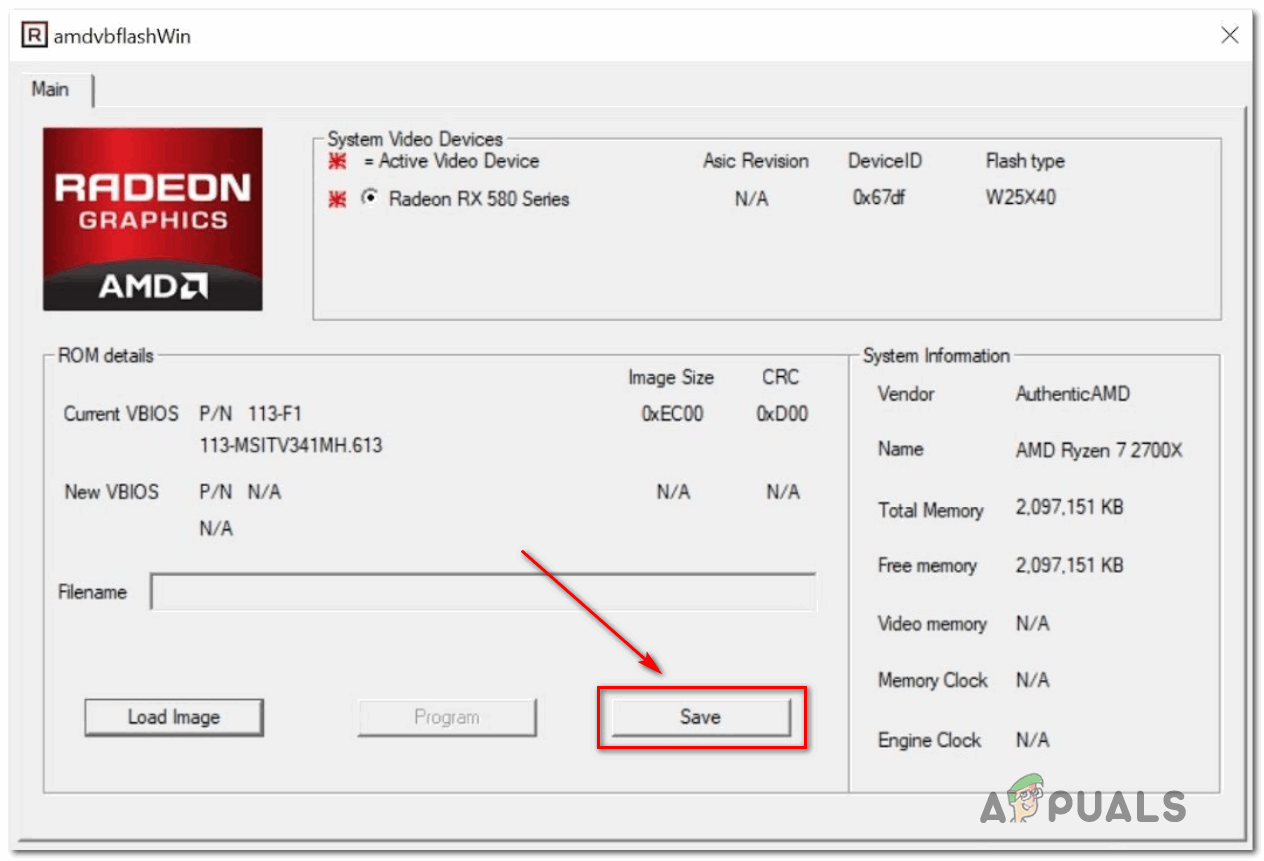
- After the .rom file is successfully downloaded, access the ATIFLash folder (the one you extracted at step 2), right-click on the amdvbflashWin.exe, then choose Run as Administrator from the newly appeared context menu. Next, click Yes at the UAC (User Account Control) to grant admin rights.
Opening the AMD GPU flashing utility - Once you’re inside the amdvbflashWin utility, start by saving your current BIOS by clicking on Save, then select a location, and then click Save once again. This operation will ensure that you are protected and have a failsafe in case something goes wrong and the new firmware doesn’t function properly.
Saving the current GPU BIOS via the amdvbflashWin utility - Once you have successfully backed up your current GPU BIOS, click Continue, then click on Load Image and select the .rom file that you previously downloaded at step 5.
- Once the default ROM is loaded inside the utility, cross your fingers and click on Program to start the flashing operation.
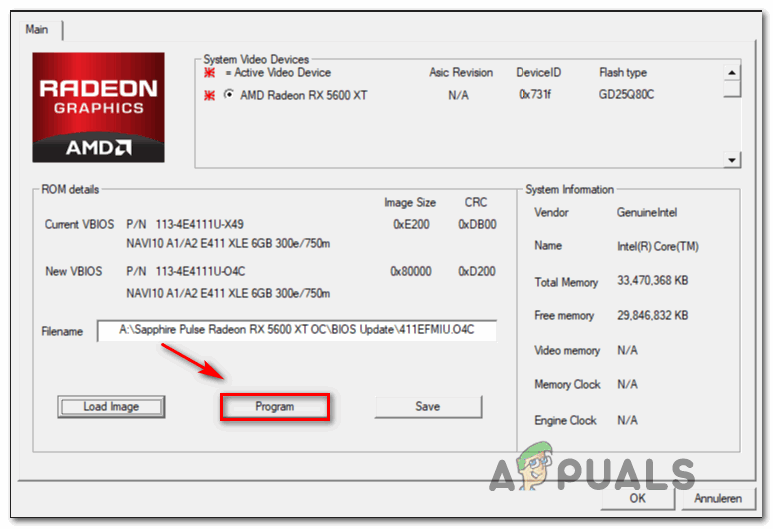
Starting the GPU flashing operation - Wait until the process is complete. The utility will start by erasing the current firmware before installing the new one (in our case, the stock firmware).
- Once the operation is complete, restart your computer in order to allow the changes to take effect.
- At the next startup, open Device Manager and see if the Error Code 43 is fixed.