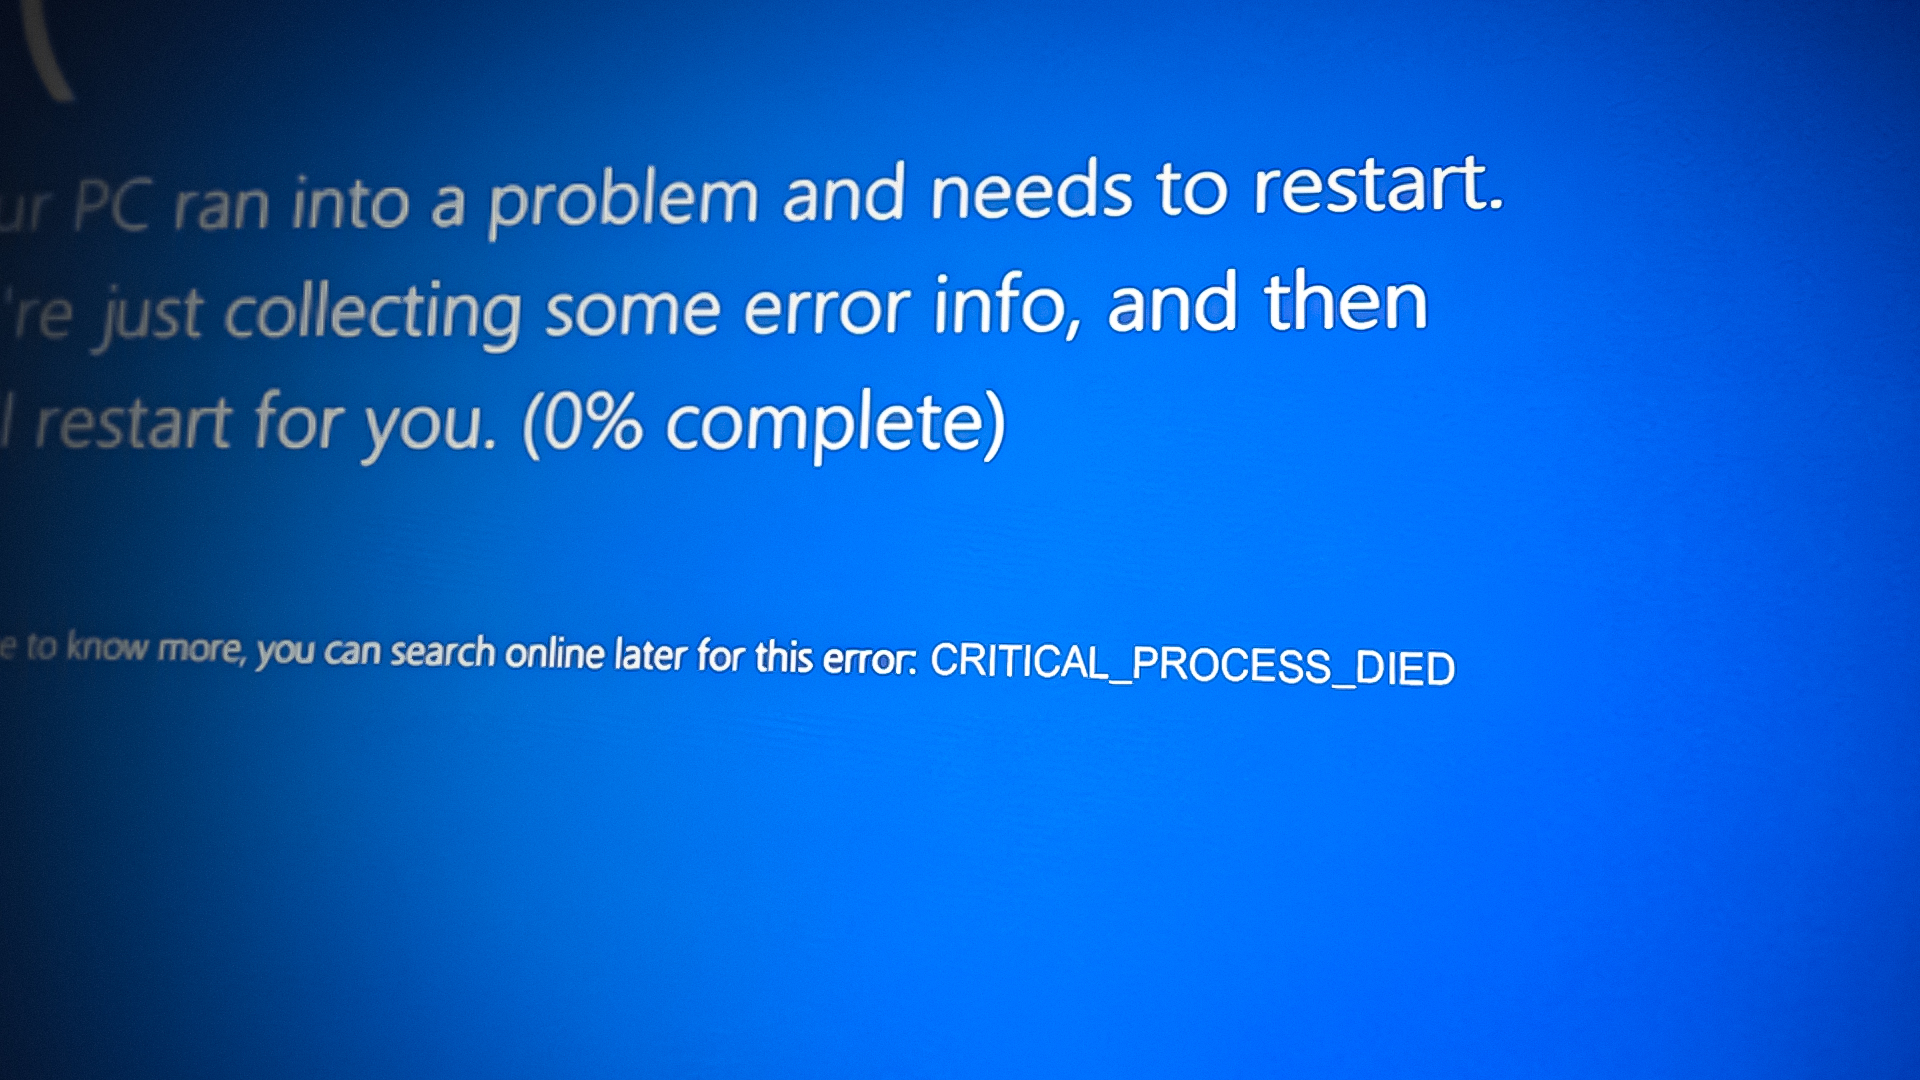
How to Fix “CRITICAL_PROCESS_DIED” Error in Windows?
This Blue Screen of Death error occurs when a critical background process fundamental to Windows operation or hardware functionality unexpectedly terminates. Such a critical process might include a driver or system files upon which Windows or hardware operations depend.
The main cause of this issue is commonly traced back to corrupted system files. The installation of third-party programs can sometimes change or damage protected system and registry files. As a result, these alterations may stop a critical background process, thus causing this error.
If a new hardware device was recently connected, the Windows update utility might have automatically installed an incompatible driver, which could prevent the proper functioning of the driver or device, leading to this error.
1. Boot Windows in Safe Mode
Safe Mode is a diagnostic startup mode in Windows that allows you to boot the system with only the essential drivers and services. By booting into safe mode, we can isolate the issue by temporarily disabling non-essential files and settings, which may be causing the Blue Screen of Death.
If the error stops appearing in Safe Mode, it strongly indicates that default settings and basic device drivers aren’t contributing to the issue, which in turn, points to third-party drivers or non-essential services as the likely reasons.
- Power off your computer if it is currently on.
- Switch on your computer and await the appearance of the Windows logo.
- When the logo appears, immediately power off your computer.
- Repeat the above process three times to open the Windows Recovery Environment.
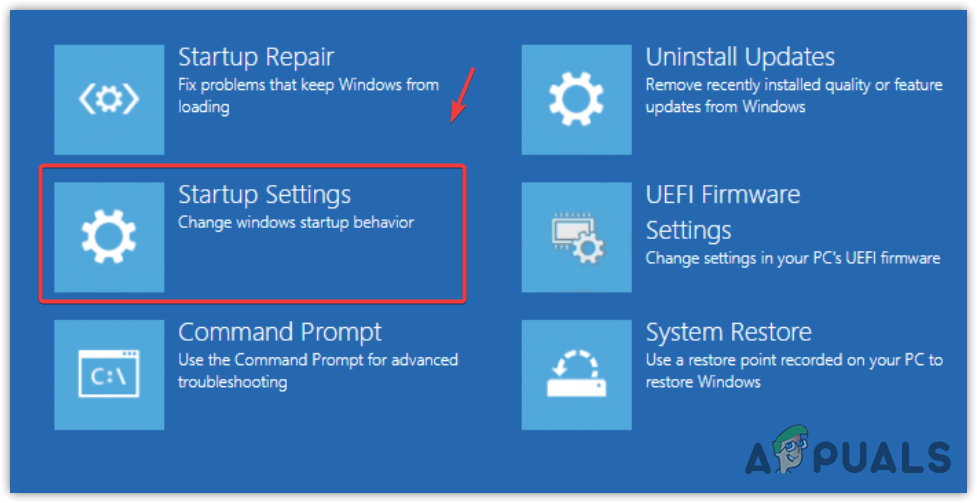
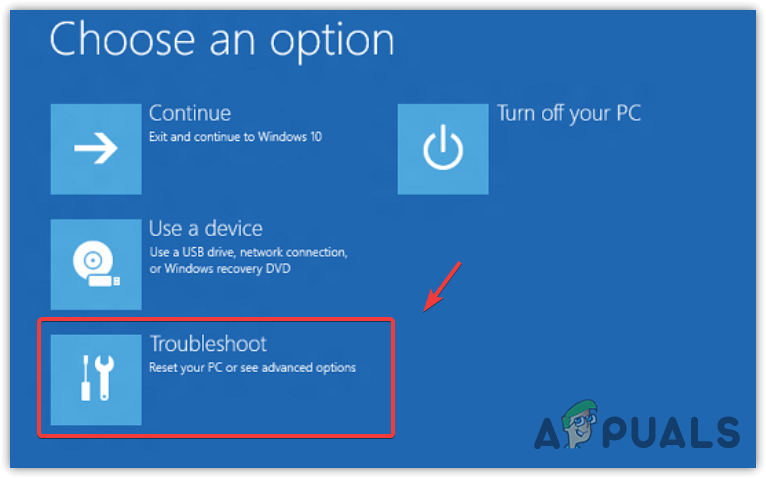
- Select Advanced Options > Troubleshoot > Advanced Options.

Navigating to Advanced Options - Select Startup Settings and await your computer’s restart.
Selecting Startup Settings - Following the restart, press 4 or F4 to boot into Safe Mode.
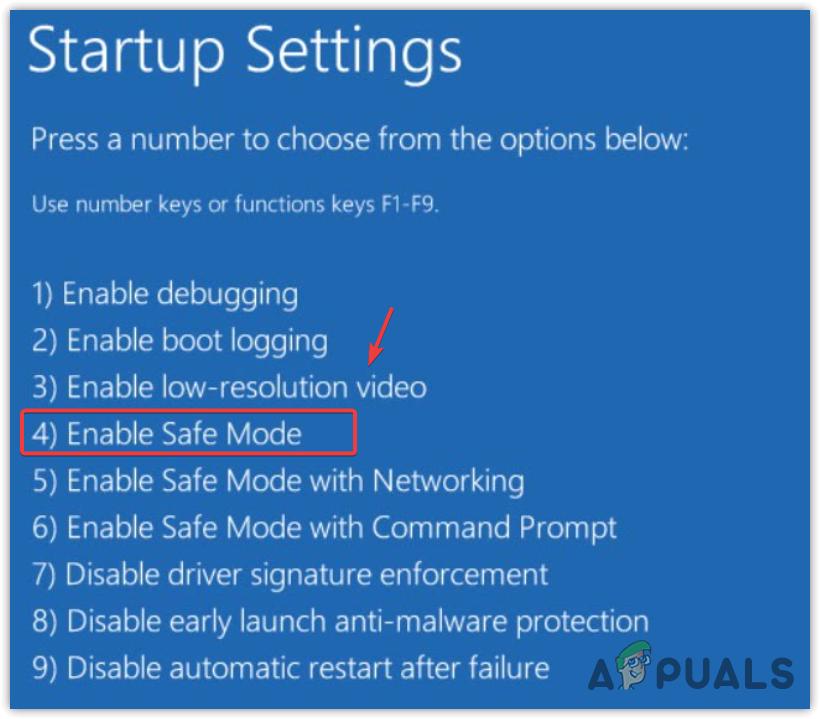
Enabling Safe Mode from Windows Recovery Environment - Once booted successfully, use your system to find out whether the BSOD reoccurs.
- If the error does not reappear, a driver issue is the probable cause.
2. Roll Back the Drivers
When you reverse a driver update, you’re basically undoing recent changes that could be causing system conflicts or errors. This action can restore previous driver versions that were functioning better with your system’s hardware and software, thus potentially eliminating the Blue Screen of Death error that’s currently troubling your experience.
Alternatively, if you manually updated a driver and then experienced the BSOD, you can skip to the fourth step to roll back that driver.
Note: If unable to boot in normal mode, access Safe Mode as detailed in the previous method.
- Press the Windows key and type Check for updates.
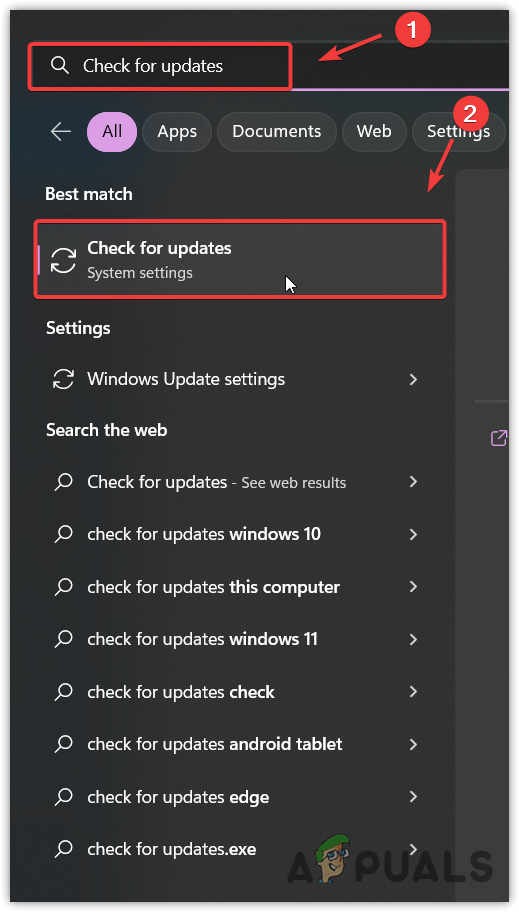
Opening Windows Update settings from Start Menu - Launch Windows Update settings and click Update History.
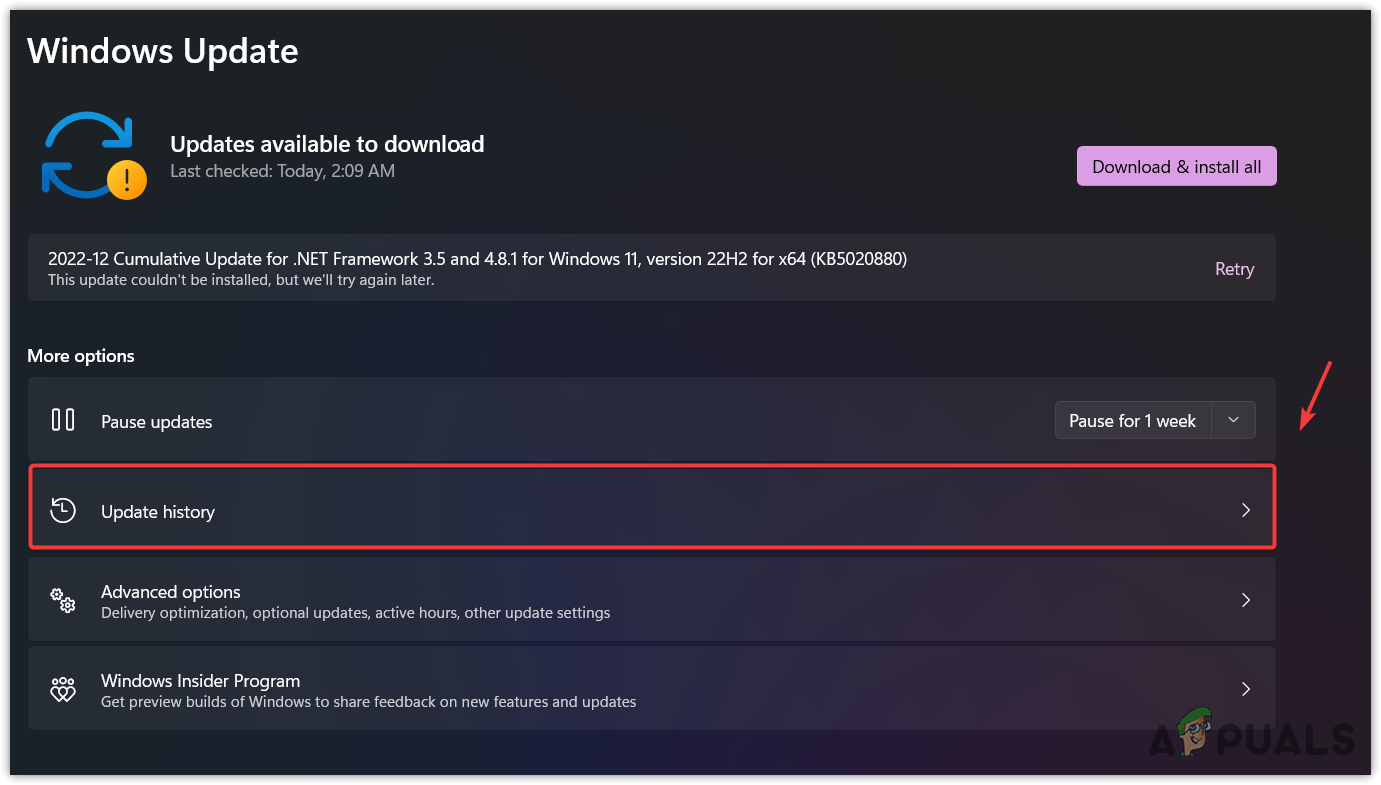
Navigating to Windows Update history - Examine Driver Updates for recent changes. If you find the updated driver, proceed to roll it back. If the driver’s name is not listed in the update history, analyze the minidump file for further insight into the defected driver.
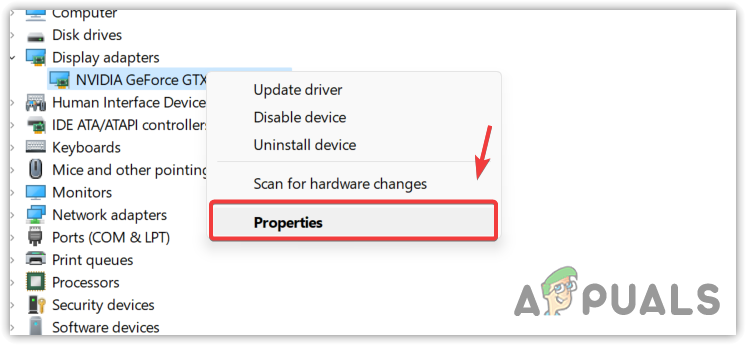
- Right-click the Start Menu and select Device Manager to open it.

Opening Device Manager from Start Menu - Right-click the updated driver and click Properties.
Opening driver properties - In the top menu, navigate to Driver tab and select Roll Back Driver.
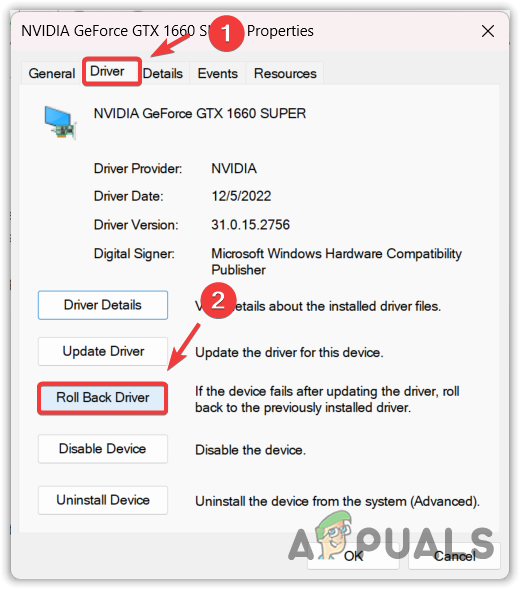
Roll backing the Graphics driver - Choose a reason for the rollback and confirm with Yes.
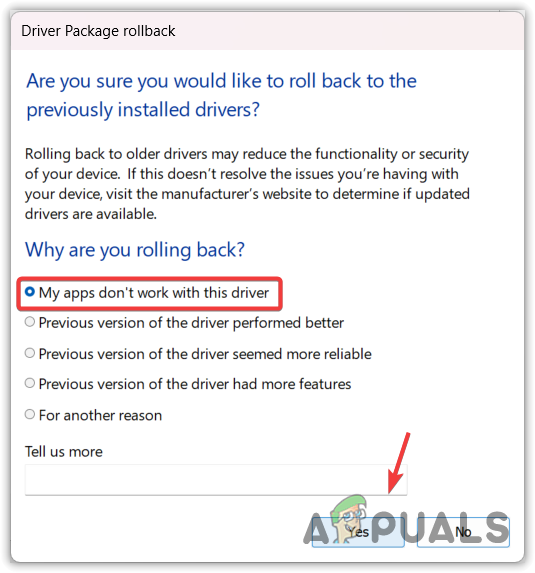
Selecting the reason to roll back the driver - Verify whether the Critical Process Died BSOD error has been resolved.
3. Run System File Checker and CHDSK Command
Windows processes depend on system files; corrupt files can prevent critical processes from running, causing the BSOD error. To fix corrupted files, running the System File Checker (SFC) can be helpful. SFC is a command-line utility that scans and repairs or replaces corrupt system files.
Afterwards, we suggest running the CHDSK command, a utility that scans for and resolves disk errors.
Note: Should Windows boot normally, you can execute the following instructions using the command prompt within Windows. If Windows fails to boot, open the command prompt via Windows Recovery Environment.
- Completely power off your system and then press the Power button to turn it on.
- At the sight of the Windows logo or the Starting Windows logo on your screen, promptly press the power button to shut down.
- Carry out this process three consecutive times to initiate the Automatic Repair function.
- Upon completion of the loading process, select Advanced Options.
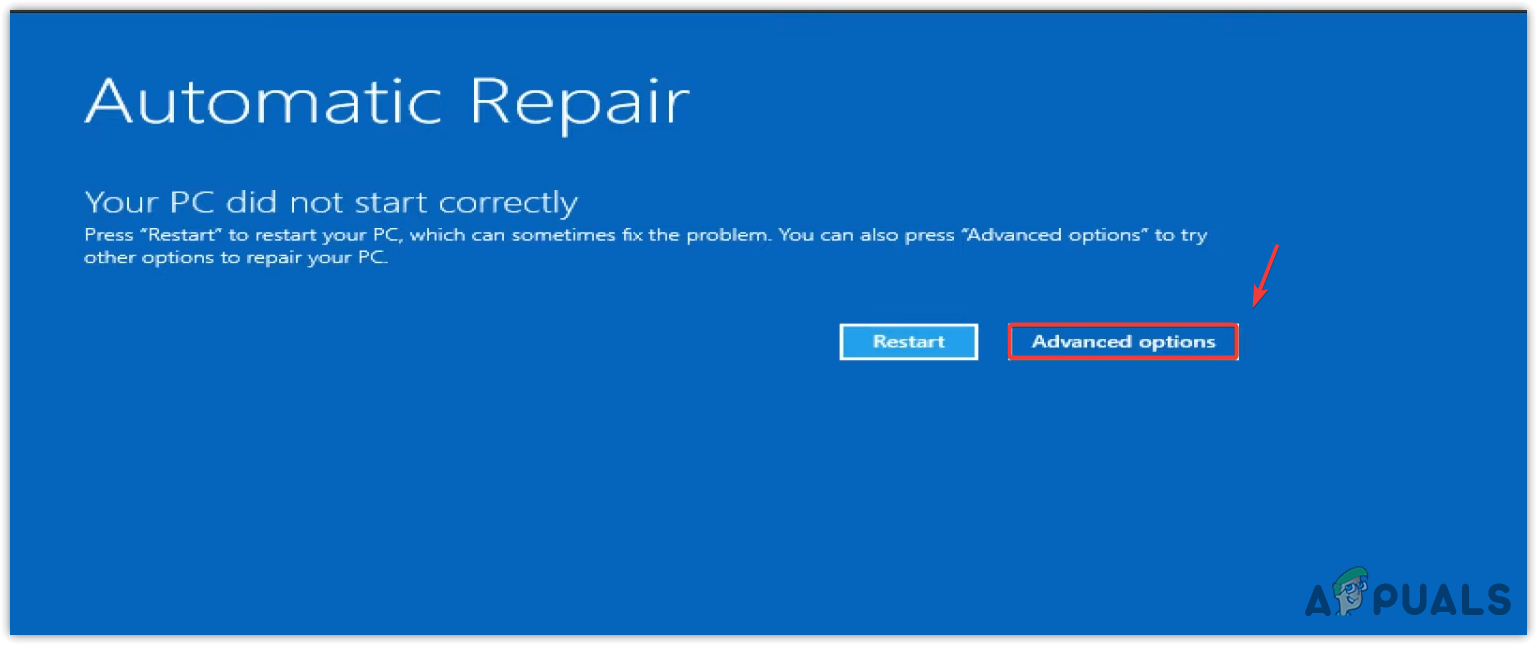
Navigating to Advanced Options on Windows Recovery Environment - Click on Troubleshoot > Advanced Options.
- Choose Command Prompt and wait for your computer to restart.
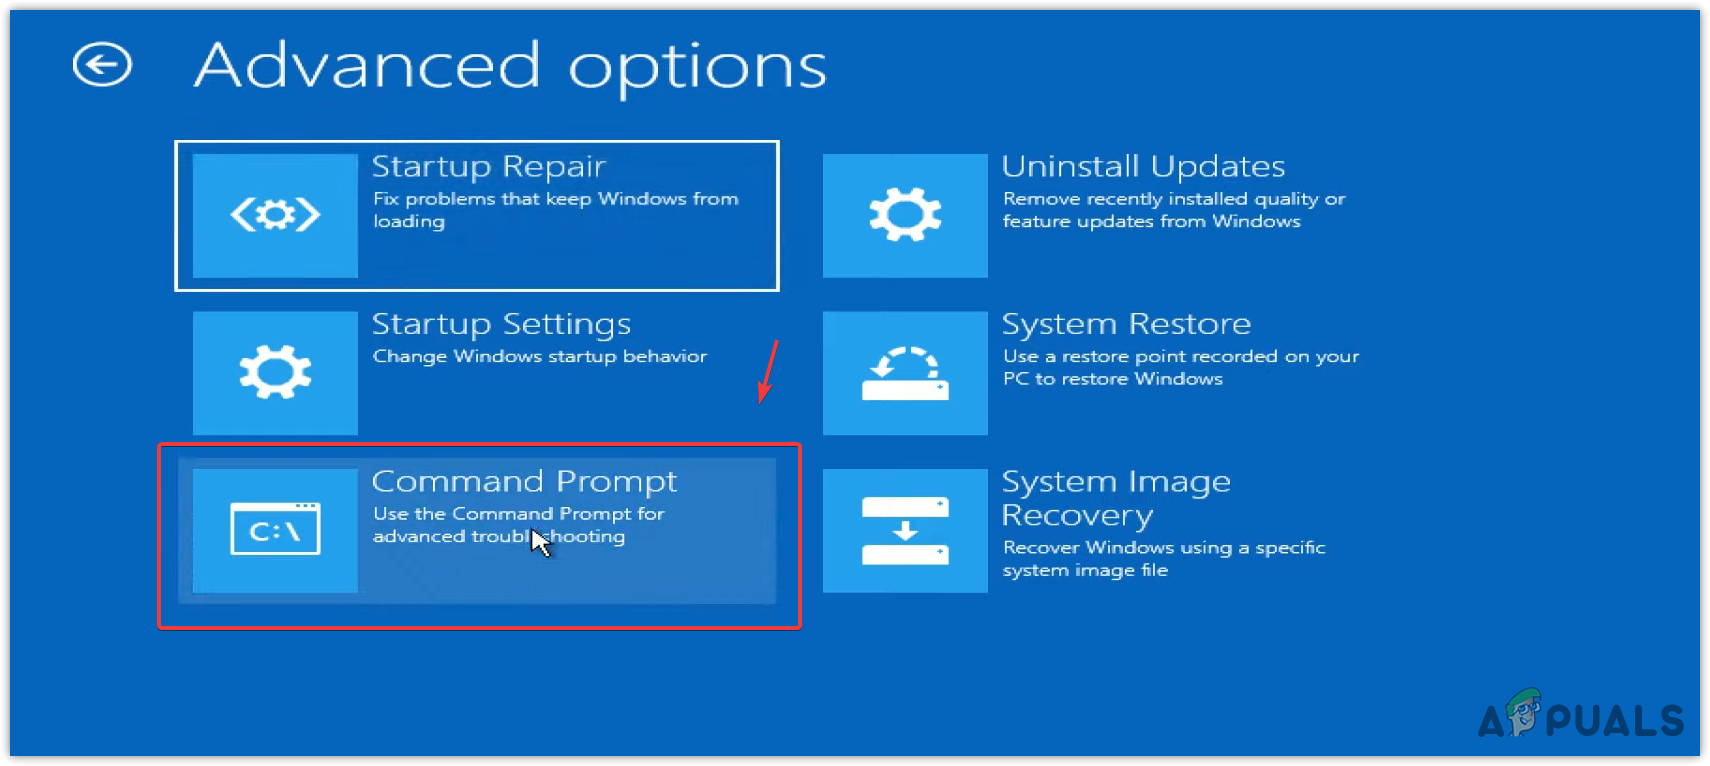
Opening Command Prompt from Windows Recovery Environment - After the restart, enter the following commands one at a time in the command prompt:
sfc /scannow
chkdsk c:
- Allow time for the commands to execute.
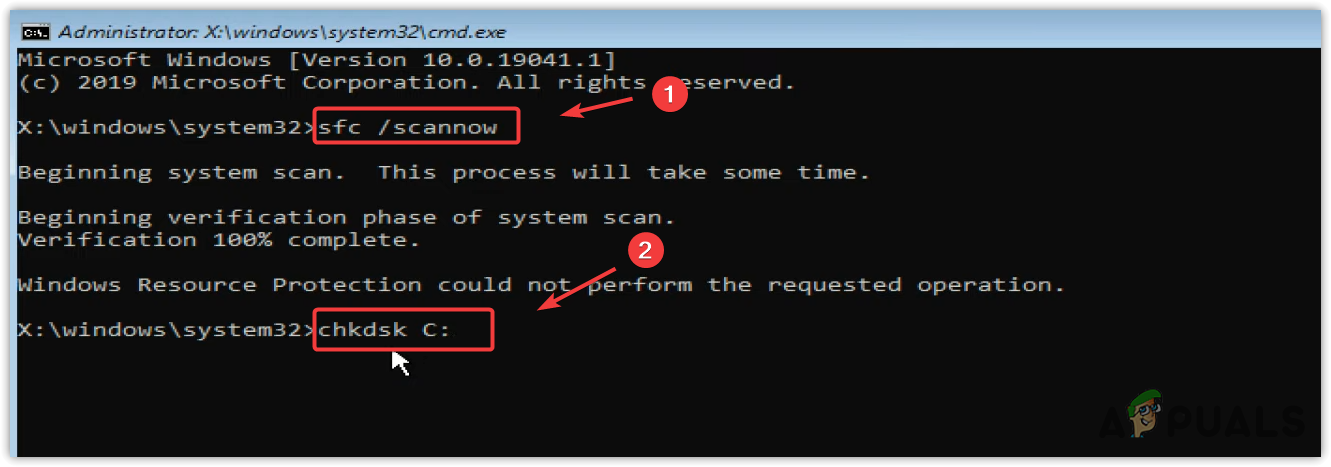
Running System File Checker and CHKDSK - Post-execution, close the command prompt, and turn off your computer. Then, switch it back on to see if the problem persists.
4. Use the System Restore Utility
The System Restore utility prevents issues by restoring the system to a previous state using restore points created before significant changes were made.
This utility is particularly useful when resolving issues that might have appeared after installing new drivers, applications, or updates which could be causing the BSOD error. By restoring to a point before the problem began, you basically set your system back to a time when everything was functioning correctly, thus potentially resolving the critical process error.
- Switch on your system and wait for the Windows logo to appear.
- Once visible, shut down your computer by pressing the power button.
- Repeat this process until the preparing automatic repair window surfaces.
- If automatic repair is unsuccessful, select Advanced Options.
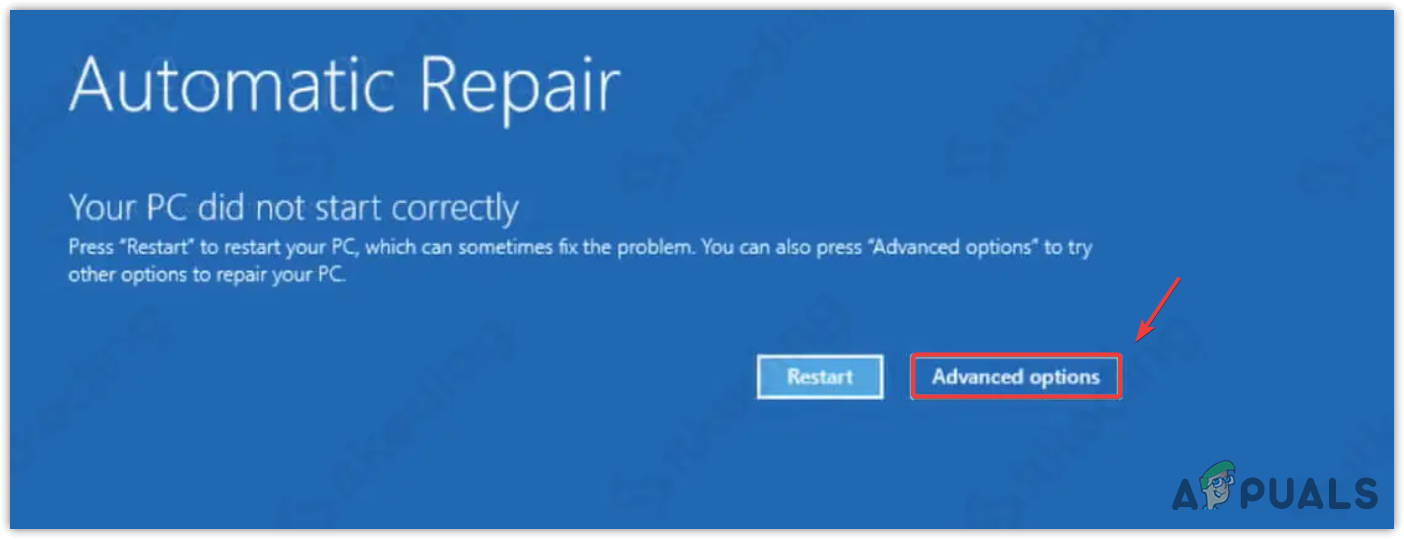
Opening Advanced Options - Proceed by selecting Troubleshoot > Advanced Options.
Navigating to Troubleshoot settings - Choose the System Restore option.
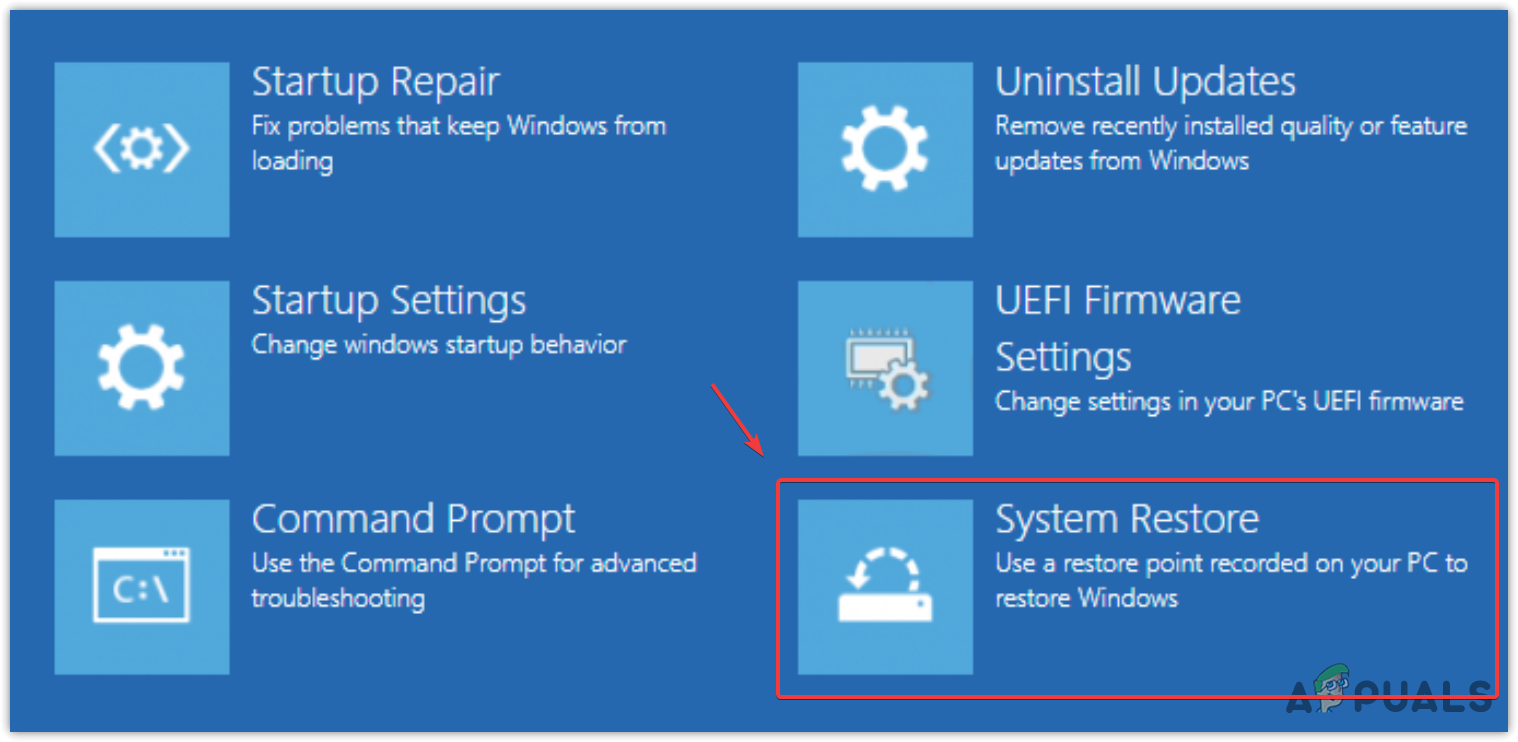
Selecting System Restore - Await the computer’s restart.
- In the System Restore interface, select Choose a different restore point if the recommended one is preselected, then click Next. Otherwise, just click Next.
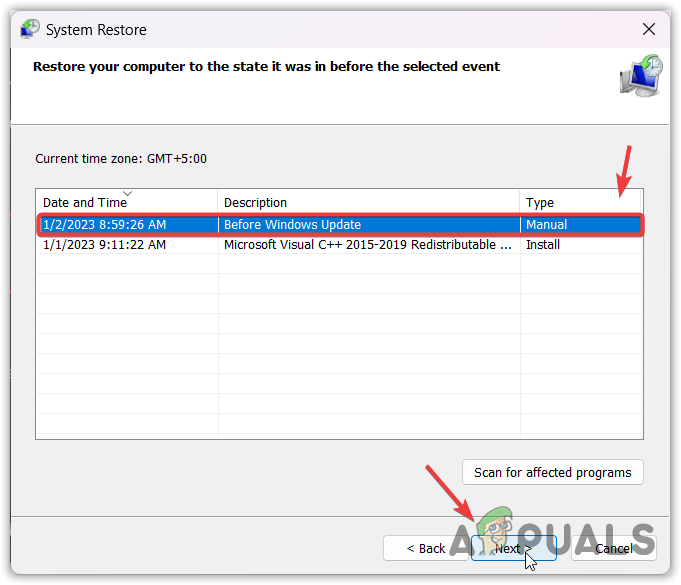
Selecting a restore point - Pick a restore point and click Next.
- Initiate the restoration by selecting Finish. Your computer will reboot upon completion.
5. Hardware Troubleshooting
This approach involves examining each hardware component to uncover any malfunctions or incompatibilities that software diagnostics might miss. A successful diagnosis could reveal a faulty memory module or a failing hard drive, establishing a clear path to replace defective parts and restore stability to your defected Windows environment.
Basically, hardware troubleshooting is the critical key that can unlock the door to a smooth, error-free computing experience.
Disconnect Peripheral Devices
Peripheral devices, such as printers, external hard drives, or USB devices, can sometimes conflict with system operations due to hardware incompatibilities or faulty drivers. By unplugging these extras and running your computer in a more basic state, you can determine if any of these external components were causing the BSOD. If the issue remains, you’ve found the rogue hardware, allowing for targeted troubleshooting or replacement.
Check RAM and Hard Drives
Faulty RAM is a common reason for many BSOD errors, thus testing your RAM is essential. Remove and test each RAM module independently to isolate any defective ones.
If all RAM modules are functioning correctly and do not provoke the issue, next, detach all hard drives except the one with the Windows installation and test. If neither RAM nor hard drives are the cause, move on to evaluating the dedicated video card or graphics card, if present.
Boot Windows without a Video Card
Should your CPU have an integrated graphics card, you can evaluate your dedicated video card by removing it and connecting your display to the motherboard. Then power on your computer and monitor it for any recurrence of the BSOD error. If the error occurs again, the video card is likely not the source of the problem. The next step is to test your power supply.
Test the Power Supply
If the power supply is faulty, it can lead to various issues, including the dreaded BSOD errors. A failing power supply can present irregular or continuous power disruptions that might cause system instability. By using a power supply tester tool, you can verify whether the power delivery to your system’s components is reliable, which, if found inconsistent, might indeed be the cause of your problems.
Fixing power supply issues can often restore system stability and eliminate blue screen errors.