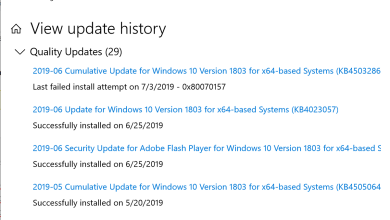
How to Fix Update Error 0x8024D00C in Windows 10/11
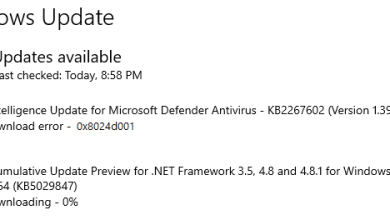
The Windows Update error 0x8024D00C occurs when the Windows Update Agent cannot be updated. This issue may arise due to inconsistencies in the update components that require a reset.

Most commonly, this error code can be resolved by performing a system restart, which reinitiates the Windows update components on your PC and allows any issues with the Windows Update Agent to clear.
Microsoft Officially recommends that you restart your computer as a troubleshooting step. Therefore, restart your system before attempting the other methods below.
After the system boots up, check to see if the error persists. If the issue remains unresolved, proceed to the next method.
1. Run Windows Update Troubleshooter
Windows includes a built-in Windows Update Troubleshooter that can scan and fix potential issues within the update components—a helpful tool when facing errors during updates.
To run the troubleshooter, follow the steps below:
- Open the Settings app using the Win key + I.
- Navigate to the System > Troubleshoot > Other troubleshooters section.
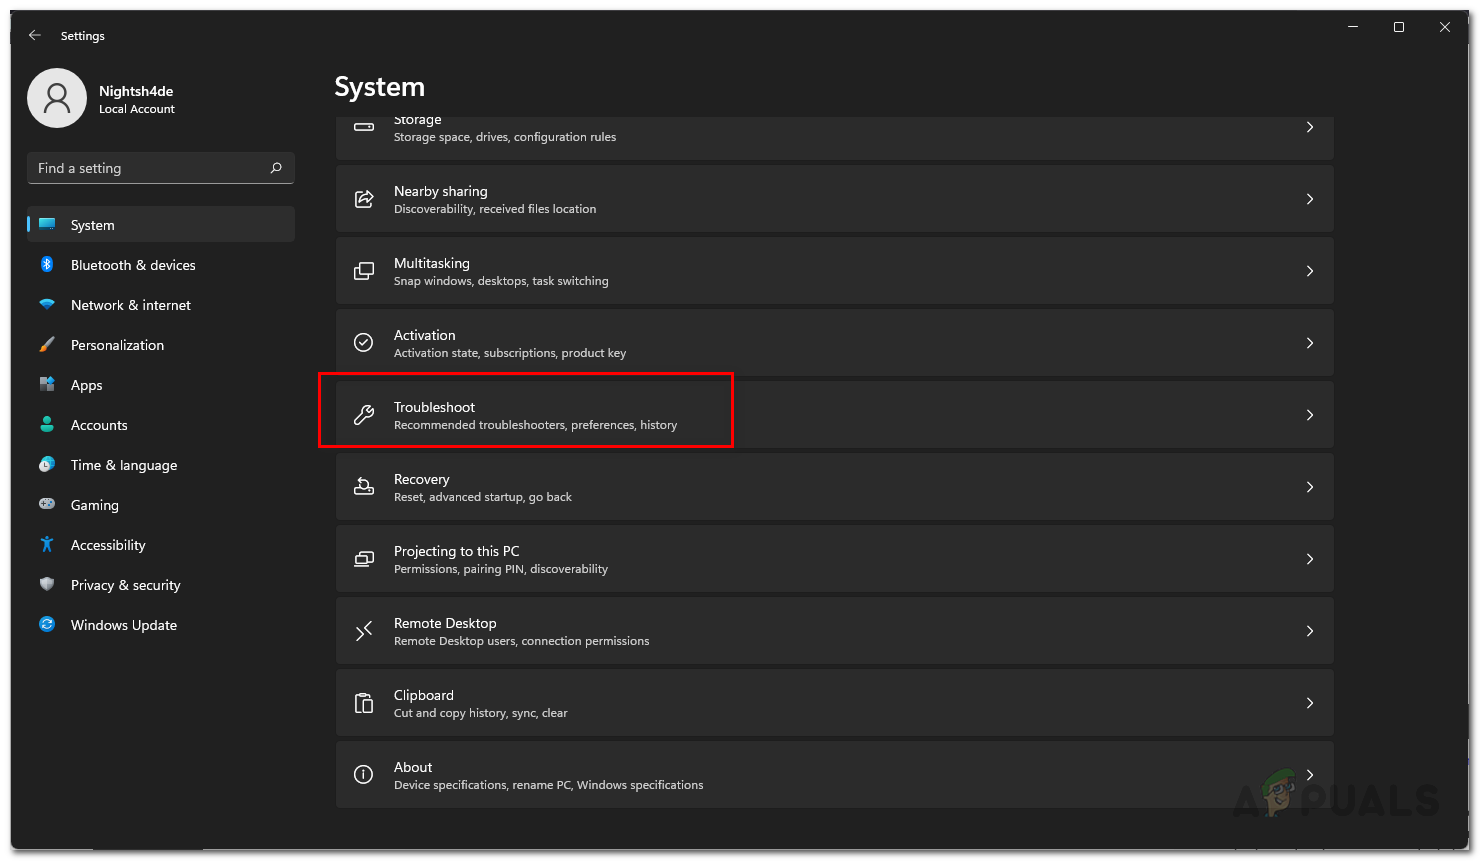
Navigating to Troubleshoot - Click on the Windows Update troubleshooter and wait for it to complete the process.
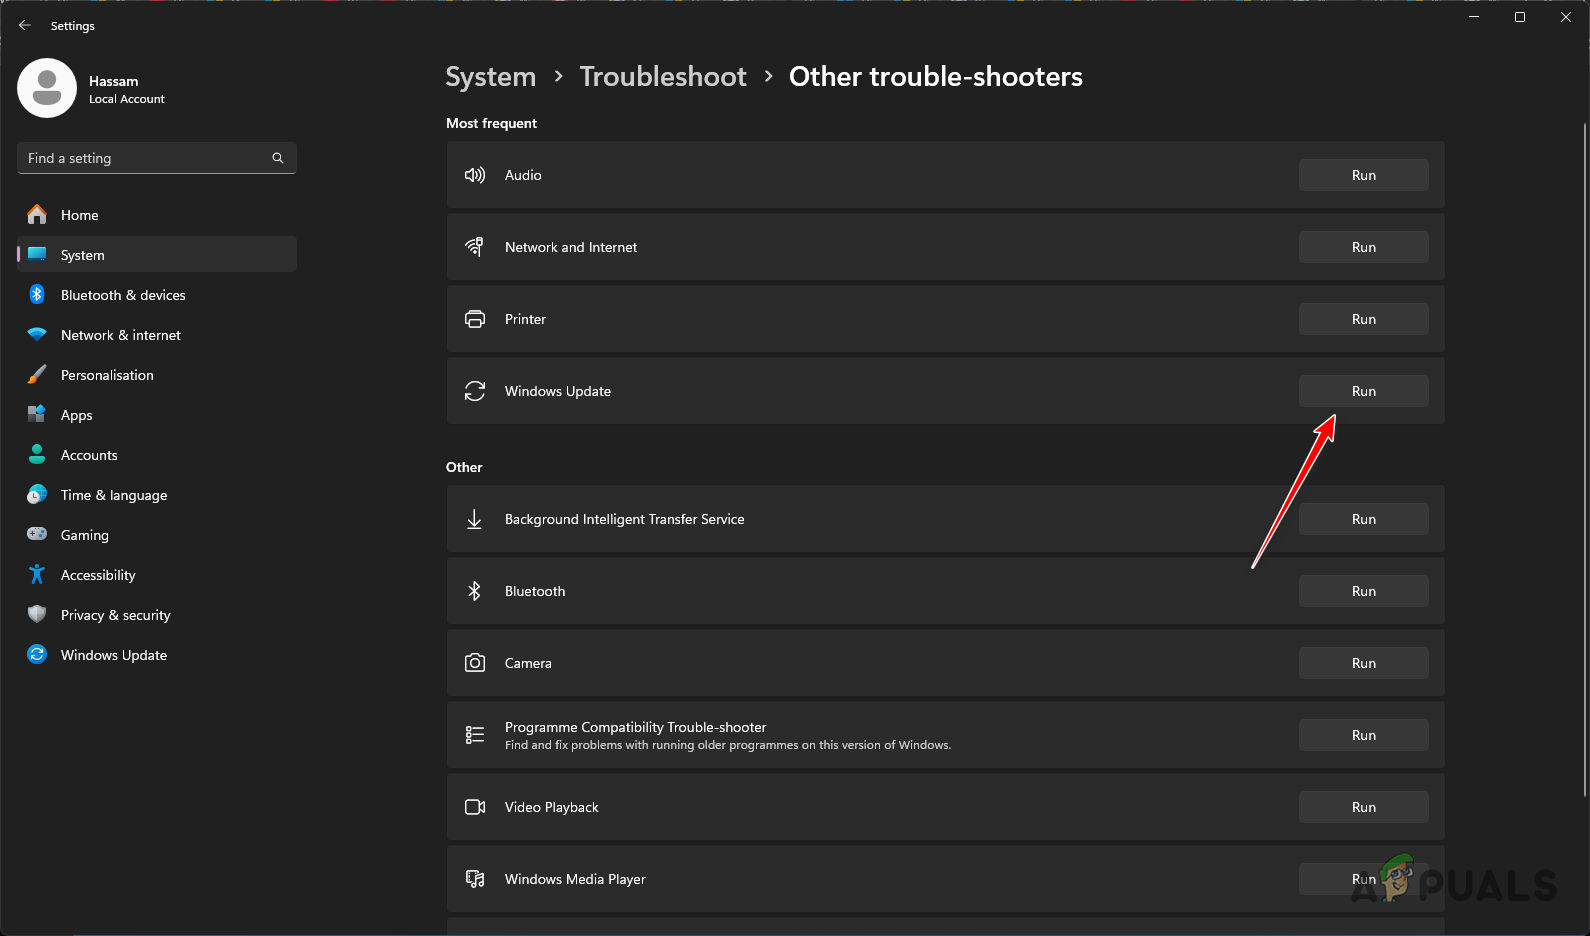
Running Windows Update Troubleshooter - Check if this resolves the error.
2. Repair System Files
Corruption in system files can sometimes cause update failures. To repair these files, you can use the System File Checker (SFC) and Deployment Image Servicing and Management (DISM) utilities in Windows.
Follow these step-by-step instructions:
- Open the Start Menu, search for command prompt, and click the Run as administrator option.
- Type the following command in the command prompt window and press Enter:
sfc /scannow

Running SFC Scan - Then, execute the following:
DISM /Online /Cleanup-Image /RestoreHealth
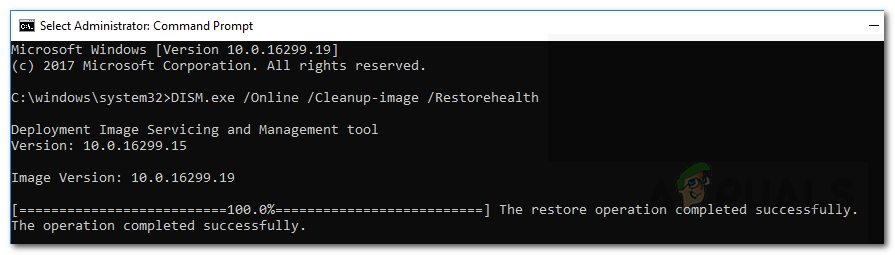
Restoring System Health with DISM - Wait for the process to complete and restart your system.
- Check if the update still fails with the error code.
3. Reset Windows Update Components
If components crucial for the update process malfunction, the process may not complete correctly.
You will need to reset these components as follows:
- Open the Start Menu and search for cmd.
- Click the Run as administrator option.
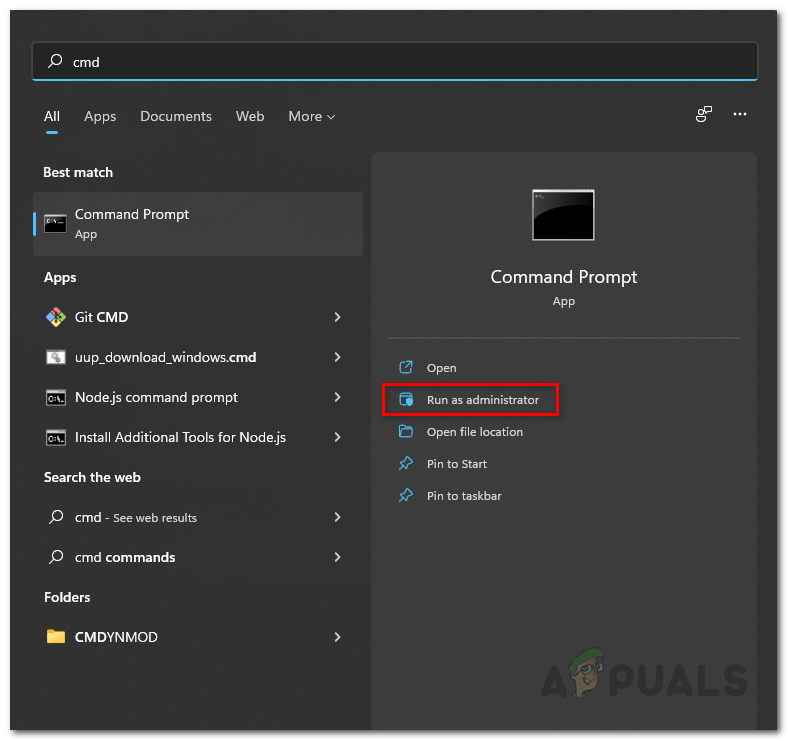
Opening Command Prompt as Admin - Stop the Windows update-related services by typing the following commands one by one:
net stop bits
net stop wuauserv
net stop cryptsvc
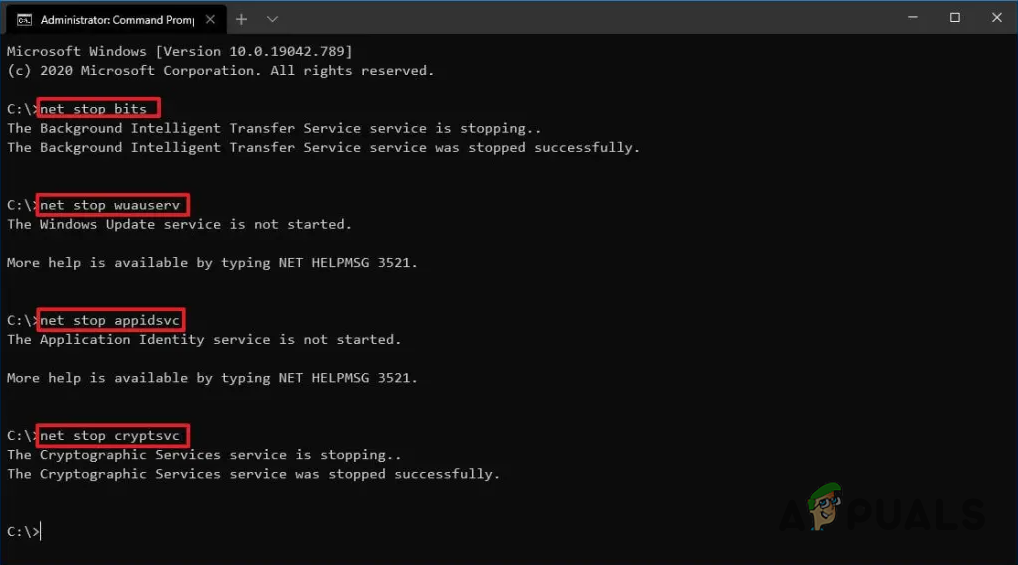
Stopping Windows Update Services - Delete the qmgr*.dat files by entering the command below:
Del "%ALLUSERSPROFILE%\Application Data\Microsoft\Network\Downloader\*.*"
- When prompted, enter Y to confirm.
- Rename the current Windows Update cache to prevent usage with these commands:
Ren %Systemroot%\SoftwareDistribution\DataStore DataStore.bak
Ren %Systemroot%\SoftwareDistribution\Download Download.bak
Ren %Systemroot%\System32\catroot2 catroot2.bak
- Reset the Windows Update services using the following commands:
sc.exe sdset bits D:(A;CI;CCDCLCSWRPWPDTLOCRSDRCWDWO;;;SY)(A;;CCDCLCSWRPWPDTLOCRSDRCWDWO;;;BA)(A;;CCLCSWLOCRRC;;;IU)(A;;CCLCSWLOCRRC;;;SU)

sc.exe sdset wuauserv D:(A;;CCLCSWRPLORC;;;AU)(A;;CCDCLCSWRPWPDTLOCRSDRCWDWO;;;BA)(A;;CCDCLCSWRPWPDTLOCRSDRCWDWO;;;SY)
- Navigate to the System32 directory with the following command:
cd /d %windir%\system32
- Reregister all Windows Update files by entering these commands one after another:
regsvr32.exe atl.dll
regsvr32.exe urlmon.dll
regsvr32.exe mshtml.dll
regsvr32.exe shdocvw.dll
regsvr32.exe browseui.dll
regsvr32.exe jscript.dll
regsvr32.exe vbscript.dll
regsvr32.exe scrrun.dll
regsvr32.exe msxml.dll
regsvr32.exe msxml3.dll
regsvr32.exe msxml6.dll
regsvr32.exe actxprxy.dll
regsvr32.exe softpub.dll
regsvr32.exe wintrust.dll
regsvr32.exe dssenh.dll
regsvr32.exe rsaenh.dll
regsvr32.exe gpkcsp.dll
regsvr32.exe sccbase.dll
regsvr32.exe slbcsp.dll
regsvr32.exe cryptdlg.dll
regsvr32.exe oleaut32.dll
regsvr32.exe ole32.dll
regsvr32.exe shell32.dll
regsvr32.exe initpki.dll
regsvr32.exe wuapi.dll
regsvr32.exe wuaueng.dll
regsvr32.exe wuaueng1.dll
regsvr32.exe wucltui.dll
regsvr32.exe wups.dll
regsvr32.exe wups2.dll
regsvr32.exe wuweb.dll
regsvr32.exe qmgr.dll
regsvr32.exe qmgrprxy.dll
regsvr32.exe wucltux.dll
regsvr32.exe muweb.dll
regsvr32.exe wuwebv.dll
- Next, reset Winsock by typing:
netsh winsock reset
- Restart the previously stopped services by executing:
net start bits
net start wuauserv
net start cryptsvc
- Check if the error code has been resolved. If not, restart your PC and retry.
4. Manually Install Update
In some cases, you might be unable to download and install updates automatically. You can manually download the necessary updates from the Microsoft Update Catalog.
Here’s how to manually download an update:
- Access the Microsoft Update Catalog.
- Use the search bar to locate the specific update by its KB number.
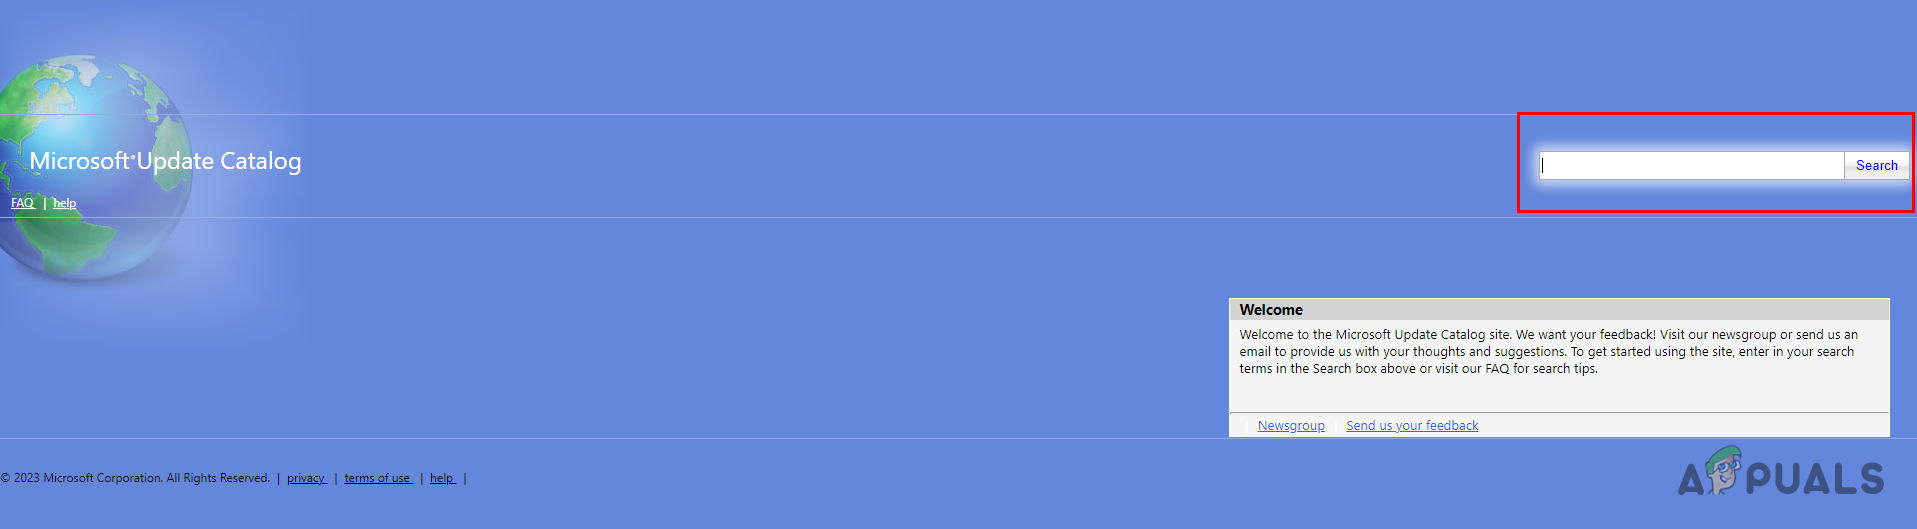
Searching for Windows Update - Click the ‘Download’ button for the appropriate file based on your system’s architecture (x64 or x86).
- Run the downloaded file to install the update.
5. Perform a Clean Boot
Background services and apps may interfere with Windows Update. Clean booting your system starts Windows with only essential system services, preventing third-party interference.
To clean boot Windows, follow these steps:
- Open the Run dialog with Win key + R.
- Type in msconfig and hit Enter.
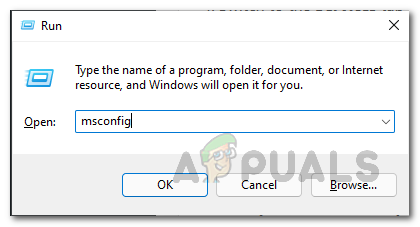
Opening System Configuration - In the System Configuration window, navigate to the ‘Services’ tab, check ‘Hide all Microsoft services,’ then click ‘Disable all.’

Hiding System Services - Apply the changes.
- Go to the Startup tab, click ‘Open Task Manager,’ disable the startup apps, and then restart your PC to initiate a clean boot.
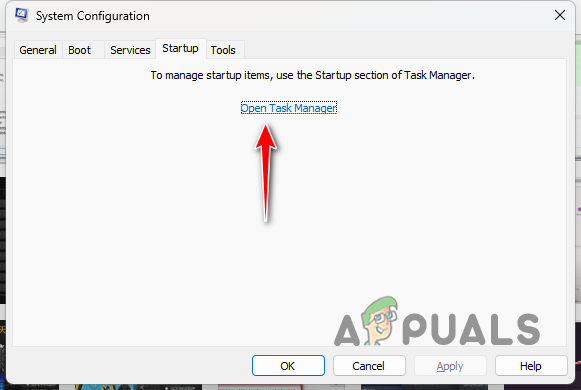
Opening Task Manager - Once rebooted, check if the update installs without issues.
6. Perform an In-Place Upgrade
If other solutions fail, consider an in-place upgrade using the Windows Update Assistant tool, which can update your system to the latest Windows version, along with all the updates.
To perform an in-place upgrade:
- Download the Windows 11 Installation Assistant
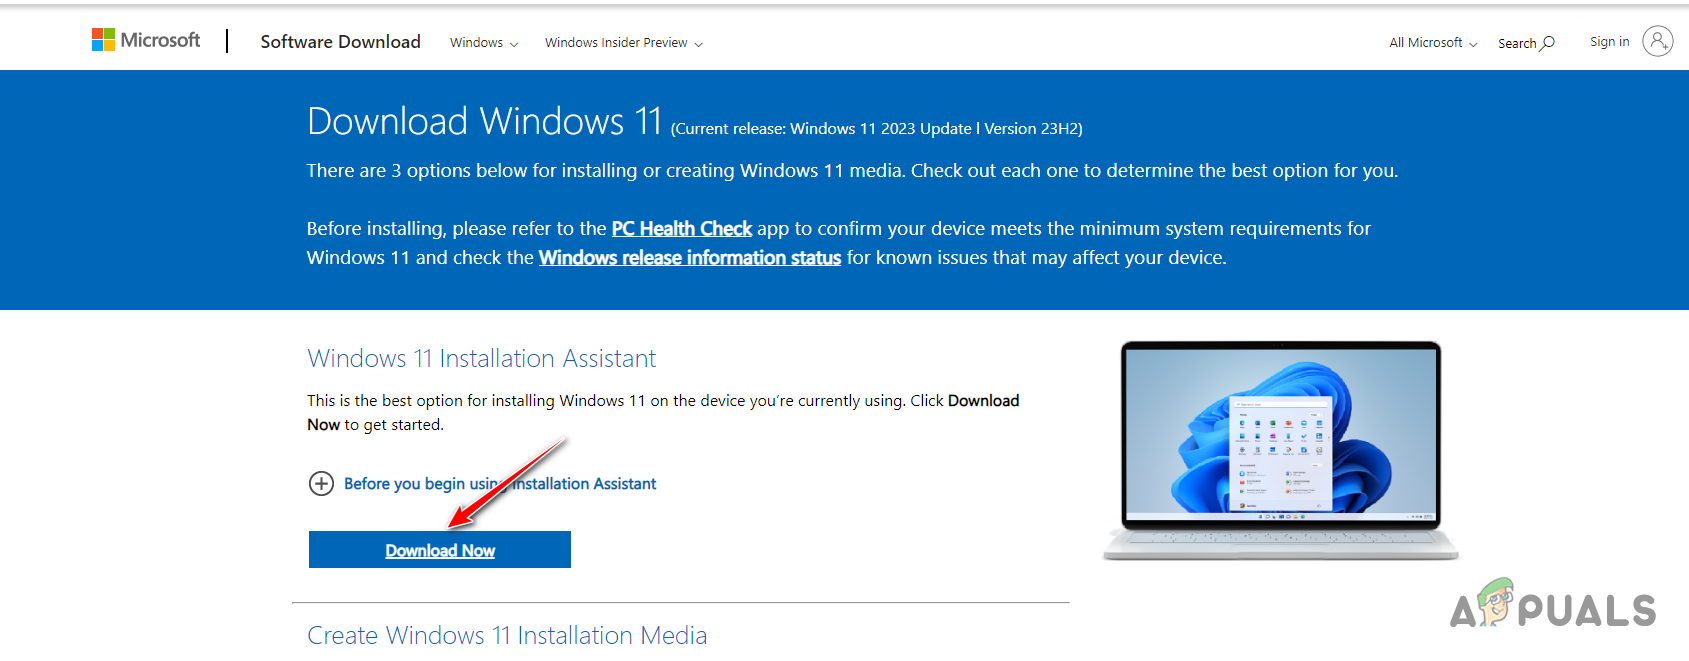
Downloading Windows 11 Installation Assistant
- Run the tool on your system.
- Accept the terms and continue with the on-screen instructions to complete the in-place upgrade.
By following these solutions, you should be able to resolve the 0x8024D00C update error. The issue typically stems from problems with your system’s Windows Update components, which should be addressed by the steps provided. If you continue to experience problems, contact Microsoft Support for further assistance with the error code.