How to Fix “Unable to Establish a Connection to Game” Error in Helldivers 2
When players attempt to launch Helldivers 2, they are met with a persistent error message stating “Unable to establish a connection to the game,” preventing them from progressing past the initial loading screen or accessing any part of the game, including tutorials.

The most common cause identified for this issue revolves around network-related problems, which include server-side issues that prevent a stable connection between the player’s game client and the game servers.
An issue with the nProtect GameGuard anti-cheat system can also prevent the game from establishing a connection with the servers. This guide will take you through various methods that can be helpful in resolving the mentioned error message.
1. Run Steam as an Administrator
The first thing you should do is run the Steam app with administrative privileges. This action resolves any permission conflicts that are causing the error message in Helldivers 2.
The game process will be able to inherit the elevated permissions from the Steam app, which should help to overcome third-party interference.
- First, completely close the Steam app on your computer.
- Open the Start Menu and search for Steam.
- Right-click and select the Run as administrator option.
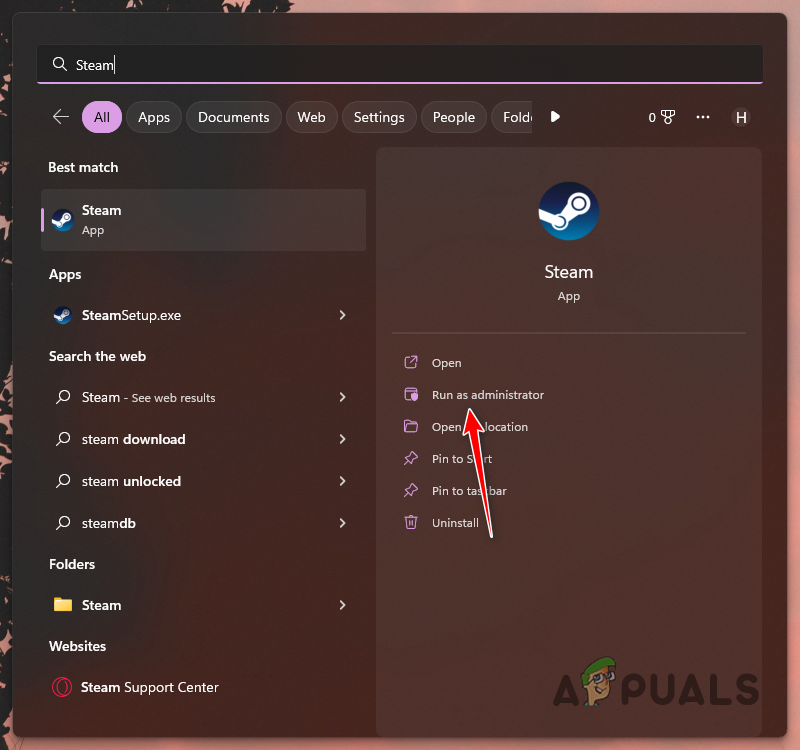
Running Steam as Admin - Click Yes in the User Account Control dialog box that appears.
- Launch Helldivers 2 to see if the error persists.
2. Disable Third-Party VPN
Using a third-party VPN connection can lead to issues with the game process connecting to the game server. This issue can result from network inconsistencies with the VPN server to which you are connected.
To resolve the issue, disconnect any active VPN connection before launching the game.
- Press the Win key + I to open the Settings app.
- Navigate to the Network and internet > VPN section.
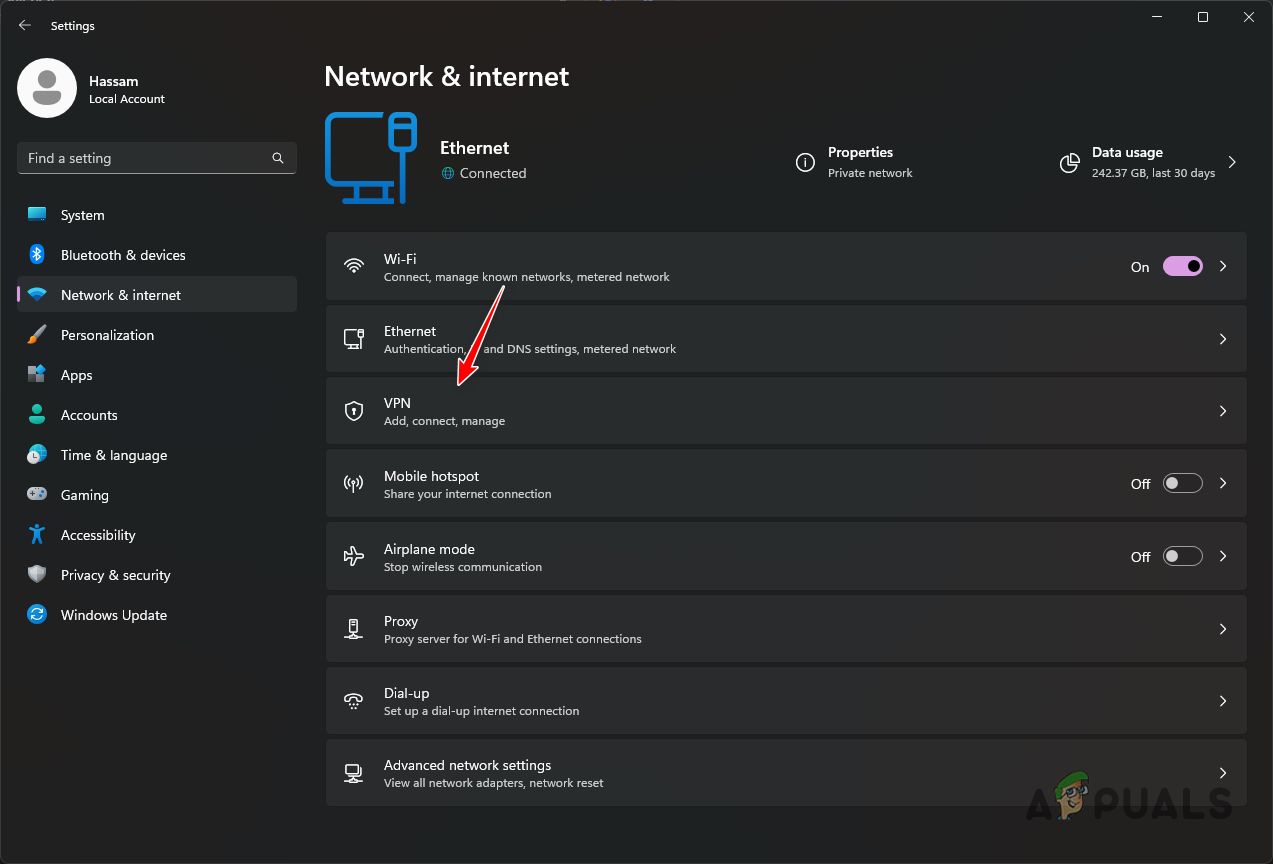
Navigating to VPN Settings - Select the Disconnect option next to your VPN connection.
3. Allow Helldivers 2 through Windows Firewall
The Windows Firewall might be blocking network requests from the Helldivers 2 process, preventing the game from establishing a connection with its servers.
To address this, you need to add a rule to the Windows Firewall configuration that allows connections from the Helldivers 2 process.
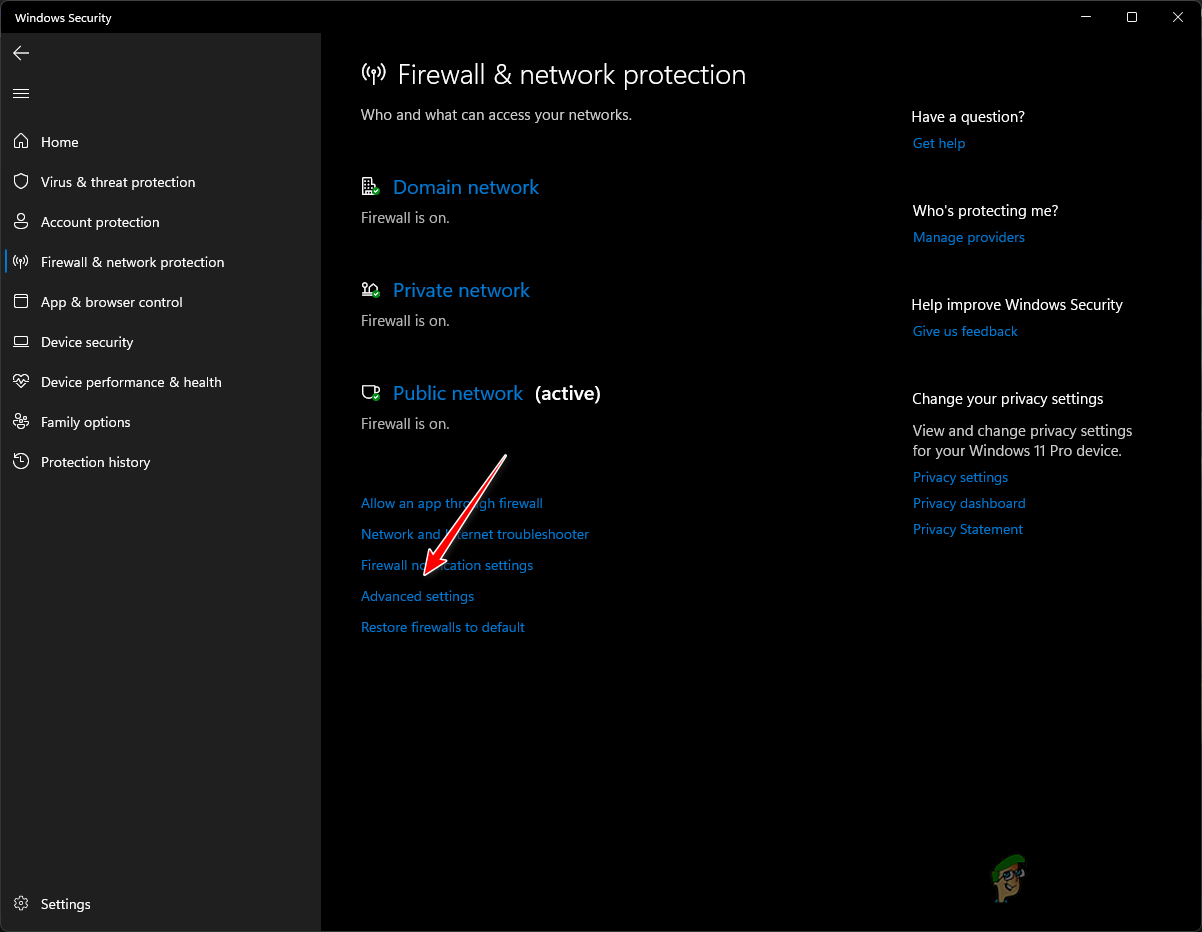
- Open the Start Menu and search for Firewall and Network Protection. Then, open it.

Opening Firewall and Network Protection - Select the Advanced Settings option in the Windows Security app that opens.
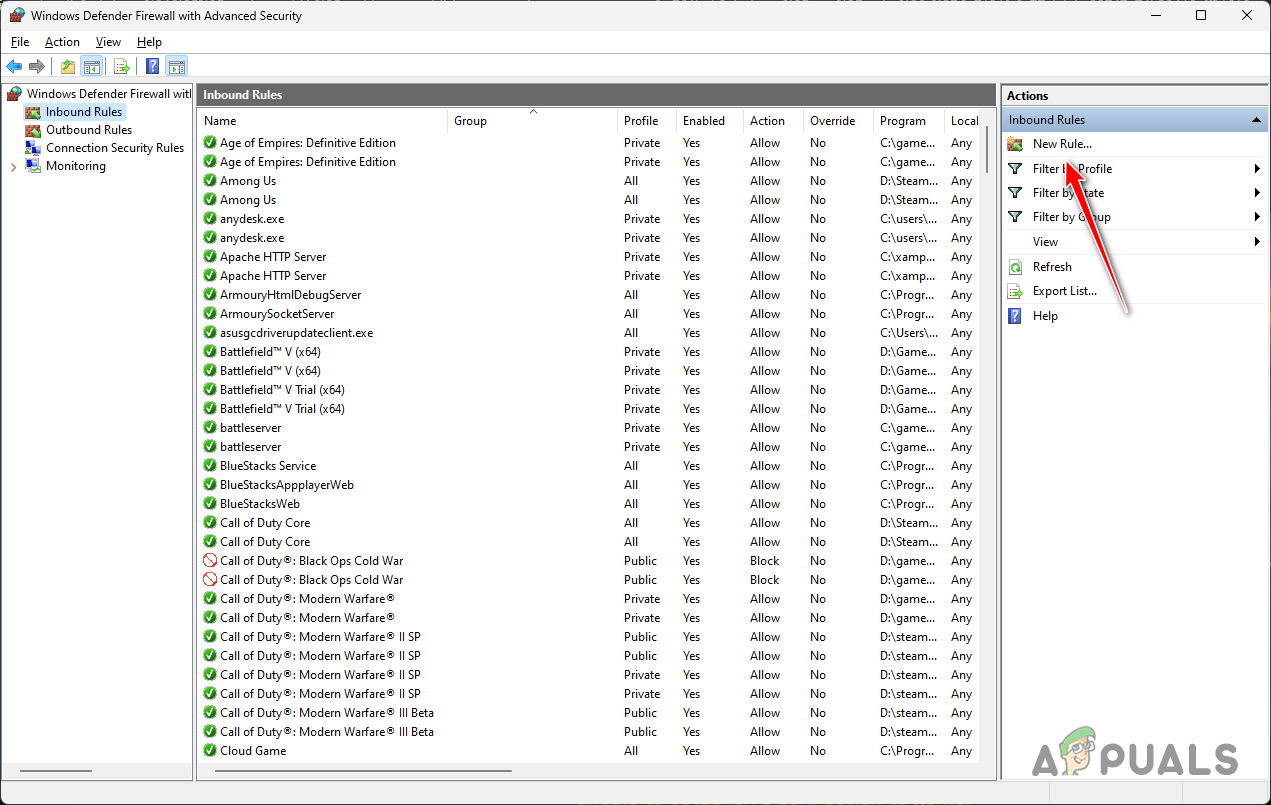
Navigating to Advanced Firewall Settings - Click the Inbound Rules tab on the left side.
- In the right pane, click the New Rule option.
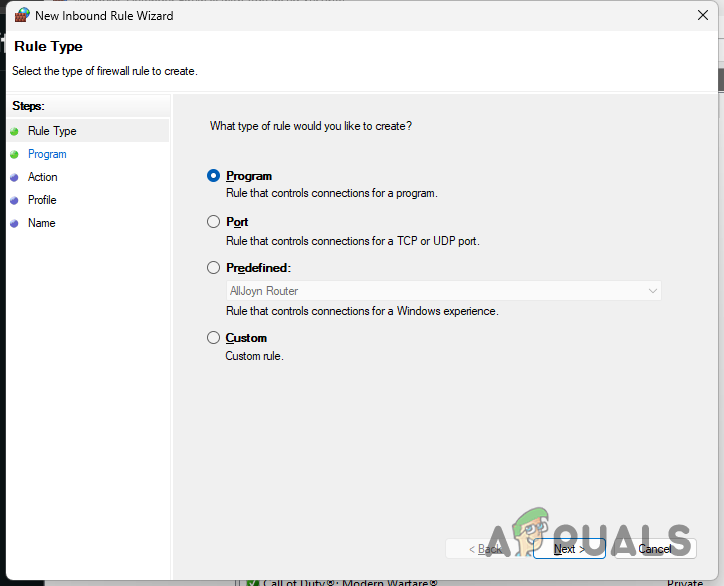
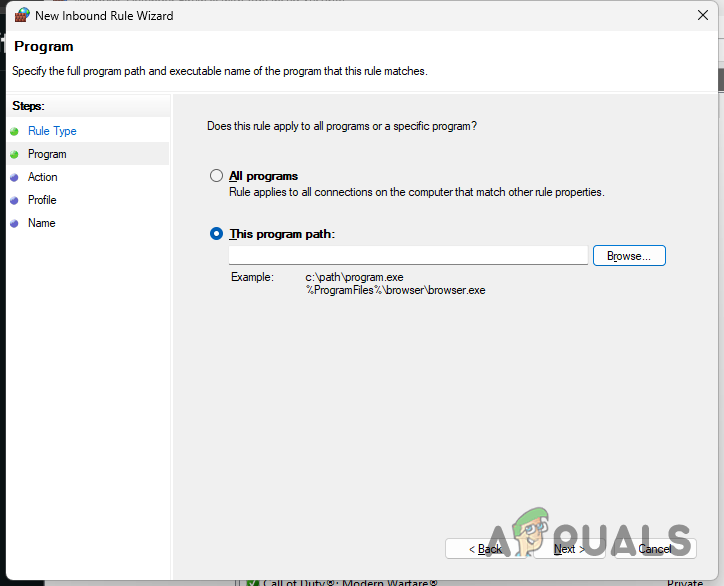
Adding New Rule to Windows Firewall - Choose Program and click Next.
Firewall Rule Type Menu - Navigate to the installation directory of Helldivers 2 using the Browse option and select the helldivers2.exe file inside the bin folder.
Adding Helldivers 2 to Firewall - Select the Allow the connection option and click Next.
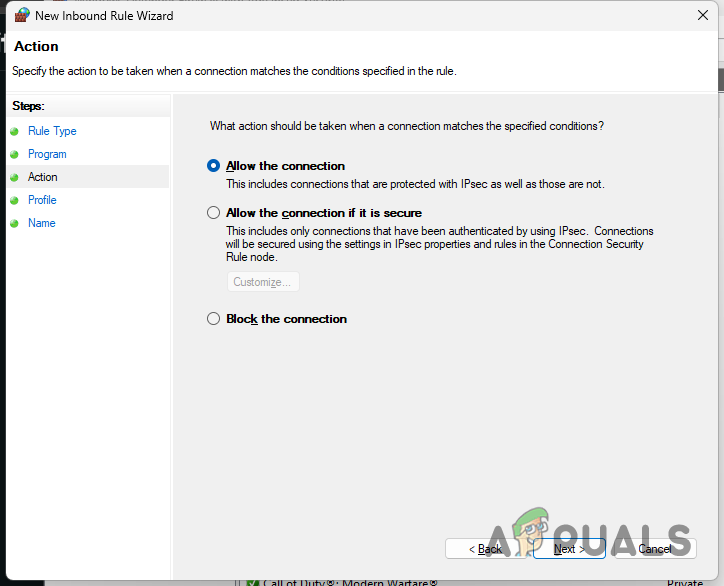
Firewall Rule Action - Proceed to the Profile section by clicking Next.

Firewall Rule Profile - Name the rule and click Finish.
- Repeat the process for the Outbound Rules tab.
- Restart your computer.
- Launch Helldivers 2 and check if the error message persists.
4. Delete Helldivers 2 Cache
Helldivers 2 creates a local cache folder in Windows to store various user settings. If there is damage or misconfiguration within the cache files, it can lead to the error message in question. Deleting the game cache is safe and will force the game to generate a new one upon the next startup.
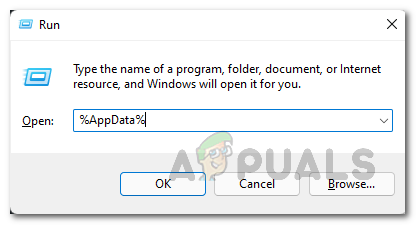
- Open the Run dialog box by pressing Win key + R.
- Type %AppData% and press Enter.
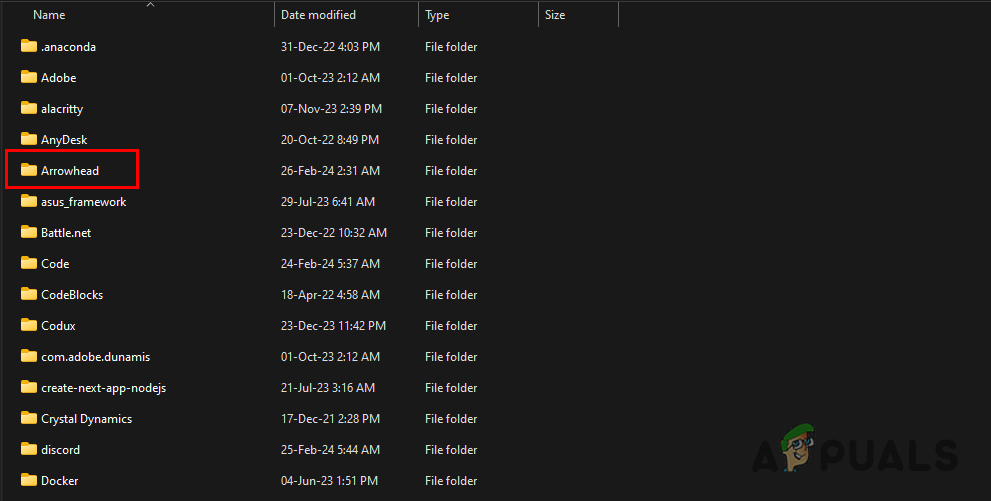
Opening AppData Folder - In the File Explorer window, locate and delete the Arrowhead folder.
Deleting Arrowhead Folder - Launch Helldivers 2 and check if the connection error persists.
5. Reinstall GameGuard
An inconsistency with the GameGuard anti-cheat software used by Helldivers 2 can also trigger the connection issue. The game requires an active GameGuard connection to process server requests. Reinstalling GameGuard may resolve the problem.
- Launch the Steam app and navigate to the Library.
- Right-click Helldivers 2 and select Manage > Browse local files.
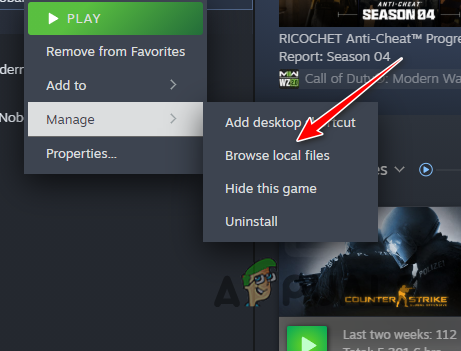
Navigating to Helldivers 2 Installation Folder - Go to the tools folder and locate the gguninst.exe file. Run it to uninstall GameGuard.
- Then, launch the game to see if the error message continues.
6. Disable IPv6
IPv6 technology, introduced to accommodate the increasing number of internet devices, can sometimes cause connectivity issues in Windows by interfering with network requests. Disabling this protocol can help.
- Press Win key + I to open the Settings app.
- Navigate to Network and Internet > Advanced Network Settings.
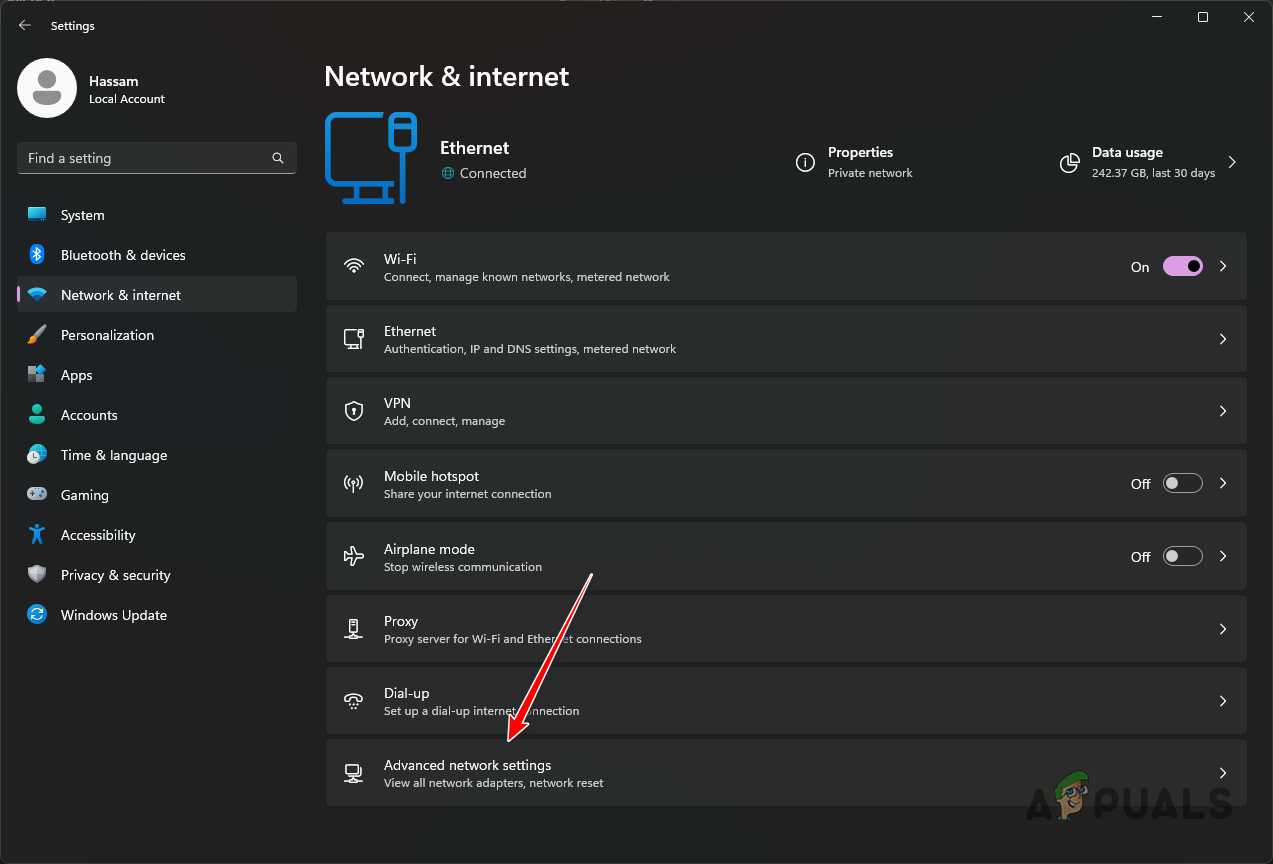
Navigating to Advanced Network Settings - Click the down arrow next to your network adapter.
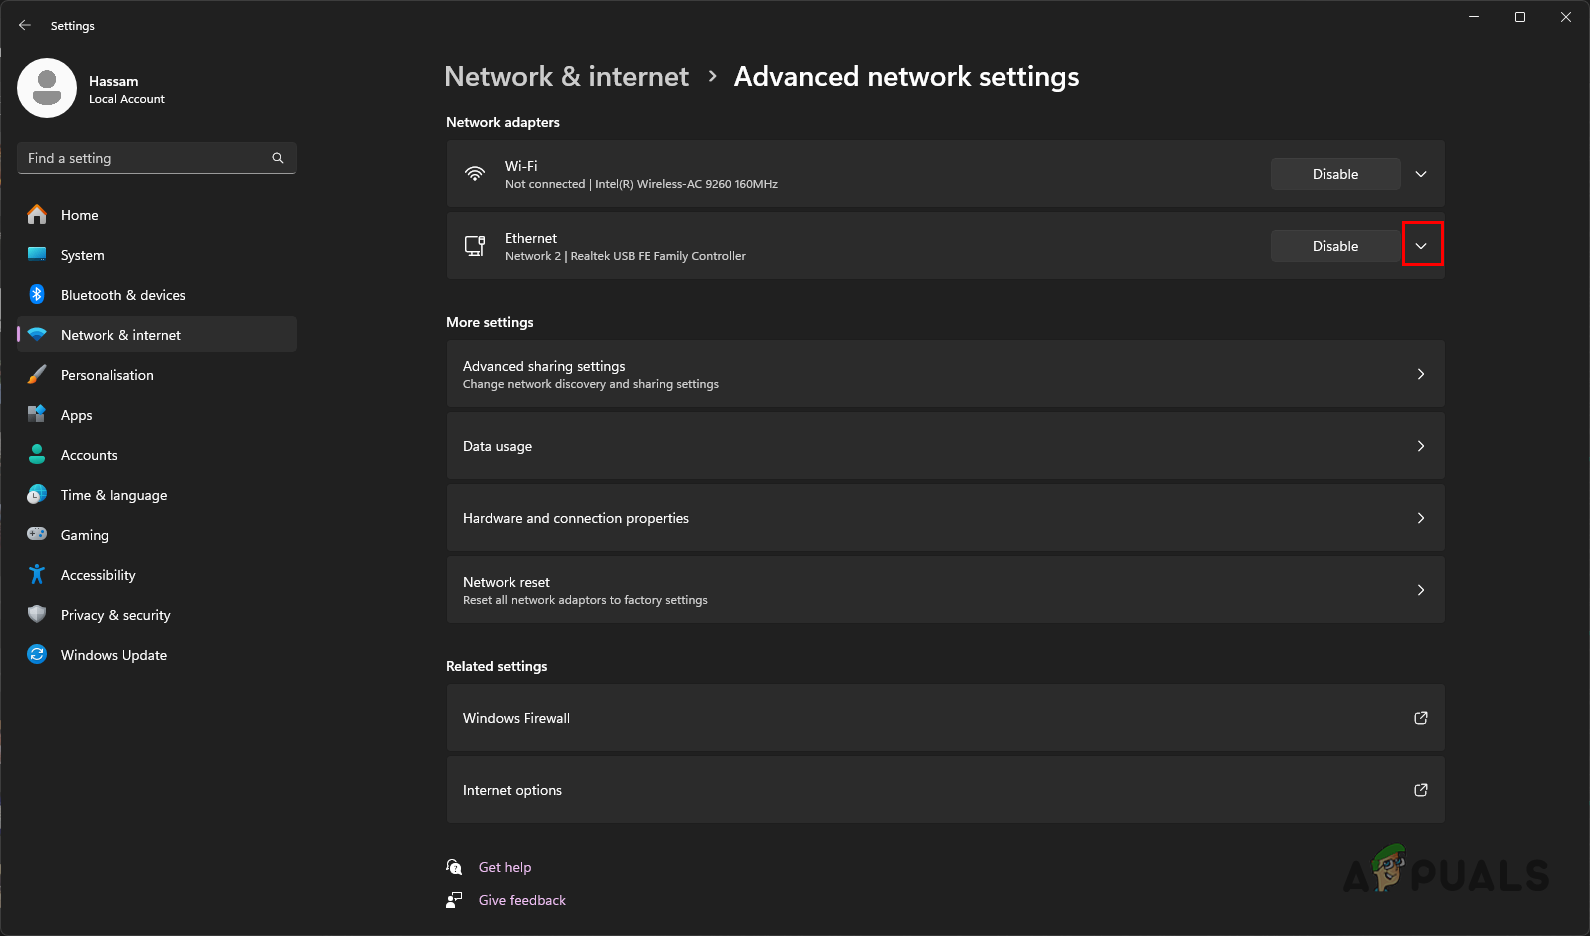
Revealing Additional Adapter Options - Click the Edit button next to More adapter options.
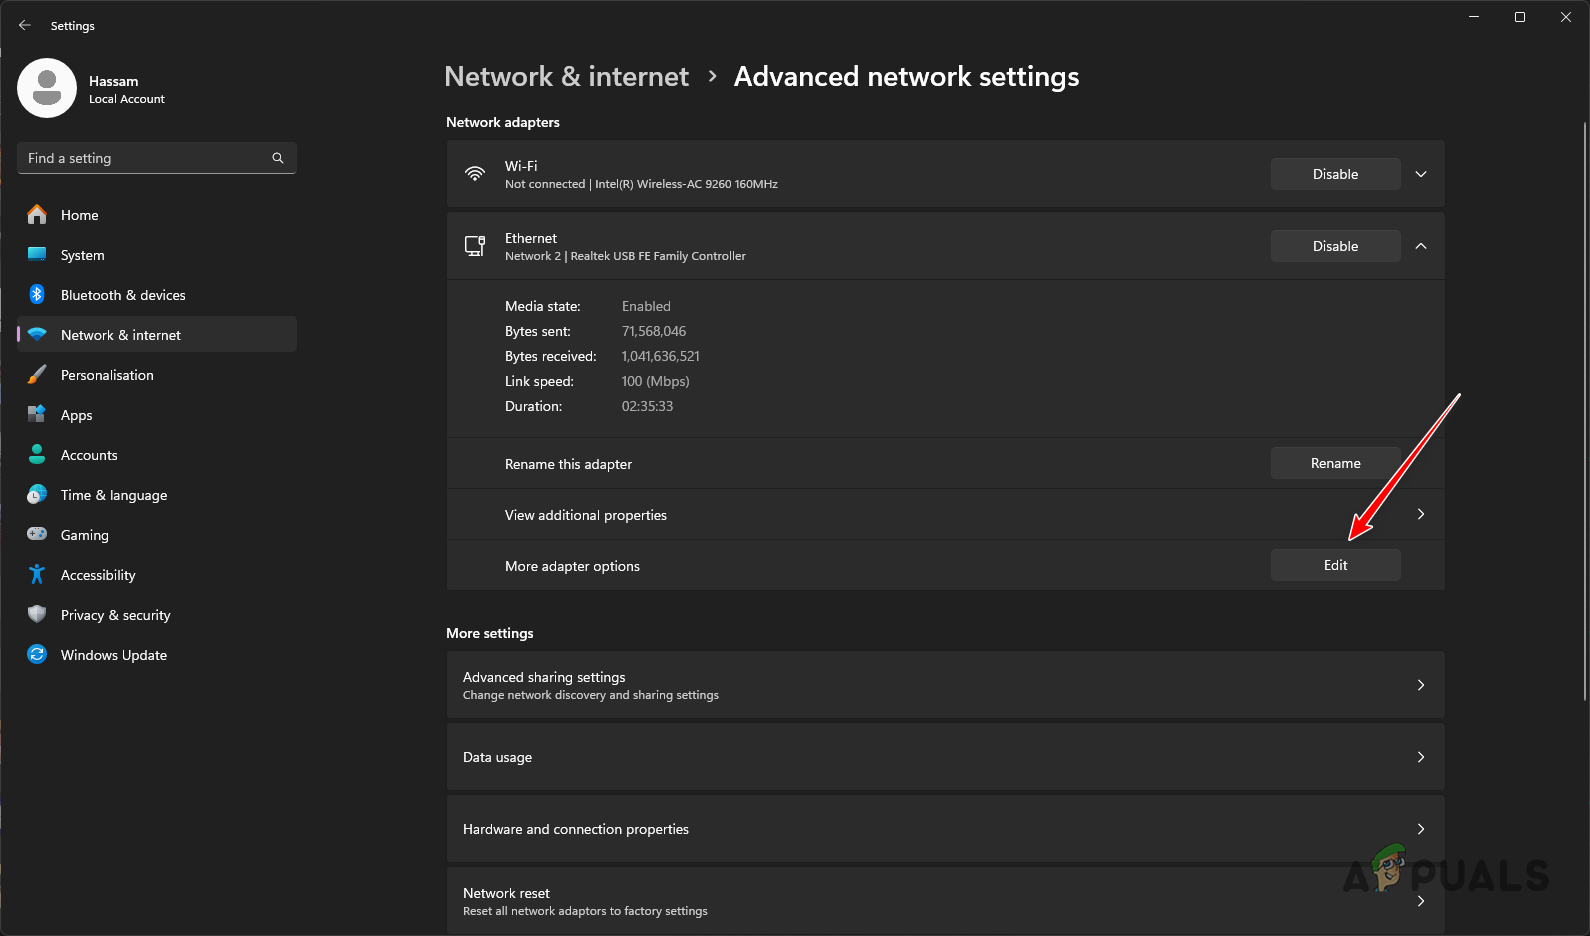
Opening Additional Network Adapter Options - Deselect the checkbox for Internet Protocol Version 6 (TCP/IPv6).
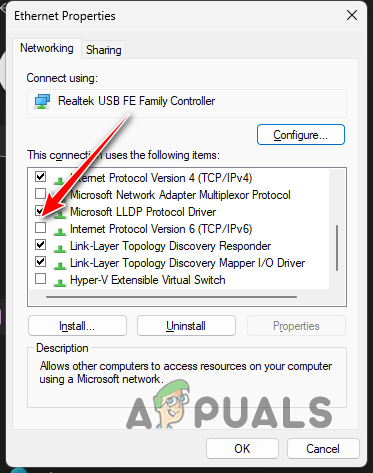
Turning off IPv6 - Click OK and restart your PC.
- Check Helldivers 2 for the error message.
7. Change DNS Server
Incorrect DNS resolution of Helldivers 2 requests by your network’s DNS server can also prevent the game from establishing a connection. Changing your DNS server in Windows could help with this issue.
- Press the Win key + I to open the Settings app.
- Go to the Network and Internet > Advanced Network Settings section.
Navigating to Advanced Network Settings - Click the down arrow for additional network adapter options.
Revealing Additional Adapter Options - Then, click Edit.
Opening Additional Network Adapter Options - In the properties, double-click Internet Protocol Version 4 (TCP/IPv4).
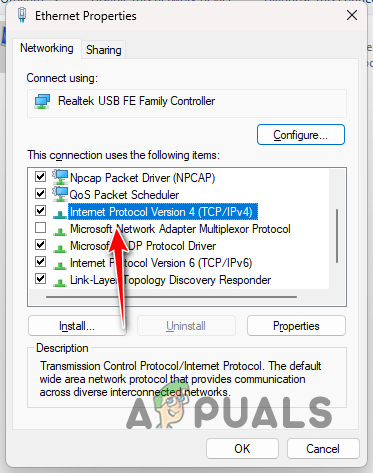
Opening IPv4 Properties - Select Use the following DNS server addresses.
- Input Cloudflare or Google’s public DNS server addresses:
Cloudflare: 1.1.1.1, 1.0.0.1
Google: 8.8.8.8, 8.8.4.4
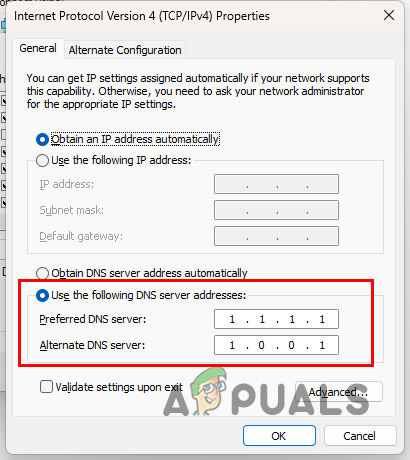
Changing DNS Server - Click OK and restart the Steam client.
- Verify if the error still occurs.
8. Reset Windows Network Settings
Inconsistencies in the Windows network settings can also cause the “Unable to establish a connection to game” error message in Helldivers 2. Resetting the network settings to default can clear any anomalies and allow the game process to connect to the server.
- Press Win key + I to open the Settings app.
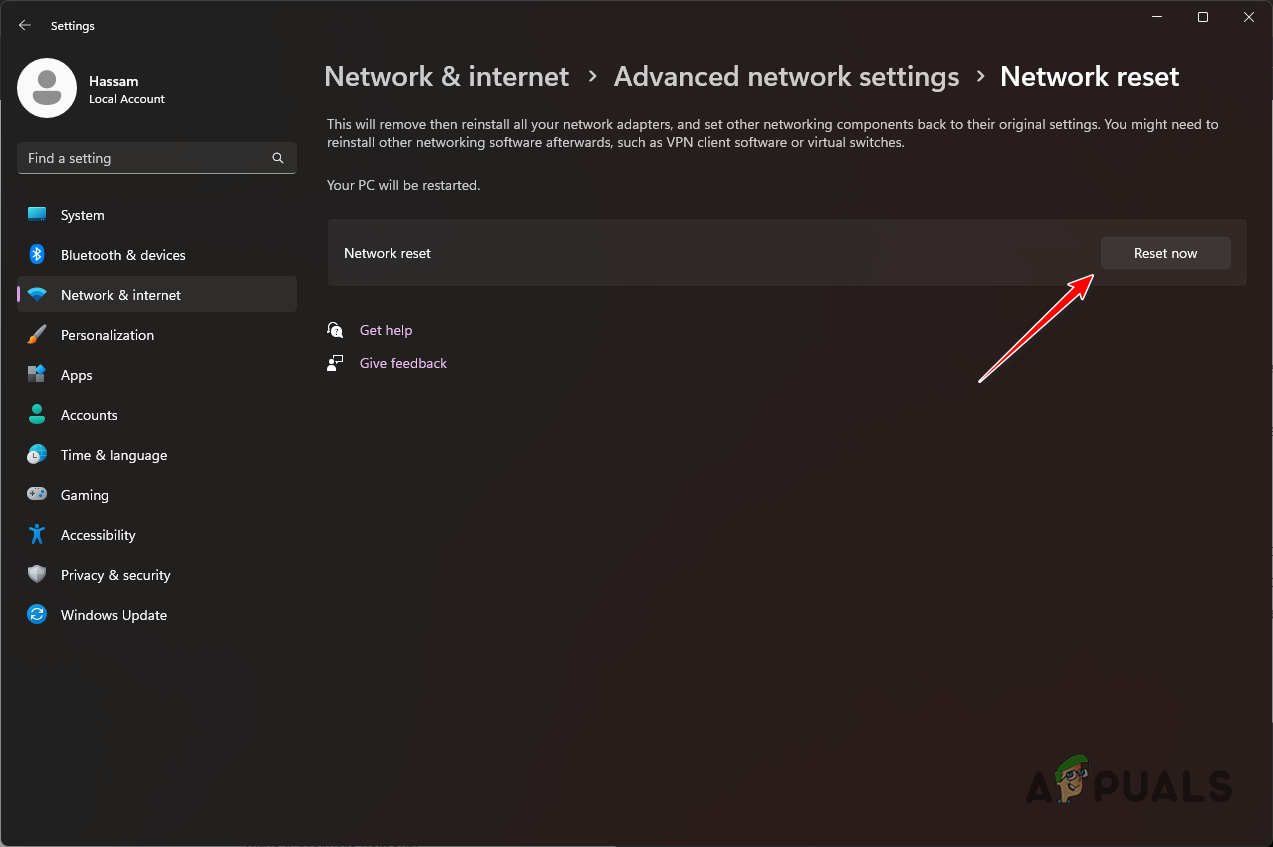
- Navigate to Network and Internet > Advanced Network Settings > Network Reset.
Navigating to Advanced Network Settings - Click the Reset now button to begin resetting the network settings.
Resetting Windows Network Settings - After your PC restarts, see if the Helldivers 2 connection issue has been resolved.
9. Perform a Clean Boot
Lastly, if the problem persists after trying the above methods, there’s a chance a third-party app is interfering with Helldivers 2.
Interference from third-party applications is not uncommon, and performing a clean boot can determine if this is the case. A clean boot starts your system with only essential Windows services running on startup.
If the error message disappears during a clean boot, you can identify the problematic app by gradually enabling third-party services one by one.
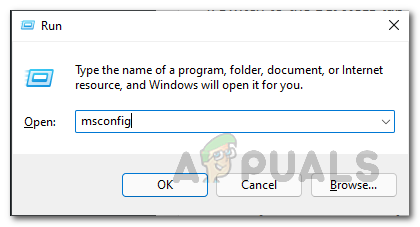
- Open the Run dialog box by pressing Win key + R.
- Type msconfig and press Enter.
Opening System Configuration - In the System Configuration window, go to the Services tab and select the Hide all Microsoft services checkbox.
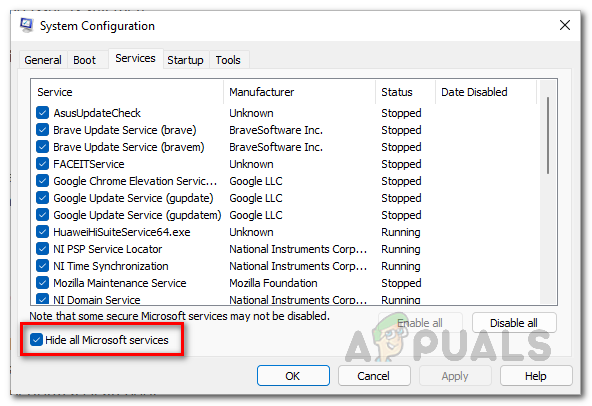
Hiding Windows Services from the List - Click Disable all to turn off the third-party services.
- Click Apply to save your changes.
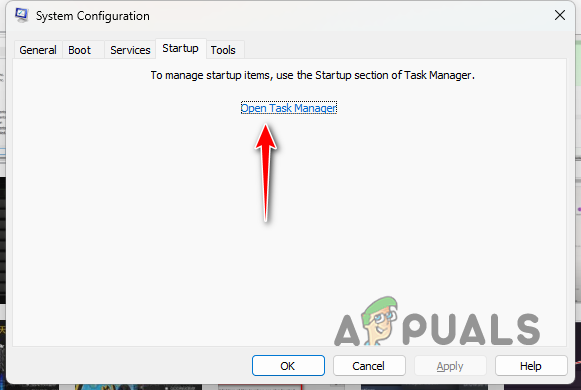
- Switch to the Startup tab and click Open Task Manager.
Opening Task Manager via System Configuration - In the Task Manager, disable third-party apps listed in the Startup tab by selecting them one by one and clicking the Disable button in the bottom right corner.
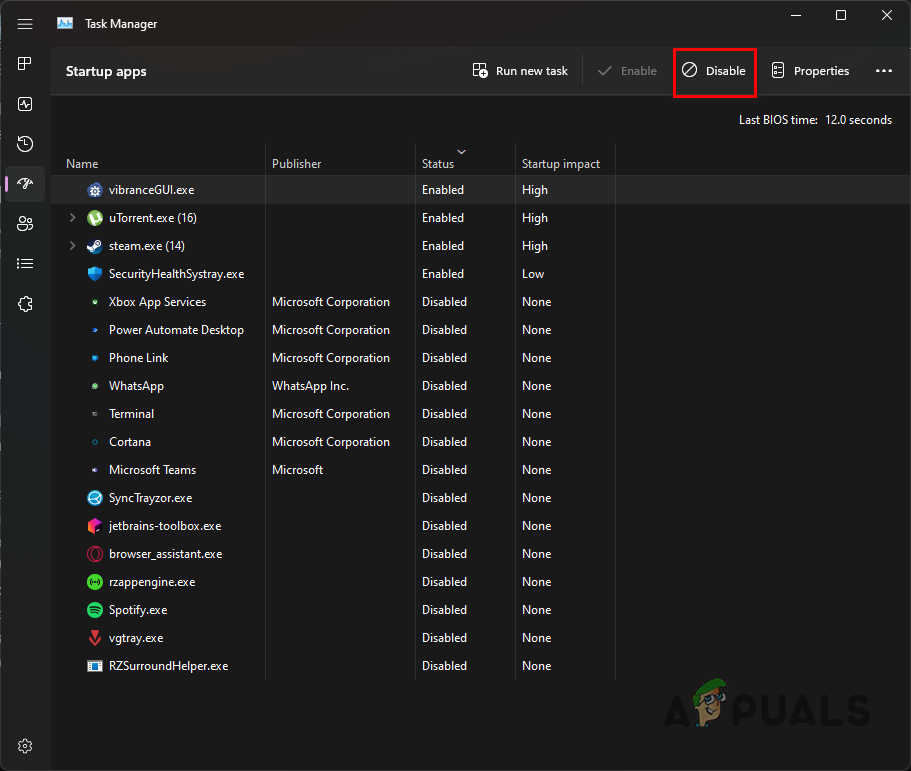
Disabling Startup Apps in Task Manager - Close Task Manager and click OK in the System Configuration window, then restart your computer to perform a clean boot.
If the error message persists, consider contacting the support team at Arrowhead for further assistance.