How to Fix Star Wars Jedi Survivor not Launching on PC?
There are a number of reasons that can prevent Star Wars Jedi Survivor from launching on your computer. These may include the third-party VPN software that you are using, or even a problem with the EA app, which can involve damaged cache files or a malfunctioning service on your system.

In addition, the interference of third-party programs with the game process can also prevent it from starting properly. In such a scenario, you can verify the suspicion by performing a clean boot to see if that resolves the issue. In this article, we will guide you through several methods that can help you address the problem in question. Simply follow through.
1. Disable third-party VPN.
The first thing you should do when starting to troubleshoot the problem is to disable any third-party VPN software running in the background. VPNs are often useful when you want to hide your activity online or access content that is blocked in your region.
To secure your connection on the internet, VPNs use tunneling, which takes your connection through a number of servers before reaching the destination. Such behavior can prevent the game from launching, as it is not able to establish a connection with the game servers properly.
Alternatively, game servers often block such VPN connections, which is why you are unable to establish a link. As a result, the game client you are using, for example, the EA app, cannot sync properly with the game servers, preventing the game from launching.
If this case applies, you will need to turn off your third-party VPN program and see if that resolves the issue. If you have added a VPN connection to your network settings in Windows, follow the instructions below to disconnect from the VPN:
- First, open the Settings window by pressing the Windows key + I on your keyboard.
- In the Settings window, navigate to Network and Internet > VPN.
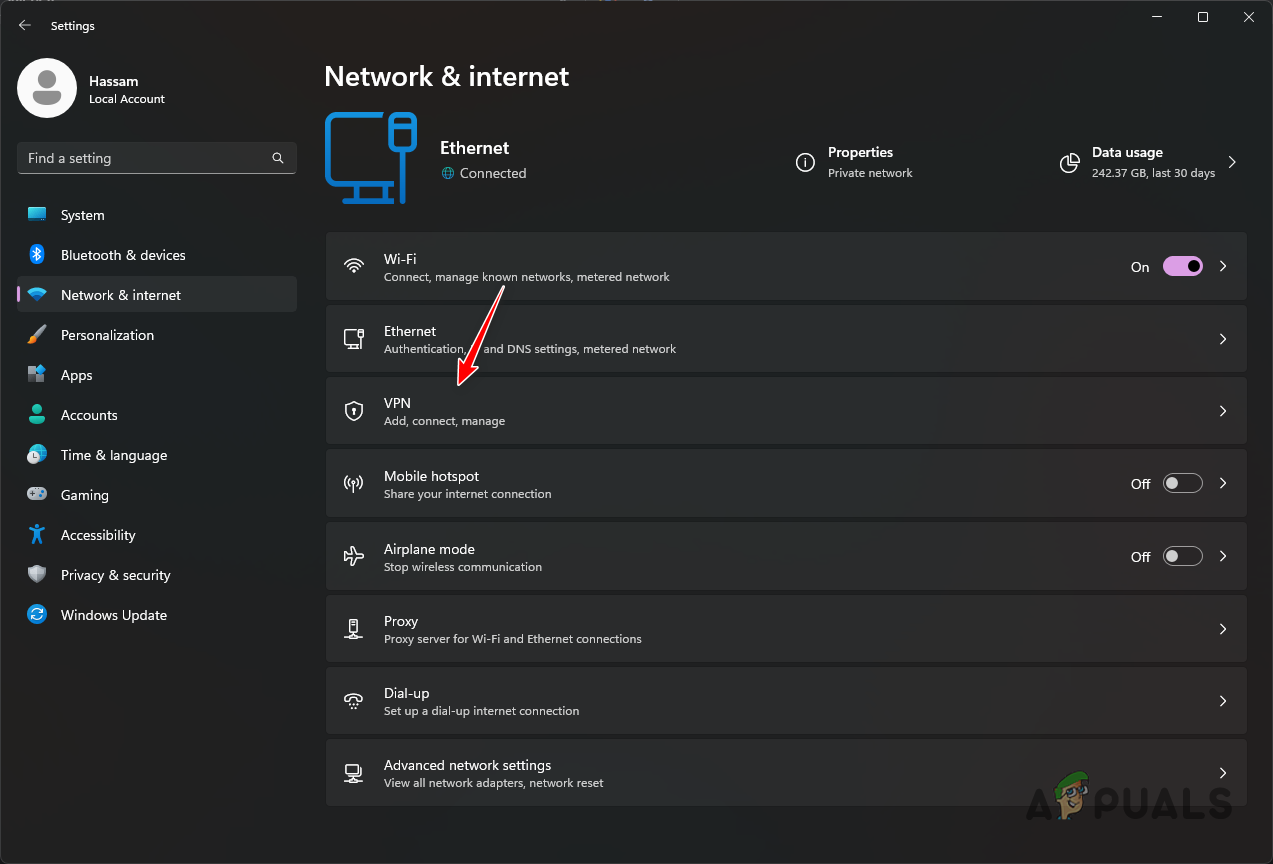
Navigating to VPN Settings - Click on your VPN connection there and choose the Remove option provided.
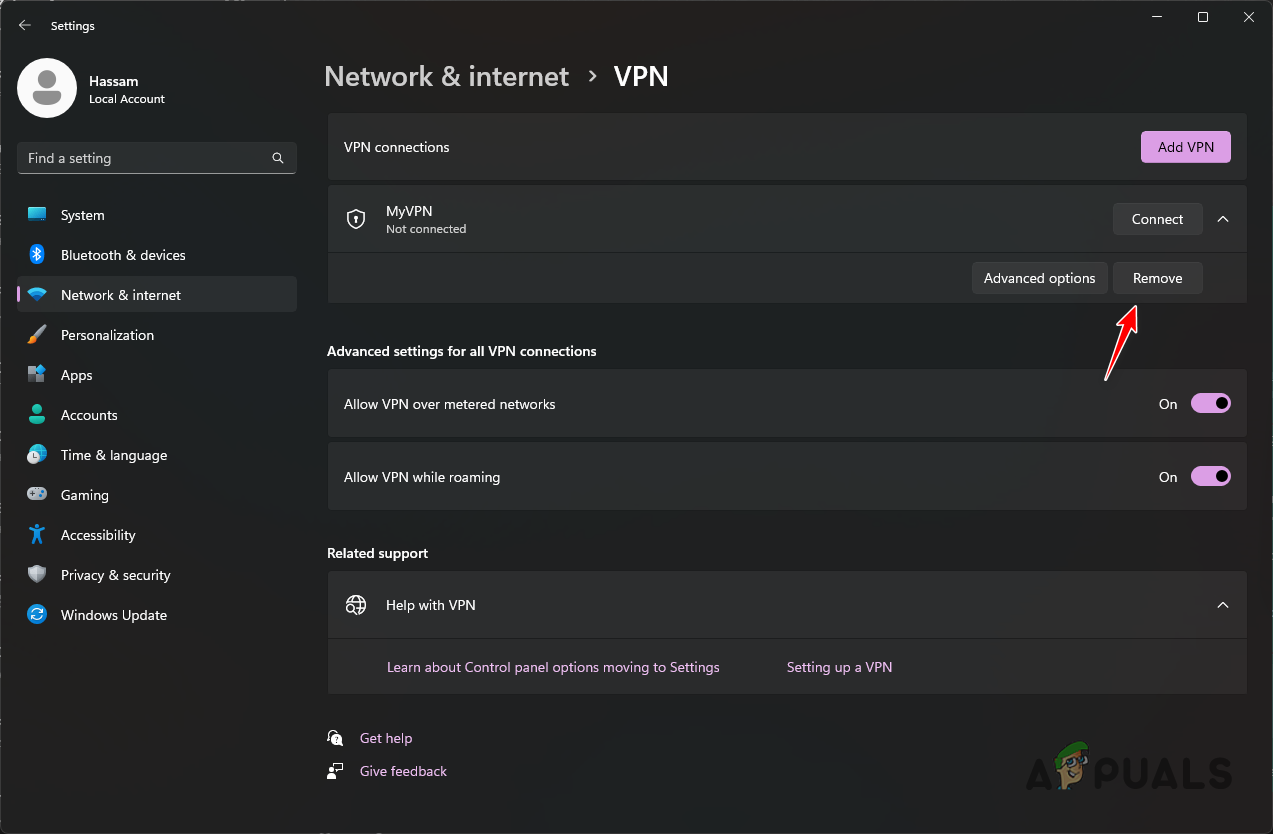
Removing Windows VPN - Once you have been disconnected from the VPN, open the game and check if the problem still exists.
2. Start the EA Background Service (if applicable).
Windows services are important as they facilitate the processes on your computer. If you’re using the EA app to play Star Wars Jedi Survivor, the problem can be due to the EA background service not running.
This can happen when the startup type of the service is not set to automatic, which is why the client cannot start the service when it is needed. In such a scenario, you will need to change the startup type of the service and ensure that it is running to resolve the issue. Follow the instructions below to do this:
- First, press the Windows key + R on your keyboard to open the Run dialog box.
- In the Run dialog box, type “services.msc” and press Enter.
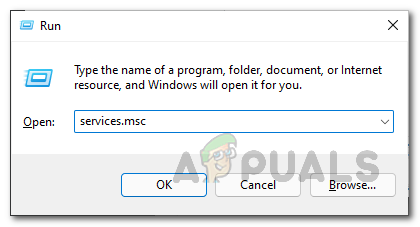
Opening Services Window - This will open the Services window.
- From the list of services, locate the EA Background Service.
- Right-click on the service and choose Properties from the drop-down menu.
- In the Properties window, set the Startup type to Automatic and click the Start button to initiate the service.
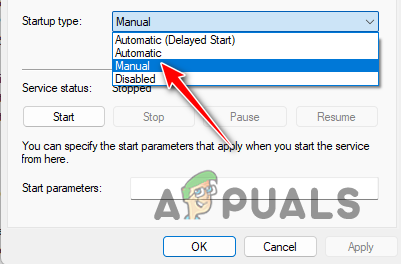
Changing Service Startup Type - Click Apply and then close the Services window.
- Finally, open the game and see if the problem has been resolved.
3. Clear EA App cache (if applicable).
Another possible cause of the problem with the EA client could be the app cache on your computer. The local cache is stored by every program on your computer, which stores various user settings. In some cases, the app cache can become corrupted or damaged, which can prevent games from launching on the EA app.
In such a scenario, you will need to clear the cache of the app to see if that fixes the issue. The EA app comes with a built-in feature that allows you to perform app recovery, which essentially resets the app to its default configuration.
Follow the instructions below to do this:
- First of all, open the EA app on your computer.
- After that, click on the Menu option in the top left corner.
- From the drop-down menu, choose Help > App Recovery.
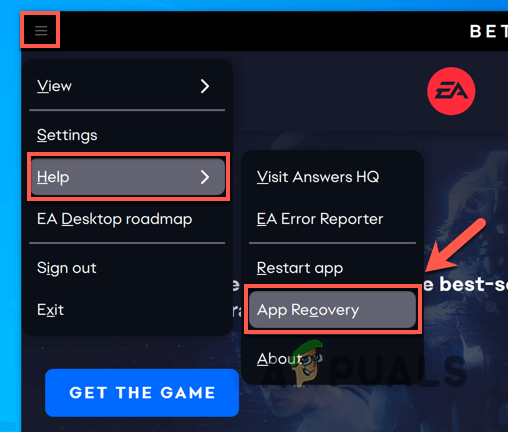
Choosing App Recovery - Finally, click the Clear Cache option to remove the old cache.
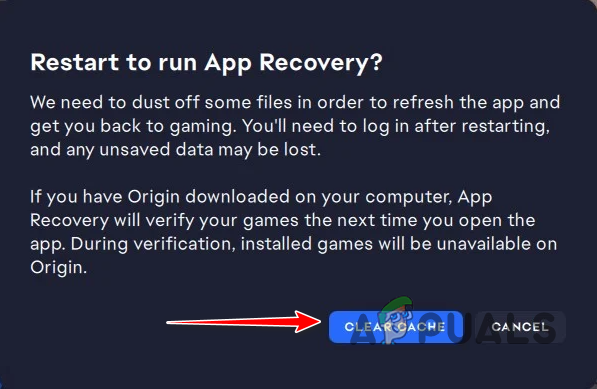
Clearing EA App Cache - Once you do that, the EA app will restart and you will have to log in again.
- See if that resolves the issue.
4. Reinstall the EA App (if applicable).
If the above fixes did not resolve the issue for you on the EA app, it is likely that the problem is caused by the installation files of the client. In such a scenario, you will need to reinstall the application on your computer to resolve the issue.
It is important to note that you will not lose your games by doing this, as the client will automatically detect the games installed on your computer. Thus, you do not have to worry about downloading the games again. To reinstall the EA app, follow the instructions below:
- Open the Control Panel by searching for it in the Start menu.
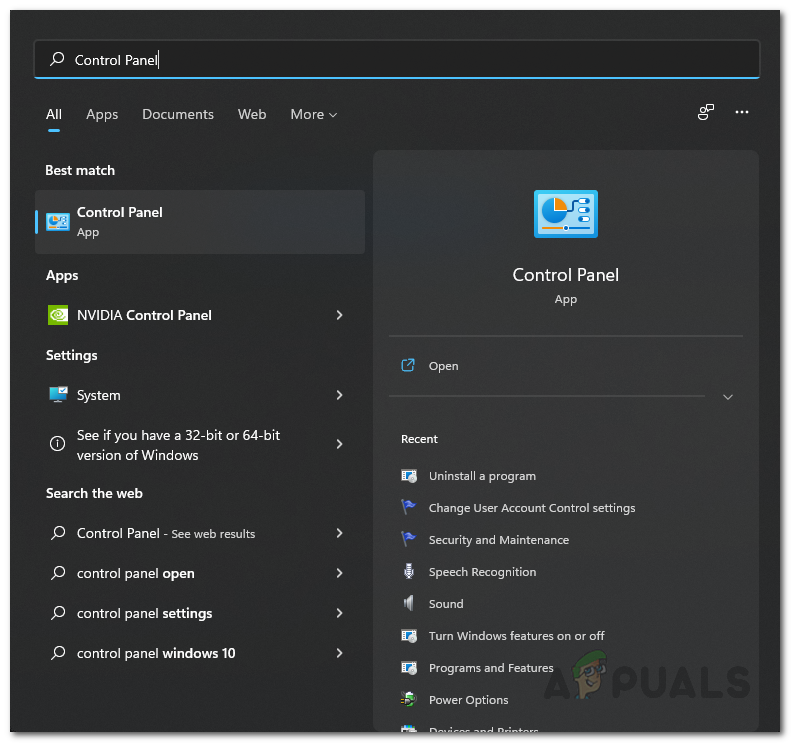
Opening Control Panel - In the Control Panel window, click on the Uninstall a program option.
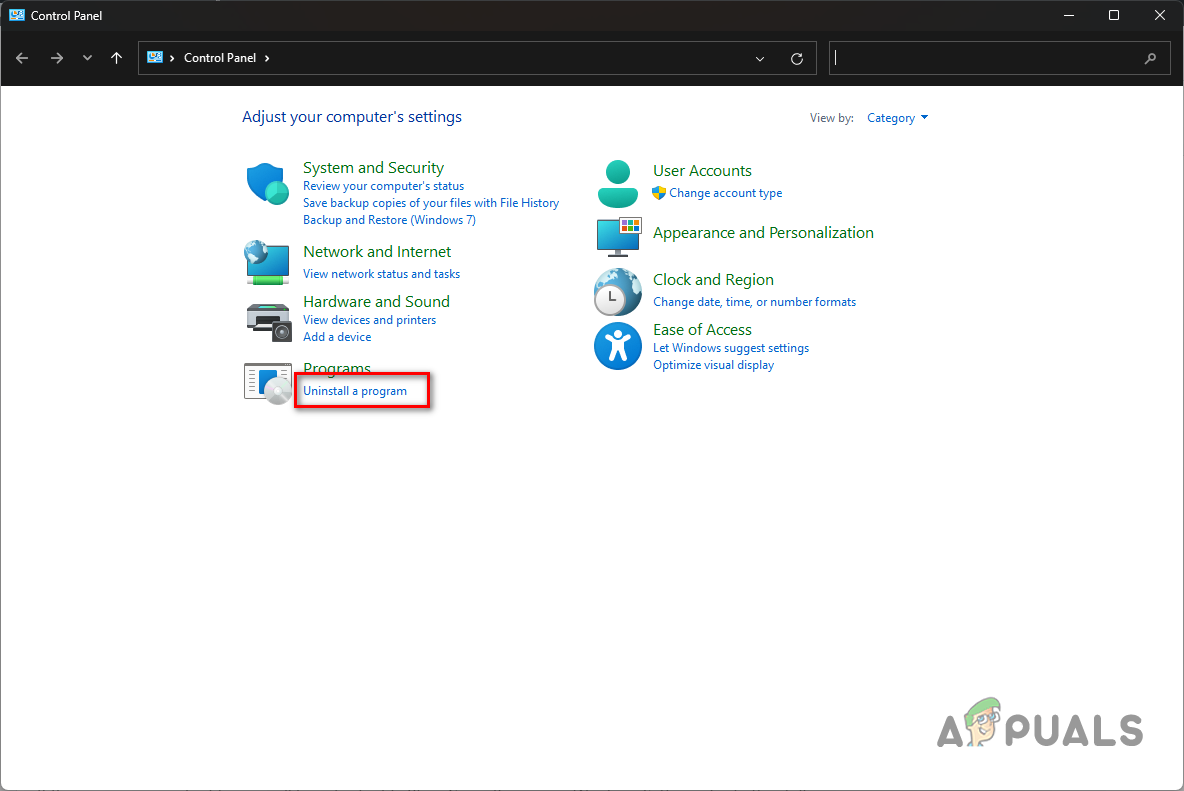
Navigating to the Programs List - From the list of installed programs, locate the EA app and double-click on it.
- Follow the onscreen prompts to uninstall the application from your computer.
- After that, go to the official EA website and download the app installer.
- Install it on your system and see if that resolves the issue.
5. Update the graphics drivers.
The graphics drivers on your computer might be one of the reasons behind the game’s failure to launch. This can often occur when the graphics drivers on your computer are either outdated or have been corrupted due to a recent Windows Update or something similar.
In such a scenario, you will have to reinstall the graphics drivers, which will also allow you to update to the latest version available. Graphics drivers play a vital role on your computer, as they enable the processes on your system to communicate with the graphics card installed on your motherboard. Thus, it is always important to keep your graphics drivers up to date.
To update the graphics drivers, follow the instructions down below:
- First, download the Display Driver Uninstaller utility from the official website here.
- After that, extract the downloaded file to any location on your system.
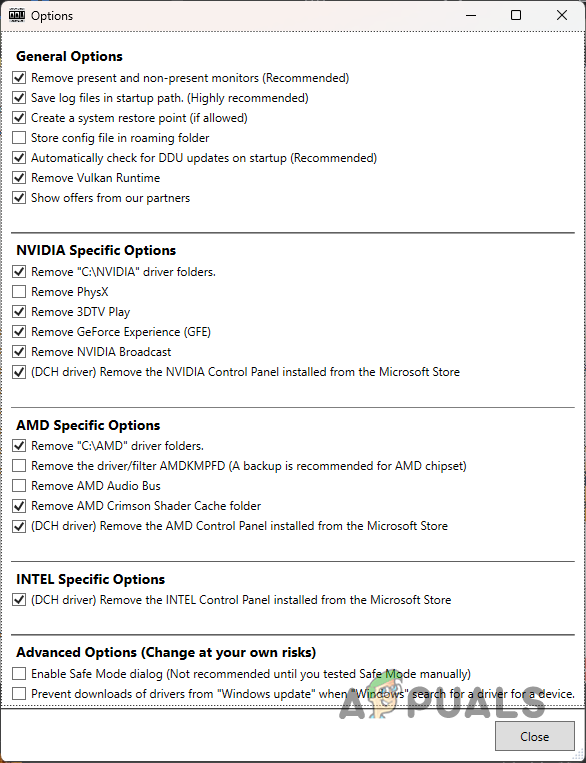
- Navigate to the extracted folder and open Display Driver Uninstaller.exe.
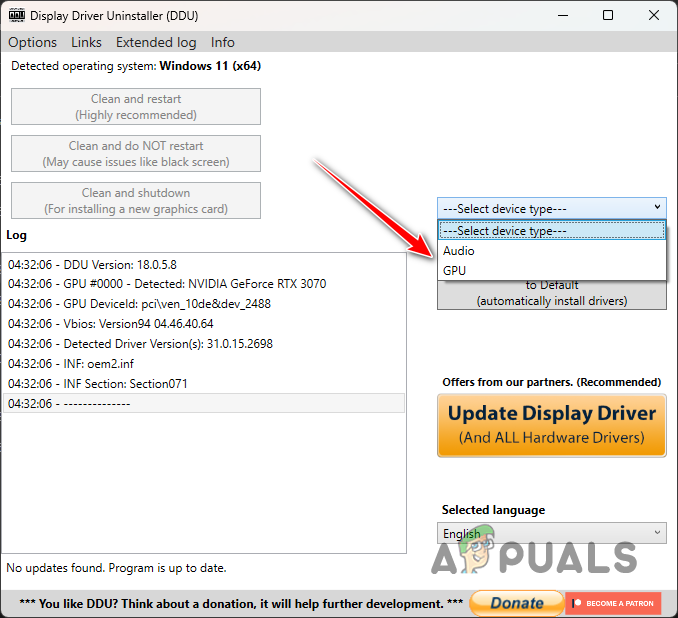
- Once DDU opens, you will be shown the General Options. Click ‘Continue‘ to proceed.
DDU General Options - Then, select the GPU from the ‘Select Device Type‘ drop-down menu.
Selecting GPU as the Device Type - Follow this up by selecting your graphics card manufacturer from the Select Device drop-down menu.
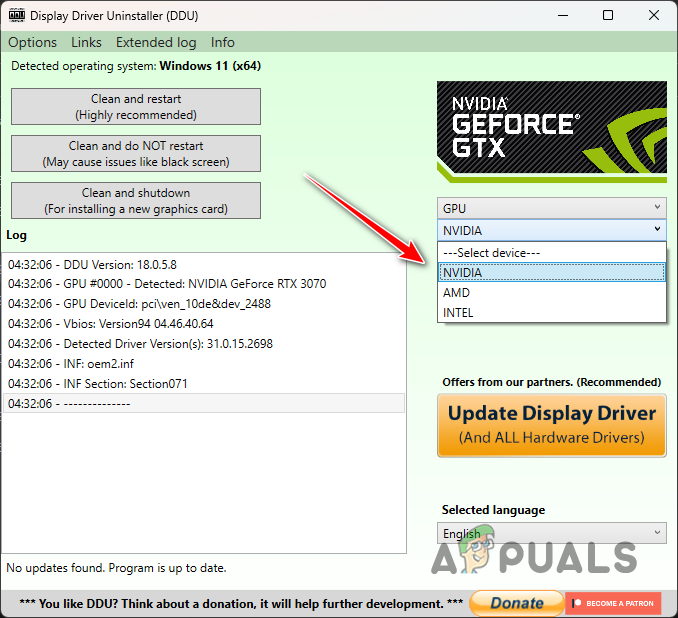
Selecting GPU Manufacturer - Finally, click the Clean and Restart option to uninstall your current graphics drivers.
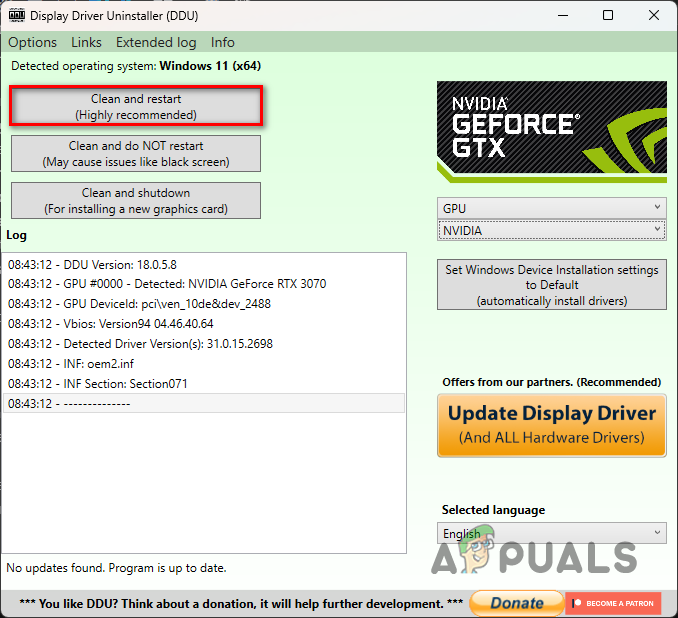
Uninstalling Graphics Drivers - After your PC boots up, head to your manufacturer’s website and download the latest drivers available for your graphics card.
- Install the latest drivers on your computer and see if that fixes the issue.
6. Verify game files.
Another potential cause for the problem in question could be the game files on your computer. This can occur when you are either missing certain installation files, or the game files are corrupted or damaged.
In such a scenario, you will need to scan and repair the game files on your computer. On the Steam client, you can accomplish this easily through the ‘Verify Integrity of Game Files’ option. This feature enables you to scan the game files on your computer, and in the case of any discrepancies, a fresh copy is downloaded from the Steam servers.
Follow the instructions below to verify your game files:
- First, open the Steam client on your computer.
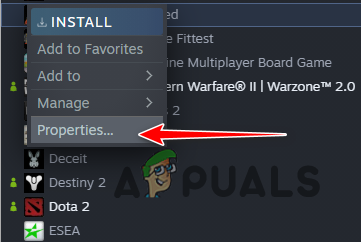
- After that, right-click on Star Wars Jedi Survivor in your games library.
- From the drop-down menu, choose Properties.
Navigating to Game Properties - Now, in the Properties window, switch to the Local Files tab.
- On the Local Files tab, click the Verify integrity of game files option.
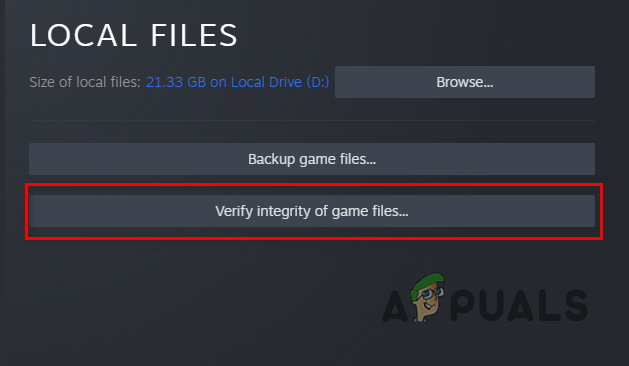
Verifying Integrity of Game Files - Wait for the game files to be scanned and repaired, and then launch the game to see if the issue still exists.
7. Perform a clean boot.
Finally, if none of the above methods have resolved the problem for you, it is likely that a third-party program is interfering with the game process, causing it not to launch properly. These cases are quite common now, and you can experience them every now and then with the vast variety of programs installed on our PCs.
In such a scenario, you will need to perform a clean boot to see if that resolves the issue. A clean boot starts your computer with only the required Windows services running in the background, so all third-party programs are disabled at startup.
If the problem goes away during a clean boot, it will be evident that the issue is being caused by a third-party program. In such a scenario, you can enable the services one by one to find the culprit.
Follow the instructions below to perform a clean boot:
- Open the Run dialog box by pressing the Windows key + R on your keyboard.
- In the Run dialog box, type in msconfig and hit Enter.
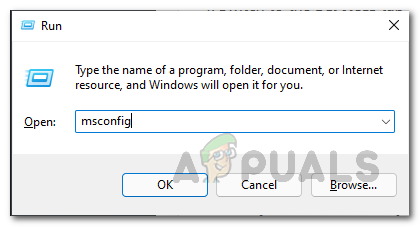
Opening System Configuration Window - This will open the System Configuration. Switch to the Services tab.
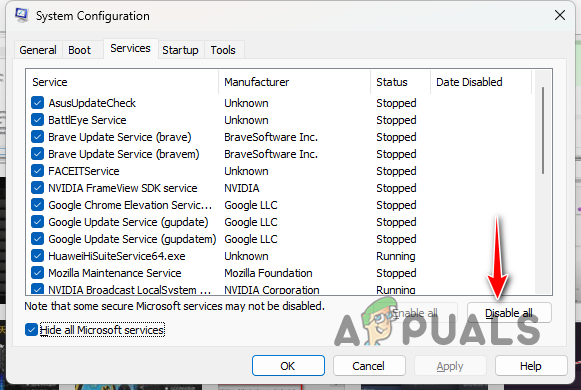
- There, check the ‘Hide all Microsoft services‘ checkbox.
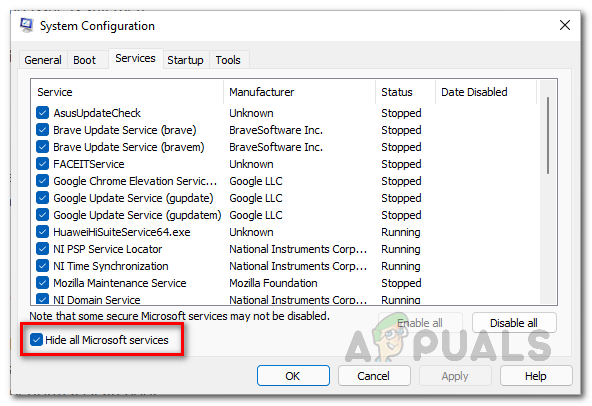
Hiding Microsoft Services - After that, click on the Disable all button and hit Apply.
Disabling Third-Party Services on Startup - Now switch to the Startup tab and click on the Open Task Manager option.
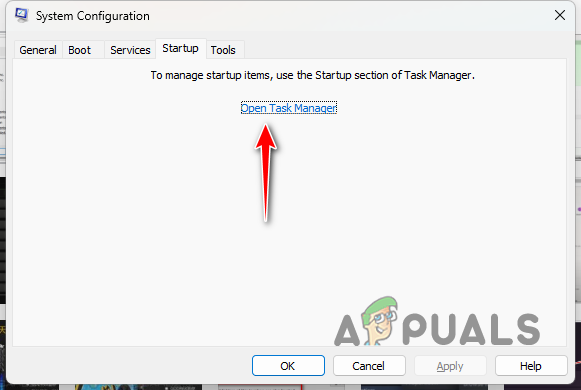
Opening Task Manager - In the Task Manager window, select the apps one by one and choose the Disable option.
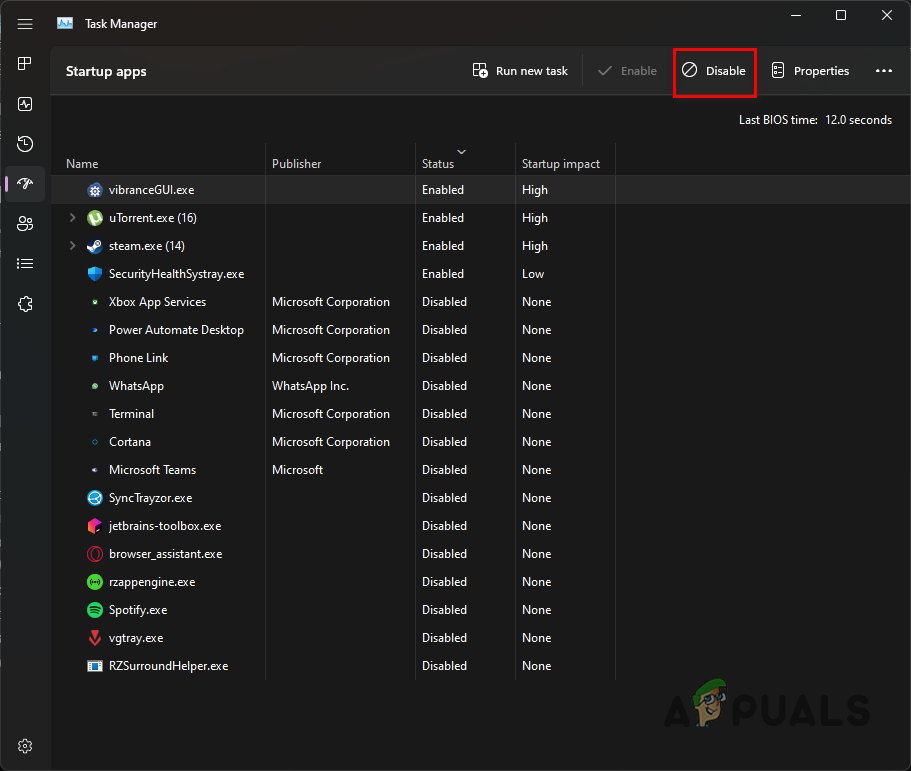
Disabling Third-Party Apps on Startup - Finally, restart your computer to perform a clean boot.
- After your PC boots up, open the game and see if that resolves the issue.