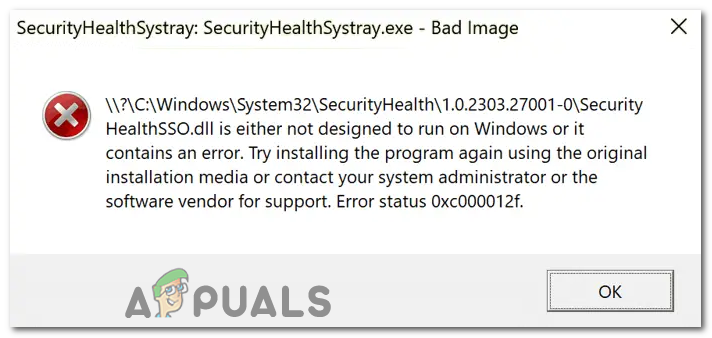
Fix: SecurityHealthSystray.exe Bad Image Error
 Reviewed by Kamil Anwar
When using your computer, you may come across the “SecurityHealthSystray.exe Bad Image Error.” This error typically occurs when the SecurityHealthSystray.exe file, a component of Windows Defender, encounters issues while trying to execute certain functions. It can be frustrating and may disrupt your computer usage.
Before we proceed, let’s understand what SecurityHealthSystray.exe is. SecurityHealthSystray.exe is an executable file associated with Windows Defender, the built in antivirus and security solution provided by Microsoft. This file is responsible for managing the security and health notifications in the Windows system tray. It plays a crucial role in ensuring the overall security of your computer.
Common Causes of the Bad Image Error
The Bad Image Error related to SecurityHealthSystray.exe can occur due to various reasons. Some common causes include:
- Corrupted or missing system files.
- Outdated Windows or security software.
- Malware or virus infections.
- Application conflicts or compatibility issues.
Now that we understand the causes let’s explore the troubleshooting steps to fix the error.
1. Run SFC and DISM Scans
The System File Check (SFC) and Deployment Image Servicing and Management (DISM) scans are two built in Windows tools that can help fix system file corruption issues. Running both the SFC and DISM scans can help fix corrupted system files that can be causing the “SecurityHealthSystray.exe Bad Image Error.” These scans are important troubleshooting steps and can resolve a variety of system issues. Here are the steps to run these scans:
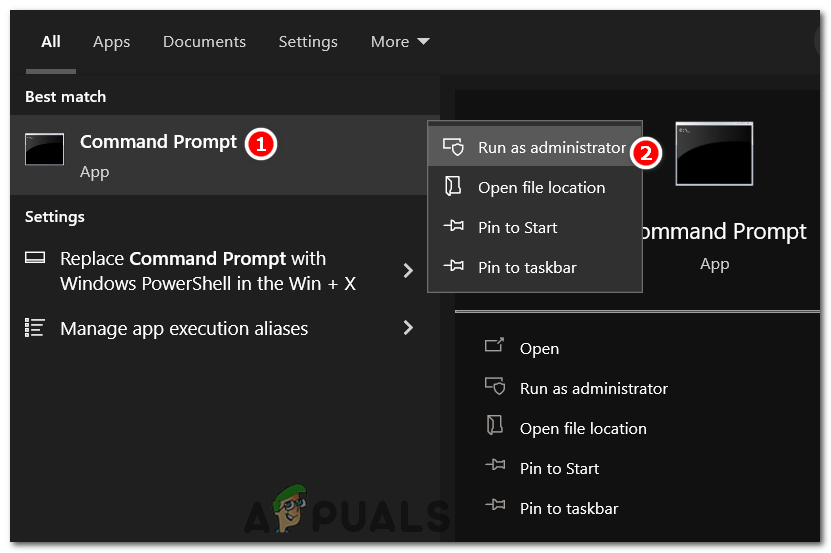
- Open Command Prompt as an administrator. Click on the Windows Key, and type “Command Prompt,” right click on it, and choose “Run as administrator.”
Open Command Prompt as an administrator. - To start the System File Check (SFC) scan, type the following command into the Command Prompt window and click Enter:
SFC /scannow
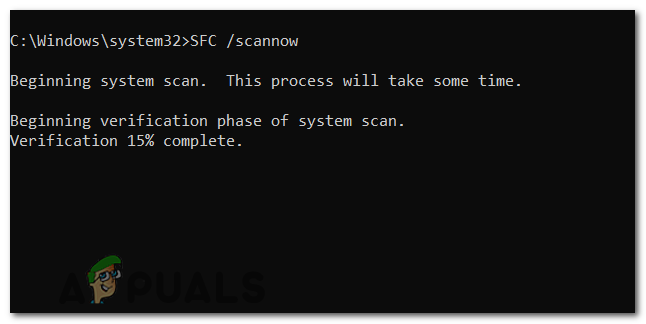
Type “SFC /scannow” and press Enter. - The scan will start and the system will automatically search all protected system files and fix any errors it detects. The process could take some time to finish.
Once the SFC scan is finished, you will see the scan results. If any errors were found and successfully repaired, you will see a message stating, “Windows Resource Protection found corrupt files and successfully repaired them.”
After running the SFC scan, it is recommended to run the DISM scan to ensure the integrity of the Windows image.
- In the same Command Prompt window, type the following command and press Enter to run the DISM scan:
DISM /Online /Cleanup-Image /RestoreHealth
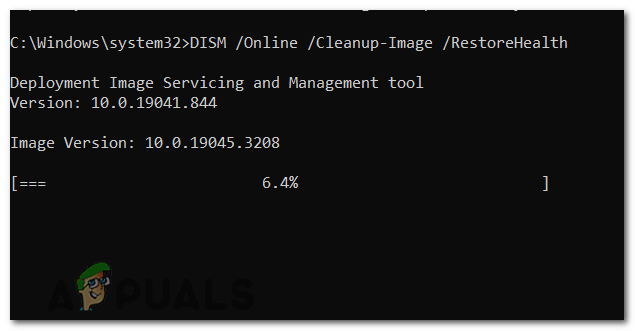
Type “DISM /Online /Cleanup-Image /RestoreHealth” now and press Enter. - DISM will check for any corruption in the Windows image and attempt to repair it by downloading necessary files from Windows Update. This process may take some time, so be patient and ensure a stable internet connection.
- Once the DISM scan is complete, restart your computer to apply any repairs that were made during the scan.
Note: Remember to run these scans as an administrator and allow them to complete without interruption.
2. Re-Registering the DLL File
Re-registering the DLL (Dynamic Link Library) files can help resolve the bad image error by ensuring that the DLL files are properly registered in the system. Make sure to run the Command Prompt as an administrator to have the necessary permissions for registering and unregistering DLL files. Here are the steps to re-register DLL files:
- Open Command Prompt with administrator privileges again.
- In the Command Prompt window, type the following command and press Enter:
regsvr32 /u SecurityHealthSSO.dll
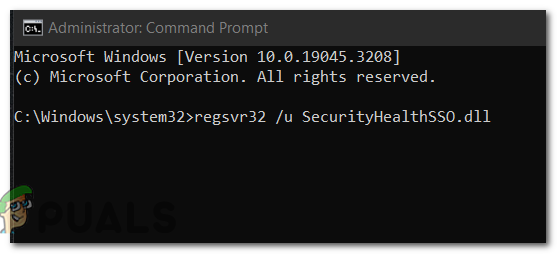
Type the following command to re-register the dll file. - After that, run the “regsvr32 SecurityHealthSSO.dll” command to register the DLL file.
regsvr32 SecurityHealthSSO.dll
- After running the above commands, you should see a message confirming the successful registration of the DLL file.
3. Updating Windows
Updating Windows ensures that you have the latest bug fixes, patches, and security enhancements. This can help resolve compatibility issues and address vulnerabilities that may be causing the issue. Here are the steps to update Windows and security software:
- Press the Windows Key and open the Settings menu by clicking on the gear icon in the Start menu.
- In the Settings window, click on Update & Security.
- Select Windows Update from the left sidebar.
- Click on the Check for updates button. Windows will then check for available updates.
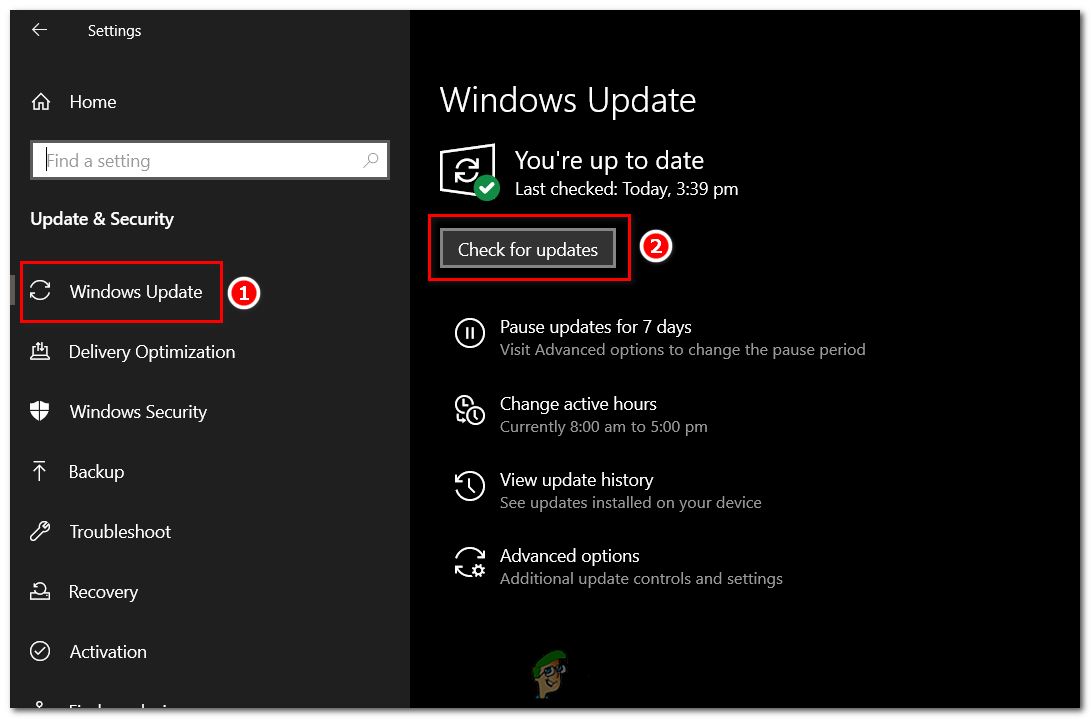
Open Windows Update and Click on the Check for updates button. - If any updates are found, click on the Download and Install button to begin the update process. It may take some time for the updates to download and install, depending on their size and your internet connection speed.
- Once the updates are installed, restart your computer if prompted.
It is important to regularly check for and install updates to keep your system and security software up to date for optimal performance and protection against threats.
4. Reset Windows Security App
Resetting the Windows Security app can resolve any configuration issues or corrupted settings. By restoring the app to its default state, you can ensure that it functions properly and does not interfere with the execution of Security Health System tray exe.
- Left click the Start button, type “Windows PowerShell” in the search box.
- Right click on Windows PowerShell and select Run as Administrator.
- In the Windows PowerShell window, type the following command exactly as shown below and press Enter:
Get-AppxPackage Microsoft.SecHealthUI -AllUsers | Reset-AppxPackage
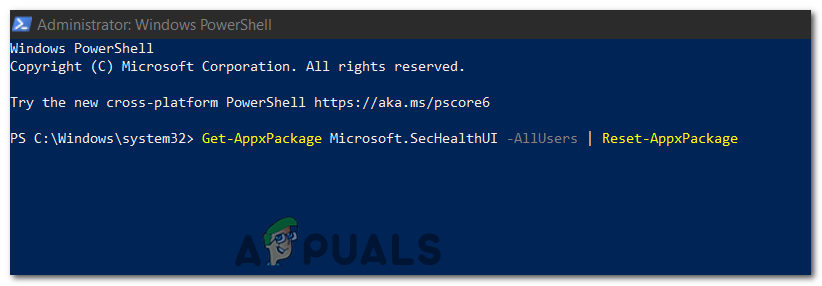
In the Windows PowerShell window, type the following command to reset the Windows Security app.
The command will execute. Now wait a few moments for the Appx Package to be reset and your Windows Security settings to be restored. After restarting your system, check to see if the SecurityHealthSystray service is functioning properly.
5. Installing the latest Visual C++ Redistributable
By installing the latest Visual C++ Redistributable, you ensure that the required runtime libraries are installed on your system, which can resolve compatibility issues. These libraries are essential for running applications that depend on Visual C++. Follow these steps to download and install the latest Visual C++ Redistributable:
- Visit the official Microsoft website to download the latest Visual C++ Redistributable package. You can find the downloads page by searching for “Visual C++ Redistributable” in your browser.
- On the Microsoft downloads page, look for the most recent version of the Visual C++ Redistributable that matches your system architecture (x86 for 32-bit systems and x64 for 64-bit systems). Click on the download link to start the download.

- Once the download is complete, locate the downloaded file and double click on it to run the installer.
- Follow the prompts in the installer window to proceed with the installation. Make sure to read and accept the license terms.
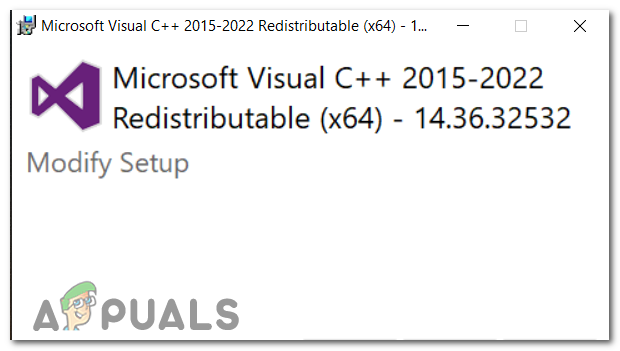
Follow the prompts in the installer window to proceed with the installation. - During the installation, you may be prompted to choose the installation location or select additional features. Leave the default settings as they are unless you have specific requirements.
- Click on the “Install” button to begin the installation process. The installer will extract and install the necessary files on your system.
- Once the installation is complete, you will see a confirmation message. Click on the “Finish” button to exit the installer.
6. Perform a Clean Boot
Performing a Clean Boot can help fix the bad image error by eliminating conflicts caused by third party software or services that may interfere with the proper execution of Security Health System tray.
When you perform a Clean Boot, you start your computer with a minimal set of drivers and startup programs, disabling non essential software and services. By doing so, you can identify whether a third party program or service is causing the error. Here are the steps to perform a Clean Boot:
- Press the Windows Key + R to open the Run dialog box.
- Type msconfig and press Enter. This will open the System Configuration window.
msconfig
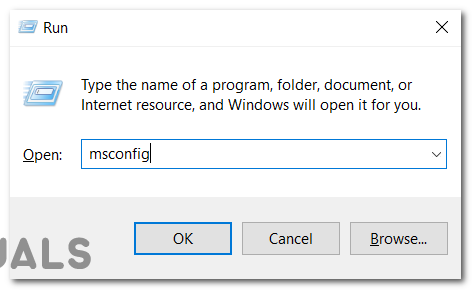
Type msconfig and press OK. - In the System Configuration window, go to the Services tab.
- Check the box that says Hide all Microsoft services. This will hide the essential services provided by Windows.
- Click on the Disable all button. This will disable all non Microsoft services.
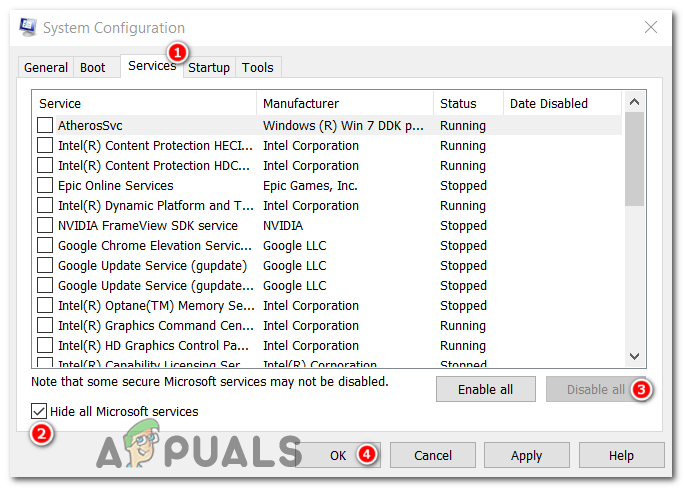
Go to the Services tab, press Hide all Microsoft services, select Disable all and press OK. - Next, go to the Startup tab and click on Open Task Manager.
- In the Task Manager window, you will see a list of startup programs. Right click on each program and select Disable to disable all startup programs. Make sure to disable all programs on the list.

Right click on each program and select Disable to disable all startup programs. - Close the Task Manager and go back to the System Configuration window.
- Click on Apply and then click on OK.
- Restart your computer for the changes to take effect.
After performing a Clean Boot, your computer will start with only essential Microsoft services and no additional startup programs. This helps isolate any software conflicts that will be causing the error.
If the error does not occur after performing a Clean Boot, you can gradually enable services and startup programs one by one to identify the specific program or service causing the conflict. This process will help you pinpoint the source of the error and take appropriate action, such as updating or reinstalling the problematic software.
Remember to undo the Clean Boot configuration once you have identified the cause of the error. In the System Configuration window, simply uncheck the Hide all Microsoft services box, enable necessary services, and re enable startup programs.
7. Windows System Restore
When dealing with errors like the bad image one, a potent tool we can utilize is the Windows System Restore feature. This utility allows us to roll back our system state, essentially turning back time on our system files, installed applications, Windows Registry, and system settings. If this bad image error sprung up as a consequence of recent system modifications, System Restore might help by undoing these changes.
- Press the Windows key + S. Type “System Restore” and select “Create a restore point”. This will open the System Properties window.
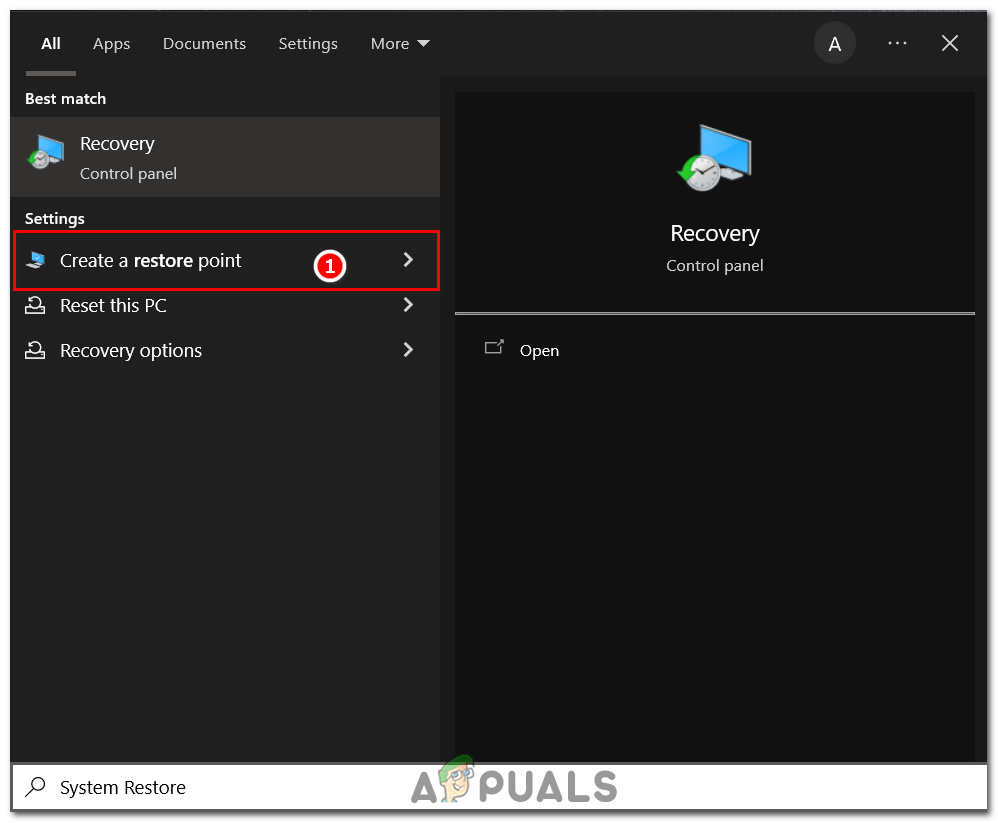
Type “System Restore” and select “Create a restore point”. - Within the System Properties window, there’s a “System Protection” tab. Under this, locate and click on the “System Restore…” button to start the process.

locate and click on the “System Restore…” button to start the process. - The system will then prompt you to choose a restore point. These points are marked with dates. Your task is to select one that predates before the SecurityHealthSystray.exe bad image error occured.
- After selecting your preferred restore point, the system will seek your confirmation. Once you verify your choice, the system restore process will start off. This process may take a while, depending on your storage disk speed.
- Once system restore process finishes, make sure to restart your computer.
It’s crucial to note that while System Restore won’t impact your personal files, it will erase apps, drivers, and updates installed after the restore point was made. As a best practice, ensure you have backed up any important data prior to proceeding with a system restore.
8. Run a Antivirus scan
The Windows Security antivirus scan is a built in feature in Windows designed to detect and remove malicious software. Running this scan can help if the error was caused by a malware or virus that’s infecting your system files.
- Press the Windows key + I to open the Settings app. Navigate to “Update & Security,” then click on “Windows Security.”
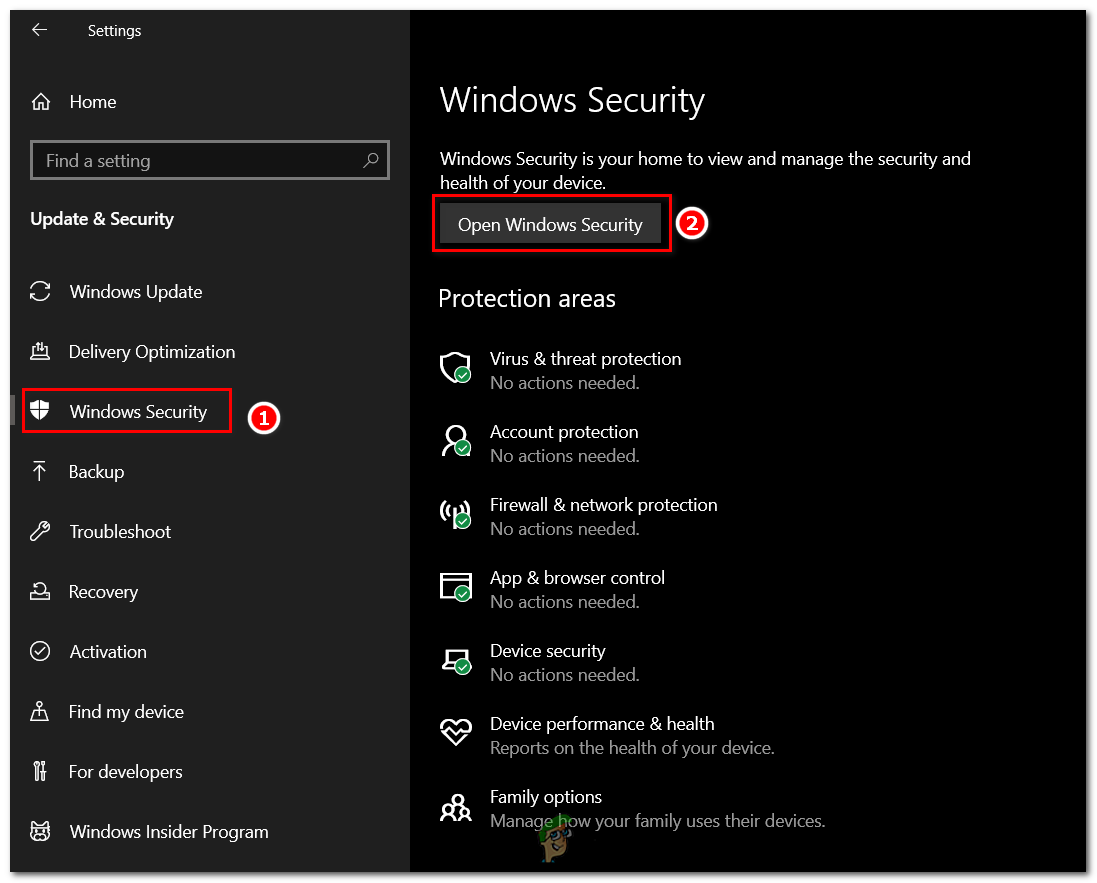
Press the Windows key + I to open the Settings app. Navigate to “Update & Security,” then click on “Open Windows Security.” - Within the Windows Security window, select “Virus & threat protection.”
- You will see a “Quick scan” button under “Current threats.” However, for a more thorough scan, it’s advisable to select “Scan options.”
- Under “Scan options,” choose “Full scan” for a comprehensive check of all files and programs. Then, click on “Scan now.”
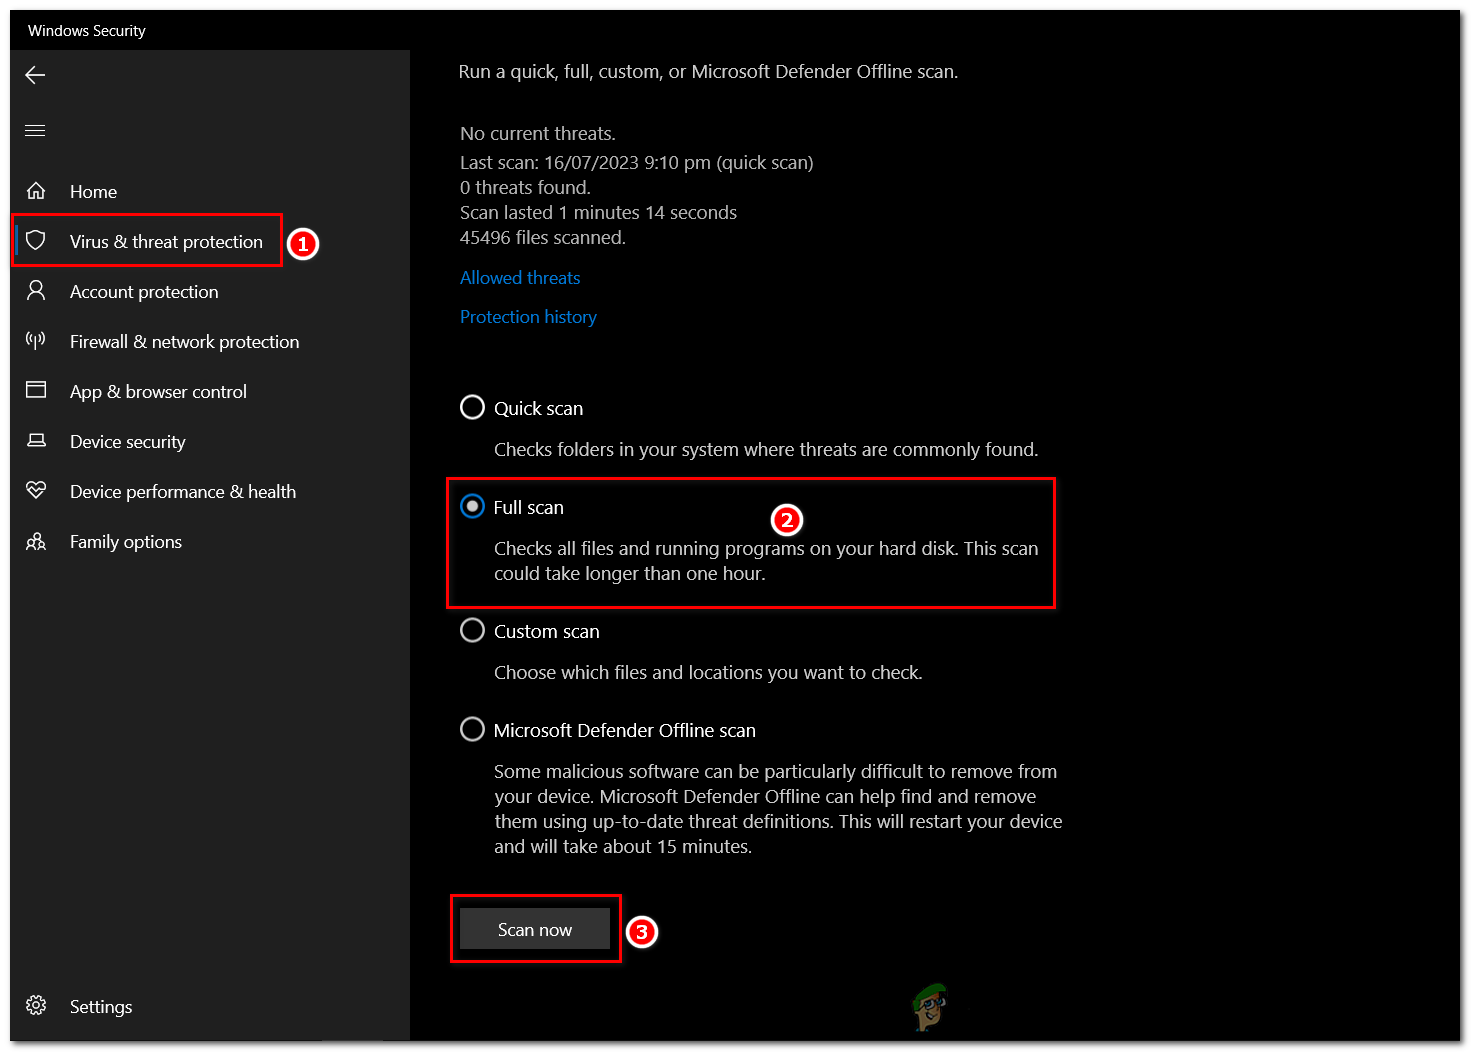
Under “Scan options,” choose “Full scan” for a comprehensive check of all files and programs. Then, click on “Scan now.” - If the scan detects any threats, you’ll be prompted to take action. Depending on the threat level, you might opt to remove, quarantine, or ignore the threat. Generally, removing or quarantining is the safest option.
- After the scan and removal process is complete, restart your computer. This should resolve the SecurityHealthSystray.exe bad image error if it was caused by a virus or malware.
Remember to keep your antivirus definitions updated to ensure it can accurately detect and remove the latest threats. Regular scans also help to keep your system healthy and free from harmful elements.
9. Reinstall Windows
If none of the above mentioned methods worked, Reinstalling Windows is the last resort to fix this error. As this error could be due to a corrupt copy of your current Windows installation. Reinstalling Windows will completely reset your computer, wiping out all files, applications, and settings, essentially starting from scratch.
So make sure you backup all your important data and files before reinstalling Windows. We have a detailed guide on our website about “How to Clean Install Windows“, so follow that along and you should be good.
Reviewed by Kamil Anwar