Step By Step Guide To Install Microsoft Teredo Tunneling Adapter
To understand what Teredo Tunneling is, you first need to know what IPv4 and IPv6 are. IPv4 is an IP protocol that assigns our computers a unique address, which serves as our identity for communicating with the world over the internet.
Most of us are on IPv4 technology, as is the rest of the world. However, due to all the IPv4 available addresses being occupied, the Internet is running out of IPv4 addresses. This is because more and more of us have started using the internet and networks heavily, which is the main reason we now have IPv6 (Internet Protocol Version 6). IPv6 provides a nearly uncountable number of addresses, that is, 2 to the power of 128, or 2^128 (340,282,366,920,938,000,000,000,000,000,000,000,000), ensuring that the supply is practically never-ending.
Now that you know about the shortage of IPv4 addresses, it’ll be easier to understand what Teredo Tunneling is. IPv4 is still heavily used; to put it in its simplest terms, I’d say that previously, everyone knew one language, but now there are two. So, a person (system) speaking in the IPv4 language will be understood by others using the same language but not by those speaking in the IPv6 language. Hence, making networks talk to each other will not be possible, and the internet is all about networks connected and talking to each other. Therefore, we need an interpreter to translate IPv4 to IPv6 and vice versa, and this is what Teredo Tunneling does – it serves as an interpreter to process the v6/v4 language.
Microsoft’s Teredo Tunneling Adapter Driver.
In this section, I will show you how to install the Teredo Tunneling Adapter on Windows 7 – the driver is built into Windows 7.
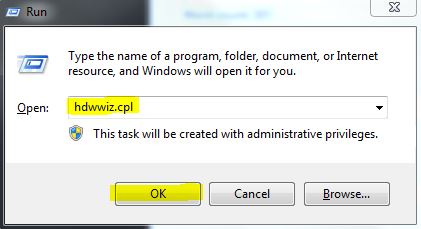
- To install it, go to Device Manager or hold the Windows key and press R. In the Run dialog that opens, type hdwwiz.cpl and click OK.
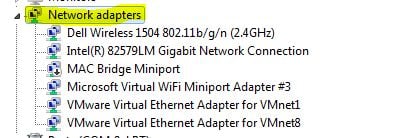
2. Once in the Device Manager, click on Network Adapters.
3. Then, click the Actions tab at the top and select ‘Add Legacy Hardware‘.

4. Click ‘Next’ and then ‘Next’ again (it will not find anything, so do not worry). You will then be taken to ‘Common Hardware Types’; select it..
5. Scroll down and select Network Adapters, then click Next. You will now be taken to the Add Hardware dialog.
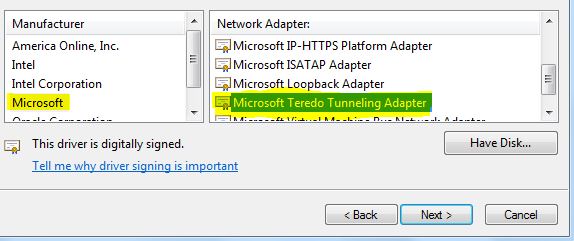
6. Now, from the Manufacturer tab, select Microsoft, then from the Network Adapter tab, select Microsoft Teredo Tunneling Adapter, and click Next.
7. After you click “Next,” click “Next” again, and then click “Finish.
If you can’t see the Teredo Adapter at the Network adapter tab or inside the list of Legacy drivers, there are a couple of methods that you can try. Here’s one procedure that seemed to have worked for a lot of users:
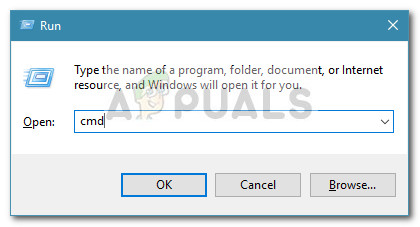
- Press the Windows key + R to open a Run command. Next, type ‘cmd‘, press Ctrl + Shift + Enter, and choose ‘Yes’ at the UAC (User Account Control) prompt to open an Elevated Command Prompt.
- Inside the elevated Command Prompt, type the following command to disable the Teredo interface:
netsh interface Teredo set state disable
- Once the interface has been disabled, close the elevated Command Prompt and reboot your computer.
- At the next startup, open another elevated Command Prompt window (following step 1), type the following command, and press Enter:
netsh interface Teredo set state type=default
- Return to the Device Manager and see if the Teredo Adapter is now enabled.
If the method above doesn’t work, follow the steps below to interrogate Teredo’s state and enable it, if needed:
- Press the Windows key + R to open a Run command. Next, type “cmd“, press Ctrl + Shift + Enter, and choose “Yes” at the UAC (User Account Control) prompt to open an Elevated Command Prompt.
- Type the following command to verify your Teredo state:
netsh interface teredo show state
- If the returned state is Client or Dormant, Teredo is working normally. On the other hand, if the returned state is Offline, type the following command to re-enable Teredo on your specific machine:
netsh interface teredo set state type=enterpriseclient
- Close the Elevated Command Prompt and restart your computer. Check if the issue has been resolved and if you are able to see the Teredo adapter in Device Manager upon the next startup.
The Teredo Tunnel error should now be resolved; however, if you see a yellow exclamation mark, then follow the steps below:
1. Open the Registry Editor
2. Navigate through the following:
HKEY_LOCAL_MACHINE\SYSTEM\CURRENTCONTROLSET\SERVICES\TCPIP6\PARAMETERS3. In the right pane, right-click on ‘Disabled Components‘ and select ‘Edit.’ Set the DWORD value to 0.
4. Restart your computer, and the Teredo tunneling adapter will now start.
How to Fix Issues with the Teredo Adapter on Windows 10
Since the Teredo Adapter is quite a legacy component by now, Microsoft decided to remove it starting with Windows 10 Build 1803.
If you are encountering an error that suggests enabling the Teredo Adapter on Windows 10 but you have a build newer than 1803, here is what you need to do instead:
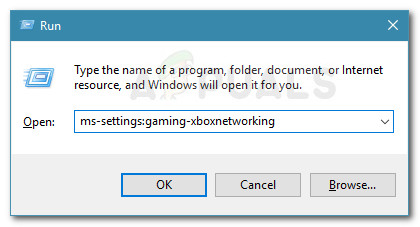
- Press the Windows key + R to open up a Run box. Then, type
ms-settings:gaming-xboxnetworking
Hit Enter to open the Xbox Networking tab of the Settings App.
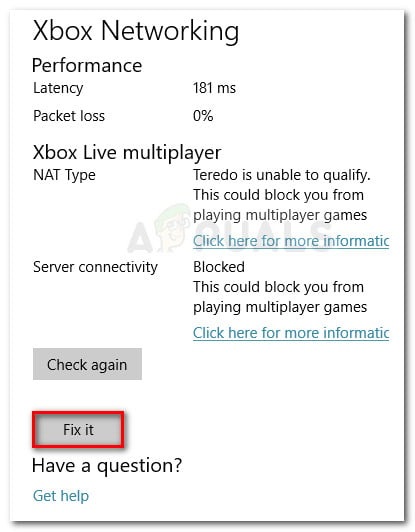
- Once you access the software, allow it to complete the checks, and press the ‘Check Again’ button if the scan does not start
- If the server connectivity is blocked, scroll down and click on the “Fix it” button.
- Reboot your computer and see if the issue has been resolved.
If that doesn’t work, follow the steps below:
- Make sure Windows Firewall is up and running; otherwise, Windows will block the server connection by default.
- Press the Windows key + R to open a Run box. Next, type “powershell“, then press Ctrl + Shift + Enter, and click on ‘Yes‘ at the subsequent UAC (User Account Control) prompt to open an elevated PowerShell window.
netsh

int teredo

set state servername=win1711.ipv6.microsoft.com.
- Restart your computer and see if the issue has been resolved.
If the procedure above proves ineffective, follow the method below where we use the Group Policy Editor to change a port that might be causing the issue:
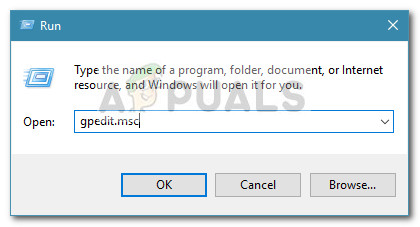
- Press the Windows key + R to open a Run box. Then, type “gpedit.msc” and press Enter to open the Local Group Policy Editor.
 Note: Keep in mind that the Local Group Policy Editor is available only on select Windows 10 versions.
 - Inside the Local Group Policy Editor, use the left pane to navigate to Computer Configuration > Administrative Templates > Network > TCP/IP Settings > IPv6 Transition Technologies.
- Move over to the right side, and double-click on ‘Set Teredo Client Port‘ to edit this policy.
- Set the policy to Enabled, and set the port to 3544. Keep in mind that, for this to work, the port needs to be open and forwarded through your router. If you don’t know how to do this, look for specific instructions related to your router manufacturer.
Note: Sometimes, you might see Error Code 10 after installing the Microsoft Tunneling Adapter.