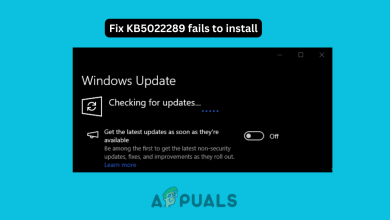
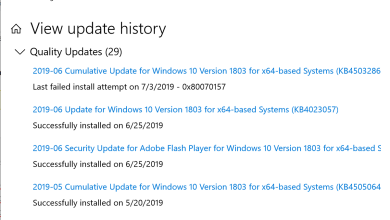
How to Fix the KB5034441 Update Fail to Install on Windows 10?
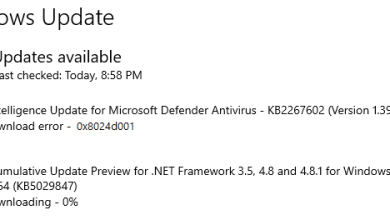
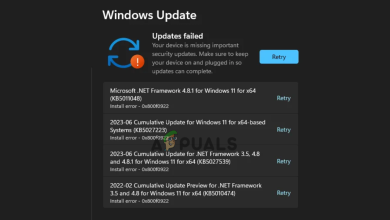
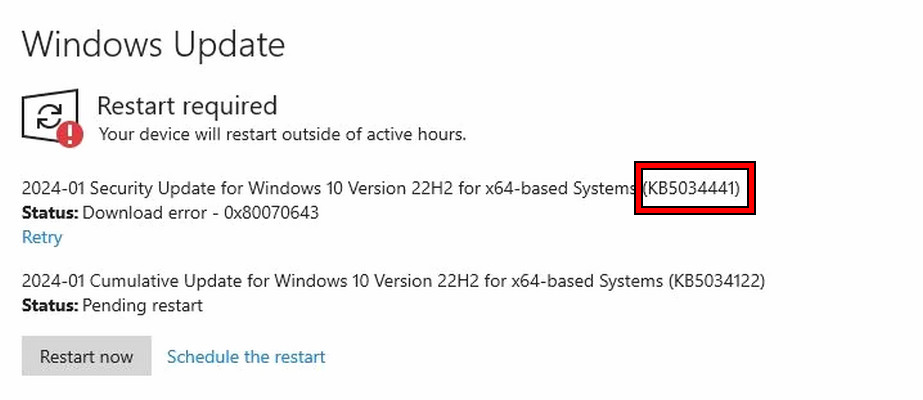
A vulnerability related to BitLocker will persist in your system if the KB5034441 update fails to install, preventing you from receiving any future Windows updates. This particular update is intended exclusively for Windows 10 and may encounter installation issues across various Windows 10 versions, including Home, Pro, Enterprise, etc.
1. Pause or Hide the KB5034441 Update
If resizing the recovery partition to meet the installation requirements for the KB5034441 update seems too technical, you can choose to pause or hide the update. This is recommended particularly if you have not enabled BitLocker and do not plan to do so in the near future.
1.1. Pause Windows Updates
- Right-click on the Windows button and select Settings.
- Go to the Windows Update section, and under “More options,” find Pause Updates.
- Choose Pause for 1 Week from the dropdown menu and then restart your computer.
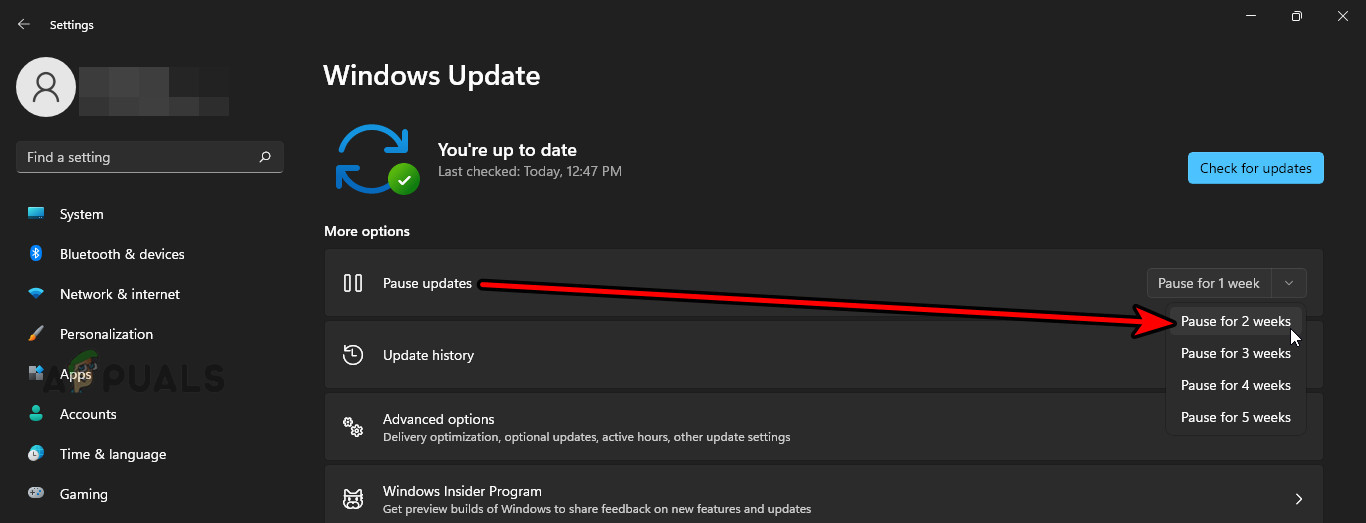
Pause the Windows Update for 2 Weeks
1.2. Hide the KB5034441 Update
- Download the wushowhide.diagcab utility from the official Microsoft website.
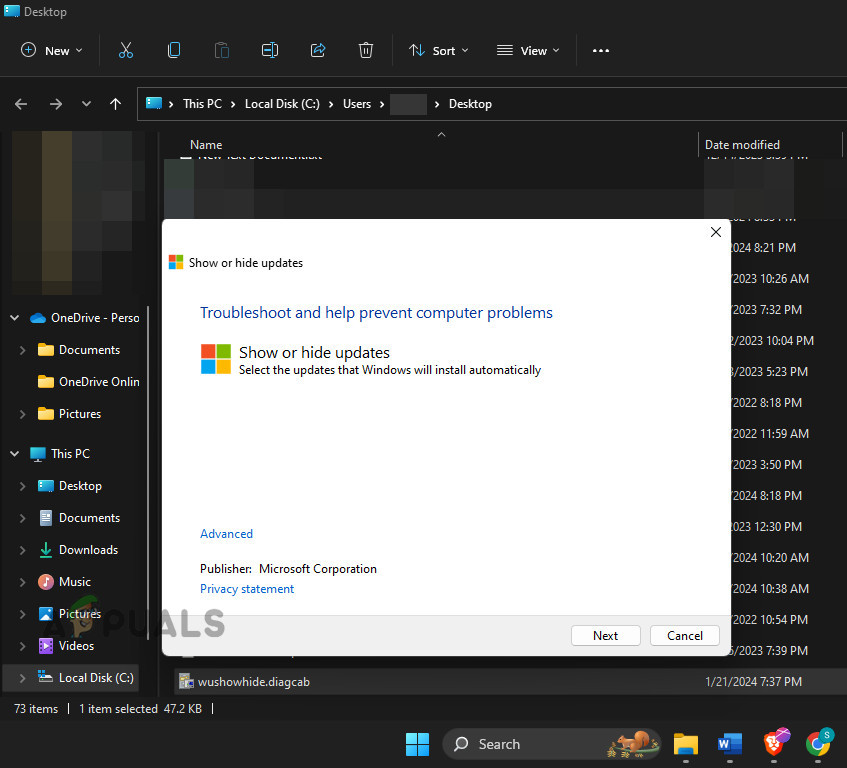
Open the wushowhide.diagcab File and Click Next - Run the tool and choose the Hide Updates option.
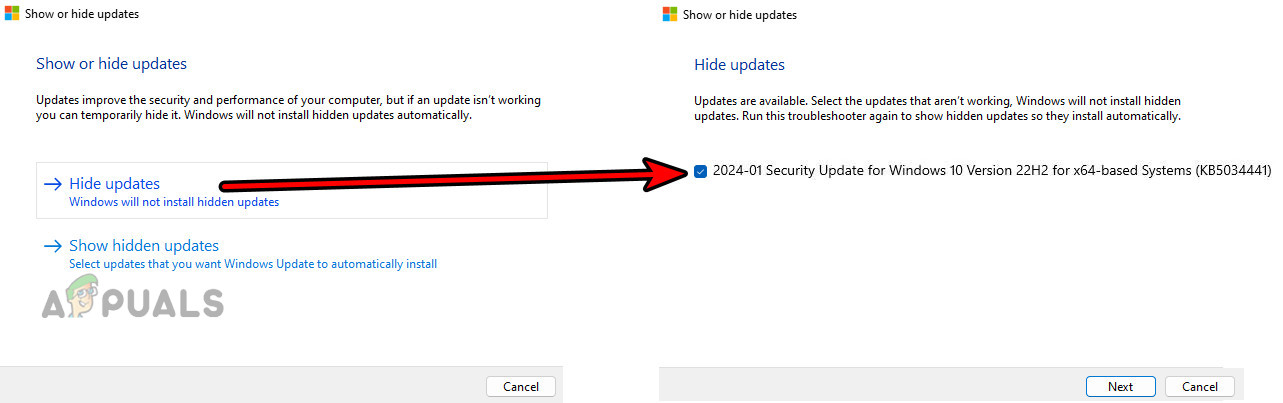
Hide the KB5034441 Update - Select the checkbox for the KB5034441 update to hide it.
- Close the utility and restart your PC.
Periodically check the Resolved Issues page on the Microsoft website and, once the issue is reported as resolved, unhide the update to attempt the installation again.
2. Upgrade the PC’s Windows to Windows 11
Upgrading your PC’s operating system to Windows 11 can fix the issue, as the KB5034441 update only affects Windows 10. Remember to back up all data and create a system restore point prior to upgrading. Follow the instructions in the Upgrade to Windows 11 article to complete this process.
3. Enable the Recovery Partition of the System
The KB5034441 update attempts to address a BitLocker vulnerability within the recovery partition. The update will not install if the system’s recovery partition is not enabled, even if its size exceeds the required 1GB.
- Press the Windows button and type Command Prompt.
- Right-click on it and select Run as Administrator.
- Enter the following command:
reagentc /info
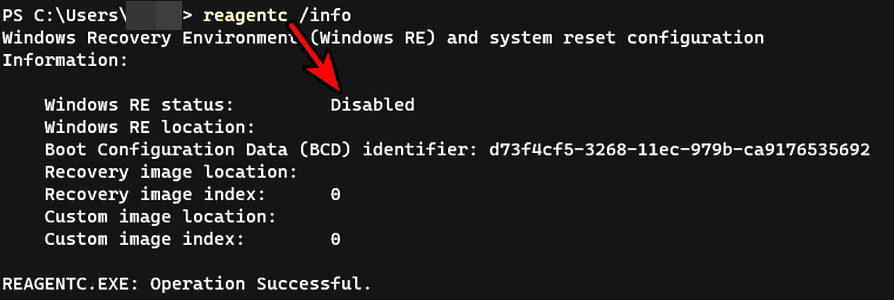
Check if the Windows RE Status is Disabled - If the output shows the recovery partition as disabled, execute:
reagentc /enable
- Attempt the update installation again and restart your computer afterwards.
4. Use the PowerShell Script to Resize the Recovery Partition
Resizing the recovery partition manually may not be feasible for most users. Instead, a PowerShell script provided by Microsoft can automate this process, which could be advantageous when dealing with multiple computers within a domain.
Warning:
Proceed with caution. Although the script is provided by Microsoft, it could lead to problems due to differences in your environment. These issues may render the OS drive inoperable or lead to data loss.
- Visit the Updating the WinRE Partition article on Microsoft’s website and follow the instructions to run the script.
- After executing the script, restart your computer and hide the update as previously described. Although the update is installed, Windows Update may still indicate that the update is pending installation.
5. Manually Increase the Size of the System’s Recovery Partition
If the system’s recovery partition is too small, the KB5034441 update may fail because it is designed to patch a BitLocker vulnerability in that partition. Increasing the partition size manually can solve this problem, but it is a complex task, especially when multiple PCs are involved (for which using the PowerShell method is preferred). Make sure to back up the PC’s data to an external drive before proceeding.
Attempt this at your own risk. Manually resizing the system’s recovery partition requires advanced skills. An incorrect procedure could make the OS inoperative or result in data loss. Pay special attention to systems with dual-boot setups (e.g., Windows and Linux). Additionally, create a bootable USB drive of Windows 10 for immediate OS reinstallation if needed.
5.1. Through the DiskPart
- Press the Windows button and search for Command Prompt.
- Right-click on it and choose Run as Administrator.
- Type the following command to check the status of the recovery environment:
reagentc /info
- Note the path to the Windows RE Location. The Recovery Partition is typically located on Disk 0, Partition 4 in the following path:
\GLOBALROOT\device\harddisk0\partition4\Recovery\WindowsRE
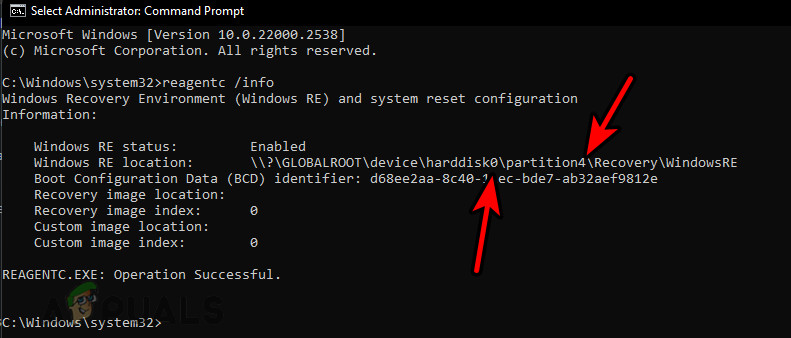
Check the Disk and Partition of the Windows Recovery Partition - Disable the Recovery Partition with:
reagentc /disable
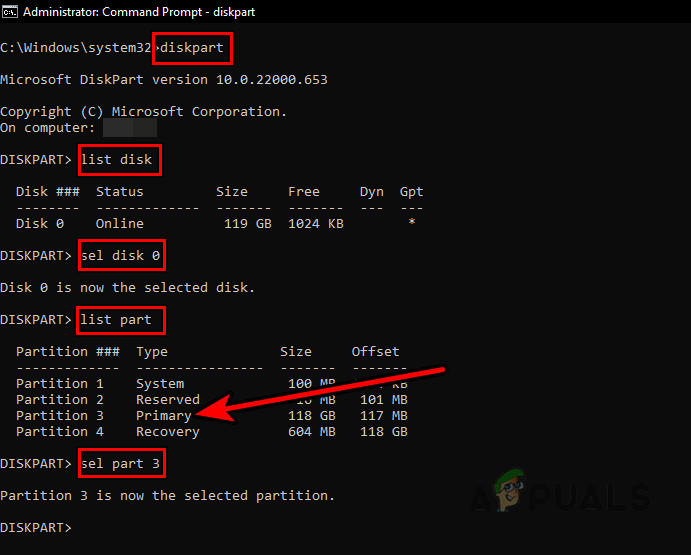
- Launch Diskpart by entering:
Diskpart
- List all disks with the command:
list disk
- Select the disk where the WinRE Partition resides:
sel disk <OS disk index>
For Disk 0, you would enter:
sel disk 0
- Use the following command to display partitions on the selected disk:
list part
- Select the primary partition (OS partition) by specifying its index:
sel part <OS partition index>
For example, from the illustration below, the command would be:
sel part 3
Use the Diskpart to Select the Primary Partition - If the Recovery partition follows the OS drive, shrink the OS partition with:
shrink desired=250 minimum=250
- If the WinRE partition precedes the OS drive, use the command:
shrink desired=750 minimum=750
- Select the WinRE or Recovery partition:
sel part <WinRE partition index>
Use the following for Disk 0, Partition 4:
sel part 4
- Delete the Recovery partition with caution, making sure to select the correct partition:
delete partition override
- Check if the disk uses GPT or MBR by listing the disks:
list disk
If there is an asterisk under the GPT column, use these commands:
create partition primary id=de94bba4-06d1-4d40-a16a-bfd50179d6ac
gpt attributes=0x8000000000000001
If not, the disk is under MBR:
create partition primary id=27
set id=27

Check if the Disk is GPT or MBR - Next, format the new Recovery partition with:
format quick fs=ntfs label="Windows RE tools"
- List volumes to confirm the new recovery partition is recognized:
list vol
- Exit Diskpart with the command:
exit
- Re-enable WinRE with:
reagentc /enable
- Verify that the WinRE partition size has increased with:
reagentc /info
- Restart the computer and reattempt the KB5034441 update installation.
If the recovery partition is located before the OS drive and increasing the size does not resolve the issue, consider relocating the partition as described in the How to Move the Recovery Partition on Windows 10 article.
5.2. Use a Bootable USB Drive
If you prefer not to use a third-party application or it fails, a bootable USB can be utilized for resizing.
Warning:
Undertaking these steps is risky and demands a high level of expertise. Do not attempt them unless you’re confident in your understanding of the procedures involved.
- Create a bootable USB drive using a partition utility (such as GParted) or a live Linux system and use it to boot the computer.
- Shrink the OS drive by 750 MB and increase the Recovery Partition size by the same amount. If the Recovery Partition is missing, establish one after the OS drive.
- Boot into Windows and reattempt the KB5034441 update.
- If the Recovery Partition was not initially present, enable it from the Command Prompt after booting:
reagentc.exe /enable
If the Recovery Partition is created anew, adhere to the steps outlined in the DISM method.
6. Use the DISM Command
In the absence of a recovery partition, the KB5034441 update remains uninstalled. Creating a recovery partition and populating it with necessary files via the DISM command can rectify this issue.
- Create and enable a recovery partition on the disk as explained previously.
- Create a bootable Windows drive or mount a Windows 10 ISO.
- Introduce the following commands one by one, replacing “D:” with the actual drive letter containing Windows 10 files:
dism /mount-image /imagefile:"D:\sources\install.wim" /index:1 /mountdir:C:\test\ /readonly

xcopy c:\test\winre.wim C:\Windows\System32\Recovery

reagentc /setreimage /path C:\windows\system32\recovery

dism /unmount-image /mountdir:C:\test\ /discard

reagentc /enable

reagentc /info
- After completing these steps, try updating again.
When successful, manual replacement of the files is also an option:
- Obtain copies of ReAgent.xml and WinRE.WIM from Install.esd or install.wim by following the guidelines in the Create a Recovery Drive on this PC article.
- Position these files in the Recovery folder at one of the following locations:
C:\Windows\System32\Recovery
or
C:\Recovery
- Try the KB5034441 update again; it should install without issue.
Please share your experiences with these solutions in the comments section.