How to Install MongoDB on MacOS (Step-by-Step Guide)
 Reviewed by Muhammad Zubyan
This guide focuses on installing MongoDB on macOS. There are two ways to install MongoDB on macOS: either by downloading the macOS TAR.GZ file or using Homebrew. The tar.gz file is a collection of files wrapped into a single package, similar to a Zip file on Windows. However, due to its complexity, most developers find it challenging to use TAR.GZ to install MongoDB on a Mac. This is why we are going to use Homebrew.
What is Homebrew?
Homebrew is a missing package manager for macOS. It is a free utility that allows users to install, update and manage the libraries and packages through the command lines.
Why do you need Homebrew?
Technically, you don’t need homebrew since you can install MongoDB using the TAR.GZ file, though it may be challenging. However, if you install MongoDB through Homebrew, you will reap the following benefits.
Homebrew automates the process of compiling, downloading, and configuring, which saves a lot of time. Homebrew contains all the software, including utilities, libraries, and languages, which can be installed by executing a single command.
Want to learn more? Visit brew.sh.
How to install MongoDB on macOS?
Now let’s have a look at how you can install MongoDB using Homebrew.
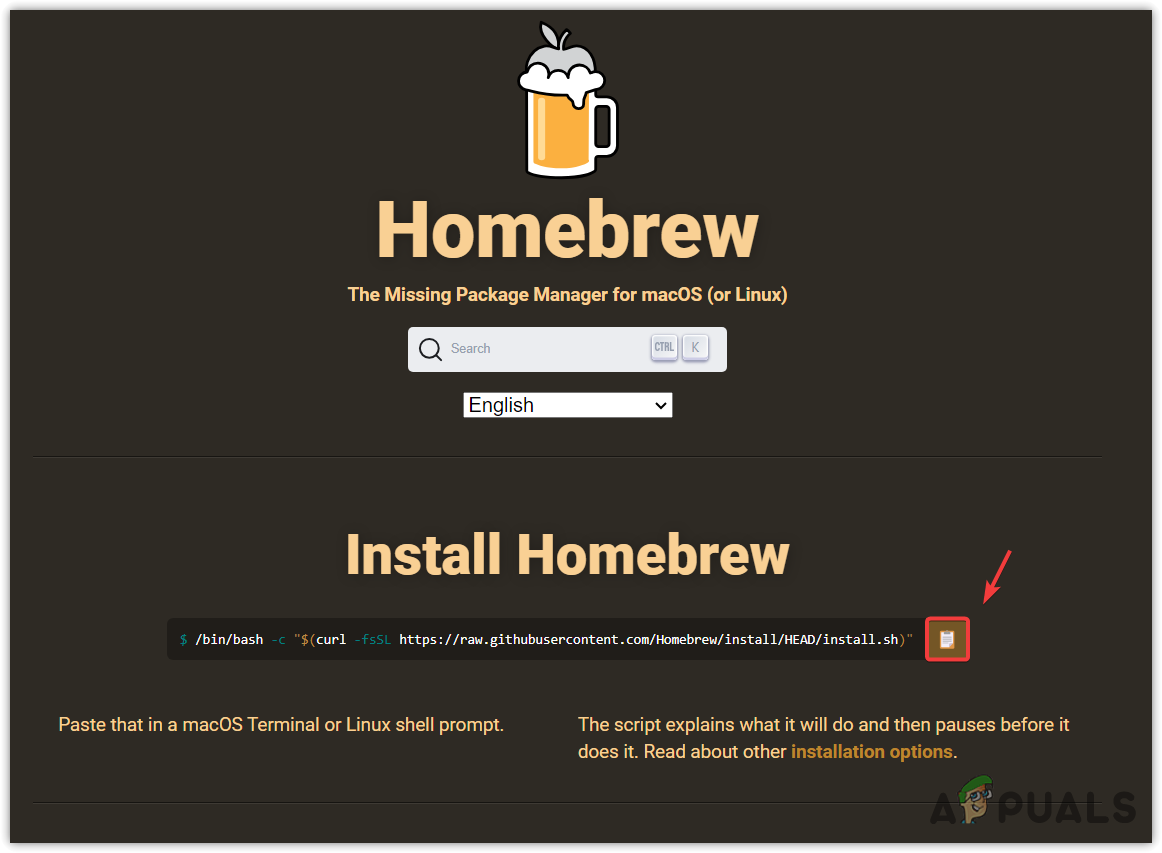
- Before installing MongoDB, you will need to install Homebrew
- For that, open the terminal and head to the brew.sh.
- Copy the command by clicking the copy icon button.
- Paste the command in the terminal and hit Enter. This won’t install the brew itself. In order to install the brew, you just need to do one more step, which is to find the hidden folder named Zshrc (Also known as Shell) and install the Brew in that folder.
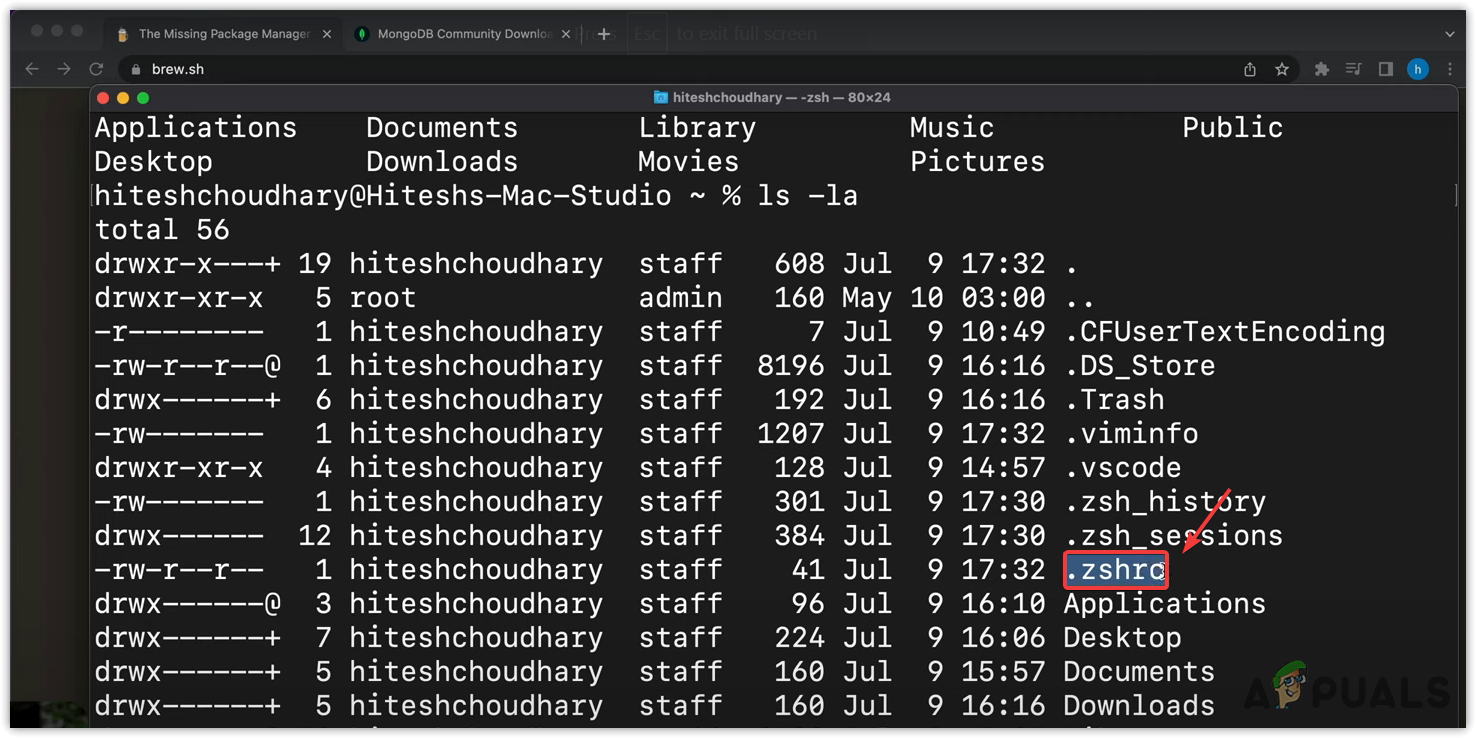
- To find the folder, make sure you are in the correct directory. For that, just type CD and hit Enter.
- Type ls -la and hit Enter. This will show a long listing and all the hidden files.
- Here you will see the dot directories, and we are only interested in the. Zshrc directory.
- To insert the homebrew in the Zshrc directory, type vim .Zshrc and hit Enter to open Vim.
- Press I to get into the insert mode, then enter the following command to add the homebrew.
export PATH="$PATH:/opt/homebrew/bin/"
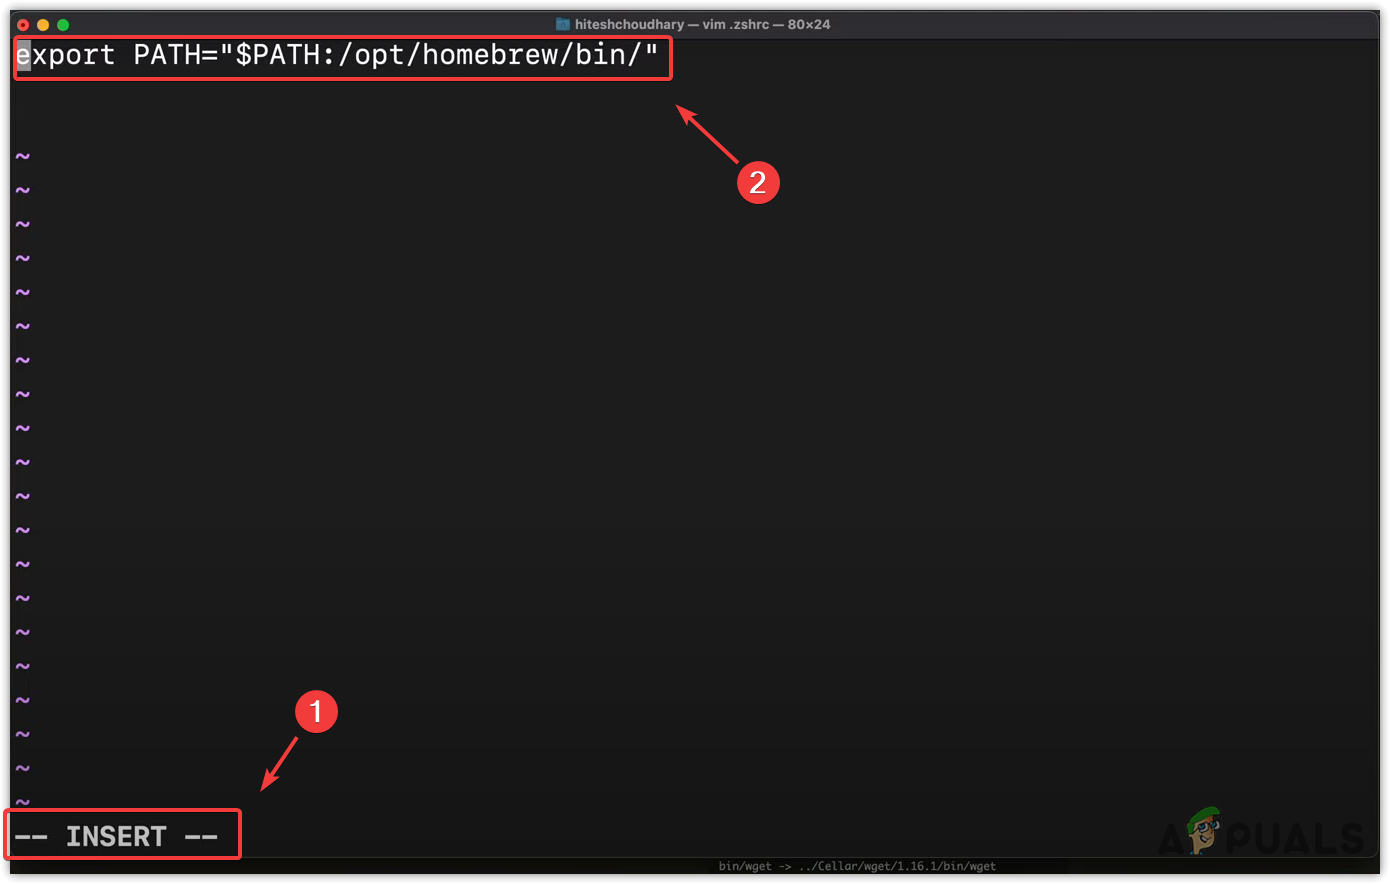
- Once done, press the Esc key, then press the colon and type wq for write and quit and hit Enter.
- Now you need to reload the Zshrc directory in order to install the homebrew. For that, enter the following command or restart your terminal.
source ~/.zshrc
- Now to make sure that homebrew is properly installed, type the following command.
brew --version
- If the terminal displays the version of the brew, it means the brew is properly installed, you can proceed to install MongoDB.
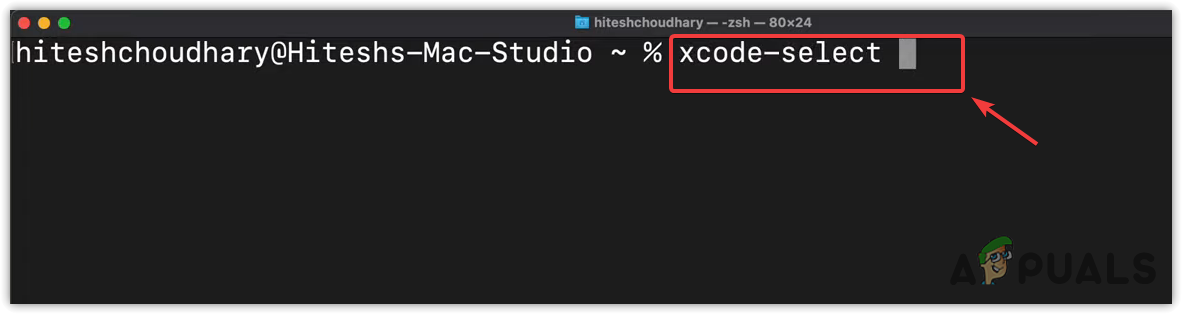
- To install MongoDB, you need to install the Xcode tools first. For that, run this command xcode-select -install.
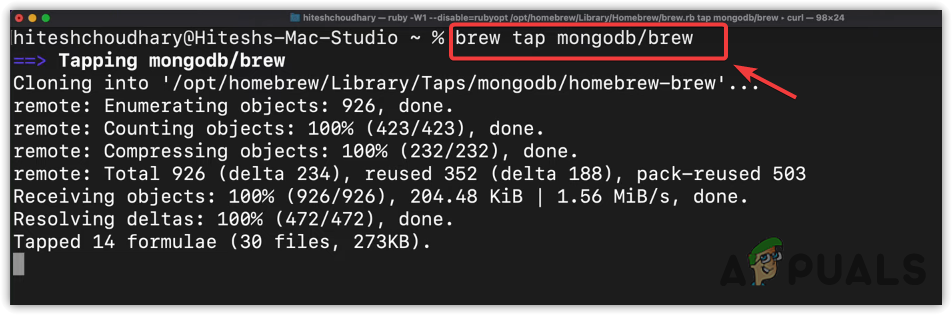
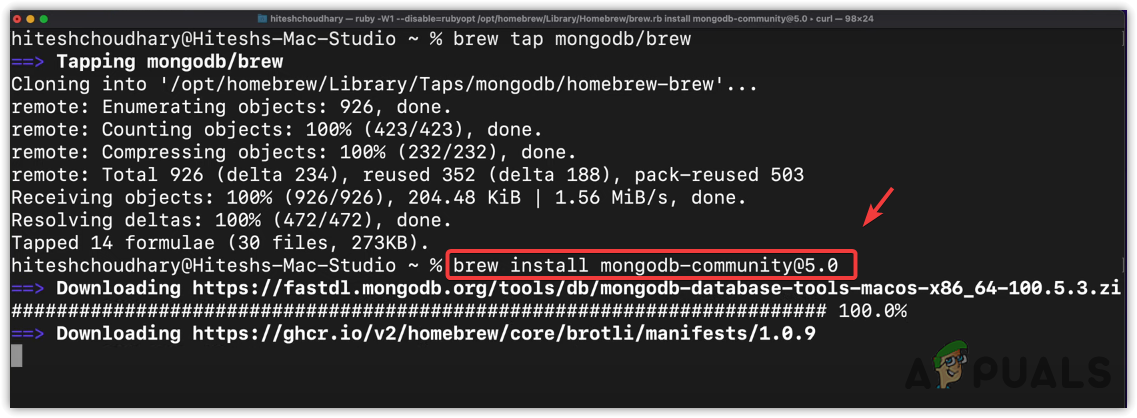
- Once you have installed the Xcode tools, type the following command to tap into the MongoDB. This will aware the brew about MongoDB.
brew tap mongodb/brew
- Finally, enter the following command to install MongoDB.
brew install mongodb-community@6.0
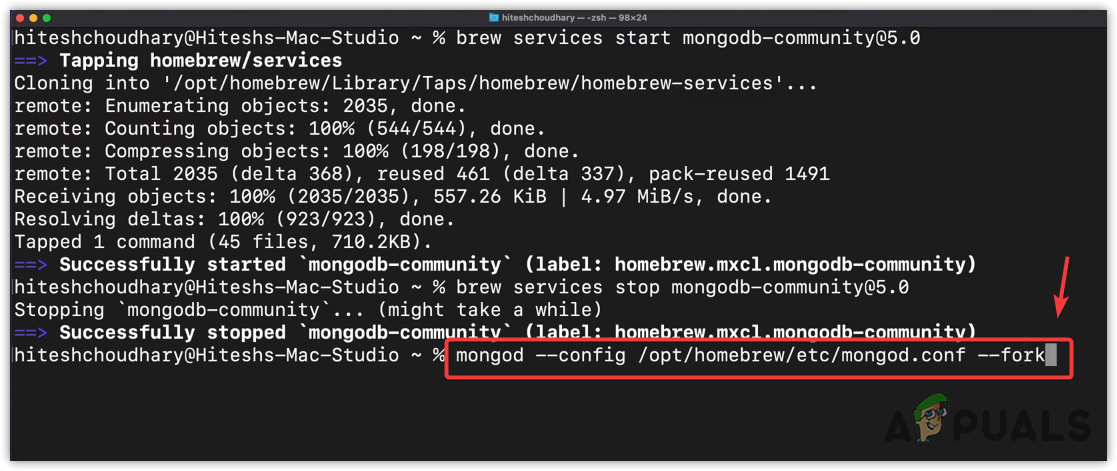
- Once MongoDB is installed, you cannot start using it immediately, as you will need to execute some commands first. To run the MongoDB services, execute the following command:
brew services start mongodb-community@6.0
- To stop the MongoDB services, all you need to do is to enter the same command but remove Start and add Stop in the command.
brew services stop mongodb-community@6.0

- Obviously, you don’t want to enter these commands again and again to start and stop the MongoDB server. If you want to configure the MongoDB sever to run as a background process, even if you close the terminal, you can type the following command.
mongod --config /opt/homebrew/etc/mongod.conf --fork
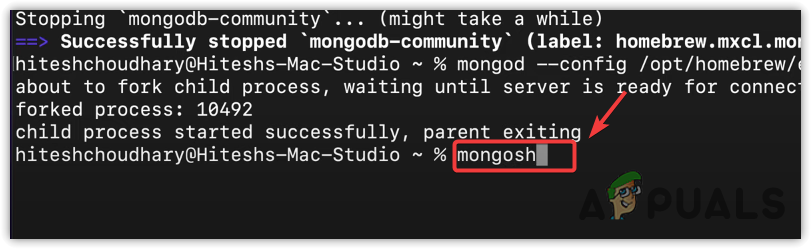
- Now you can go ahead anytime and starts the mango shell by entering the following command.
mongosh
- Once you run the MongoDB shell, you can start working on your project. To ensure the MongoDB server is running, type show dbs, which should give you all the default databases of MongoDB.
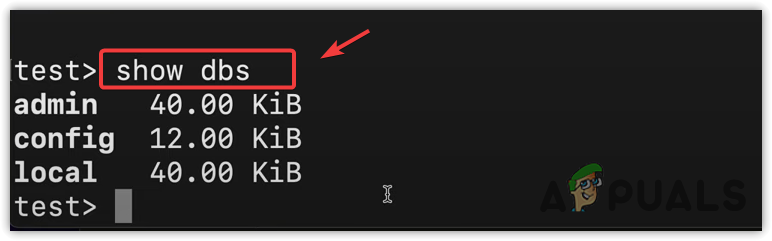
- That’s it, MongoDB has been installed properly on your macOS.
If you are getting any issues when trying to install MongoDB, try uploading a thread on StackOverflow or any other programming forum or facebook page to get your issue resolved.
Reviewed by Muhammad Zubyan