How to Install adb on Windows 7, 8 and 10
The Android Debug Bridge (ADB) is an important command-line tool for controlling your Android device from your computer. With ADB you can perform many useful commands to back-up your data, sideload .zip files you would otherwise flash in custom recovery, unlock your bootloader on Nexus devices, and several other uses for debugging your Android phone.
Installing ADB on a Windows machine is a fairly painless but involved process. This guide will walk you from start to finish.
How to Install ADB on Windows?
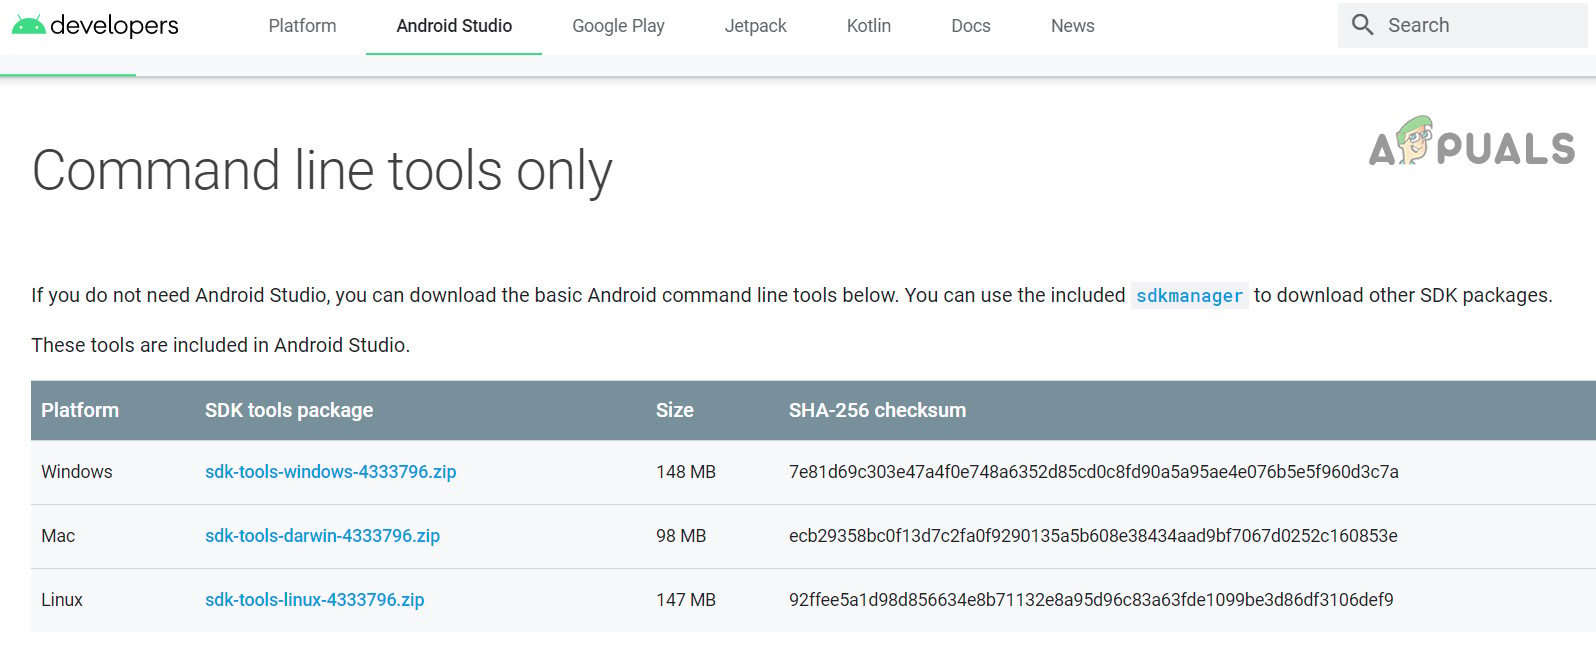
- Go to the Android SDK website and navigate to “SDK Tools Only”. Download the version for your platform.

Download SDK Tools - Open the SDKManager.Exe and choose only the “Android SDK Platform Tools” for installation. If you’re on a Nexus phone, you should also choose “Google USB Driver”. When you click Install, it will begin downloading the necessary files to your computer.

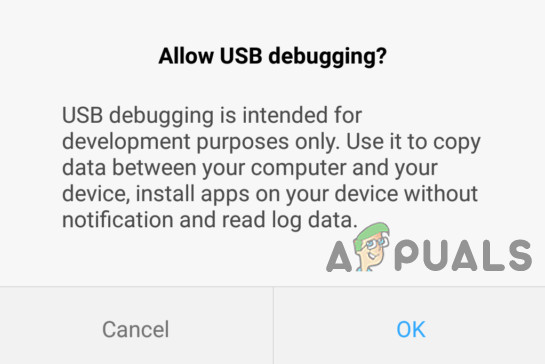
Downloading Android SDK Platform Tools - Enable USB debugging on your device. ADB will only work on your device when USB debugging is enabled. USB debugging is usually found under Developer Options, so if you have not enabled Developer Options yet, go to Settings>About Phone> tap on “Build Number” 7 times, and you will get an alert that Developer Options are enabled. You can now go into the Developer Options to turn on USB Debugging.

Allow USB Debugging - Navigate to the folder on your PC where the SDK tools were installed. Shift + Right Click on the folder and select “Open Command Window Here”.
- Connect your Android phone to your computer via USB (Make sure that you are using Data cable, not the charging cable). If you are prompted on your device, then choose “file transfer (MTP)” mode. Now in the command terminal type:
adb devices

It should display your device as being connected. If there is no device shown in the command prompt, you may need to download USB drivers specific to your phone from the manufacturer’s website.
You should now configure your system-path so you can always run ADB commands from inside the command terminal without having to run it from the SDK tools folder. The methods are nearly the same but a little different between Windows 7, 8, and 10.
Add ADB to System Path for Windows 7, 8
- Go to Control Panel > System > Security and click the “Advanced System Settings” button, then click on “Environment Variables”.

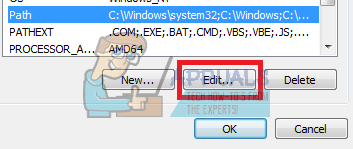
Edit Environment Variables - Find the variable called “Path” on it to highlight, then click “Edit“.

Edit Path of Environment Variables - Add your ADB folder to the end of the variable value, with no spaces, preceded by a semicolon. For example:
;C:\Android\platform-tools
Add ADB to System Path in Windows 10
Follow the steps above until 3. Instead of adding the string to a pre-existing variable string, you are simply going to click “Add New” in the environment variable box that opens. Simply add your ADB folder and press enter.
List of Useful ADB Commands
- adb install C:\package.apk – Install an .apk package from your C:\ to your Android device.
- adb uninstall package.name – Uninstall an app package from your device – package name would be the specific app package name as seen in your device, for example, com.facebook.katana
- adb push C:\file /sdcard/file – Copies a file from your C:\ to your devices SD card.
- adb pull /sdcard/file C:\file – The reverse of ADB push.
- adb logcat – View the log from your Android device.
- adb shell – This will open an interactive Linux command line on your device.
- adb shell command – This will run a command on your device’s command line.
- adb reboot – This will reboot your device.
- adb reboot-bootloader – Reboots your device to the bootloader.
- adb reboot recovery – Reboots your device to recovery.
fastboot devices – ADB commands only work once your phone is fully booted, not from the bootloader. FastBoot allows you to push ADB commands to your device from the bootloader, useful for when you’re stuck in a recovery loop, for example.