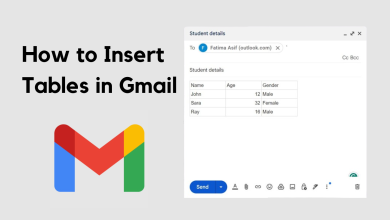
How to Import “.PST” files to Gmail
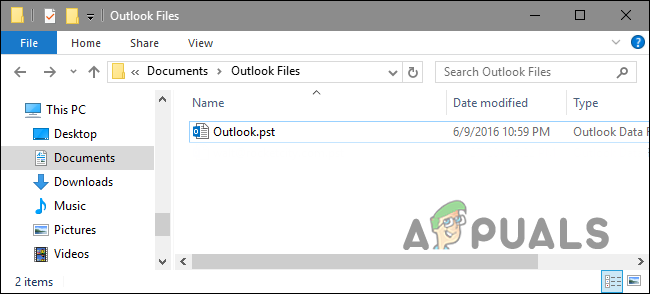
“.PST” refers to a specific file format used to store personal messages, contacts, calendar events, and many other things. This format is typically used by Microsoft Software such as Microsoft Exchange Client, Windows Messaging and Microsoft Outlook. Gmail is a web-based email service provided by Google and is quite popular due to it’s easy to use interface.
Many users requested a guide on the process of importing “.pst” files to their Gmail accounts without the hassle of operating the Outlook Client. This can help users who want to maintain their emails and important data through a single service instead of employing two different clients for it.
How to Import “.PST” files to Gmail?
In this article, we will guide you with the process of importing “.pst” files to Gmail. Make sure to carefully follow the steps as a slight slip up can result in the loss of important information.
- Download this tool and double–click on the executable after it is downloaded.
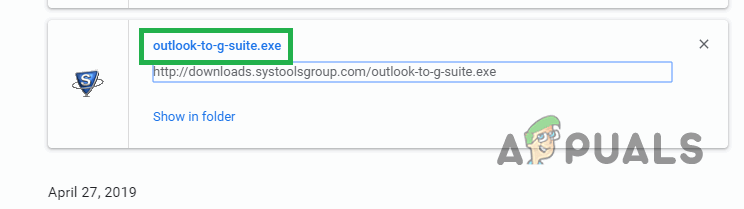
Clicking on the “executable” to install it - Click on “OK” in the prompt and then on “install” to install the software on your device.
- Launch the software after it finishes the installation process.
- If you wish to import a single file click on the “Add File” folder or if you want to add a whole folder of “.pst” files click on the “Add Folder” option.
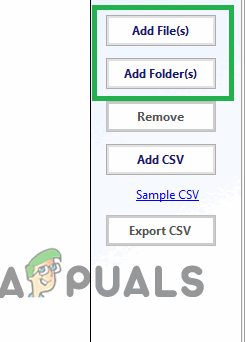
“Add Files” and “Add Folder” options inside the application - Once the “.pst” files to be imported have been selected, click on the “Next” button.

Clicking on the “Next” button after selecting Files - After this click on the “Login” button in front of the files.
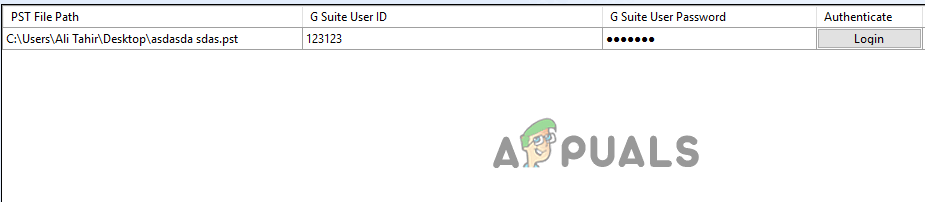
Clicking on the “Login Button”. Note: Make sure to enter the “Gsuite User ID” and “GSuite User Password” before performing this step.
- Each “.pst” file will have to be verified by entering the Gmail credentials.
- In the categories below you can select specific categories of the data that you want to import.
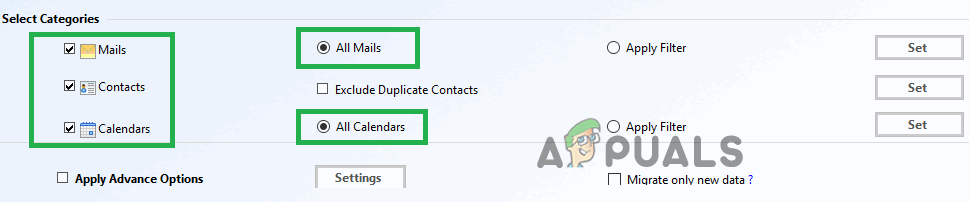
Selecting “Categories” by checking the boxes - Check the boxes for the “Categories” that you want to import and check the “Exclude Duplicate Contacts” box.
- Click on the “Export” button and wait for the process to be completed.
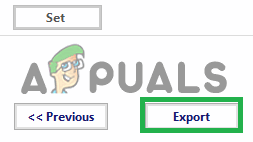
Clicking on the “Export” button - Click on the “Save Report Button” to save the generated Migration Report in CSV format.