How to Fix Windows 10 Update Error Code 0x80240fff
Updating Windows will never be an easy process and it’s no wonder that users often postpone this until they are basically forced to do it because some apps don’t support outdated Windows versions. Windows 10 was basically installed forcefully on many people’s computers and it was to be expected that Microsoft should make the updating process somewhat easier.
Unfortunately, that was not the case and Windows 10 users now have a lot of problems and errors to deal with while updating Windows and there is usually no explanation for why the specific error message keeps appearing. Check out below to learn about this one!
This particular error code was able to annoy plenty of Windows 10 users but there are certain builds which trigger more often that the other ones, such as Windows 10 build 10240. Not updating your PC is not recommended because Microsoft also updates its security flaws, making it more difficult for hackers to get a hold of your personal information.
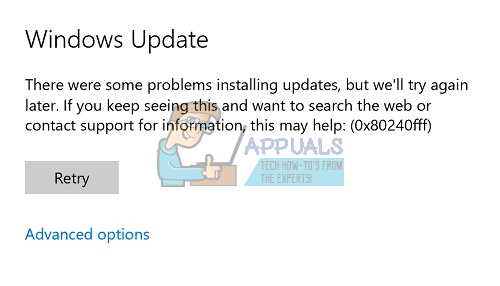 Check out below in order to find out just what causes this particular error message and check out a couple of verified solutions which should fix your Windows update issue in no time!
Solution 1: A Useful Fix for Windows 10 Pro Users
This is quite a useful solution for people running Windows 10 Pro on their computer, especially if this problem suddenly appeared with the new version of Windows. The “Defer Upgrades” option in Windows settings should help you deal with the issue because the option changes the server you are downloading your update from.
Via the Settings App:
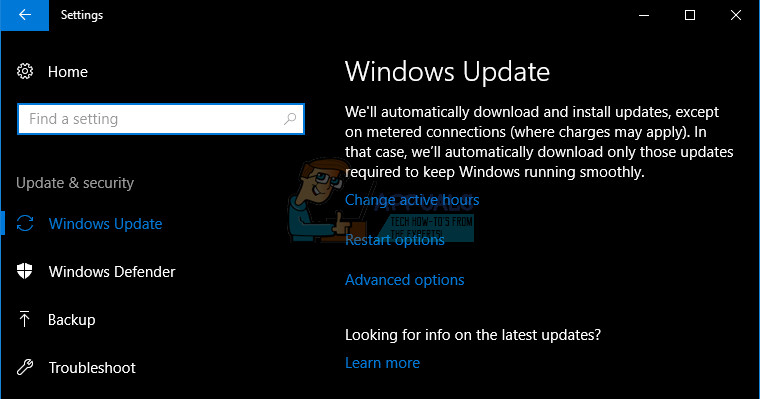
- Open the Settings app by clicking on the gear icon in the Start menu.
- Open the Update & security section and select the Advanced options submenu.
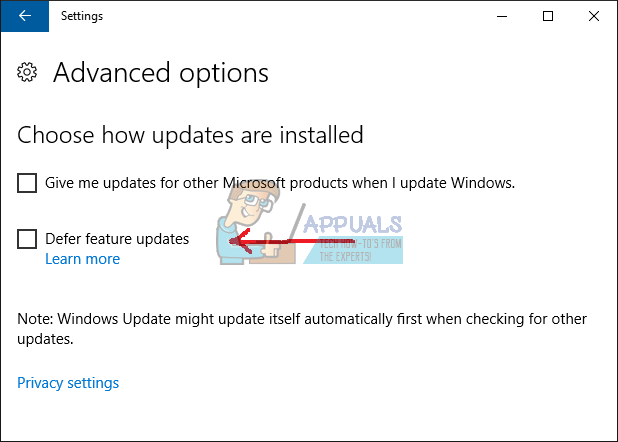
- Check the Defer feature updates check box.
- Restart your computer in order to apply changes.
Via the Local Group Policy Editor:
- In the pane on the left, under “Computer Configuration,” click on “Administrative Templates” to expand that folder, then on the “Windows Components” that appears, and next on “Windows Update.”

- A list of 19 different group policies will appear in the right-hand pane. Find “Defer Upgrades and Updates” and double-click it.
- Select the ‘Windows Update’ folder in the sidebar on the left, then the ‘Defer Upgrades and Updates’ group policy on the right.

- The window that opened contains the Local Group Policy settings. To make any changes, select “Enabled.”
- There are two fields and one checkbox in the bottom half of the window.
Defer upgrades for the following duration (months)
- Using the up- and down-arrows at the right of the field, or by typing a number using the keyboard, enter the number of months to defer upgrades.
- Users may defer upgrades from one to eight months in one-month increments by entering a number between “1” and “8” into the field.
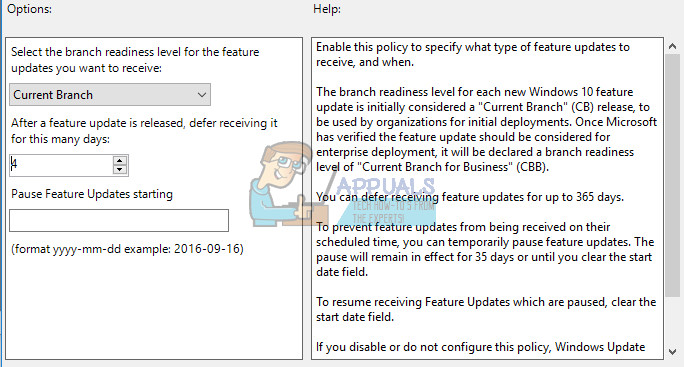
The 1-8 months entered in the editor are in addition to a four-month delay that’s produced, because once a delay has been requested, the PC is automatically shifted from the consumer-level “Current Branch” (CB) to the enterprise-oriented “Current Branch for Business” (CBB) upgrade track.
Defer updates for the following duration (weeks)
- Using the up- and down-arrows at the right of the field, or by typing a number using the keyboard, enter the number of weeks to defer updates.
- Users may defer updates from one to four weeks in one-week increments by entering a number between “1” and “4” into the field.
There is a difference between upgrades and updates because Microsoft refers to them by different terms. In Microsoft’s vocabulary, an update is one of the frequently-issued security and non-security fixes that Microsoft ships for all Windows’ editions, including 10. In Microsoft’s vocabulary, an upgrade is one of the two-to-three-times-a-year feature and functionality upgrades Microsoft plans for Windows 10
Pause Upgrades and Updates
Checking the box will put a temporary hold on all upgrades and updates.
The hold lasts until the next monthly update shows up, or until the next upgrade makes an appearance. “Once a new update or upgrade is available, the value will go back to the previously selected option, re-enabling your validation groups,” the accompanying text in the editor reads.
Solution 2: A Useful Solution for Windows 10 Home Users
Since Windows 10 Home users are not so lucky to have the “Defer Upgrades” option on their computers, they are basically forced either to update Windows using the Windows 10 Media Creation Tool or to download and install the particular update manually and install it using the Windows Update Catalog.
Windows Media Creation Tool:
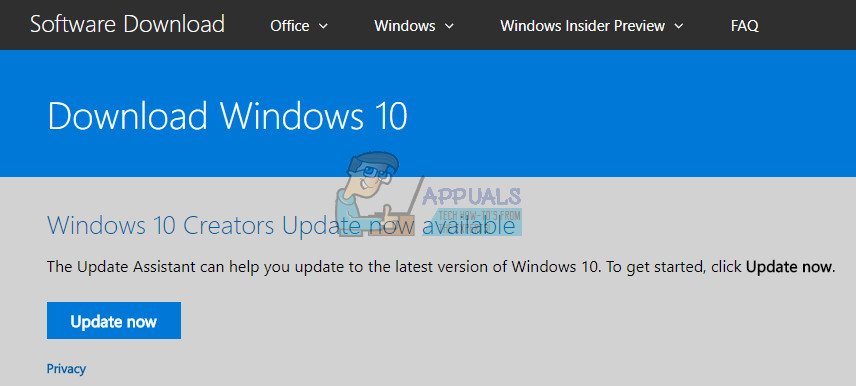
- Visit Microsoft’s site in order to download it.
- Select Download tool, then select Run. You need to be an administrator to run this tool.
- On the License terms page, select Accept if you accept the license terms.
- On the What do you want to do? page, select Upgrade this PC now and then select Next.
- The tool will start downloading and then installing Windows 10. This table shows which edition of Windows 10 will be installed on your PC.

- When Windows 10 is ready to install, you’ll see a recap of what you’ve chosen and what will be kept during the upgrade. Select Change what to keep to set whether you would like to Keep personal files and apps, or Keep personal files only, or choose to keep Nothing during the upgrade.

- Save and close any open apps and files you may be running and, when you’re ready, select Install.
- It might take some time to install Windows 10, and your PC will restart a few times. Make sure you don’t turn your PC off.
Windows Update Catalog:
- Visit this site in order to find out just what the latest update is. It should be located at the top of the list at the left part of the site with the current Windows 10 version at the top.

- Copy the KB (Knowledge Base) number along with “KB” letters as well (e.g. KB4040724).
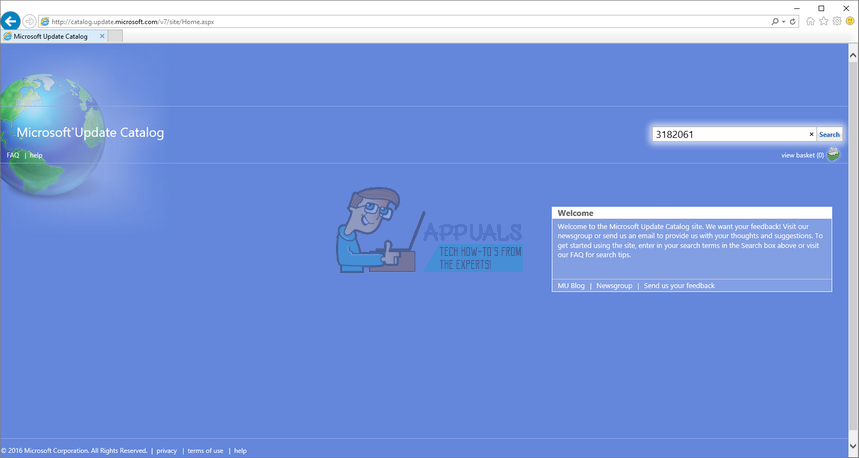
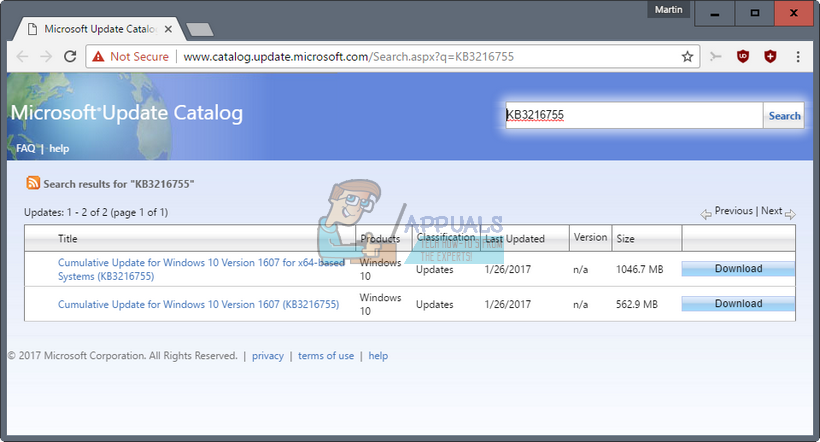
- Open Microsoft Update Catalog and search for the number you just copied.
- Click on the Download button to the left, choose the version of your OS (32bit or 64bit) and download the file.
- Run the file you just downloaded and follow the instructions on screen in order to complete the updating process.
- After the update has finished, restart your computer and wait to see if the same issue appears with the next update released by Microsoft.
Solution 3: Reset Windows Update Services
Resetting Windows Update components usually gets the job done with most of the error messages that keep on appearing as long as the message is not related to a problem with Microsoft servers which is an issue which can’t be avoided or if the issue is not related to a buggy updates which is, again, something you can’t affect.
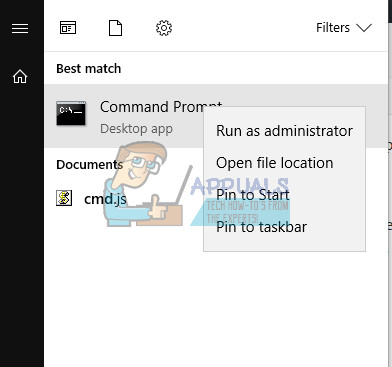
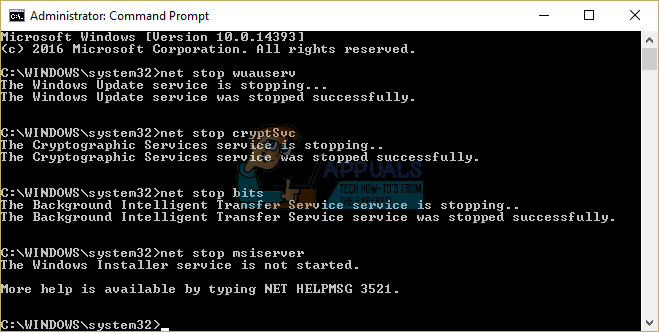
- Type Command Prompt in the search bar and run it with administrator privileges.
- Kill the following processes: MSI Installer, Windows Update Services, BITS, and Cryptographic by copying and pasting the commands below. Make sure you click Enter after each one.
net stop msiserver
net stop wuauserv
net stop bits
net stop cryptSvc
- Rename the Catroot2 and Software Distribution folders. You can do this more easily by copying the following commands in the Command Prompt:
ren C:\Windows\SoftwareDistribution SoftwareDistribution.old
ren C:\Windows\System32\catroot2 Catroot2.old
- Start the MSI Installer, Windows Update Services, BITS, and Cryptographic services again by copying and pasting the commands below one after another.
net start wuauserv
net start cryptSvc
net start bits
net start msiserver
- Restart your computer after this and check to see if your problem is solved.
Solution 4: Run the Windows Update Troubleshooter
Windows comes prepared when it comes to solving issues related to different aspects of your computer. Troubleshooters which are preinstalled on your computer are not certain to solve your issue but they can definitely help you at least to figure out what the problem is so that you can possibly submit it to Microsoft or that you can explain to someone more experienced.
Additionally, if the problem’s solution is obvious, troubleshooter may suggest a solution or it may even try to fix the problem automatically which is a great thing, especially for inexperienced users.
- Open the Settings app by clicking on the Start button and then the gear icon just above. You can also search for it.
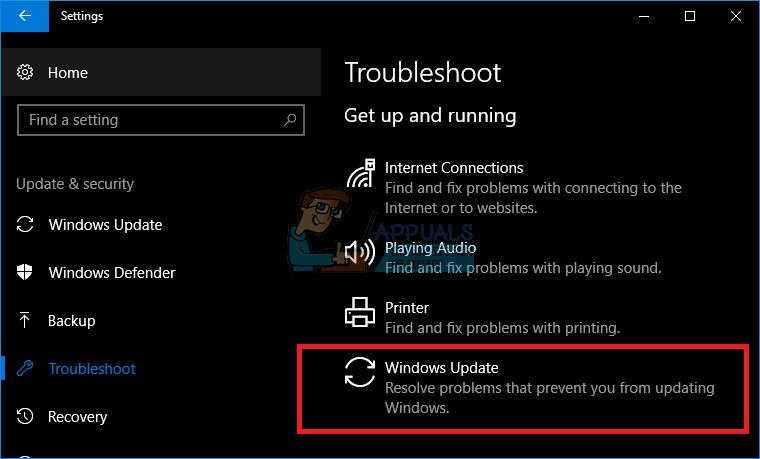
- Open the Update & Security section and navigate to the Troubleshoot menu.
- First of all, click on the Windows Update option and follow the instructions on screen to see whether there is something wrong with Windows Update services and processes.
- After the troubleshooter finishes, navigate to the Troubleshoot section again and open the Internet Connections troubleshooter.
- Check to see if the problem is solved.