How to Fix the Samsung Galaxy Tab Reboot Loop
The Samsung Galaxy Tab, be it the Tab 2, the Tab 3, or any size variant of the device, ranks among the very best options a person has when it comes to tablets that run on the Android Operating System. However, even the Samsung Galaxy Tab has its share of issues and problems, one of the most common being the reboot loop issue.
Any model or any variant of the Samsung Galaxy Tab can sometimes get stuck in a reboot loop, where the device keeps powering off and powering back on repeatedly, seemingly for an indefinite period.
Fear not, however, as the issue can indeed be fixed. The following solutions have proven to be able to fix the Samsung Galaxy Tab reboot loop:
Solution 1: Charge the device to 100% while it is powered off
1. As bizarre as it may sound, performing the following steps has solved the Samsung Galaxy Tab reboot loop issue for a large number of users worldwide.
2. Plug the Galaxy Tab’s charger into an outlet, and then connect the tablet to the charger while it reboots.
3. Press and hold the Power button for anywhere between six and ten seconds; the device will power down.
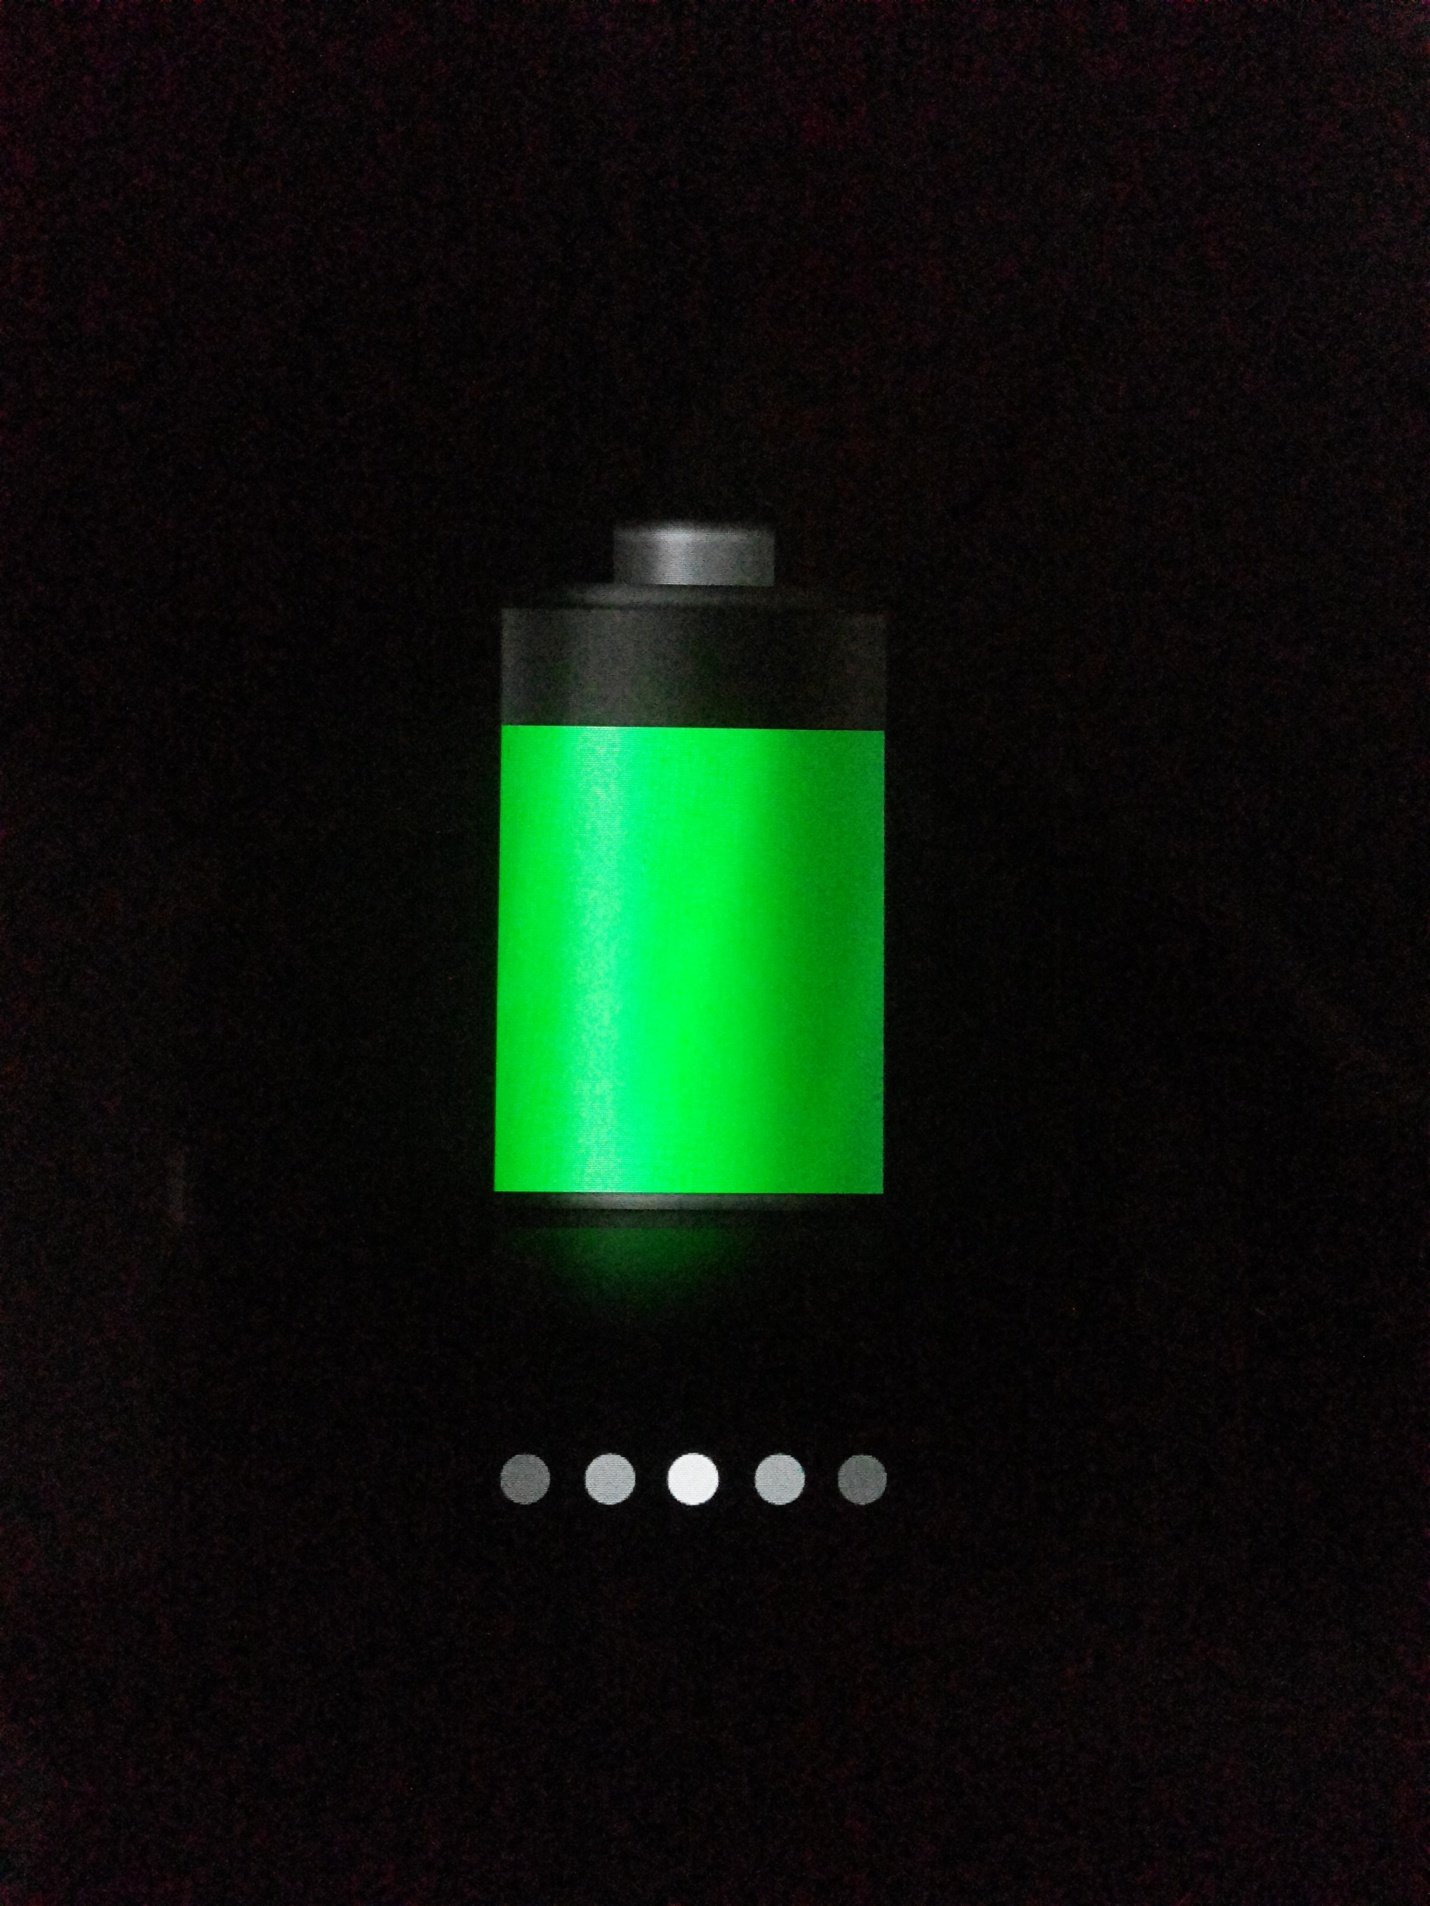
4. When the device’s screen lights up after shutting down, it will display a ‘battery charging’ icon instead of restarting.
5. Allow the Galaxy Tab to charge fully to 100%.
6. Once the tablet has been charged completely, disconnect it from the charger and power it on, and the tablet will no longer be stuck in a reboot loop.
Solution 2: Erase the device’s cache entirely.
1. Turn the Galaxy Tab off.
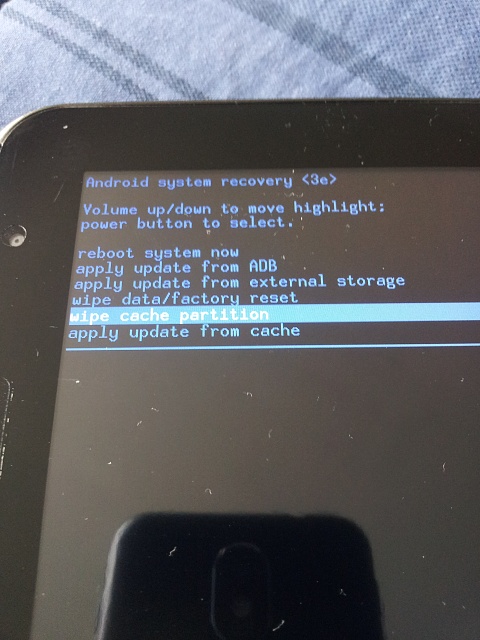
2. Once the tablet has shut down, press and hold the Volume Up and Power buttons simultaneously until the Samsung logo appears. The Samsung Galaxy Tab will boot into ASR (Android System Recovery) mode.

3. Use the volume rocker to highlight the ‘wipe cache partition’ option, and press the power button to select it.
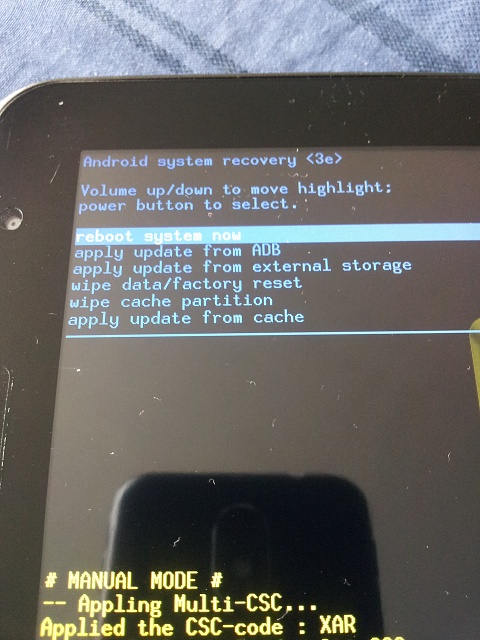
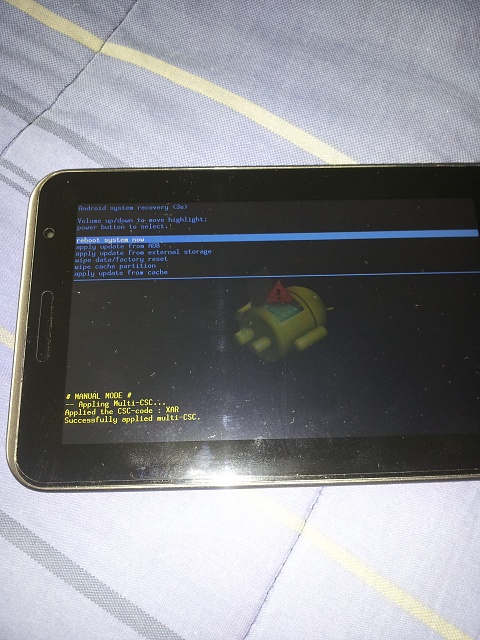
4. When the Galaxy Tab’s cache has been erased successfully, highlight and confirm ‘Reboot System Now’ in the main menu to restart the tablet.
Solution 3: Reset the device to factory settings.
1. If all else fails, a person should perform the following process as a last resort:
2. Turn the device off and boot it into Recovery Mode using the procedure described in Solution 3.” This sentence is already grammatically correct.
3. In Recovery Mode, use the Volume rocker to highlight the ‘wipe data/factory reset’ option, and the Power button to select it.
4. On the next screen, highlight and confirm the ‘Yes – Erase All User Data’ option.
5. Wait for the device to be reset to its factory settings.
6. Once the device has been reset, select ‘Reboot System Now’ from the Recovery Mode menu to reboot the device into the Android OS.
Solution 4: Downgrade Your Android Device
You can attempt to downgrade the version of your Android device and see if that resolves the issue for you. To do this, you can try flashing an older version of Android using ODIN after downloading it from the official website.