How to Fix Automatic Repair couldn’t repair your PC on Windows 10
Windows operating system is a complex one indeed but there are still a lot of unsolved issues that can drive inexperienced users crazy. That is exactly one of the reasons more and more PC users are switching to Mac OS X which may not offer the same customization and compatibility options as Windows, but it’s definitely more user friendly.
Windows come with several built-in troubleshooters which should help you get rid of your problems automatically but they are sometimes simply not good enough to help you deal with your problem. Look below to find out what to do when your PC fails to repair itself.
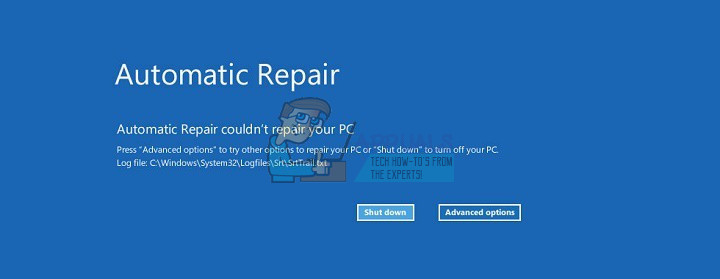
“Automatic Repair couldn’t repair your PC” Error on Windows 10
Automatic Repair is a built-in troubleshooter which should help you fix some of the most common issues regarding your PC. However, plenty of users have reported how they receive the “Automatic Repair couldn’t repair your PC” message after running in order to fix some of their issues.
This is somewhat unfortunate especially because of the fact that the majority of Windows users can’t think of another way to fix similar issues and they try to rely on automatic troubleshooters such as this one. Luckily, this problem has its solution so check below to find out more.
Solution 1: Troubleshooting With Command Prompt
Since Automatic Repair is a tool that usually deals with startup issues, it might be used to deal with your boot in order to fix this particular issue. There are several quite useful commands which might help you get rid of this error message and possibly even eliminate the option of fixing your PC at all.
- Navigate to your Windows login screen and click on the Power button. Hold the shift key while clicking on Restart in order to enter Boot Options.
- Choose Troubleshoot >> Advanced options and click on Command Prompt.
- When Command Prompt opens, copy and paste the following lines and make sure you click Enter after each command if you want to run it.
bootrec.exe /rebuildbcd
bootrec.exe /fixmbr
bootrec.exe /fixboot
- Plenty of users have reported that the commands above were able to fix the boot of their system and they got rid of the “Automatic Repair couldn’t repair your PC” message once and for all. While you are still in the Command Prompt, run the commands below in order to check your disk for errors.
chkdsk /r c:
chkdsk /r d:
- Note that you will have to know just what are the letters corresponding to your hard drive partitions and the letters c: and d: are the usual ones for each computer. If you are not sure about your PC’s drive letters, you can check them while still in Command Prompt by copying the commands below and clicking Enter after each one:
diskpart
DISKPART> list volume
- The commands above should display a list of all hard drive partitions on your computer so use the letters corresponding to them in the chkdsk
Solution 2: Troubleshooting in Safe Mode
There are still a couple of quite useful commands in Command Prompt which you should try but it’s the best if you use these commands while in Safe Mode because the error message we are dealing with is sometimes caused by a faulty driver or a system file which might not show up if we did the scan in normal boot.
- Reboot your computer and wait for the boot screen to appear. It’s usually the screen with your PC’s manufacturer with the options such as “Press _ to Run Setup”, etc.
- As soon as that screen appears, start pressing the F8 key on your keyboard. If the F8 key doesn’t work, reboot your computer again and start pressing the F5 key.
- The Windows Advanced Options Menu should open, enabling you to choose several options to boot your computer.
- Boot into Safe Mode with Command Prompt.
- As soon as Command Prompt opens, try copying and pasting the commands below in order to check your Windows image for errors (DISM) and to check your system for any missing or broken files (SFC).
DISM /Online /Cleanup-Image /RestoreHealth
sfc /scannow
- Please allow these commands enough time to finish and don’t restart or shut down your computer before they finish.
Solution 3: Disabling Early Launch Anti-Malware Protection
This solution is a fairly easy one but this bugged many users before they disabled this option. Please follow the instructions below in order to fix this.
- Navigate to your Windows login screen and click on the Power button. Hold the shift key while clicking on Restart in order to enter Boot Options.
- When the Boot Menu opens, navigate to Troubleshoot >> Advanced Options >> Startup Settings.
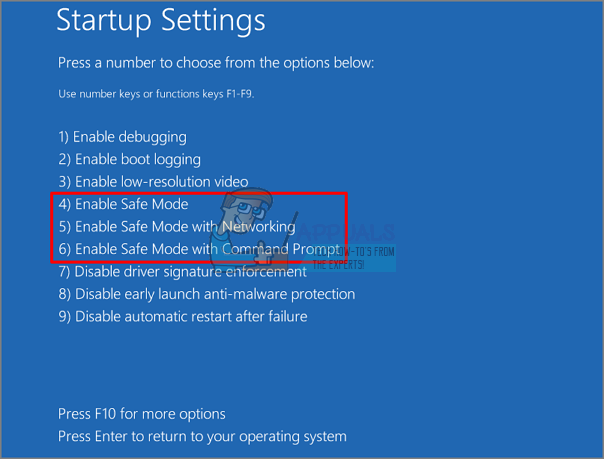
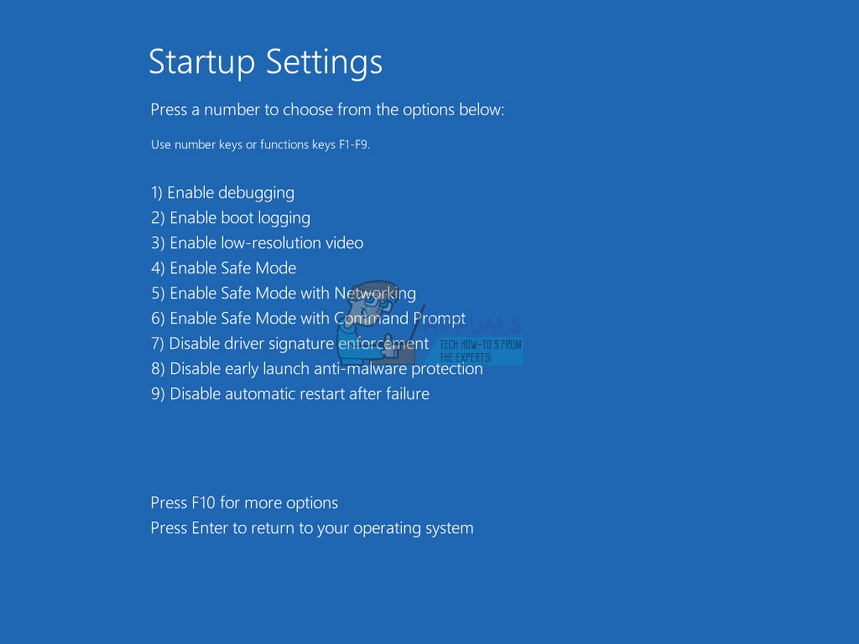
- Your PC should restart and boot to a list of options for you to choose.
- Choose the number next to the Disable early launch anti-malware protection option and restart your computer.
Solution 4: Delete the File Which Is Causing These Issues
It’s quite possible than one of the files on your computer simply malfunctioned and now it’s causing problems with your PC which the Automatic Repair can’t deal with. If the file at hand is not a system file, you can locate it and delete it easily.
- Navigate to your Windows login screen and click on the Power button. Hold the shift key while clicking on Restart in order to enter Boot Options.
- When the Boot Menu opens, navigate to Troubleshoot >> Advanced Options >> Command Prompt.
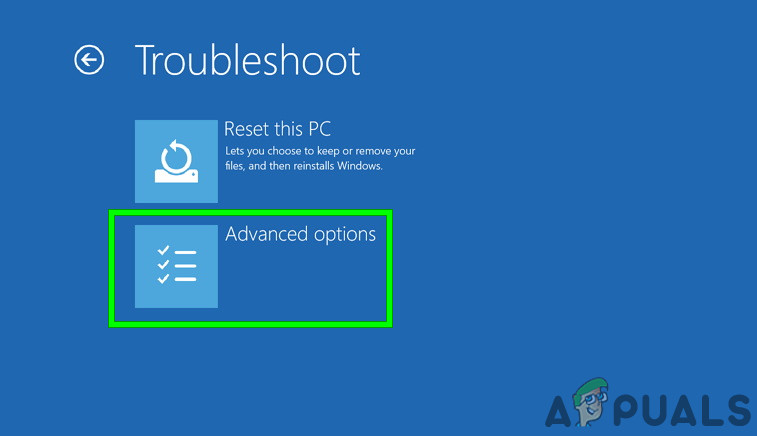
Advanced options in Troubleshoot screen - Copy and paste the following commands into the Command Prompt window:
C:
cd WindowsSystem32LogFilesSrt
SrtTrail.txt
- The file should open immediately and try to look for a message looking like this:
“Boot critical file ___________ is corrupt.”
- Any file can be displayed in the message and that it most definitely the file that is causing this issue and you will have to delete it if it’s not a system file. A simple Google search should clear up any doubt.
- In order to delete the file, you need to navigate to its location using Command Prompt. For example, if the file is locating in the “drivers” folder in System32 (these files are usually the cause for the issue), you can locate it via this command:
cd c:\windows\system32\drivers
- Delete the file by using the “del” command and the name of the file next to it, divided by a single space.
del errorfile.sys
- Restart your computer, uninstall the program to which the file belonged to and check to see if your issue is resolved.
Solution 5: Disable Automatic Startup Repair
The Automatic Repair feature might have been turned on for no reason and it’s not allowing you to use your computer properly. It may have something to do with a faulty Automatic Startup Repair tool so it’s for the best to disable it from starting automatically.
- Navigate to your Windows login screen and click on the Power button. Hold the shift key while clicking on Restart in order to enter Boot Options.
- When the Boot Menu opens, navigate to Troubleshoot >> Advanced Options >> Command Prompt.
- When Command Prompt starts, copy and paste the following command and click after in order to run it.
bcdedit /set {default} recoveryenabled No- Restart your computer and check to see if there are any changes.
Solution 6: Fixing Your Registry Issues
Registry issues are always difficult to handle, especially when they are causing error messages like this one. Windows Registry is a fragile place and changing anything without supervision can lead to irreversible changes to your computer. Luckily, you can restore your registry to a previous state by using a copy of the registry Windows generates itself.
- Navigate to your Windows login screen and click on the Power button. Hold the shift key while clicking on Restart in order to enter Boot Options.
- When the Boot Menu opens, navigate to Troubleshoot >> Advanced Options >> Command Prompt.
Advanced options in Troubleshoot screen - Copy and paste the following command in Command Prompt and make sure you click Enter in order to run it:
copy c:\windows\system32\config\RegBack* c:\windows\system32\config
- If a message pops us asking you whether you wish to overwrite existing files, choose to overwrite all and press Enter.
- Restart your computer and check to see if your issue has been resolved.
Solution 7: Fixing Your Automatic Repair Tool
If there is indeed something wrong with your Automatic Repair Tool, you might be able to fix this issue by using a Windows 10 ISO file which you can use to boot into Recovery mode and start Automatic Repair from there.
- Download the Windows 10 ISO and create a Media Creation Tool in order to open Automatic Repair. Download and burn Windows ISO by following the instructions on this Microsoft’s page.
- Insert the bootable media in your computer (DVD or USB drive) and restart your PC.
- If a message pops up saying “Press any key to boot from DVD/USB” please do so.
- When the Install Windows page opens click on the Repair your computer option which should open the Windows Recovery Environment.
- When the Windows Recovery Environment is ready, click on the Troubleshoot option.
- Navigate to Advanced Options and click on Automatic Repair.
- This should be able to open Automatic Repair from your bootable drive and fix the issue regarding the error message you kept receiving.
Solution 8: Hardware Issues
If you recently installed or added any new hardware to your computer, it may be causing system instability and error messages such as the one related to Automatic Repair. On the other hand, even your old devices such as hard drive, RAM, etc, may be causing these issues. Let’ start diagnosing just what might be causing these problems.
- Start off by removing all external devices from your computer except your mouse and keyboard. If this solves your problem, reconnect the devices one by one and check to see just which one may be problematic.
- If you own more than one RAM stick, try removing one of them and booting your computer. If this fixes your issue, consider replacing the faulty memory stick.
- Remove your external storage devices such as your Solid State Drive or your external HDD and check to see if your issue is fixed.
- Consider replacing or repairing any of the devices that were faulty, to begin with since things may only get worse if you keep them connected to your computer.
Solution 9: System Refresh or Reset
Unfortunately, it has come to this. If all of the methods above failed to fix the issue you were dealing with, your last resort may be to refresh your Windows 10 installation or to perform a complete reset of your system. Windows 10 has made things way simpler for you since now you can perform a refresh of your system without losing your personal files.
- Open the Settings app by clicking on the Start menu and selecting the gear icon or by searching for it.
- Open the Update & security section and navigate to the Recovery submenu.
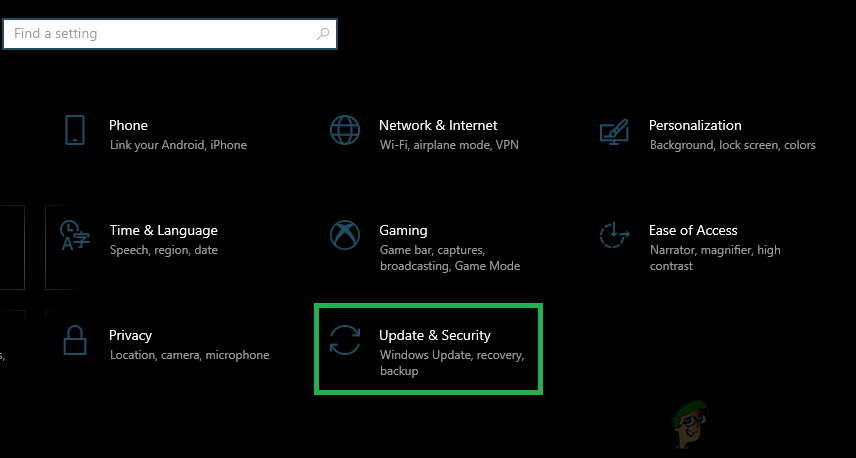
Clicking on the “Update and Security” option - Under the Reset, this PC option, click on the Get started button.
- When prompted, choose to keep your personal files and follow the instructions on the screen.
- Note that your apps and programs are going to get uninstalled so make sure you back up important data before proceeding with this.
- You can also use the bootable Windows 10 ISO media to start with a clean version of Windows 10 but this will remove all of your personal files and programs.