How to enable/disable clock and date from system notification area
The date and time can be seen in the taskbar in any Windows operating system. It helps users in daily life by checking the time and date anytime on the computer. Clicking on it will also show the calendar and event section. However, there are times when the user would want to disable this from their taskbar. The situation can be when the user is giving a presentation, screen sharing, or recording the screen for a YouTube video. Windows provides an option for removing the clock and date section from the notification area. In this article, we will show you methods through which you can easily enable and disable the Clock & Time from Taskbar.

There are different methods for removing the clock section from the Taskbar. Some of the methods only apply to a specific edition of the Windows operating system. Check the methods and use the one that is available for you.
Method 1: Using the Settings App
Some of the basic settings for the operating system can be found in the Settings app of Windows. The setting for the clock area can be found under the Personalization section. However, this setting can also be used by any standard user on the computer. For more administrator-level settings, you can check other methods in this article. However, if you just want to disable it from the Settings app, then follow the below steps:
- Hold the Windows key and press I to open the Windows Settings app. Now click on the Personalization option in the list.
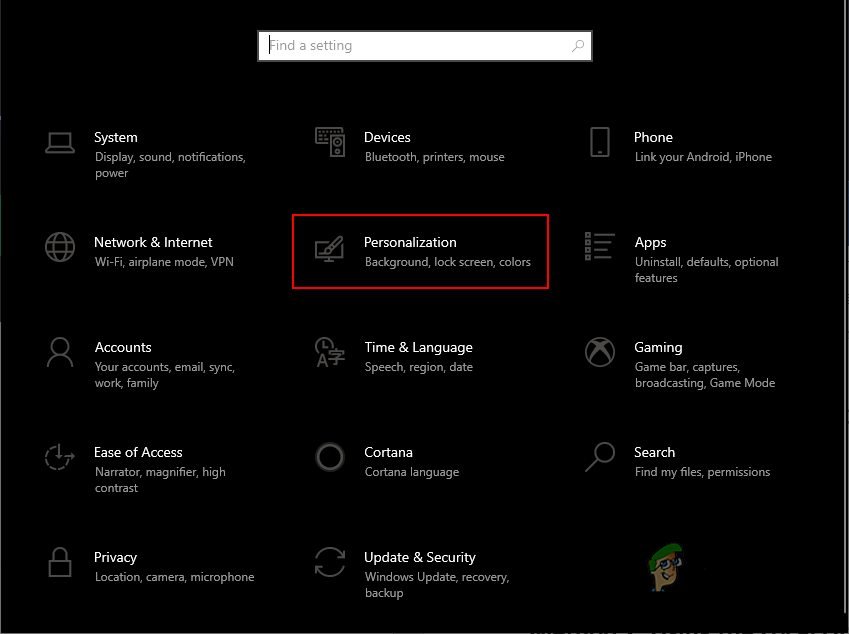
Opening Windows Settings app - Click on the Taskbar option in the left pane and then scroll down. Now click on the “Turn system icon on or off” link.

Navigating to setting - Now you just need to turn OFF the toggle option for Clock to disable the Clock and Date section in the notification area. To enable it back, simply turn ON the toggle option again for the Clock option.
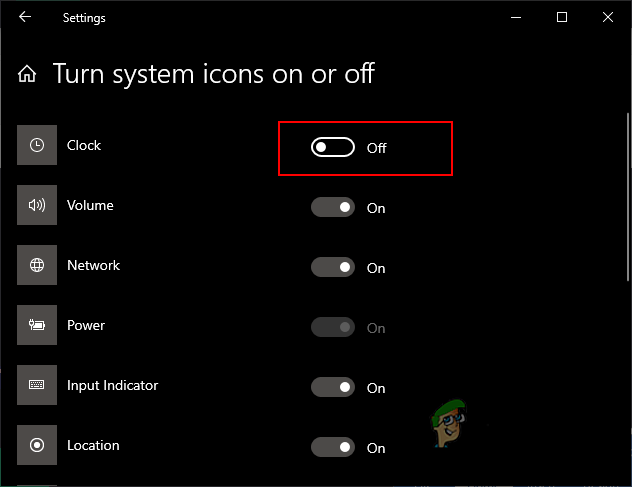
Disabling clock from the notification area
Method 2: Using the Local Group Policy Editor
The Local Group Policy Editor allows users to disable specific settings in the Windows Settings app. The setting for removing the clock and date section is listed under Start Menu and Taskbar folder. By enabling the setting, it will remove the clock and date from the system notification area and standard users will be unable to enable it back. However, some settings in Group Policy require a system reboot to apply the changes.
Another thing to remember is that the Group Policy Editor is only available on Windows 10 Pro, Enterprise, and Education editions. If you are using a Windows 10 Home operating system, then you need to skip this method and try the other methods.
- First of all, open a Run dialog box by pressing the Windows + R keys together on your keyboard. Now type “gpedit.msc” in the box as shown and press the Enter key. This will open the Local Group Policy Editor window on your computer.
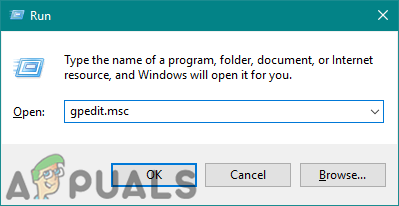
Opening the Group Policy Editor - In the Local Group Policy Editor window, you need to navigate to the following path:
User Configuration\Administrative Templates\Start Menu and Taskbar\
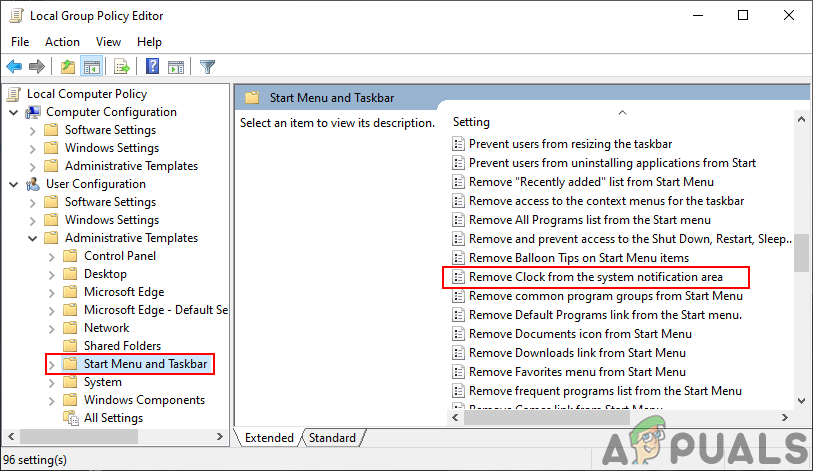
Navigating to the setting - Search for the setting named “Remove Clock from the system notification area” and double-click on it. It will open in another window and then you need to change the toggle option to Enabled as shown.
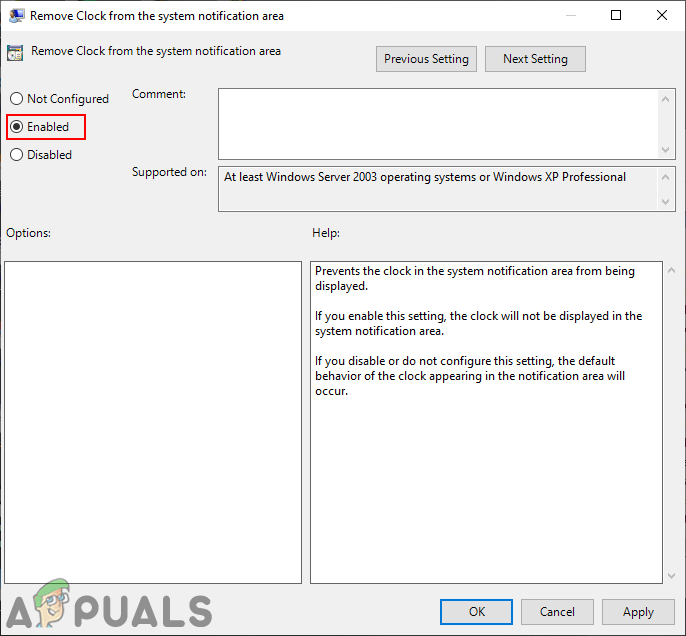
Enabling the setting - Finally, click on the Apply/Ok button and close the Local Group Policy Editor.
- Some of the settings will be updated instantly and others will require a reboot. For this, you need to Restart the computer and the clock/date section will be removed from the notification area.
- You can always enable it back by changing the toggle option back to Not Configured or Disabled. Then again restarting the computer to apply the changes.
Method 3: Using the Registry Editor
Another method for disabling the Clock and Time section is by using the Registry Editor. This tool allows users to modify and view the Windows registry values. Unlike the Group Policy Editor, this method requires some additional technical steps from the user. You need to create the missing key and value to make the setting work. The Windows 10 Home users also have access to the Registry Editor and they can use it to disable the clock and time section. We have also included the creating backup step in the below steps; however, you can skip it if you don’t need any backup. Follow the below steps carefully without making any mistakes.
Note: If you already used the Group Policy Editor method before trying this one, then the value for the specific setting will be already updated.
- First, open the Run dialog box by pressing the Windows + R keys together on your keyboard. Now type “regedit” in the box and press the Enter key to open the Registry Editor window.
Note: If you receive a UAC (User Account Control) prompt, then click on the Yes button.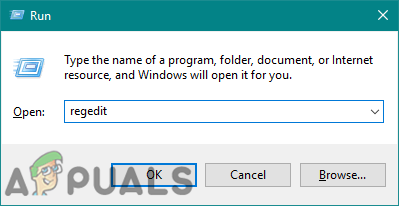
Opening the Registry Editor - You can also create a backup by clicking on the File menu in the menu bar and choosing the Export option. Then choosing the name/path and clicking on the Save button.
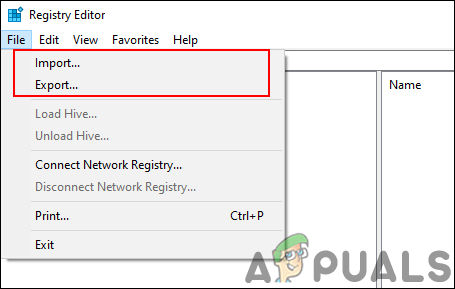
Creating a Registry Backup Note: Backup can be restored by clicking on the File menu in the menu bar and choosing the Import option.
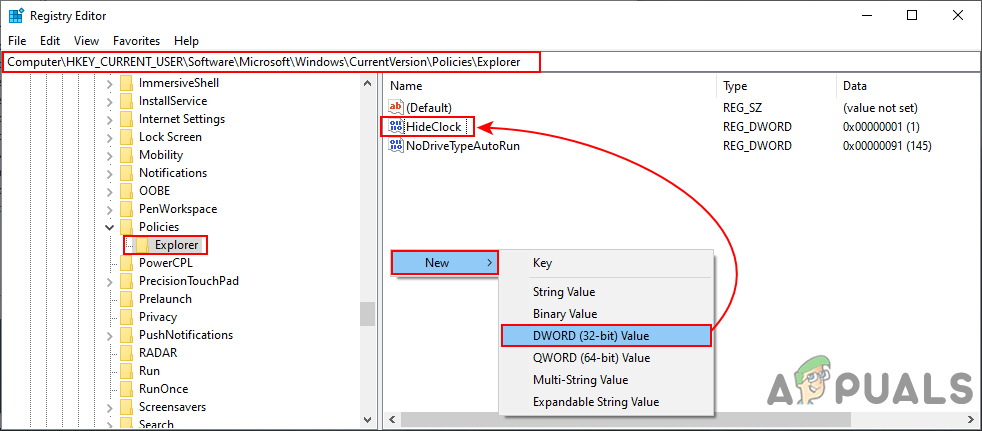
- In the Registry Editor window, head over to the following location:
HKEY_CURRENT_USER\Software\Microsoft\Windows\CurrentVersion\Policies\Explorer
Note: If the Explorer key is missing the path, then right-click on the Policies key and choose the New > Key option. Name the key as “Explorer” and save it.
- Right-click on the right pane of the Explorer key and choose the New > DWORD (32-bit) Value option. Rename the value as “HideClock” and save it.
Creating a new value - Now double-click on the HideClock value to open the value data dialog. Then change the value data to 1.
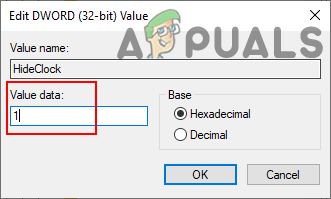
Changing the value data - Click on the Ok button and close the Registry Editor window. Make sure to restart the computer to apply the new changes.
- You can always enable it back by changing the value data to 0. Another way to enable this is by removing the value from the Registry Editor.