‘Configure Minimum and Maximum PIN length in Windows’ [Guide]
A lot of Windows 10 users have adopted Windows PIN as their only local authentication method. For all of its advantages, there are a few drawbacks of using Hello PIN to sign-in to your account. One of the biggest complains that users have is the inability to create a more complex PIN in order to make your account even more secure. Luckily, there are some methods that you can follow to change the complexity requirements of your PIN in order to meet your preferences on Windows 10.
What is a PIN?
The PIN (Personal Identification Number) is the newest security feature available with Windows 10 and Windows 8.1 aimed at protecting data related to a user account. If you enable Windows Hello PIN protection, you can enter the PIN instead of the actual password. It’s very similar to most mobile devices authentication methods.
There are some advantages in using a PIN instead of the classic password. For one, the Hello PIN is tied to the specific device in which it was set up. This is a great protection measure if you think about it – even if someone manages to steal your Microsoft account and password, they’ll still need to steal your physical device to gain access to your data. A PIN is not the equivalent of a Microsoft account password that can be used on any device and any network – it’s truly local and won’t be transmitted to Microsoft’s servers for verification.
Another advantage of the Hello PIN is accessibility. Unlike a password, a PIN will not require you to hit the Enter key to register it. Since it’s just a short 4 digit number, Windows will log you in as soon as you enter the correct PIN. As you can imagine, the Hello PIN protection comes with a few protection modules. In addition to TPM hardware support, you will also be protected against brute-force attacks – after too many incorrect guesses, the device will be temporarily locked.
How to modify PIN complexity on Windows 10
If a 4 digit number PIN isn’t secure enough for you, we have prepared two methods that will enable you to configure the minimum and maximum PIN length in an attempt to make it harder to guess.
Below you have two methods that will allow you to do this. If you have Windows 10 Home, Method 1 won’t be applicable so please start directly with Method 2.
Method 1: Modifying PIN complexity using Local Group Policy Editor
Using the Local Group Policy Editor to edit the maximum and minimum PIN Lenght is undoubtedly the safest and most elegant way to do it. However, not everyone can make use of this tool in order to make the necessary edits.
Note: The Local Group Policy Editor is only available on Windows 10 Pro, Windows 10 Enterprise, and Windows 10 Education editions. If you have a different Windows 10 version than the ones mentioned here, jump directly to Method 2.
If your computer is equipped with the Local Group Policy Editor, follow the steps below to specify the maximum and Minimum PIN Length:
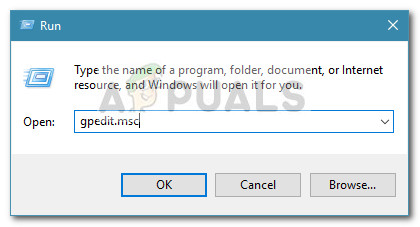
- Press Windows key + R to open up the Local Group Policy Editor. Next, type “gpedit.msc” in the Run box and press Enter to then choose Yes at the UAC (User Account Control) prompt open the Local Group Policy Editor with administrative privileges.
- In the Local Group Policy editor, use the left pane to navigate to the following location: Computer Configuration \ Administrative Templates \ System \ PIN Complexity
- To specify the Minimum PIN length, use the right pane to double-click on Minimum PIN length. Then, in the Minimum PIN length window, modify the toggle from Not Configured to Enabled. Next, move to the box below and set the Minimum PIN length to a value between 4 and 127 and hit OK. If you set it to 7, you will then be able to create a larger pin (up to 7 digits).
- To modify the Maximum PIN length, double-click on Maximum PIN length from the same right pane. Then, change the toggle to Enabled and move to the box directly below. Set a value from 4 to 127 to Maximum PIN length either by using the drop-down menu or by typing the value yourself and hit OK to save the changes.
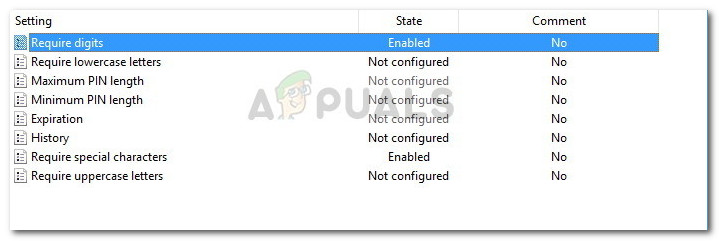
- Now that the two maximum and minimum complexities have been modified, you can customize the PIN creation rules even further if you want. If you take a look at the right pane, you have other policies that can be enforced. You can allow the use of special characters, require uppercase or lowercase letters or even add an expiration date to the PIN.
Method 2: Modifying PIN complexity using Registry Editor
Another way to go around modifying the maximum and minimum PIN length rules is by using Registry Editor. This will require you to get a little technical and you won’t have that many customizing options as in Method 1, but it gets the job done nonetheless.
Here’s a quick guide on how to modify the PIN complexity on Windows 10 using Registry Editor:
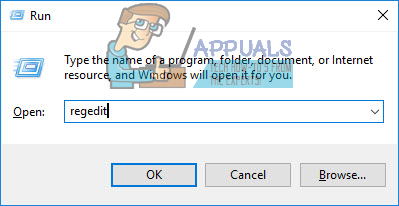
- Open a Run box by pressing Windows key + R. Then, type “regedit” and hit Enter and click Yes at the UAC (User Account Control) to open up Registry Editor with administrative privileges.
- Inside Registry Editor, use the left pane to navigate to the following key: HKEY_LOCAL_MACHINE \ SOFTWARE \ Policies\ Microsoft \
- Once you arrive at this key, see if it has a subkey named PassportForWork. If it doesn’t, right-click on Microsoft and choose New > Key to create a new one and name it PasswordForWork.
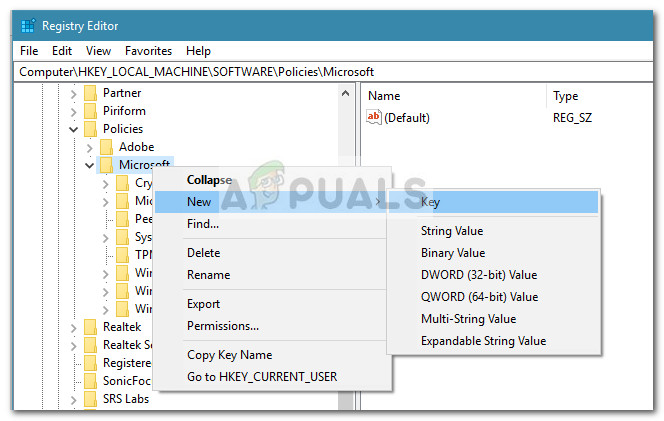
- Next, right-click on the newly created PassportForWork key and choose New > Key to create a new one and name it PINComplexity.
Note: If you already have this key, don’t create another one! - Once all the keys have been created, make sure you are in the same location as this one: HKEY_LOCAL_MACHINE \ SOFTWARE\ Policies \ Microsoft \ PassportForWork \ PINComplexity.
- Move over to the right pane and double click on MaximumPINLength. In the next window, set the Base to Decimal and enter a value between 4 and 127. If you enter 10, you will be able to set a Maximum PIN of 10 digits.
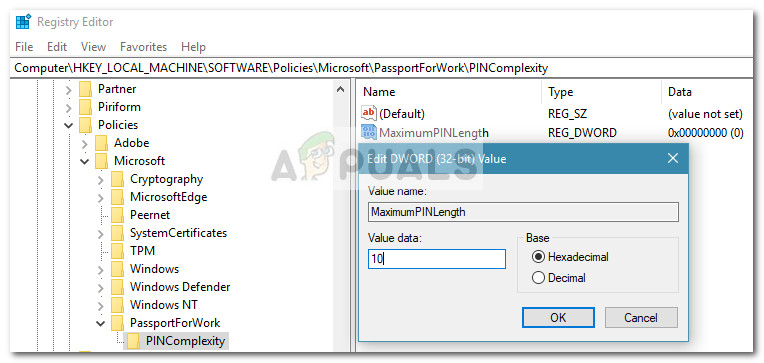 Note: If you don’t have this DWORD, create it yourself by right-clicking on a free space in the right-pane and choosing New > Dword (32-bit) value and name it MaximumPINLength.
 - In the same right-hand pane, double-click on MinimumPINLength. In the MinimumPINLength window, set the Base to Decimal and type a Value data from 4 to 127. This number will serve are the minimum PIN count for any newly created Windows Hello PIN.
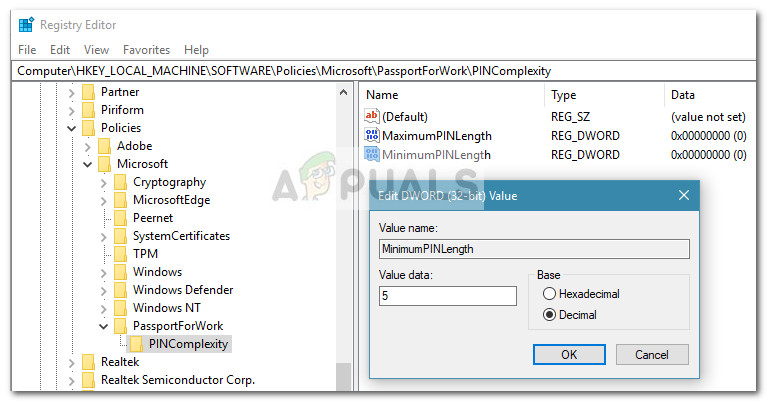 Note: If you don’t have the MinimumPINLength DWORD, you can create it yourself. Same as before, right-click on a free space in the right-pane, choose New > Dword (32-bit) value and name it MinimumPINLength.
 - That’s it. Once the modifications have been made, you can close the Registry Editor window and restart your computer to force the changes to take effect.