How to Clean Epson Print Head Nozzles which are Blocked or Clogged?
Seiko Epson Corporation (Epson) is a Japanese based electronic company which is one of the largest distributors of Printing, and other imaging-related equipment. Print Head nozzles are located inside the printer below the cartridges and they are actually responsible for the spraying of the ink on the paper. These nozzles can, however, become clogged over time and it can degrade the quality of the printing process or in some cases, stop it altogether.
Therefore, in this article, we will be describing the process to thoroughly clean your printer’s Head nozzles in the safest way possible. Make sure to follow the steps and the guidelines accurately to avoid any loss of equipment.
Required Equipment:
Before we start cleaning, you will need the following equipment to move ahead with the process:
- Syringe: To inject the solution.
- Bloating Paper: To absorb the spillage.
- Scissors: To Cut the bloating paper
- Cleaning Solution: To breakdown the clogged particles.
- Injecting Pipe: To inject the solution.
You can get all of this equipment from this site.
How to Clean Epson Printer Head Nozzles Which are Clogged?
After you have gathered the required equipment, we will move on towards the actual process. Be aware that if done incorrectly, you might end up permanently damaging your printer.
- Try to print something in the printer.
- Unplug the printer while it is printing, this will make it easier to remove the cartridges and access the print head.

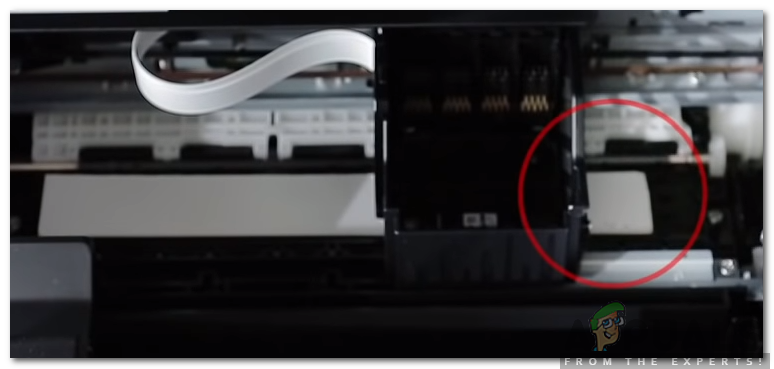
Unplugging the printer - Remove the top of the printer, slide the carriage holding the ink cartridges and remove all the cartridges one by one.
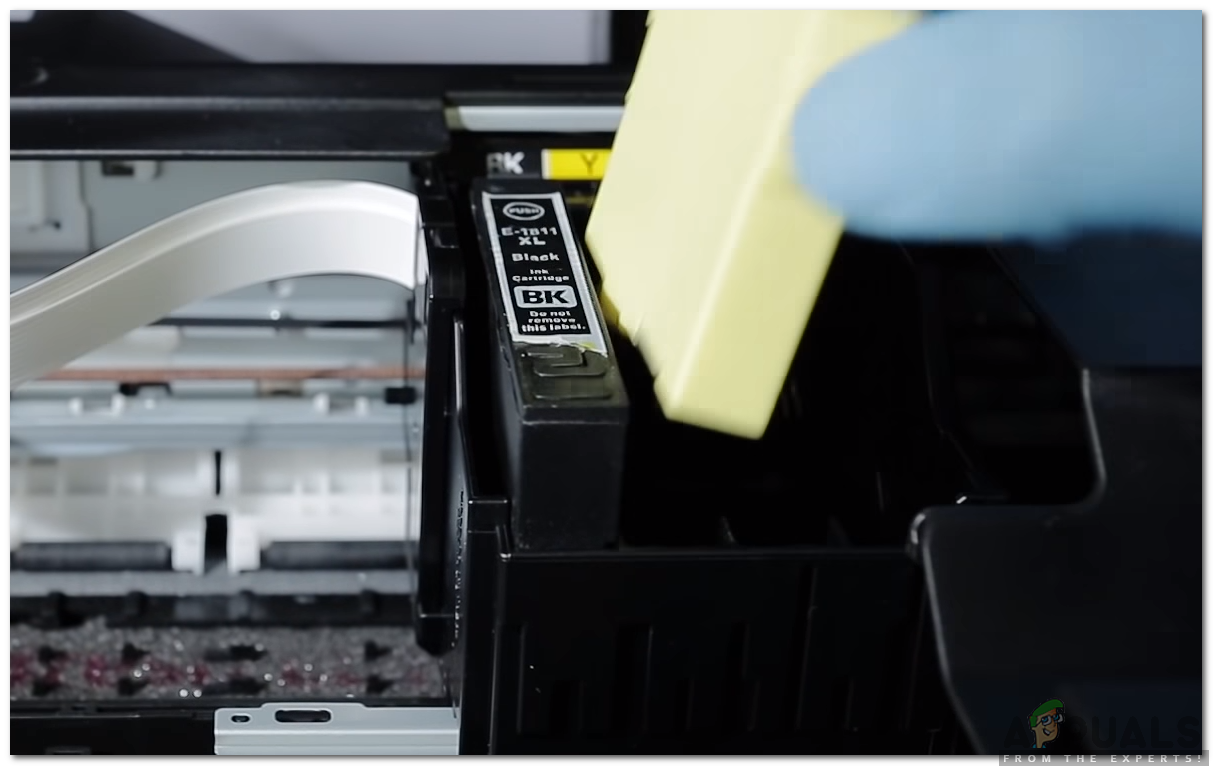
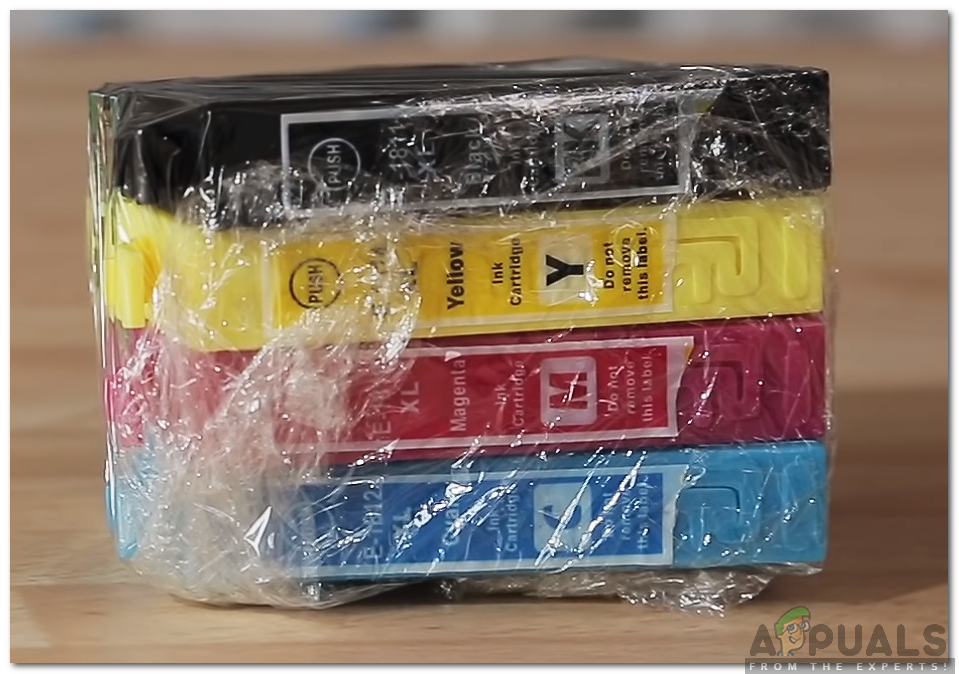
- Wrap the cartridges in some paper, to avoid them from drying out.
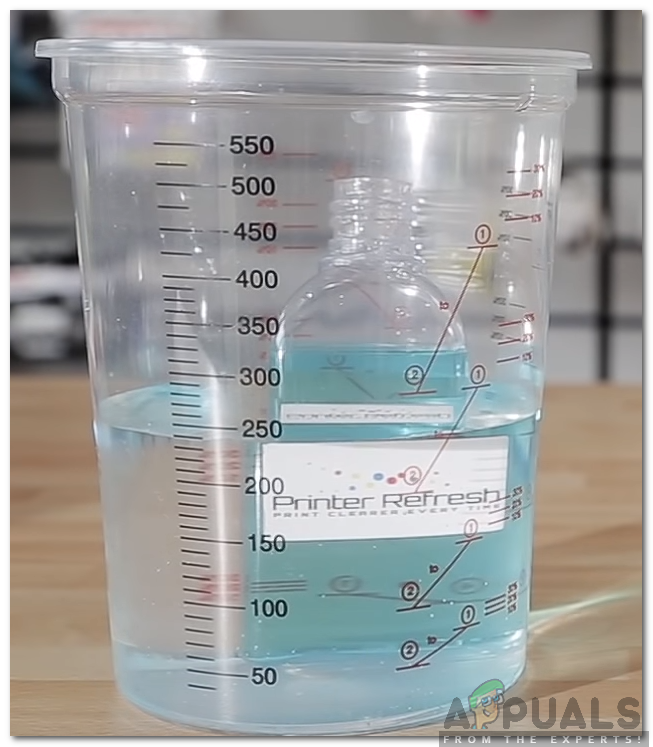
- Remove the cap of the printing solution and put the bottle in warm water as shown below.
Removing the cap and placing in warm water - Cut 2 pieces of blotting paper that fit the rail under the print head.
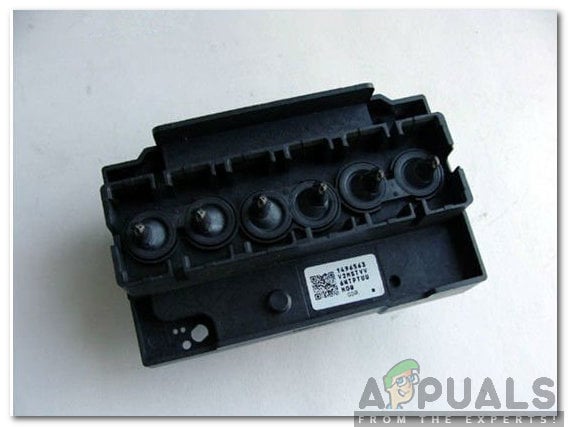
- Slide the pieces of paper below the print head carriage and make sure that one head comes out of the other end of the carriage.
Sliding the pieces of paper below the cartridge carriage - Attach the injecting pipe with the syringe and make sure that it is tightly wound around the syringe.
- Inject about 2ml of the cleaning solution inside the syringe.
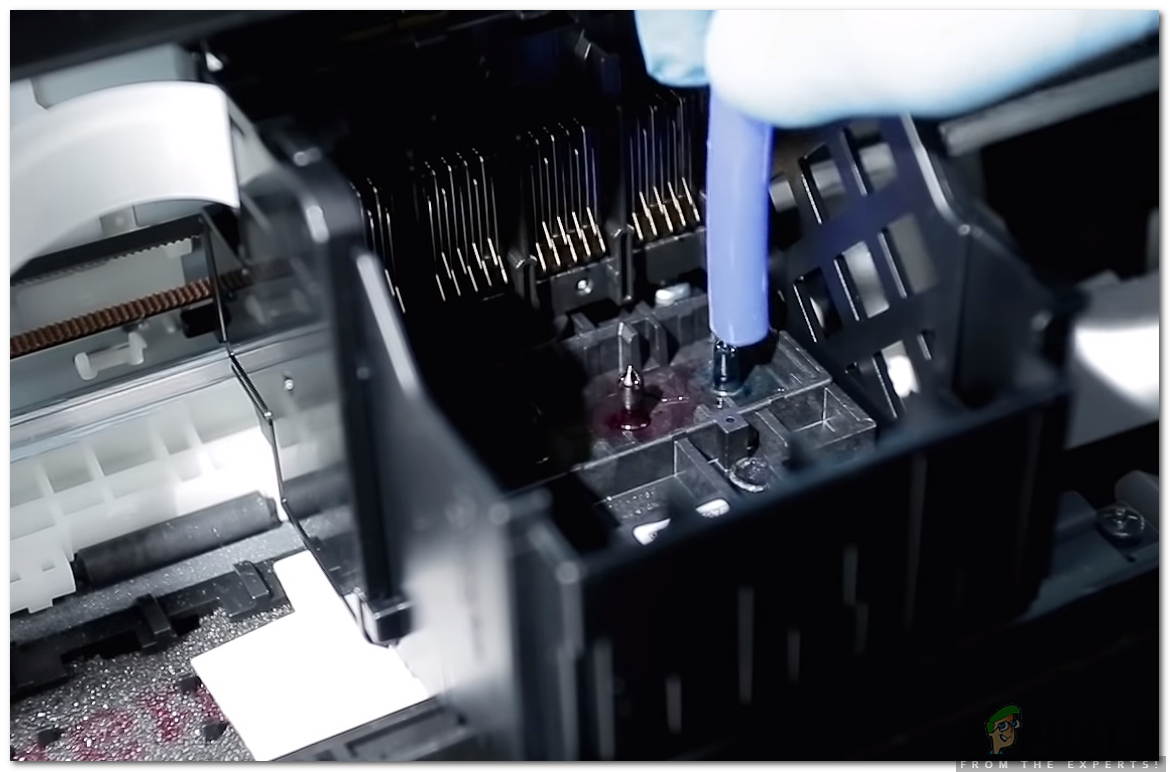
- Firmly put the pipe around the print head make sure that there isn’t any room for spillage.
- After waiting for about 5 minutes, inject the solution inside the print head slowly.
Note: Make sure you don’t put too much force if there is too much resistance, stop the process and get the printer checked out for damages. - Leave the pipe attached for about 5 minutes
- After removing the pipe, remove the bloated paper from under the print head carriage that we inserted previously.
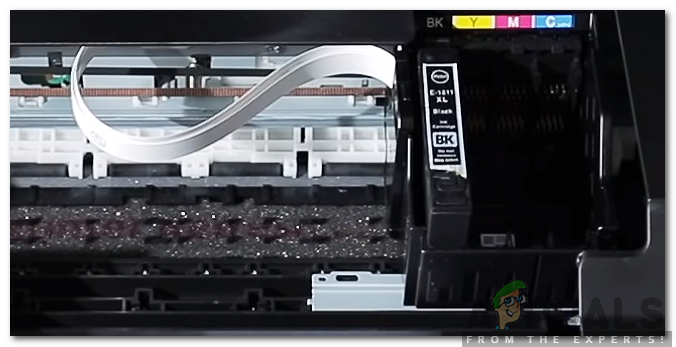
- Put the cartridges back in and close the head.
Putting the cartridges back in - Run the printer’s self-clean function at least 2 or 3 times.
- The Printer head has now been cleaned and should be unclogged.