Fix: Microsoft Windows not Responding
This problem is often accompanied by various other problems including system instability and other programs freezing and crashing. The error message reads “Microsoft Windows application is not responding. Do you want to end this process?” and the computer will pretty much slow down and become next to impossible to use.
There are plenty of things which can cause this problem and, therefore, there are many methods which are used to resolve the problem successfully. Make sure you follow the instructions laid out in this article closely and you should get rid of this problem in no time!
What Causes the ‘Microsoft Windows not Responding Error’?
The most common causes for this serious problem are listed below. Make sure you check out the list as identifying the correct cause for the problem is the first step in resolving it completely.
- Old and outdated Intel Chipset and Rapid Storage drivers are a major cause of this problem so consider updating them immediately.
- Some power options may need to be changed in order to resolve the problem if you are a laptop user.
- The Desktop Window Manager process may be misbehaving so make sure you try to restart it using Task Manager.
- Some service or a program may be causing the issue so you should consider clean booting to identify it and possibly uninstall it.
Solution 1: Update Intel Chipset and Rapid Storage Drivers
These drivers are core to your processor and the way the operating system works as a whole and you should definitely make sure you have the latest version installed on your computer. Updating these drivers is and easy and efficient way of resolving this serious problem so you should start out your troubleshooting process with this.
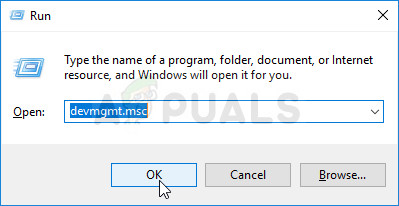
- Click the Start menu button, type in “Device Manager” afterwards, and select it from the list of available results by simply clicking the first one. You can also tap the Windows Key + R key combo in order to bring up the Run dialog box. Type in “devmgmt.msc” in the dialog box and click OK in order to run it.
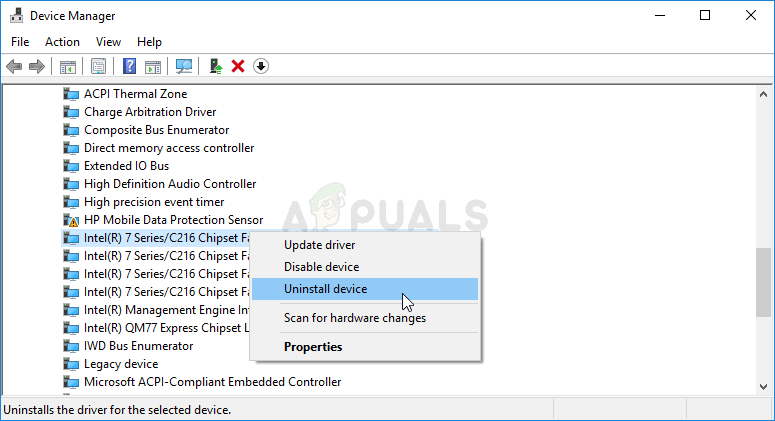
- Since it’s the video card driver you want to update on your computer, expand the System devices section, right click on your Intel Chipset device and choose Uninstall device. Also, expand the Storage controllers section, locate the Intel Rapid Storage Technology (RST) driver, right-click on it, and choose Uninstall device.
- Confirm any dialogues or prompts which may ask you to confirm the uninstallation of the current graphics device driver and wait for the process to complete.
- Look for your RST driver by visiting this link. Chipset drivers are available via this link. Make sure you choose your operating system accordingly.
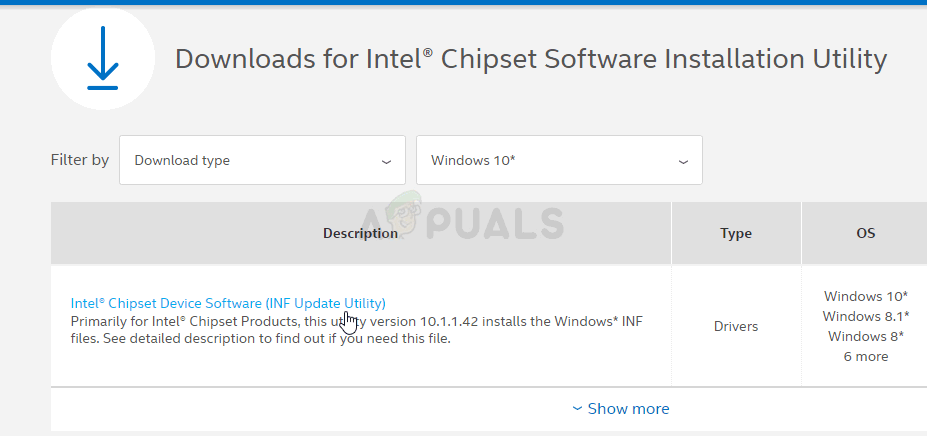
- A list of all available drivers should appear. Make sure to select the most recent entry, click on its name and the Download button afterward. Save it to your computer, open it, and follow the instructions on-screen in order to install it. Check to see if the Microsoft Windows is not responding problem still appears.
Solution 2: Change some Power Management Settings
Managing the power settings was successful enough for plenty of users so make sure you follow the steps below in order to try to resolve the problem. These methods are applicable only to laptop users.
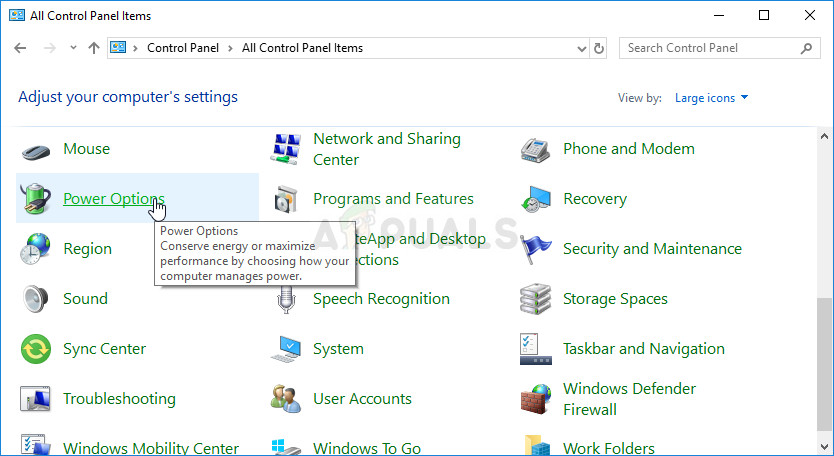
- Right-click on the battery icon located in the system tray and click on Power Options. If you are not using Windows 10, click on the Start menu and search for Control Panel. Change the View by option to Large icons and click on the Power Options.
- Choose the power plan you are currently using (usually Balanced or Power saver) and click on the Change plan settings In the new window which opens, click on Change advanced power settings.
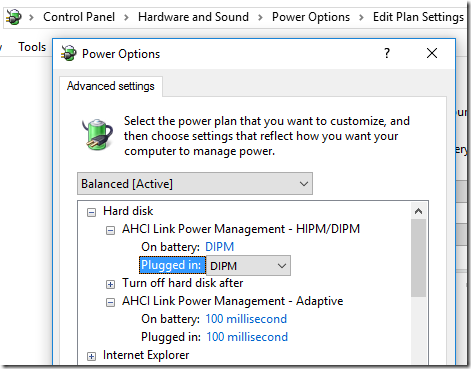
- In this window, click the small plus button next to the Hard disk entry on the list in order to expand it. Check to see if the AHCI Link Power Management – HIPM/DIPM and AHCI Link Power Management – Adaptive options are available under Hard disk. If it is, skip to Step 8 in this Solution. If they’re not available, follow the steps below.
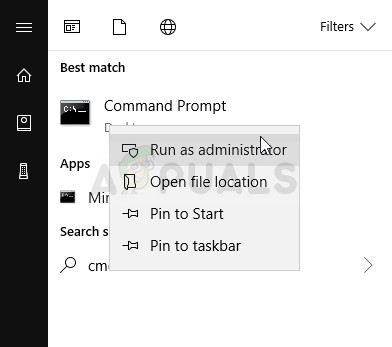
- Search for “Command Prompt” either right in the Start menu or by tapping the search button right next to it. Right-click on the first result which appears at the top and select the “Run as administrator” option.
- Users who are using an older version of Windows can use the Windows Logo Key + R key combination in order to bring up the Run dialog box. Type in “cmd” in the box and use the Ctrl + Shift + Enter key combination in order to run Command Prompt as an administrator.
- Copy and paste the command shown below and make sure you click the Enter key on your keyboard.
powercfg -attributes SUB_DISK 0b2d69d7-a2a1-449c-9680-f91c70521c60 -ATTRIB_HIDE
powercfg -attributes SUB_DISK dab60367-53fe-4fbc-825e-521d069d2456 -ATTRIB_HIDE
- Reopen the Power Options entry.
- Under Hard Disk, expand the AHCI Link Power Management – HIPM/DIPM entry and choose Active from the drop-down list for both On battery and Plugged in.
- Expand the AHCI Link Power Management – Adaptive entry and choose 0 ms for both On battery and Plugged in.
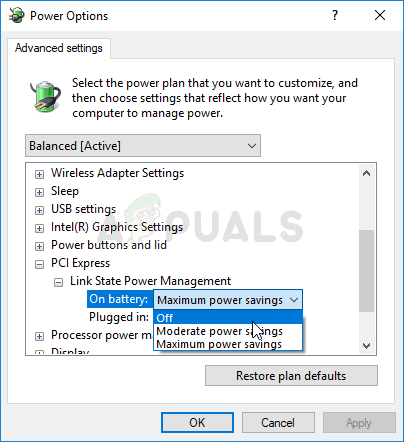
- Click the small plus button next to the PCI Express entry on the list in order to expand it. Do the same for the Link State Power Management Change the Setting option to Off by clicking on it.
- Check to see if the problem still persists!
Solution 3: Use Clean Boot
Clean booting in order to successfully detect a service or a process which starts up with your computer is definitely the number one solution and you should definitely try it out.
- Use the Windows + R key combination on your keyboard. In the Run dialog box type MSCONFIG and click OK.
- Click on the Boot tab and uncheck the Safe Boot option (if checked).

- Under the General tab in the same window, click to select the Selective startup option, and then click to clear the Load startup items check box to make sure it’s not checked.
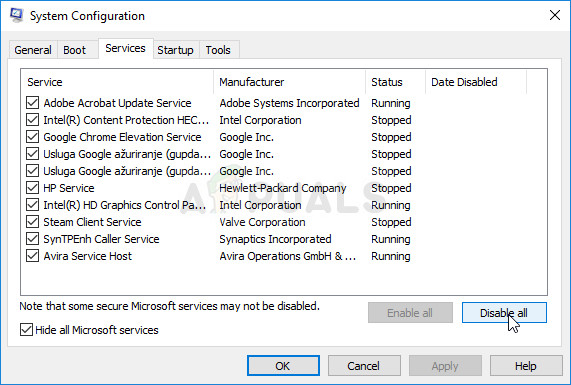
- Under the Services tab, click to select the Hide all Microsoft services check box, and then click Disable all.
- On the Startup tab, click Open Task Manager. In the Task Manager window under the Startup tab, right click on each startup item which are enabled and select Disable.

- After this, you will need to perform some of the most boring processes and that is enabling the Startup items one by one and restarting your computer. After that, you need to check whether the problem appears again. You will need to repeat the same process even for the Services which you have disabled in Step 4.
- Once you locate the problematic startup item or service, you can undertake action in order to solve the problem. If it is a program, you can reinstall it or repair it. If it is a service, you can disable it, etc.
Solution 4: End the Desktop Manager Process
Restarting this service might resolve the problem easily. If the process malfunctioned, restarting it might resolve it in no time.
- Use the Ctrl + Shift + Esc key combination by pressing the keys in the same time to open the Task Manager utility.
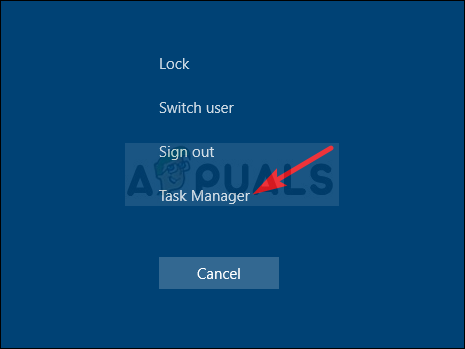
- Alternatively, you can use the Ctrl + Alt + Del key combination and select Task Manager from the popup blue screen which will appear with several options. You can also search for it in the Start menu.
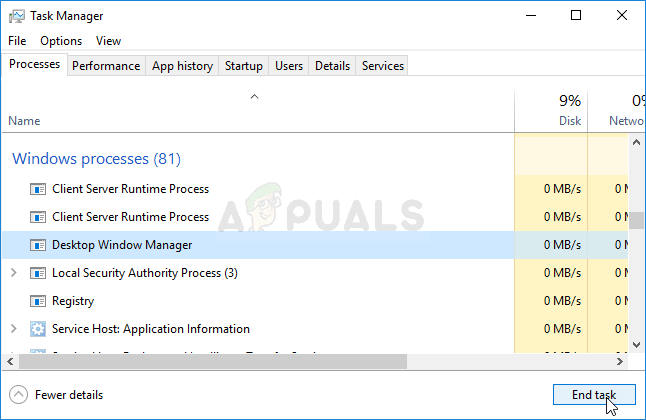
- Click on More details at the bottom left part of the window in order to expand Task Manager and search for the Desktop Window Manager It should be located right under Windows processes. Select it and choose the End task option from the lower right part of the window.
- Check to see if the problem still appears.


