How to Fix ‘AnyConnect was not able to Establish a Connection to the Specified Secure Gateway’
When you see the error “AnyConnect was not able to establish a connection to the specified secure gateway” it means the VPN connection failed during or right after login. This error shows that the client couldn’t connect to the secure gateway, which serves as the VPN’s entry point.
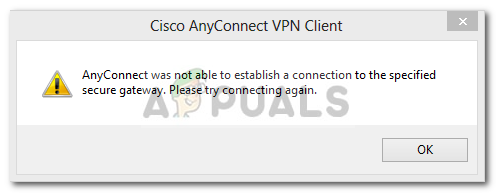
The main reasons are often an incorrect or untrusted SSL certificate, firewall restrictions, or issues with network address translation (NAT). Other reasons might include unstable network conditions, recent OS updates affecting VPN drivers, or license limits on the VPN server.
In this article, we will discuss different ways to solve this error.
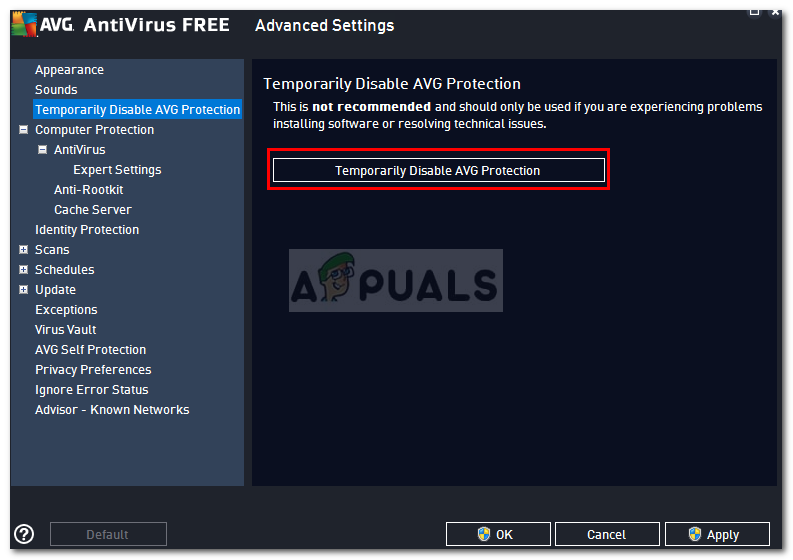
1. Disable Antivirus
Antivirus software can block or mess up the connection to a VPN by wrongly seeing VPN traffic as a threat. Turning off the antivirus temporarily removes this possible barrier, letting AnyConnect connect securely without issues. This helps find out if the antivirus is causing connection problems due to strict security settings. Make sure to turn it back on after testing to keep your device protected.
2. Stop Internet Connection Service
To troubleshoot VPN issues, you can try stopping the Internet Connection Sharing (ICS) service, as it may interfere with network routing, including VPN tunnels. Disabling ICS prevents possible conflicts between your local network and the VPN client, enabling AnyConnect to connect more directly and stably to the secure gateway. This step helps remove conflicting network services that might block or redirect VPN traffic.
- Press Windows + R and type services.msc, then press Enter.
- When the window showing the services opens, search for Internet Connection Sharing service. Right-click on it and select Stop.
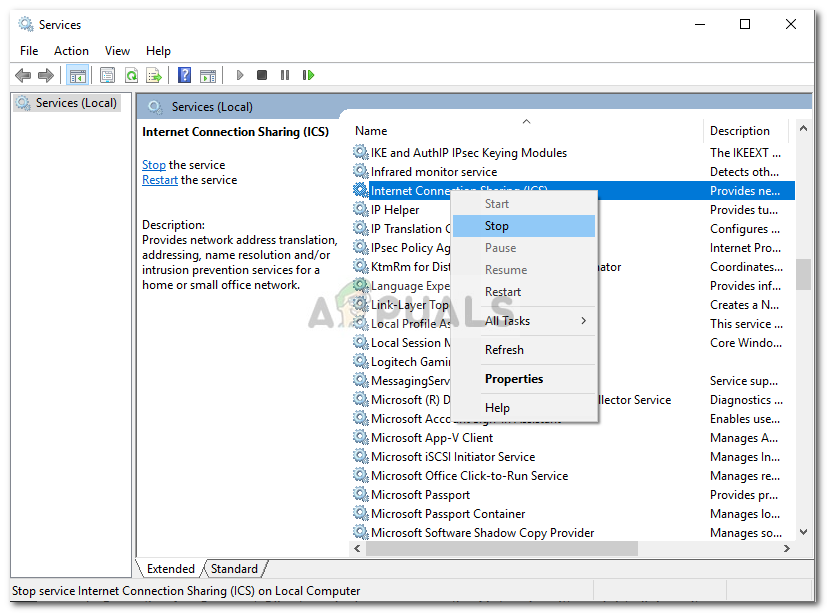
Stopping ICS Service - Close the Services window.
3. Disable Internet Connection Sharing (ICS)
Disabling Internet Connection Sharing (ICS) can effectively resolve VPN connection issues. ICS can interfere with the VPN tunnel by sharing internet with other devices. Turning it off removes conflicts, allowing the VPN to connect directly to the secure gateway without interruptions.
- Open the Control Panel.
- Navigate to Network and Internet Sharing and click Change adapter settings.
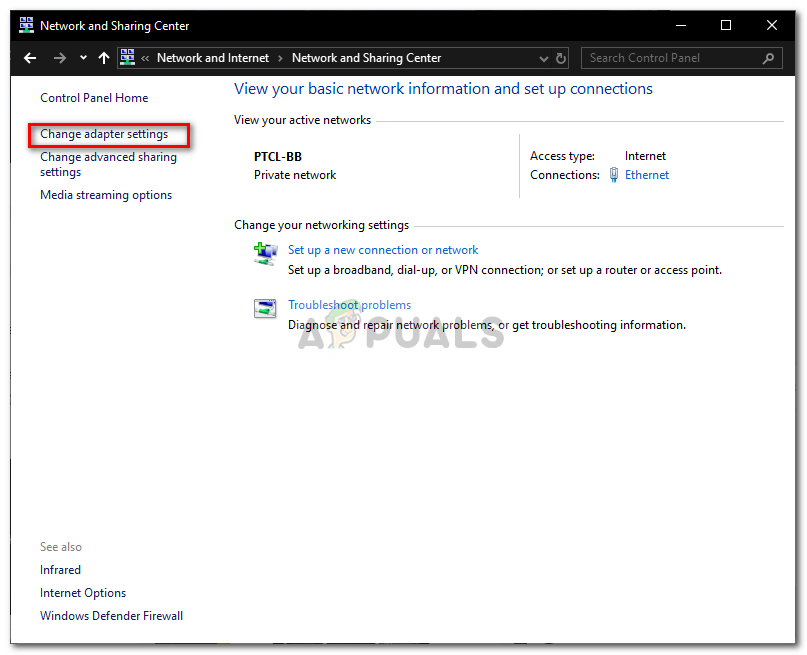
Network and Sharing Center - Right-click the shared network connection and select Properties.
- Go to the Sharing tab.
- Uncheck “Allow other network users to connect through this computer’s Internet connection”.
- Click OK.
4. Select the option Connect to current Network in AnyConnect VPN
Choosing “Connect to current Network” in AnyConnect VPN instructs the client to use your active network connection, reducing errors from attempting to connect through other, disconnected networks. This setting ensures the VPN utilizes the correct network, especially after switching networks or adjusting settings. It improves connection stability by eliminating network confusion and increasing the chances of a successful connection.
- Launch the AnyConnect Client and right-click on Network.
- Select Connect only to current Network.
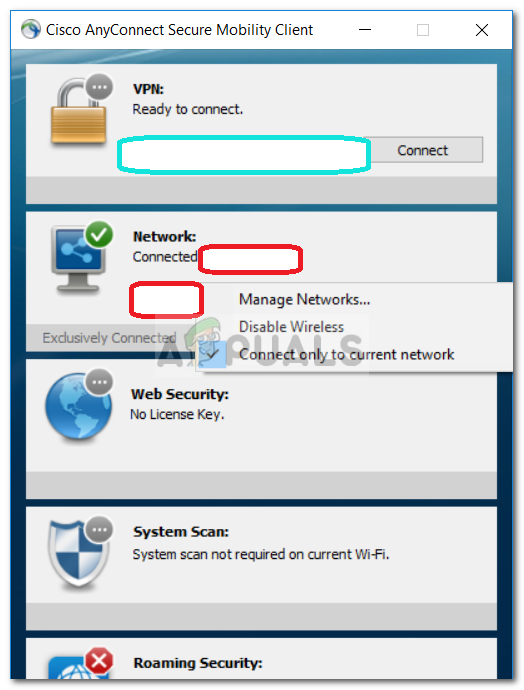
Cisco AnyConnect Client
5. Try an Alternate Connection
Switching to a different network, like a mobile hotspot or another Wi-Fi, can fix issues by avoiding blocks or restrictions on your main connection. Some networks have strict rules that stop VPN traffic. Using another network can help the VPN connect successfully, especially if the problem is with a specific network or router setup.


