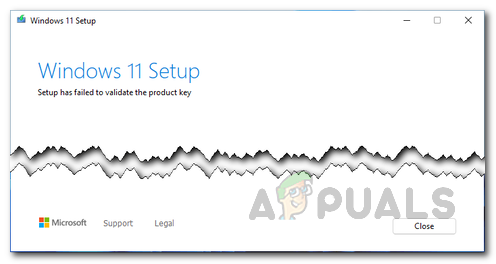
How to Fix ‘Failed to Validate the Product Key’ Error on Windows 11 Setup?
Windows 11 is officially out and while it is not available to everyone right away, some users have tried to perform an in-place upgrade using Windows 11 ISO. However, during the installation of Windows 11, users are prompted the “Setup has failed to validate the product key” error message. This can happen due to a number of reasons which include an unpacked installer already present in the temporary folder or due to the interference of a third-party antivirus program. Regardless of the cause, in this article, we will be taking you through the process and showing you how to resolve the mentioned error message quite easily.
As it turns out, Microsoft officially released Windows 11 on the 5th of October. For some users, the update was available through the Windows Settings app where they could use the Windows Update tab to upgrade to Windows 11. However, as per Microsoft, in order to further ready up the new operating system for everyone else, they are offering the operating system to certain users while others are on hold and will be offered the upgrade at a later time. This is to make sure that the upgrade process is smooth on their respective devices. However, if you wish to install Windows 11 without waiting, you can do so by performing an in-place upgrade via the official Windows 11 ISO.
The reason the error message in question appears can vary depending on your case, however, usually it is due to the following:
- Missing Config File — As it turns out, the first reason that the error message appears is when you do not have an important config file that is required for the installation. In such a scenario, you will have to create the config file in order to resolve the problem.
- Third-Party Antivirus — In addition to that, another reason that the problem in question occurs is when you have a third-party antivirus program on your computer. This happens when the antivirus program is interfering with the installation process and thus it throws an error message. To fix this, you will have to simply disable the antivirus program on your computer.
- Installer Present in Temp Folder — If you are receiving the error message when you have previously used the installation media on your computer, it can be due to the fact the installation media detects the installer in the temp folder of your Windows machine. In such a scenario, you will have to use the Disk Cleanup utility on your system to clean up all of the temporary files on your computer.
Now that we have gone through the possible list of causes, we can get started with the different methods that are available using which you can resolve the error message in question. With that said, let us get started without any further delay.
Turn Off Third-Party Antivirus
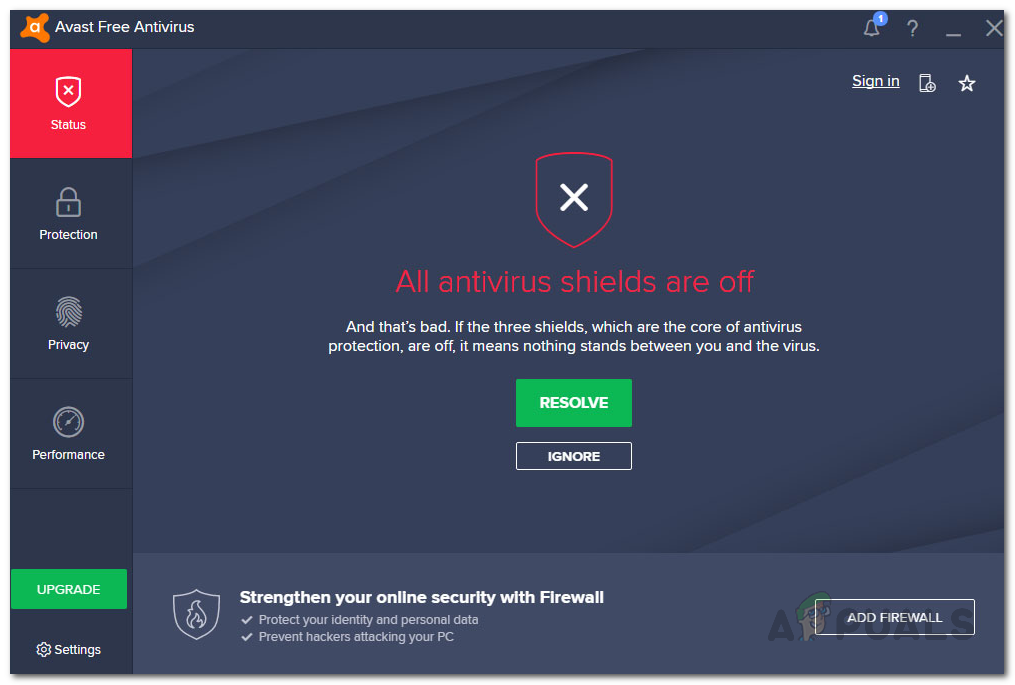
As it turns out, the first thing that you should do when you encounter the error problem in question is to go ahead and disable your third-party antivirus program. The error message in question can often be caused due to the interference of the antivirus program installed on your computer. This happens when the antivirus program on your system disrupts the connection that is to be established between the installation media on your computer and the external servers.
Therefore, if you find this in such a scenario, you will have to simply disable the antivirus program on your computer before performing the in-place upgrade. In addition to that, you can also choose to completely uninstall the security program on your computer if you wish to as the issues caused by third-party antivirus programs are quite a lot due to false positives. If you are still facing the issue after doing this, move to the next method down below.
Cleanup Temporary Files
Like we have mentioned above, the error message can also be caused when you have run the installation media on your computer previously as well due to which there are traces of it left in the Temp directory of your Windows machine. When this happens, the installation media fails because it detects these remaining files in the said location and as a result you are shown the error message in question.
In such a scenario, to fix the problem, you will have to run the Disk Cleanup utility on your system to resolve the problem. Disk Cleanup is a great utility that scans your drives for any unwanted, unused and temporary files and then offers to delete them to clean up some space for you. To use the Disk Cleanup utility, follow the instructions given down below:
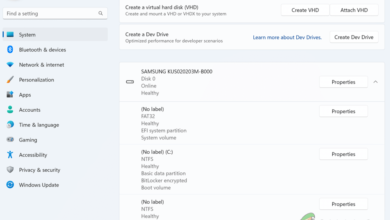
- First of all, go ahead and search for the Disk Cleanup utility in the Start Menu and then open it up.
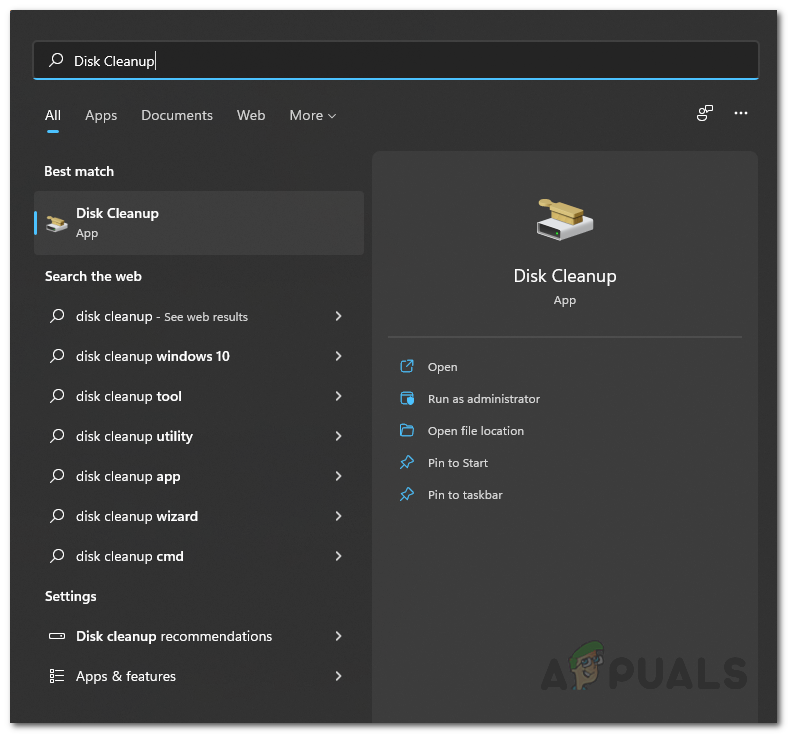
Opening up Disk Cleanup - Choose your system drive which is usually the C: drive and then click the OK button.
- Now, the Disk Cleanup utility will start scanning the drive for any files that could be deleted.

Disk Cleanup Scanning - Once the result is shown, click on the Clean up system files button that is provided.
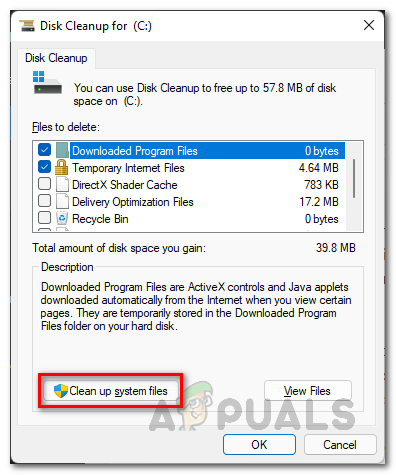
Cleaning System Files - After that, you will be asked to choose a drive again so go ahead and click OK on your system drive.
- Now, once you are shown the result, go ahead and click the Temporary Files and Temporary Internet Files checkboxes.
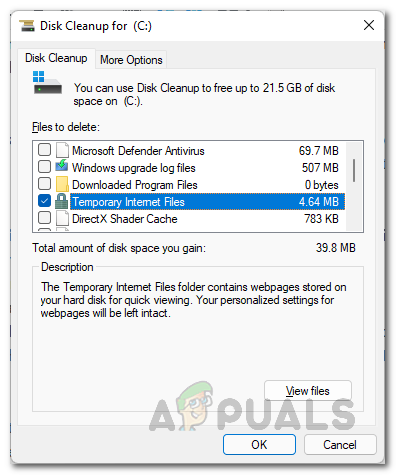
Cleaning up Temporary Files - After doing that, click the OK button.
- When prompted if you are sure you wish to delete these files, click on the Delete Files button.
- Once you have done that, see if the problem still appears.
Apply Product Key
As the error message suggests, the problem is due to the fact that the product key is not being validated. This happens due to a log file that is stored on your computer. In such a case, to resolve the problem, you can try to enter the product key manually through a command prompt window to the installation media folder. To do this, follow the instructions given down below:
- First of all, you will have to open an elevated command prompt window. To do this, open up the Start Menu and search for cmd. Right-click on the result shown and choose Run as administrator from the drop down menu. Alternatively, you can click the Run as administrator option provided on the right hand side.
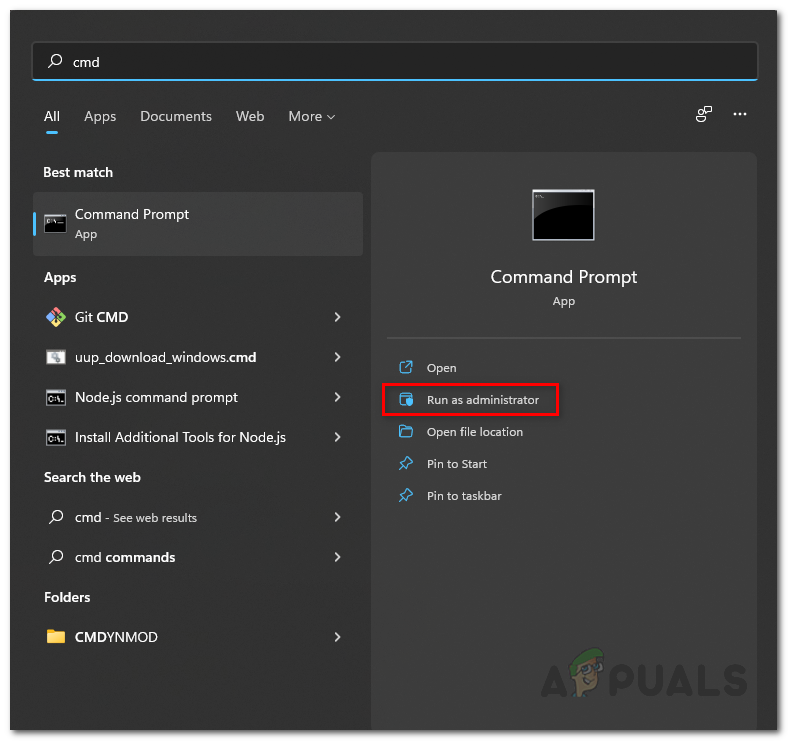
Opening up Command Prompt as an Administrator - Once the command prompt window is open, you will have to navigate to the folder where the installation media is storing its file. By default, these are stored in the ESD folder in your system drive which is C:\. Therefore, enter the following command to navigate to this folder:
cd C:\ESD\
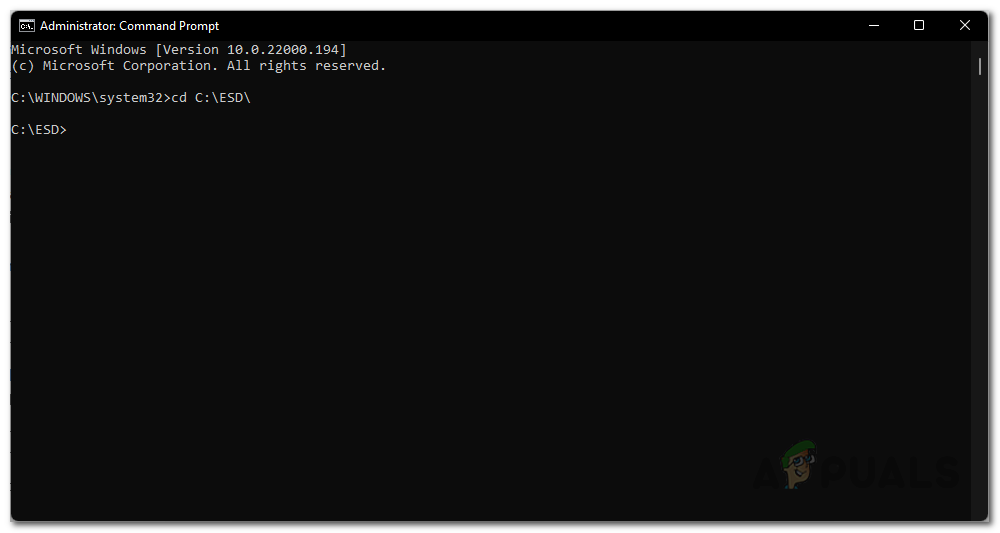
Navigating to Installation Media Storage Directory - Now that you have navigated to the installation media folder, enter the following command to install the license key. Make sure to replace the keyword LICENSEKEY with your original key.
Setup /pkey LICENSEKEY
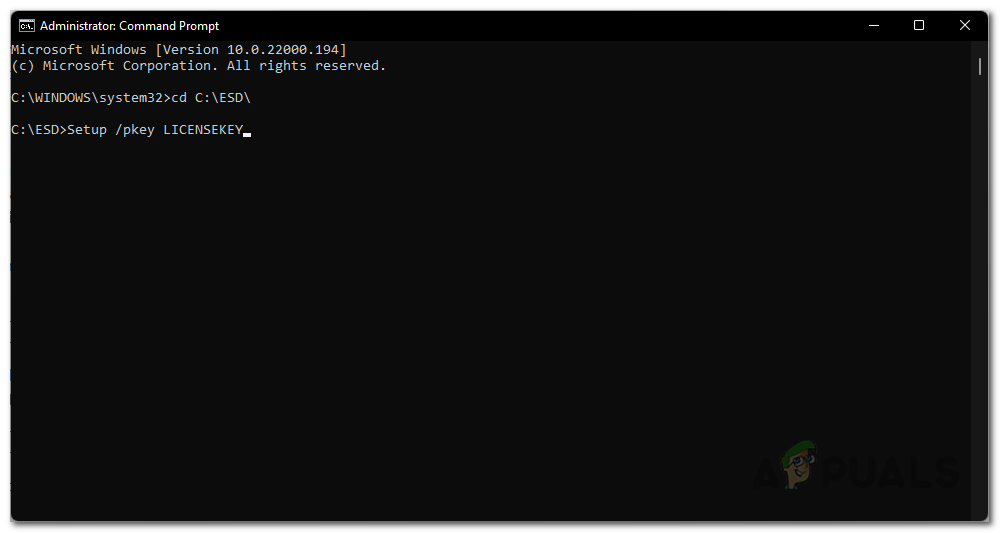
Providing the Product Key - After doing that, go ahead and close the command prompt window and then see if the problem is still appearing.
Create Missing Config File
Finally, if none of the above solutions have resolved the problem for you, then it is probably due to the fact that you are missing an important config file in the installation media. This config file is called ei.cfg and is required during the in-place upgrade process.
In such a scenario, you can easily resolve the problem by creating this required config file manually inside the Windows 11 ISO. For this, you will need a decompressing utility like 7-zip or WinRar or even WinZip to extract the ISO. Follow the instructions below to add the missing config file:
- First of all, go ahead and extract the Windows 11 ISO using one of the various decompressing utilities available.
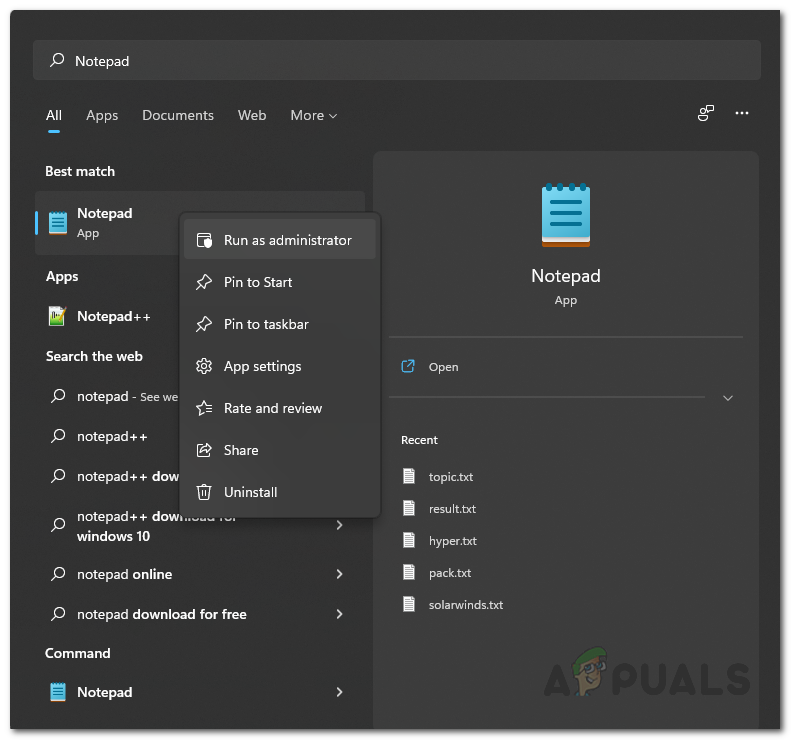
- After that, you will need to open up an elevated Notepad window. To do this, search for Notepad in the Start Menu and then right-click on it. From the drop down menu, choose the Run as administrator option.
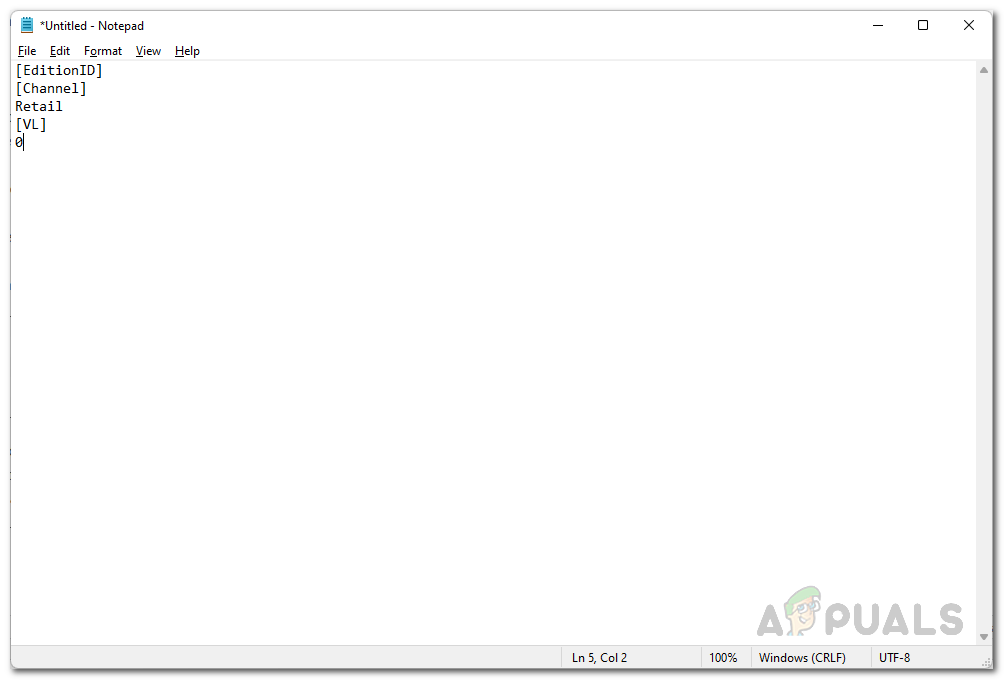
Opening up Notepad as an Administrator - After that, copy and paste the following in the Notepad window:
[EditionID]
[Channel]
Retail
[VL]
0
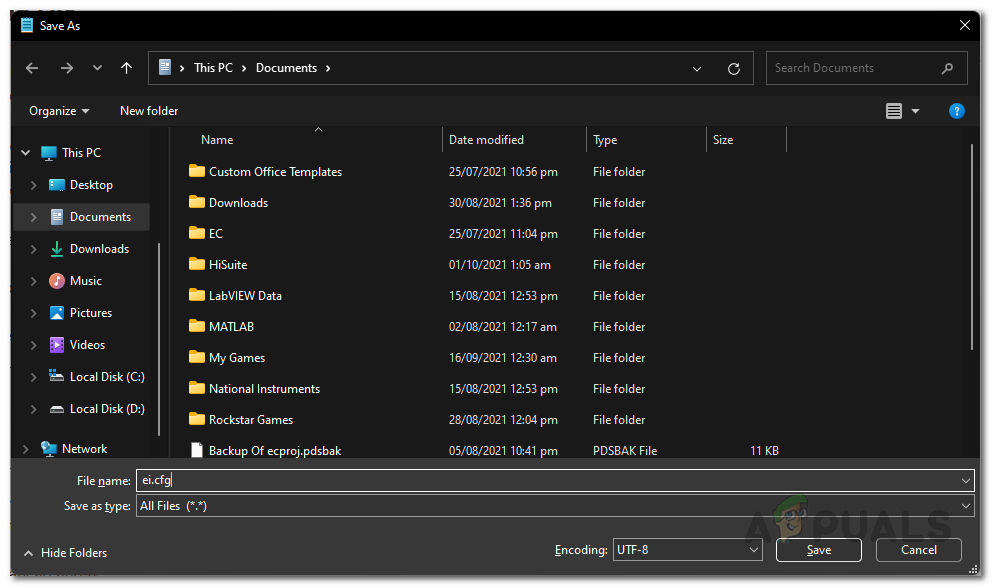
Ei.cfg File Contents - Once you have done that, press Ctrl + S to save the file. Since the file has not been created, you will be asked where to save the file. Navigate to the folder where you extracted Windows 11 ISO and then open up the Sources folder. Name the file ei.cfg and save it inside the Sources folder.
Saving the EI.cfg File - After you have done that, go ahead and run the setup file from the extracted Windows 11 ISO media and see if the error message still appears.