How to Troubleshoot and Resolve Error 0x8024001e on Windows
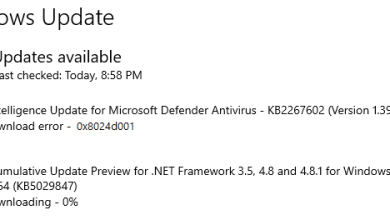
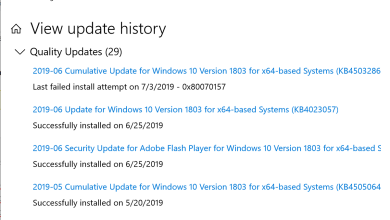
Error 0x8024001e occurs when the Windows Update Service stops working, restricting Windows from updating applications and installing system updates. Such applications include Microsoft Edge, Office, and Live Mail. The predominant cause of this error is the corruption or absence of update files, often due to improper saving or damage from forceful system shutdowns.

In this article, we will outline several potential solutions to help users resolve this error.
1. Check for Corrupted System Files
Since corrupted system files are a common cause of this error, we’ll start by scanning for such files via the Command Prompt.
- Run Command Prompt as an administrator.
- Type sfc /scannow and press Enter.
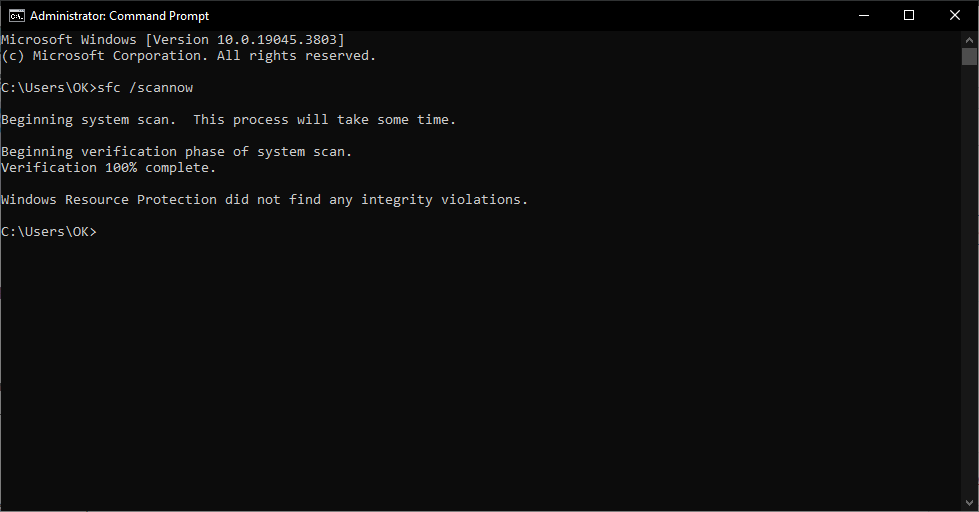
- This action will initiate a scan of your computer’s system files for any corruption and attempt repairs if necessary.
2. Windows Update Troubleshooter
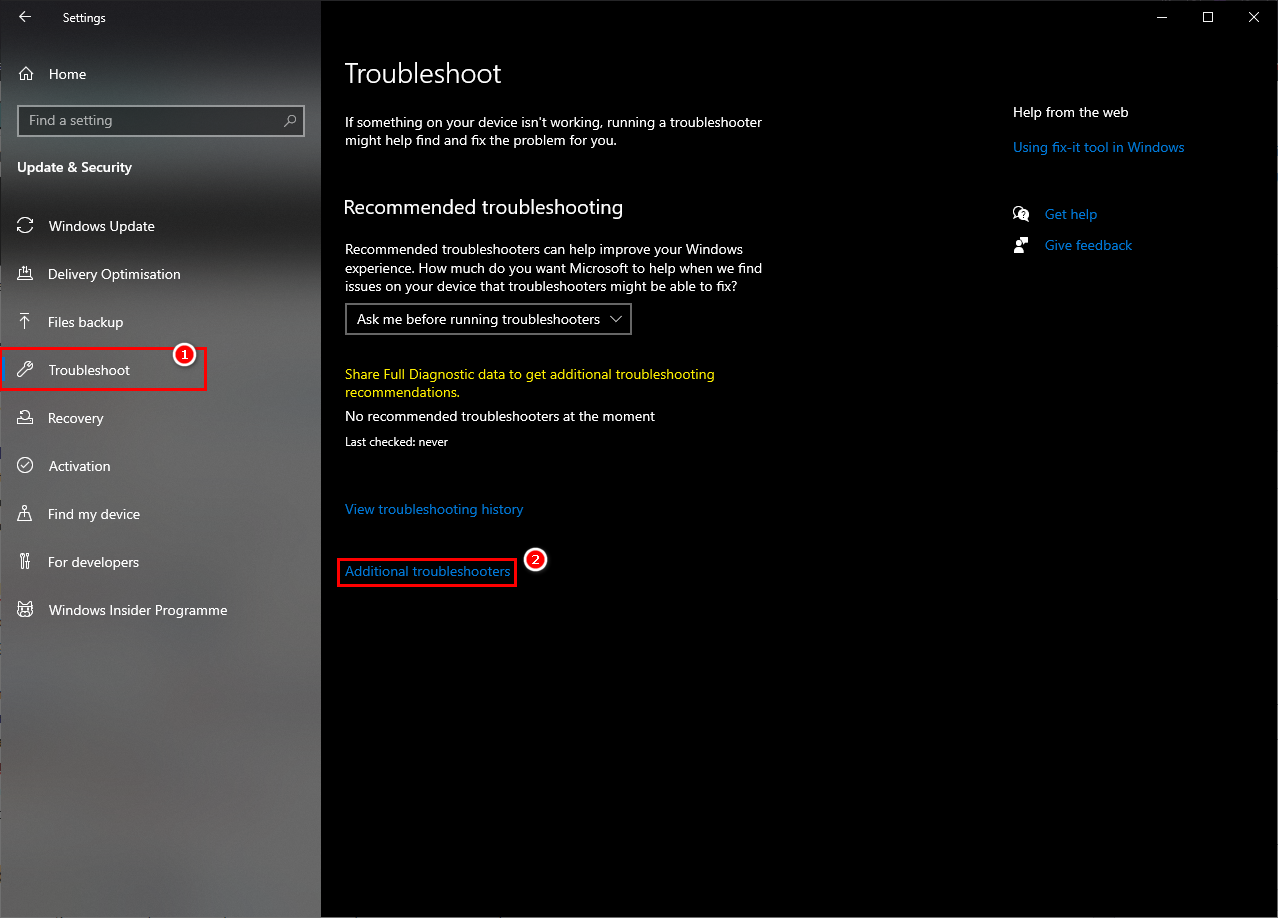
To address error code 0x8024001e, start with the Windows Update Troubleshooter. This built-in tool rectifies update-related issues on your computer.
- Open Settings and navigate to Update & Security.

- Select Troubleshoot from the left pane.
- Choose Additional troubleshooters in the right pane.
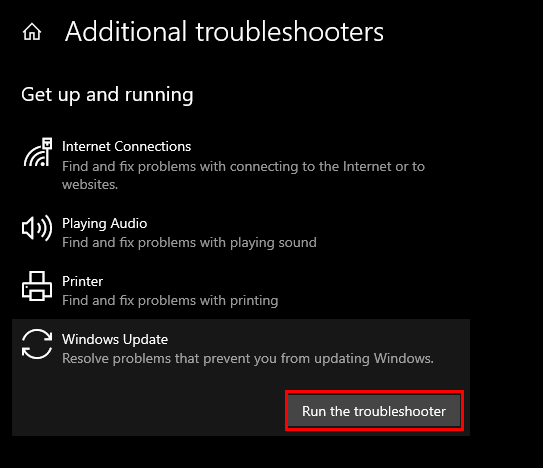
- Click on Windows Update followed by Run the troubleshooter.
3. Turn Off Fast Startup
While Fast Startup facilitates quicker boot times by partially hibernating the system, it can sometimes disrupt necessary system processes, causing errors like 0x8024001e. Disabling Fast Startup promotes complete system writes and helps ensure the integrity of updates.
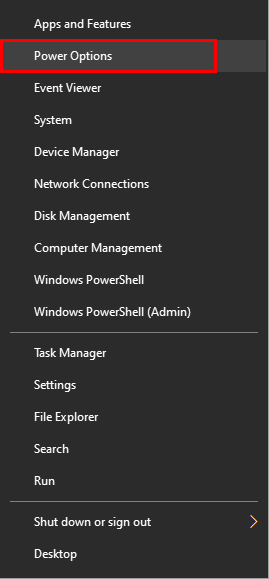
- Right-click the Windows Start menu icon and select Power Options.
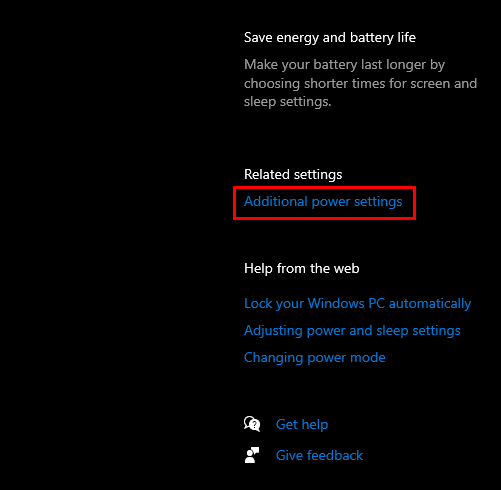
- Go to Additional power settings in the right pane.
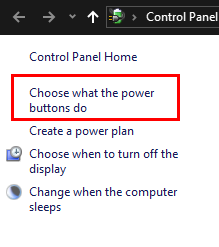
- Click on Choose what the power buttons do in the left pane.
- Deselect Turn on fast startup (recommended) under Shut-down settings and click Save changes.

- Restart your computer to see if the error has been resolved.
4. Reset Windows Update Components
Another solution is to reset the Windows Update components, particularly since corrupted update files are a major contributor to this error.
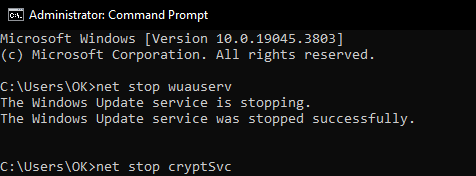
- Launch Command Prompt as an administrator.
- Enter the following commands one by one, pressing Enter after each to stop the Windows Update services:
net stop wuauserv
net stop cryptSvc
net stop bits
net stop msiserver
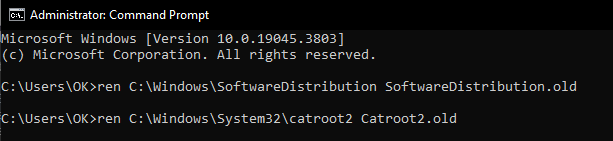
- To rename the SoftwareDistribution and Catroot2 folders, use these commands:
ren C:\Windows\SoftwareDistribution SoftwareDistribution.old
ren C:\Windows\System32\catroot2 Catroot2.old
- Restart the Update components with the following commands:
net start wuauserv
net start cryptSvc
net start bits
net start msiserver

- Finally, reboot your computer and attempt to install the updates again.
5. Manually Download and Install Updates
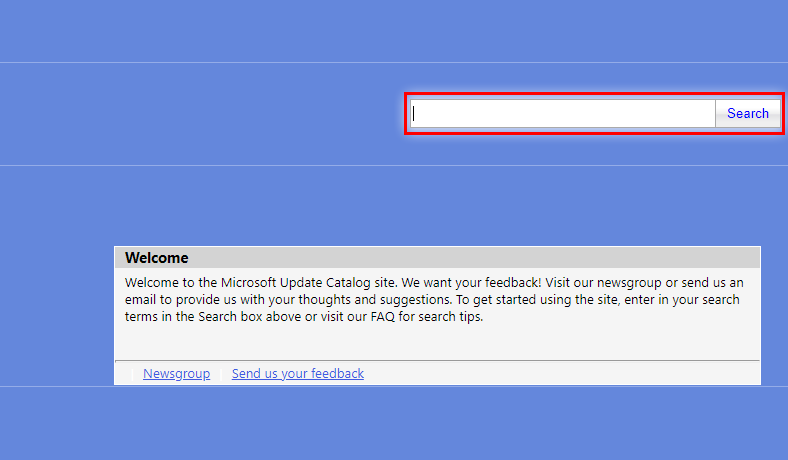
If the previous solutions don’t work, try manually downloading and installing the updates from the Microsoft Update Catalog.
- Launch your web browser.
- Go to: https://www.catalog.update.microsoft.com/Home.aspx
- Access Settings > Update & Security > Windows Update on your computer and note the update number causing the error.
- Search for the specific update on the Microsoft Update Catalog website using the update number and download it.
- Run the downloaded update file to install it manually.