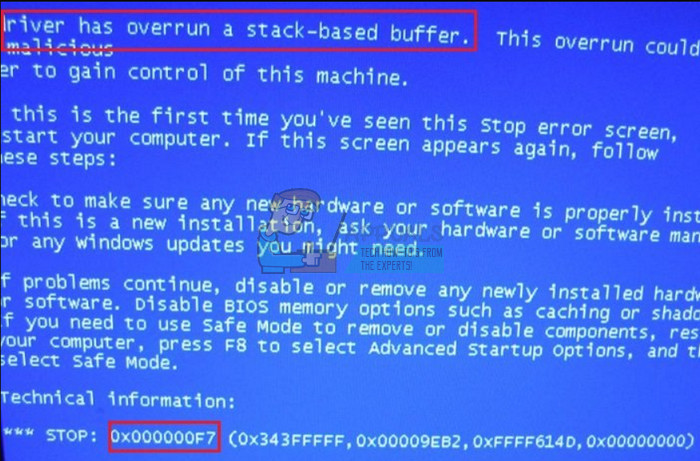
Fix: DRIVER_OVERRAN_STACK_BUFFER BSOD on Windows 10
The Blue Screen of Death is the worst possible type of Windows errors because it freezes your system and it won’t let you proceed until you resolve the error. However, it’s sort of difficult to solve it because you are often not able to use your computer properly as the error message often appears in random short intervals, preventing you from solving the problem.
If the Blue Screen of Death appears during each boot, you might have to use some of the recovery options either from the boot screen such as Safe Mode with Networking or Command Prompt or you will have to use a bootable Windows DVD or USB. Let’s find out how to solve this BSOD!
Fix DRIVER_OVERRAN_STACK_BUFFER BSOD on Windows 10
This particular BSOD usually appears during a resource-heavy task such as gaming and it usually occurs in short intervals with no apparent reason. Additionally, the text in the BSOD does not offer a real solution so it’s often up to you to figure out a solution.
If the BSOD occurs while some of your programs are open, you suffer from a risk of losing your progress in a video game or in your document. Let’s find out just how to get rid of this annoying problem.
Solution 1: Update Your Drivers
This problem usually occurs because of a missing driver file which causes you entire system to freeze, especially if the driver is rather important for your system. You never know just which driver causes the issue until you have a professional take a look at your system dump file. However, you can update all drivers and check to see if the issue is fixed.
Even if only one driver was causing the issue, you are better off knowing that you updated all drivers, preventing the issue from occurring with another driver.
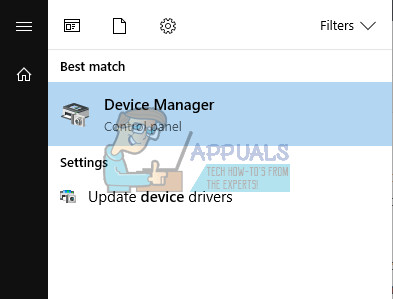
- Select the Start button located at the bottom left part of your screen, type Device Manager, and select it from the list of results.
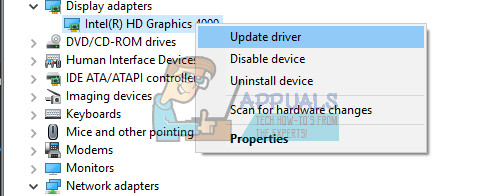
- Click on one of the categories you wish to update which will open a set of devices related to that category. Right-click on one of the devices which show up and select the Update Driver option. In order to update your graphics card driver, click on the Display adapters category, locate your graphics card and click on the Update Driver option.
- Select the Search automatically for updated driver software option.
- If Windows fails lo find the correct driver automatically, visit the manufacturer’s website, locate your specific device, and download the latest update you find.
Note: If you are using Windows 10, latest drivers are often installed alongside other Windows updates so make sure you keep your computer up to date. Windows Update is run automatically on Windows 10 but you can check by following the instructions below for a new update.
- Use the Windows Key + I key combination in order to open Settings on your Windows PC. Alternatively, you can search for “Settings” by using the search bar located at the taskbar.

- Locate and open the “Update & security” section in the Settings app.
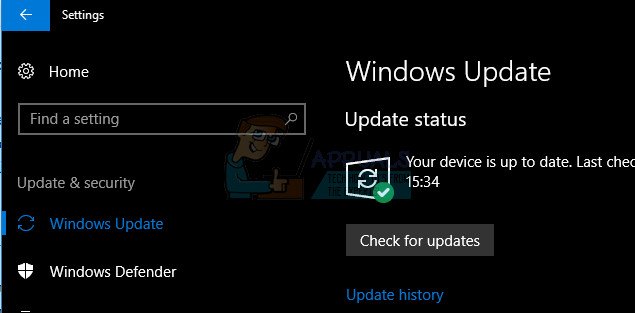
- Stay in the Windows Update tab and click on the Check for updates button under the Update status in order to check whether there is a new version of Windows available.
- If there is one, Windows should proceed with the download process automatically.
If you are experiencing certain problems while running the check for updates, make sure you run the Windows Update troubleshooter to see what is wrong with the service and fix it automatically. You can also troubleshoot Internet Connections to see if something is blocking your update from being downloaded and installed.
- Open the Settings app by clicking on the Start button and then the gear icon just above. You can also search for it.
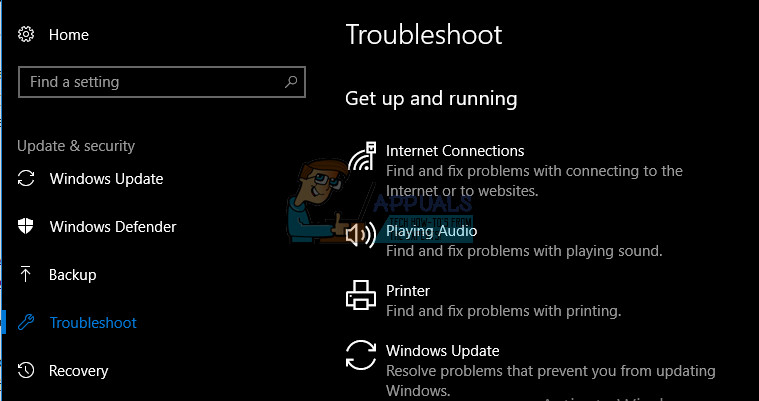
- Open the Update & Security section and navigate to the Troubleshoot menu.
- First of all, click on the Windows Update option and follow the instructions on screen to see whether there is something wrong with Windows Update services and processes.
- After the troubleshooter finishes, navigate to the Troubleshoot section again and open the Internet Connections troubleshooter.
- Check to see if the problem is solved.
Solution 2: Perform the Automatic Repair
Using this Windows 10 feature is highly recommended, especially if you are not able to access any other option on your computer because of the often BSOD errors. There are several ways to access this option and we will list out several of them just in case you are not able to do it in one way or another.
Method 1: Through the Login Screen
- Navigate to your computer’s login screen by logging off from your account or simply by turning your computer on. After that, hold the Shift key while pressing Restart.
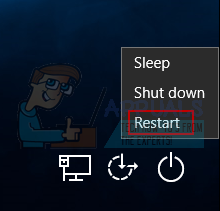
- You can also use power icons in the Start menu or any other way which may lead you to the login screen.
- Know that you will have to connect your physical keyboard in order to perform these steps as this feature won’t work with the on-screen keyboard.
- Advanced Startup Options should appear in no time.
Method 2: From Windows 10 Settings
- Click on the Start button and click on the gear icon in order to open Settings. You can also search for “Settings” in the search bar.
- Scroll down to the bottom of the Settings app and click on Update & security.
- Click on Recovery from the tabs located on the left side of the Update & security screen.
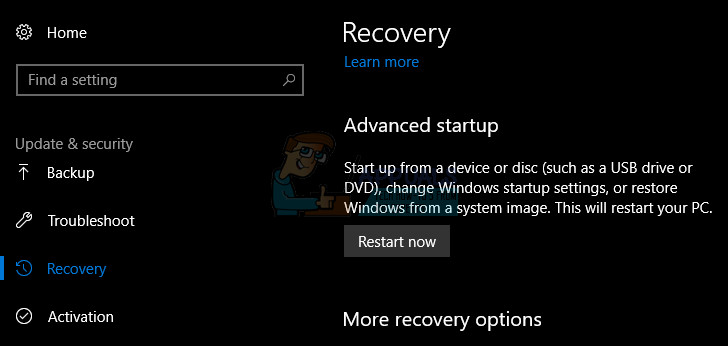
- Advanced startup section should be located in this option so locate it at the bottom of the Recovery tab.
- Click on Restart now.
- Advanced Startup Options should appear in no time.
Note: If you are using Windows 8, swipe from the right in order to access the charms bar. Click on the Change PC settings option and choose the Update and recovery from the list. Click on Recovery and follow the steps from 4-6 from the solution above.
Method 3: Using Command Prompt
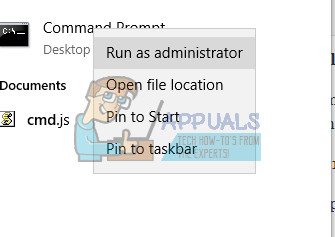
- Open Command Prompt in Windows 10 or Windows 8 by typing “cmd” in the Search box and opening the first result with administrator privileges.
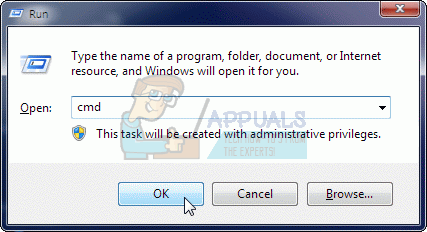
- You can also use the Run dialog box in order to open Command Prompt is you are not able to access it from the Start menu.
- Copy and paste the command below in order to be redirected to the Advanced setup screen.
shutdown /r /o
- Make sure you save everything you have been working on as the command below will shutdown your computer immediately.
- Click on the Close button when you see the You’re about to be signed off message.
- Windows will close and you will be able to see the Please wait message.
- Advanced Startup Options should appear in several seconds.
Method 4: Using Windows 10 Recovery Drive
- Turn your computer on and insert a bootable Windows 10 DVD or a USB drive which has been configured correctly.
- It does not have to be your original Windows 10 DVD since you won’t need it to activate your version of Windows, only to access certain settings.
- Boot from the drive you just inserted by restarting your computer after insertion and follow the instructions.
- Windows Setup windows should open prompting you to enter the language and time and date settings.

- Choose the Repair your computer option at the bottom after proceeding.
- Advanced Startup Options will open in no time.
After you have successfully accessed the Advanced Startup Options, you can now freely navigate to the Automatic Repair option by following the instructions below.
- Click on the Troubleshoot option located just under the Continue button.
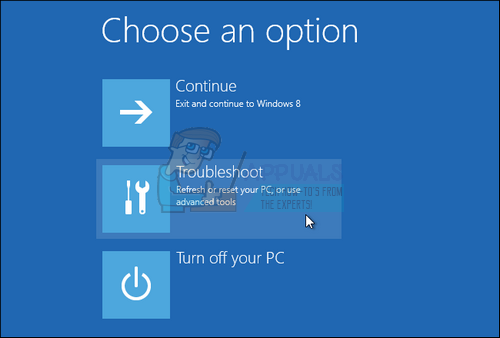
- You will be able to see three different options: Refresh your PC, Reset your PC, and Advanced options. Click on the Advanced options if you are not planning on Refreshing or Resetting your PC (which can be useful as well). Note that the refreshing option lets you keep your files but it uninstalls the programs you have installed.
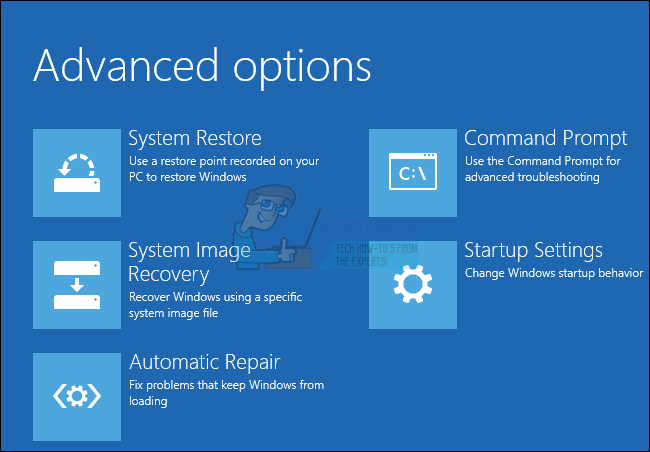
- Under the Advanced options screen, click on Automatic Repair which will try to solve all possible errors you computer may be experiencing at the moment.
Solution 3: Check Your Hard Disk for Errors
Checking your hard disk for errors is particularly useful for this problem and plenty of users were helped by this tool which is preinstalled on all versions of Windows. In order to prepare for this process, it’s useful to disconnect all external devices except for your keyboard and your mouse.
Follow the instructions in this article made by us in order to correctly configure and run the CHKDSK utility in order to check your hard disk for errors.
Solution 4: Run the Following Command in Command Prompt
The following command can help you block out the bad sectors in your RAM memory which may prevent these errors from occurring at all.
- Open Command Prompt in Windows 10 or Windows 8 by typing “cmd” in the Search box and opening the first result with administrator privileges.
- Another option is to open Run and type “cmd” if you are using Windows XP, Vista, or 7, if you can’t get Command Prompt started for some reason, probably related to the issue you’re having that has you here in the first place!
- If the User Account Control dialog box is displayed, click Yes in the dialog box.
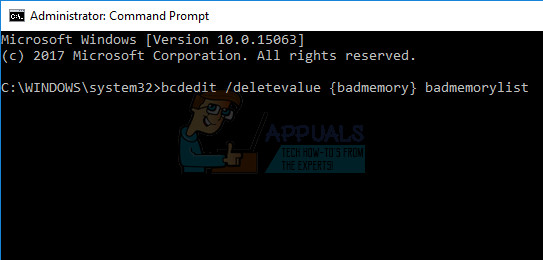
Copy and paste the following command and make sure you click Enter afterwards.
bcdedit /deletevalue {badmemory} badmemorylist
- Restart your computer in order to apply changes.