How to Restore Drag and Drop Functionality in Windows 11
Windows 11 lacks various drag-and-drop functionalities that users took for granted in older versions. Some functionality has been restored through Windows Updates, such as the ability to drag and drop apps onto the taskbar.

Unfortunately, certain drag-and-drop features remain unavailable due to a paradigm shift designed to allow for other functions to flourish, as is the case with File Explorer. However, we will provide workarounds below that should enable you to regain the traditional drag-and-drop functionality.
- Dragging and dropping via Alt + Tab: – This is one of the oldest tricks in the Windows ecosystem. Although it may initially require some practice to build muscle memory, it is an effective way to save time when dragging and dropping items from one place to another.
- Drag and drop between folders: – If you primarily used taskbar drag and drop to move files from one folder to another, consider opening the folders side by side and dragging files from one to the other directly.
- Use a third-party option: – If you don’t mind using third-party tools, installing and configuring StartAllBack can be an elegant solution. This tool restores the old functionality and even brings back the taskbar aesthetics found in Windows 10, Windows 8, or Windows 7, depending on your preference.
- Editing the Registry: – Some registry edits can force the taskbar to accept dragged items, but this method has a significant drawback. After applying this registry change, you will no longer be able to open the Start and Search menus or access Cortana from your taskbar menu. Therefore, we recommend avoiding this method unless you’re willing to accept the consequences.
Now that you are familiar with the potential workarounds for restoring native taskbar drag-and-drop features missing from Windows 11, follow the detailed guides below to implement them.
Workaround: Drag and Drop via Alt + Tab
Using the Alt + Tab menu is probably the best alternative for recovering the time lost now that the taskbar drag-and-drop feature has been removed from Windows 11.
This is particularly useful for designers and those who work with software such as Photoshop, Illustrator, Maya, etc. Although not as quick as dragging and dropping files onto the taskbar, it becomes a nearly equivalent solution once muscle memory kicks in.
- Click and hold the file you wish to drag and drop, then slightly move it to engage grab mode.
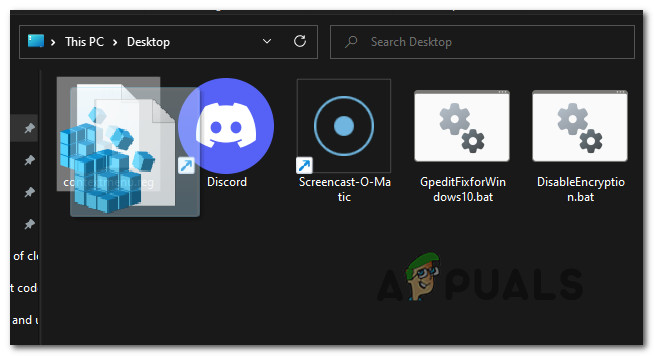
Drag and drop files Note: You can cancel your selection at any time by right-clicking.
- While the file is in grab mode (while still holding down the mouse button), press Alt + Tab to bring up a list of all open windows.

Accessing the Alt + Tab menu - Inside the Alt-Tab menu, keep the Alt key pressed and tap the Tab key repeatedly to cycle through all windows until you reach the desired destination where you want to drop the file. Then release both keys.
- Once within the target window, move your cursor directly over it, and release the mouse button to drop the file.
Workaround: Drag and Drop between two Windows or Folders
An alternative for those with a dual-monitor setup (or even without) and frequently moving files between different locations, is to arrange the windows side by side and drag-and-drop files between them.
Although this isn’t as convenient as directly dragging and dropping onto the taskbar and is slower than the Alt + Tab method, it works particularly well for extended displays.
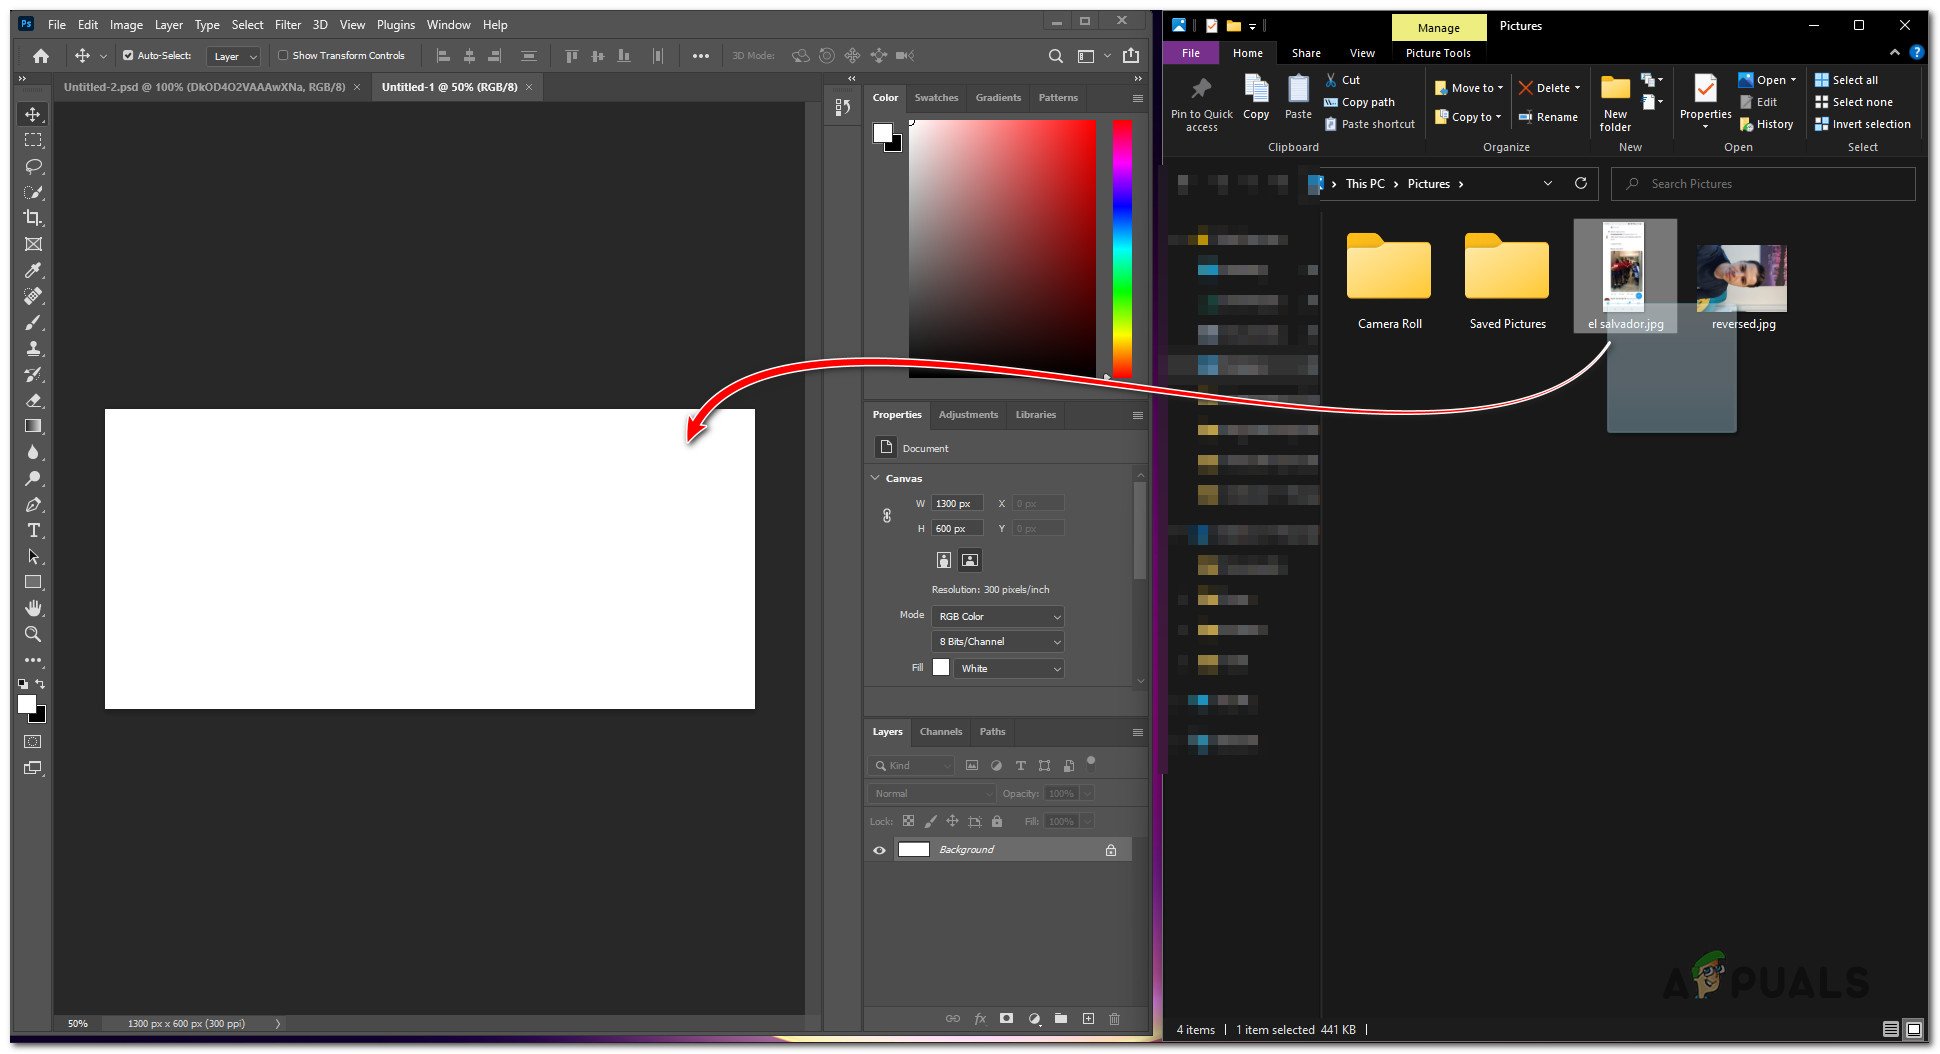
- Open the folders or applications you wish to use for drag and drop and position them side by side.
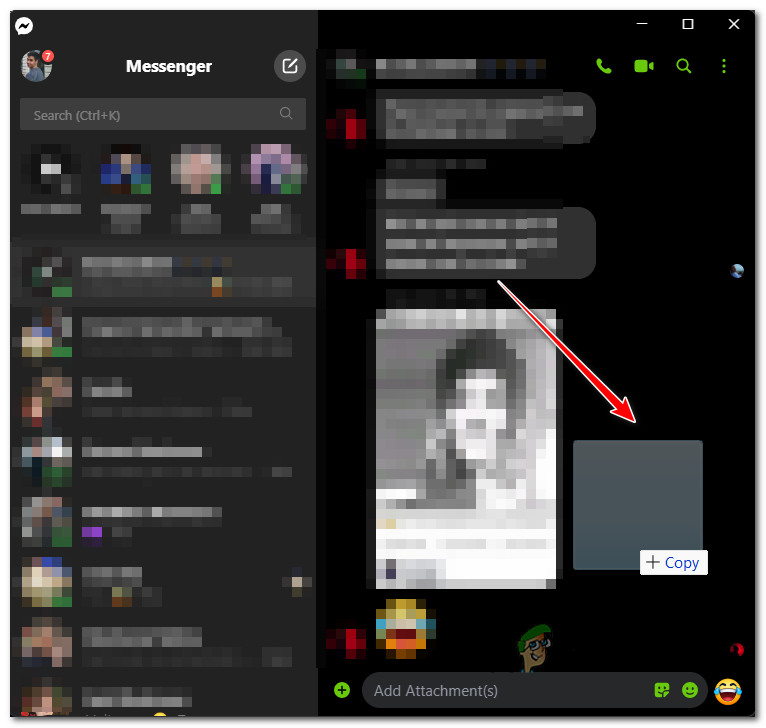
Note: This can be between two folders, two applications, or a folder and an application. - Select the file in the folder you’re dragging from, click and hold it, then move the cursor to the other window before releasing to perform the drag and drop.
Dragging and dropping the file Note: Some applications may ask for additional confirmation of the operation.
1. Update Windows
Several drag-and-drop functionalities initially removed by Windows have since been re-added in response to community feedback. As such, it’s critical to update Windows to the latest version to regain some of these features.
This is especially useful if you encounter issues when attempting to drag and drop items onto the taskbar.
- Press the Win + I keys on your keyboard to open the Settings app.
- Navigate to the Windows Update section within the Settings app.
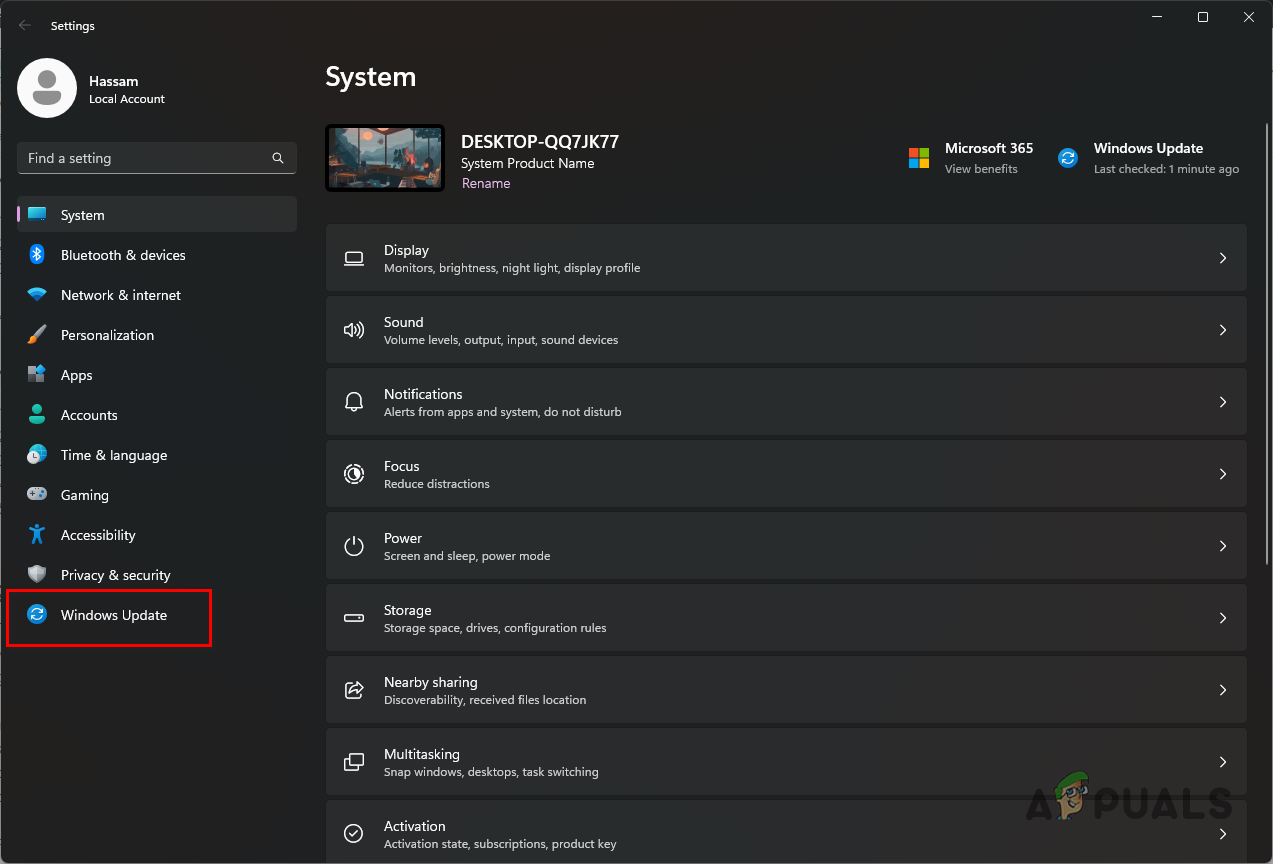
Navigating to Windows Update - Click on Check for updates to install any pending updates.
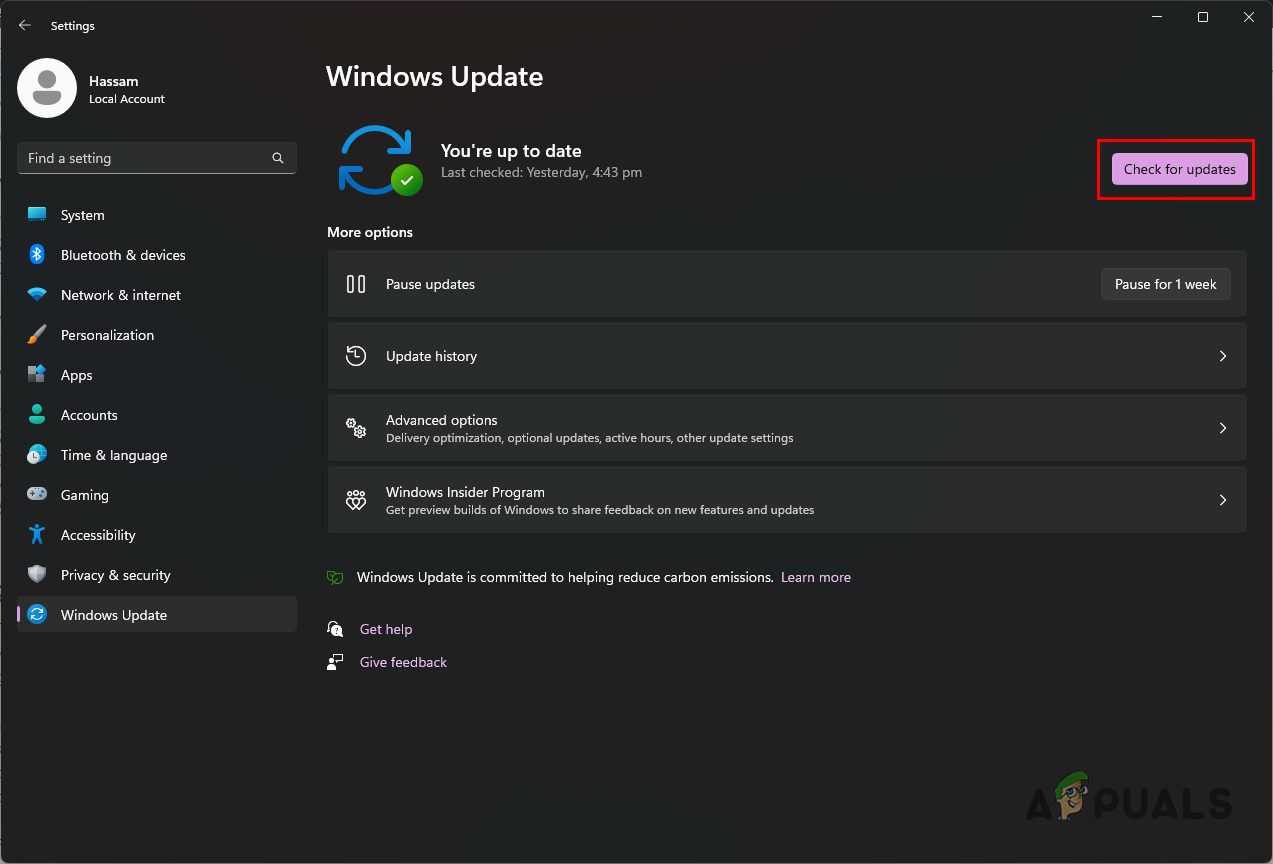
Looking for Windows Updates - Restart your computer when prompted to finalize the update process.
2. Enable User Account Control
The drag-and-drop feature can also malfunction if the User Account Control (UAC) feature is disabled in Windows, potentially hindering certain functionalities, especially on the taskbar.
To resolve this, it’s necessary to re-enable UAC in Windows. There are two ways to do this: through the User Account Control Settings window or by editing a registry key.
If UAC was disabled via the Registry, we recommend reversing the changes on the original keys to restore the feature.
2.1. Using User Account Control Settings
- Open the Start Menu and search for Change User Account Control Settings. Open it.
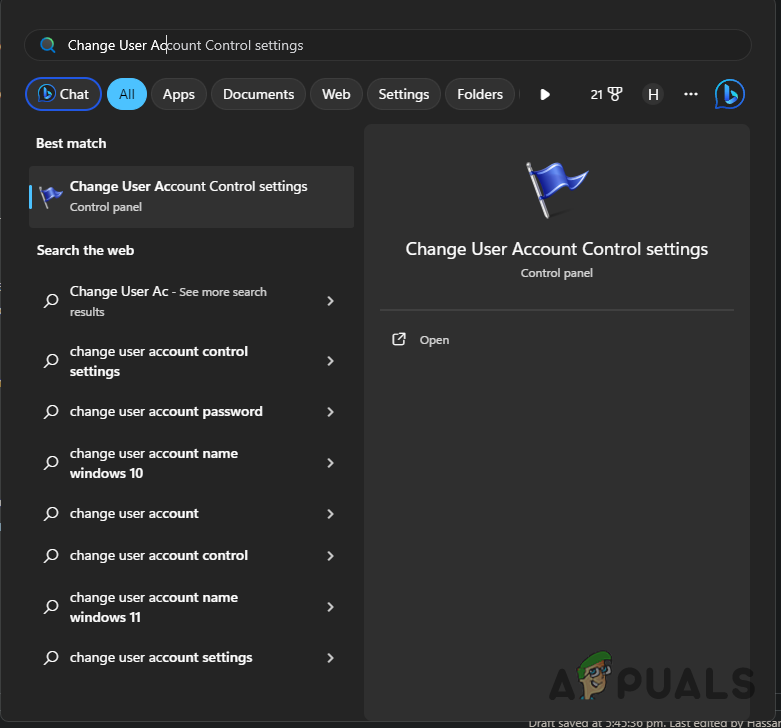
Opening Change UAC Settings Window - In the User Account Control Settings window, move the slider to the third position to select the default setting.
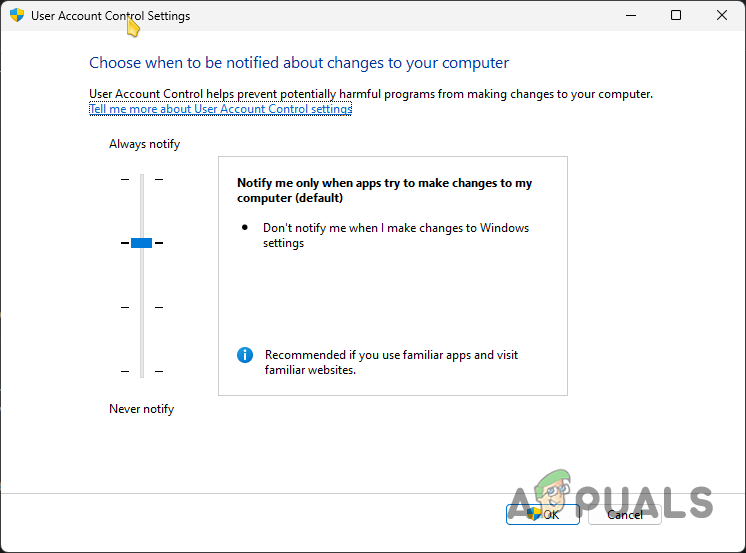
Enabling User Account Control - Click OK to confirm the change.
2.2. Using Windows Registry
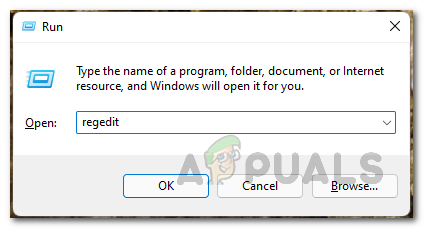
- Press the Win + R keys to open the Run dialog box.
- Type in regedit and press Enter to open the Windows Registry Editor.
Opening the Windows Registry - In the Registry Editor, navigate to the following key:
HKEY_LOCAL_MACHINE > SOFTWARE > Microsoft > Windows > CurrentVersion > Policies > System
- Find the EnableLUA key in the right pane and double-click on it.
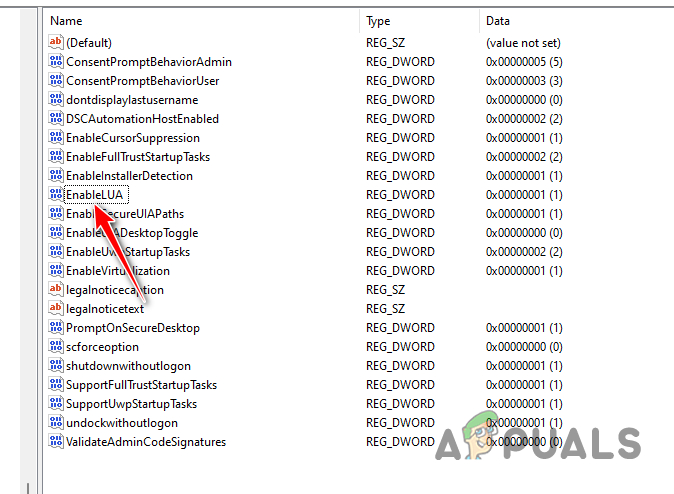
Editing the EnableLUA Key - Change the value to 1 and click OK.
3. Use Vivetool (For Address Bar Drag and Drop)
The drag-and-drop feature in the File Explorer address bar has been removed by Microsoft to allow File Explorer to differentiate between local and cloud folders.
However, you can restore this functionality using third-party tools such as ViveTool or ExplorerPatch, which reinstates the legacy File Explorer in Windows.
- First, download ViveTool from the official GitHub repository here.

Downloading ViveTool - Next, extract the downloaded file to a folder named ‘vivetool’ on your desktop or to any other convenient location.
- Search for ‘Command Prompt’ in the Start Menu and open it.
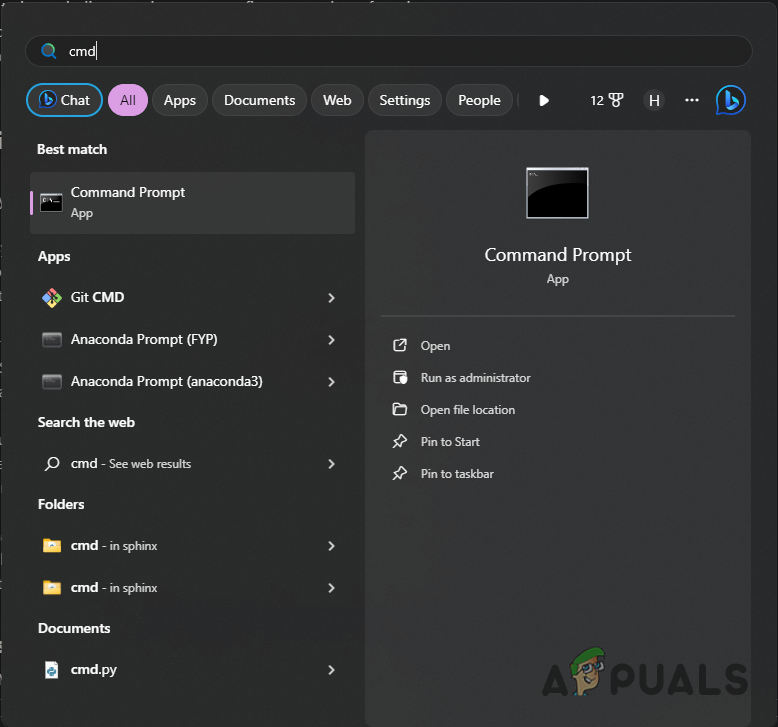
Opening a Command Prompt - In the Command Prompt window, use the cd command to switch to the folder where you extracted ViveTool. If you followed the previous steps exactly, the command will be:
cd Desktop\vivetool
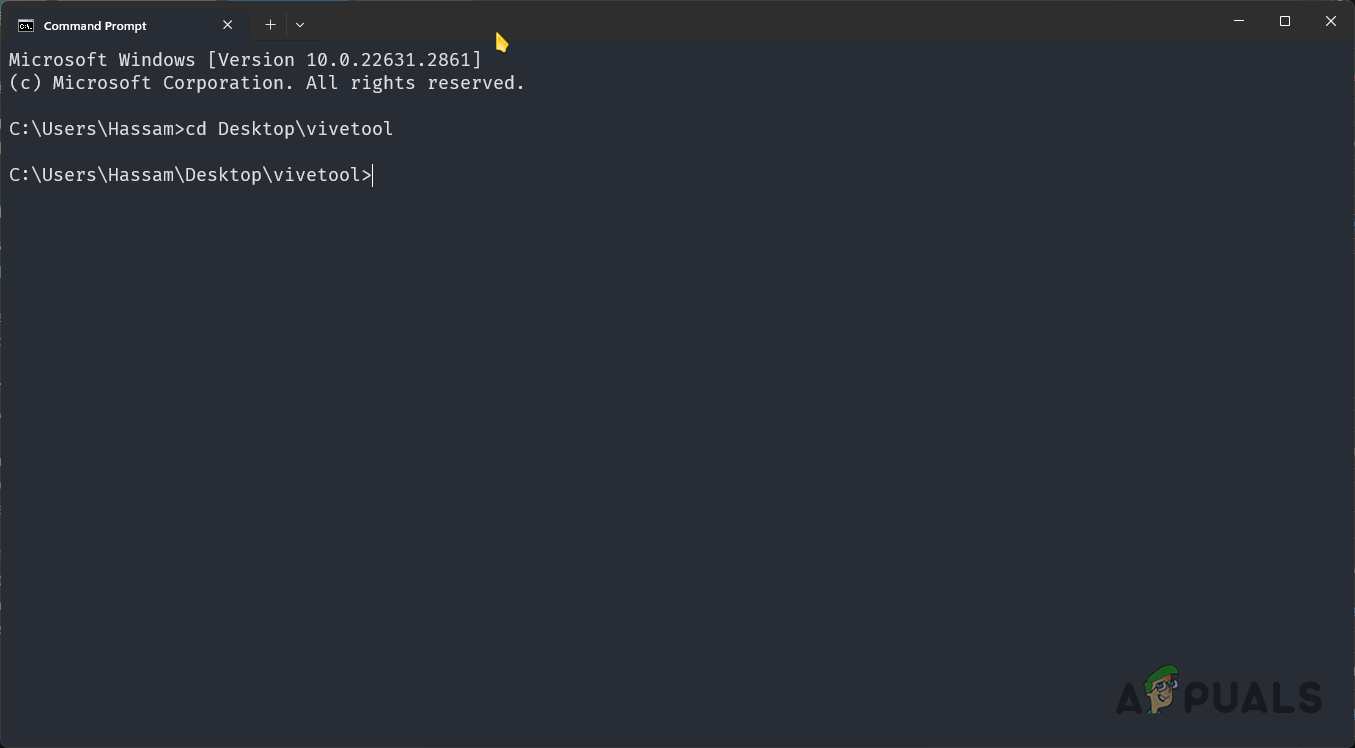
Navigating to the ViveTool Folder on the Desktop - In the ViveTool folder, enter the command:
Vivetool.exe /disable /id:40729001
- Restart your computer afterward.
- This should revert to the old File Explorer and reactivate drag and drop in the address bar.


