How to Convert UEFI to Legacy BIOS on Windows (7, 8 and 10)
If you have been searching for a way to convert UEFI (Unified Extensible Firmware Interface) to Legacy BIOS (Basic Input / Output System) on an installed Windows system, you’ve come to the right place.
The good news is, there is a way to change or covert a computer that has the UEFI bios mode by default to Legacy without losing data or having to uninstall the operating system.
In the steps below, we are going to walk you through the whole process. We’ll start by making sure you meet the requirements, then proceed to use a 3rd party tool that will allow us to do this without losing any data.
Let’s get started:
Note: The instructions below will show you how to change the UEFI BIOS to Legacy on a Windows 10 computer, but you can replicate these exact steps will older Windows iterations.
STEP 1: Confirming your BIOS Mode
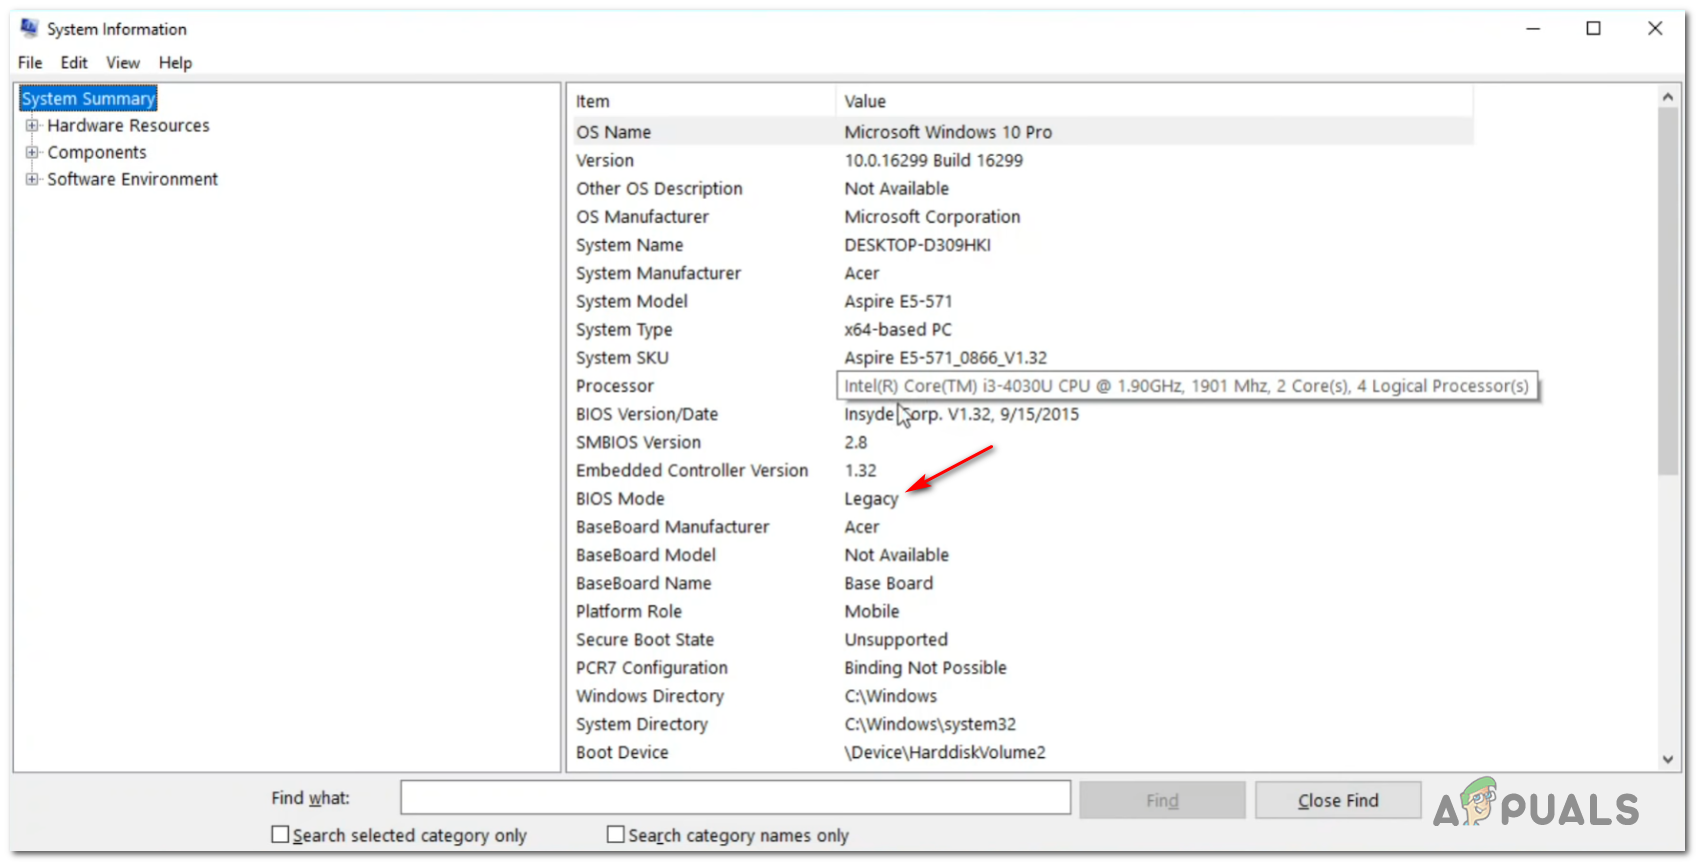
Press Windows key + R to open up a Run dialog box. Next, type ‘msinfo32’ inside the text box and hit Enter to open up the System information menu.
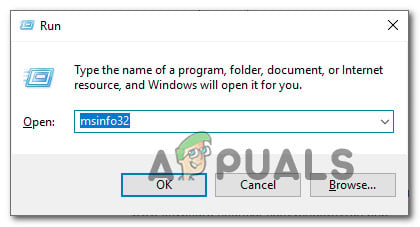
Once you’re inside the System Information menu, select System Summary from the column on the left, then move over to the right-hand side and check the BIOS Mode. If it says UEFI, the steps below will be applicable and you’ll be a able to use them to convert your default Boot Mode to Legacy.
STEP 2: Verifying the Partition Table
Next, you need to ensure that the partition that is currently holding your Windows installation is formatted as GUID Table (GPT). If it’s a different format, the instructions below will not work.
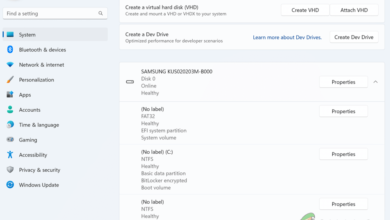
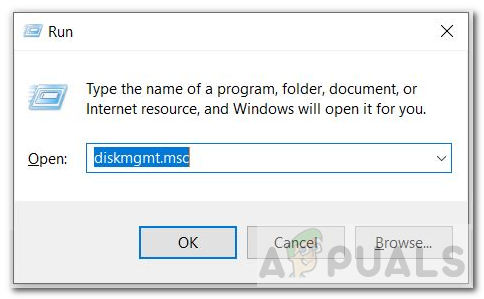
To verify your partition style, press Windows key + R to open up a Run dialog box. Next, type ‘diskmgmt.msc’ inside the text box and press Enter to open up the Disk Management utility.
Once you’re inside the Disk Management screen, right-click on the partition that holds your OS installation and choose Properties from the newly appeared context menu.
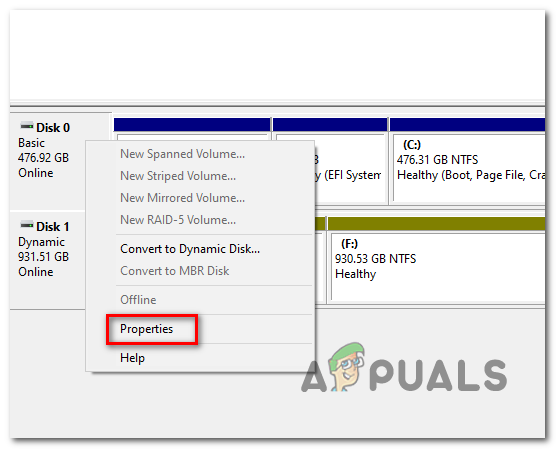
From the insides of your Properties screen, click on the Volumes tab and check the value associated with Partition Style. If it says GUID Partition Table (GPT), you are ready to go, so move up to Step 3 below.
STEP 3: Downloading & Installing Partition Master by EaseUs
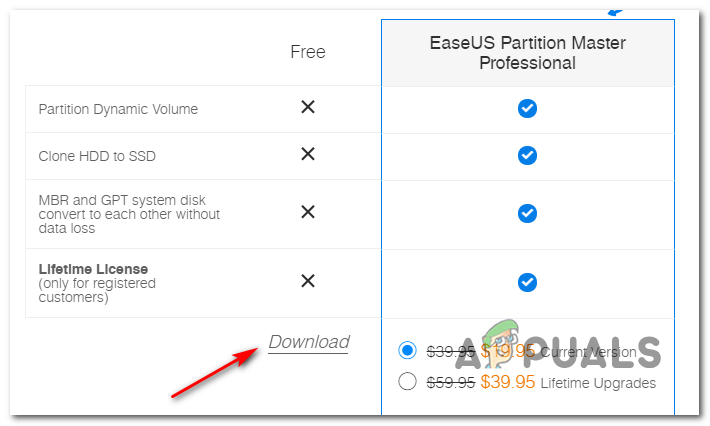
Open up your default browser and visit the download page of the free version of EaseUS Partition Master PRO. The free version is more than enough, so there’s no need to go for a paid plan.
Once you get to the download page, click on Free Download, insert your email, and for the redirect to happen. On the next page, click on the Download hyperlink to initiate the download of the installation executable.
Once the download is complete, double-click on the installation executable and click Yes at the UAC (User Account Control) to grant admin privileges. Admin rights are required to complete the installation.
Inside the installation screen, follow the instructions to complete the installation. It’s up to you if you want to install the 3rd party suite in a custom location or not.
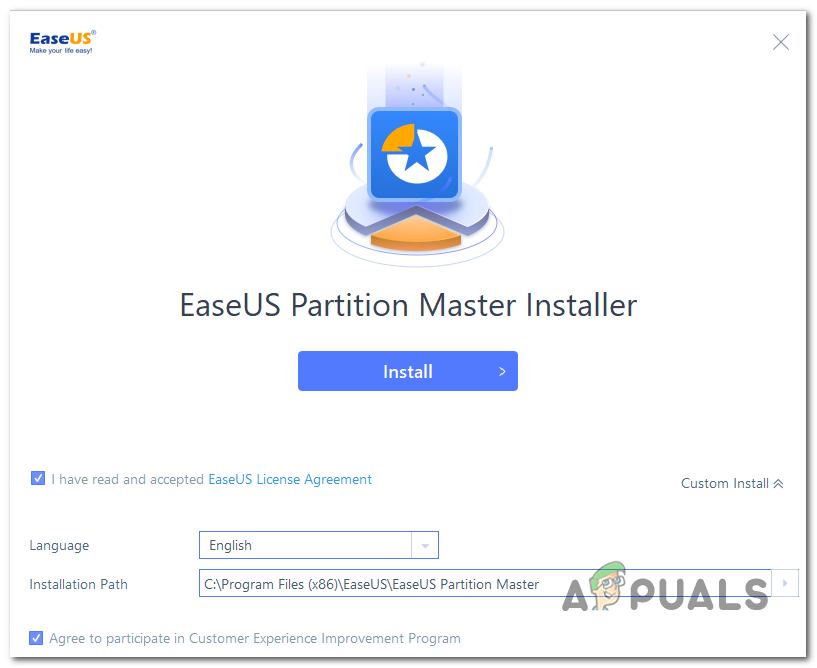
At the next screen, click the Install Free button and wait for the operation to complete.
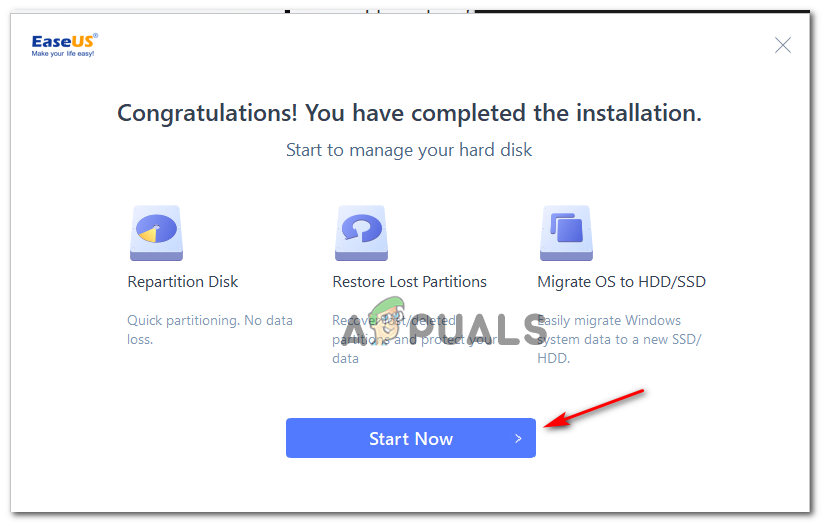
After you do this, the installation utility will start by unpacking the installation files, then copy them over to your selected location. Once this process is finished, click on Start Now to launch the application.
STEP 4: Disabling Automatically restart from Startup and Recovery
Once the 3rd party suite is successfully installed, you will need to do some modifications from the System Information menus in order to ensure that the next operation will be succesfull.
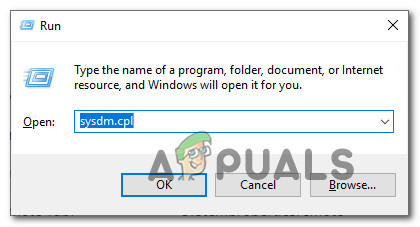
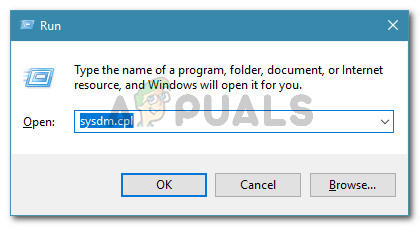
Press Windows key + R to open up a Run dialog box. Next, type ‘sysdm.cpl’ inside the text box, then press Enter to open up the System Properties screen.
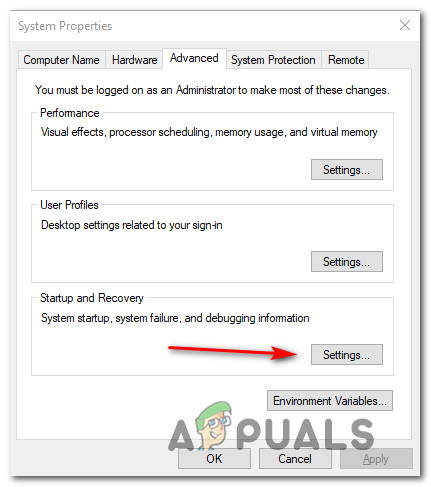
Once you’re inside the System Properties screen, click on the Advanced tab, then click on the Settings button associated with Startup and Recovery.
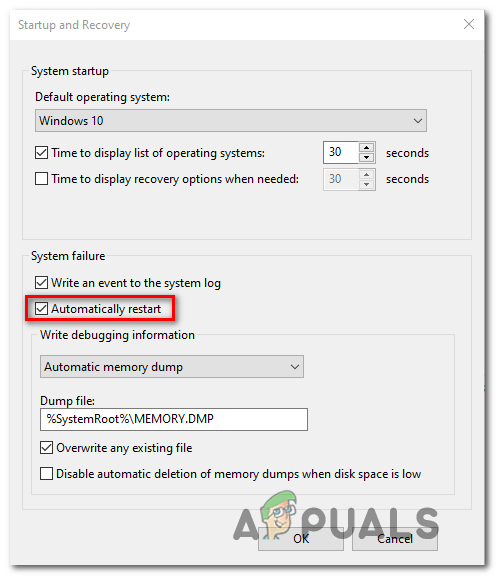
From the Startup and Recovery menu, go under System failure and uncheck the box associated with Automatically restart. Once you do so, click Ok to save the changes.
STEP 5: Converting the OS Partition to MBR
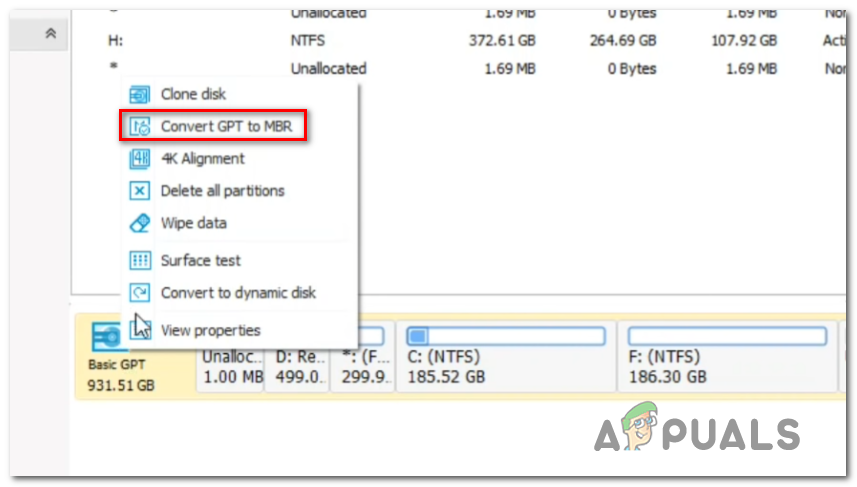
Open the Partition Master utility you previously installed and look for your partition in the bottom section of your screen. It should be named Disk0 unless you renamed it manually.
When you manage to identify the correct partition, right-click on it and choose Convert GPT to MBR from the newly appeared context menu.
After you initiate this procedure, you’ll see a warning popping up. It’s nothing to worry about, so just click Ok to add this operation to the queue of Partition Master.
After this job has been added to the queue of Partition Master, simply click on the Apply button (top-left corner of the screen) to start the operation. When asked to confirm again, click Yes to begin the process of migrating your partition to MBR.

STEP 6: Completing the MBR conversion operation
After you initiate this procedure, your PC will reboot abruptly. Don’t worry about it since this is absolutely normal. Don’t do anything that will cause an unexpected interruption until the operation is complete.
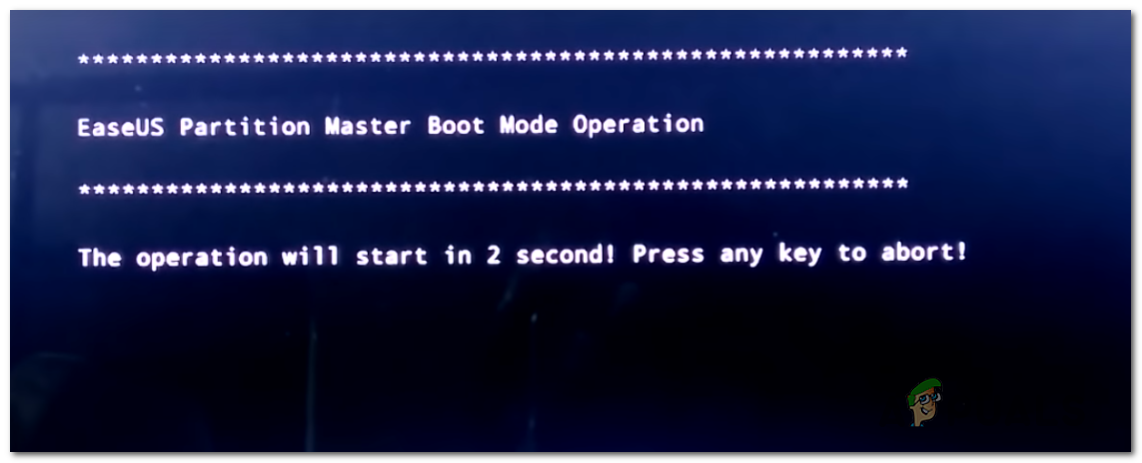
Note: Depending on your PC capabilities (particularly if you’re using a traditional HDD or a newer SSD), this operation might take a couple of minutes to complete, so wait patiently and don’t restart your PC even if appears that it got stuck. Doing so might cause data loss.
Once you see the success message, press Enter to allow your computer to boot conventionally.
STEP 7: Changing the Boot Mode to Legacy
As your PC is preparing to restart, start pressing the Setup key (BIOS key) as soon as you see the initial screen.
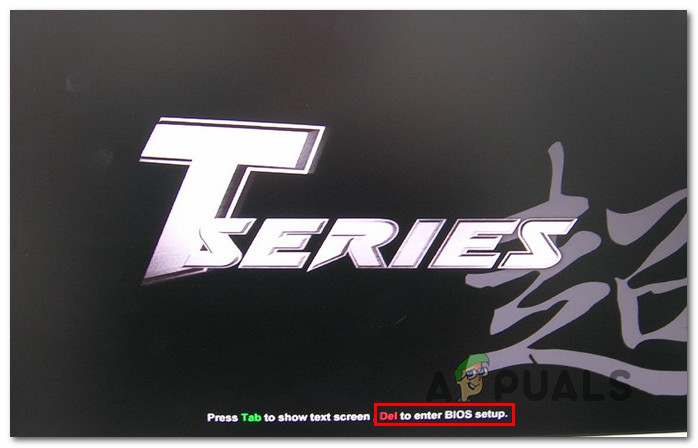
Note: This key will be different from manufacturer to manufacturers, but will typically be displayed on the initial screen. If that doesn’t’ happen, search online for specific steps on accessing the Setup Menu (BIOS Menu) on your motherboard model.
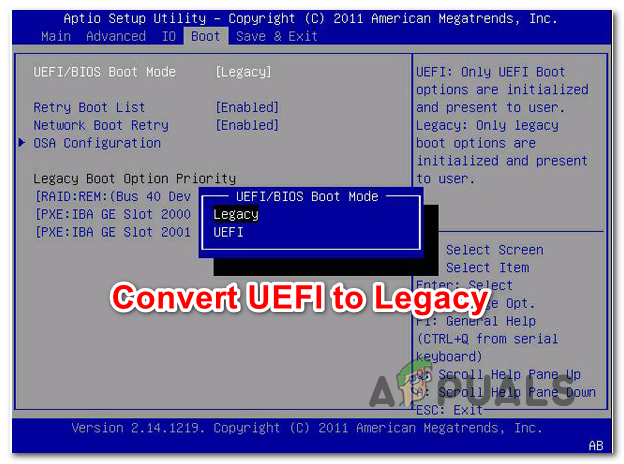
Once you’re finally inside your Setup Menu, access the Boot Menu and look for an option named Boot Mode (or similar). Once you see it, select it and press Enter to access the hidden menu, then select Legacy from the available options.
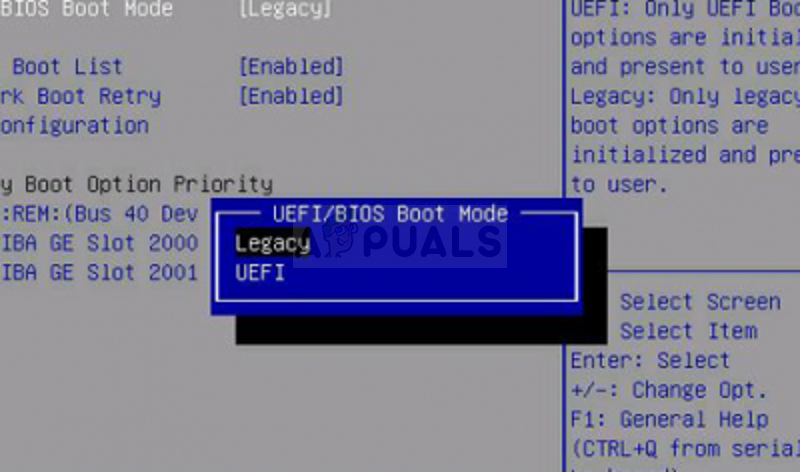
After you’ve done these modifications, ensure that you save the changes before exiting the Boot menu and allowing your computer to restart normally.
STEP 8: Completing the Operation
The next startup will take longer than usual and you should expect to see another success message at the end of it. Once this happens, you might finally get to the login screen where you’ll need to sign in with your account.
After this startup is complete, the operation is now complete. You can check to see if this operation was successful by opening the System Information tab (Windows key + R, then type ‘msinfo32’) and checking the BIOS Mode under System Summary. It will now show Legacy.
STEP 9: Cleaning Up
Now that the operation is complete and your Windows installation has been successfully converted to Legacy BIOS, there is one more thing you need to do.
To ensure that your computer remains as efficient as it was, you will need to re-enable Automatically Restart from the Startup and Recovery menu.
In order to do this, press Windows key + R once again, then type ‘sysdm.cpl’ inside the text box and press Enter to open up the System Properties menu.
From the insides of the System Properties screen, go ahead and click on the Advanced tab, then click on the Settings button associated with Startup and Recovery.
Inside the Startup & Recovery menu, check the box associated with Automatically Restart, then click Ok to save the changes.
That’s it! If you have followed the instructions above to the letter, you have successfully migrated your UEFI BIOS to Legacy.