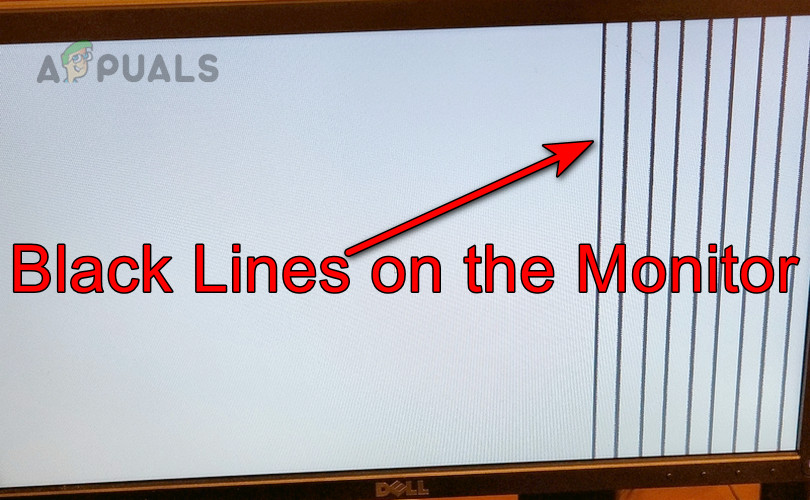
How to Troubleshoot and Fix Black Lines on Your Monitor?
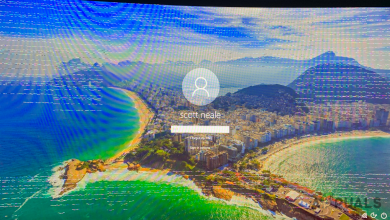
Monitors can display black lines for a variety of reasons, which can range from temperature issues to hardware failure. These lines may appear on any part of the screen and can either remain static or fluctuate. In a multi-monitor setup, the lines may manifest on one or all connected screens. Additionally, the lines can vary in thickness and orientation, presenting as horizontal or vertical streaks.
Basic Troubleshooting
- Perform a cold restart of the system and monitor.
- Update the system’s OS and drivers.
- Try using an alternative display cable or port.
Distinguish if the Issue Is with the Monitor or System
Begin by booting the system into BIOS to check if the lines appear. If present, the monitor likely has an issue, and you should proceed with monitor-specific solutions.
If the black lines are not visible in BIOS, the problem may be with the system; you would then follow system-specific solutions.
Another way to diagnose the problem is to connect the monitor to a different system. Additionally, you could boot the system using a bootable USB drive with another OS to check if the lines disappear.
Monitor-Specific Solutions
1. Use the Monitor’s Auto-Adjust Feature
A mismatch between the incoming video signal and the monitor’s native display output can cause black lines to appear. Using the monitor’s auto-adjust feature may rectify the issue.
- Access the monitor’s menu and select the Auto Adjust feature. Depending on the model, you might need to use the physical buttons or the touch functionality of the monitor to do this.
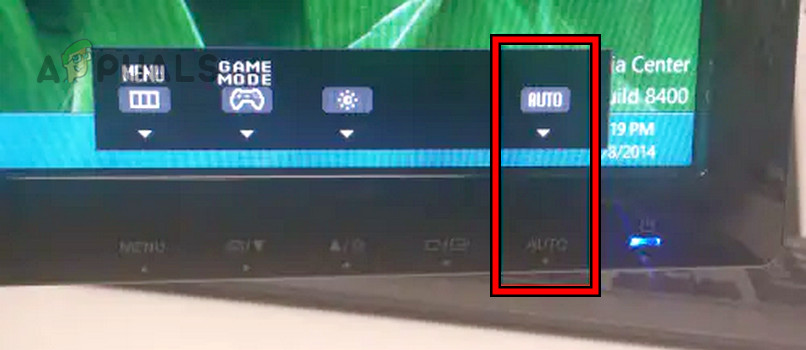
Auto Adjust Monitor’s Output - Activate the feature and check if the problem resolves. For certain monitors, it may be necessary to hold the auto-adjust button down to initiate the adjustment process.
2. Check the Monitor’s Temperature
Electronic devices, including monitors, can malfunction at extreme temperatures. If your monitor is too hot or too cold, it might display black lines on the screen. Adjusting the monitor to a more appropriate temperature can solve this issue.
- If the environment is hot or humid, relocate the monitor to a cool area, preferably air-conditioned. Give the monitor time to adjust to the ambient temperature.
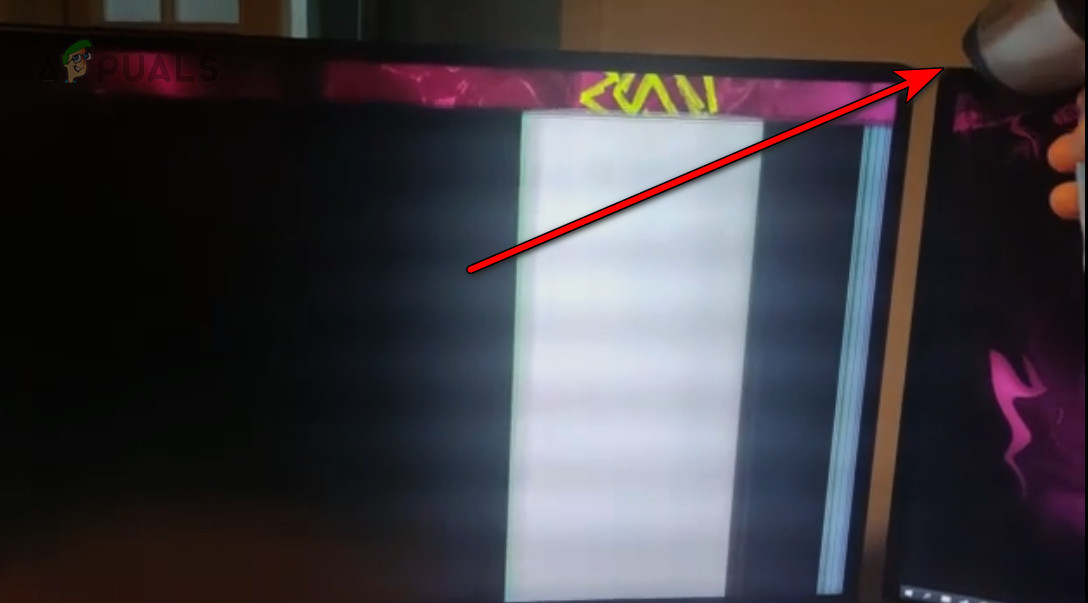
Use a Hair Dryer to Warm Up the Monitor - If the monitor is too cold, move it to a warm place and observe if the issue resolves. An air dryer may be used to assist in warming up the monitor.
3. Connect the Monitor to Another Power Source
Fluctuations in the electricity being supplied to the monitor can trigger anomalies like black lines on the display. Switching to a different power source may fix this issue.
- Power off the system and monitor.
- Unplug the monitor from its current power source and connect it to a different outlet.
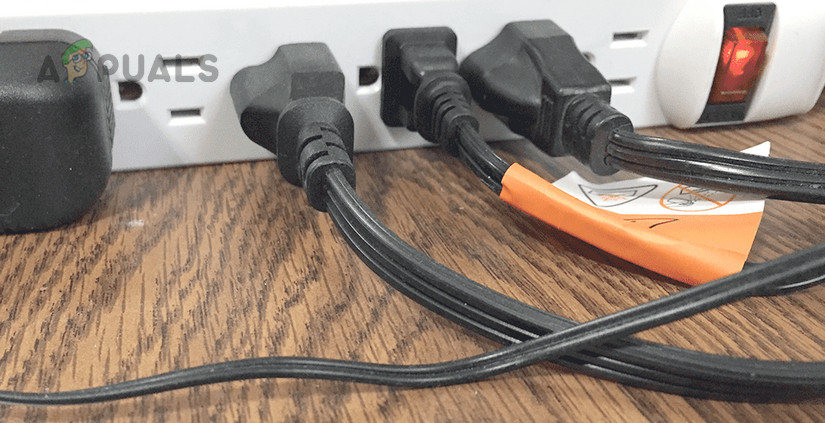
Connect the Monitor to Another Power Source - Avoid using extension cables or surge protectors initially to see if the problem is resolved.
- If the issue persists, try connecting the monitor with a surge protector to see if that eliminates the black lines.
4. Check for Electromagnetic Interference Around the Monitor
Electromagnetic interference from nearby devices such as cell phones, Wi-Fi routers, or other electronic appliances can create black lines on a monitor. Eliminating these sources of interference may clear the problem.
- Power off the monitor and detach its power cord.
- Turn off mobile phones and routers.
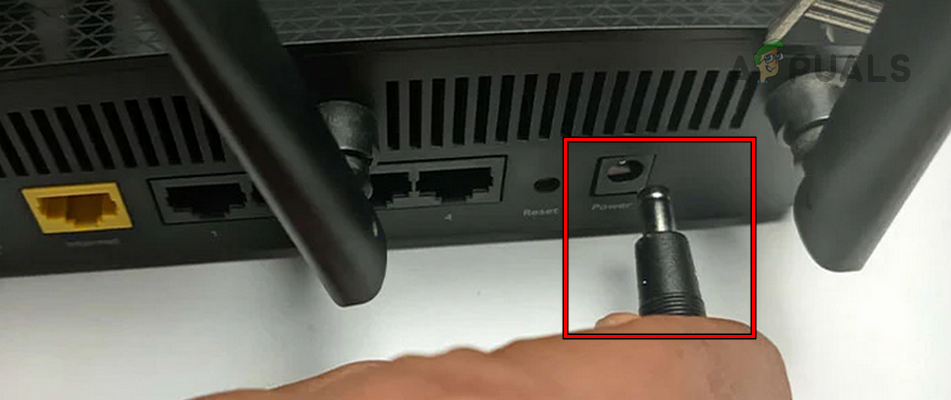
Unplug the Power Cable of the Router - Activate Airplane Mode on your computer or laptop.
- Shut down all other electrical or electronic devices in the vicinity, or relocate them to another space.
- Hold down the monitor’s power button for a minute, replug the power cable, and switch the monitor back on. Check to see if the screen is now free of black lines.
5. Reset the Monitor
Black lines may appear on a monitor if its firmware becomes corrupted. Resetting the monitor to its default factory settings often addresses this problem.
Note: The steps to factory reset a monitor can vary by model and manufacturer. Consult the user manual or the support website for the specific monitor for accurate instructions.
- Navigate to your monitor’s menu and select the Factory Reset function.
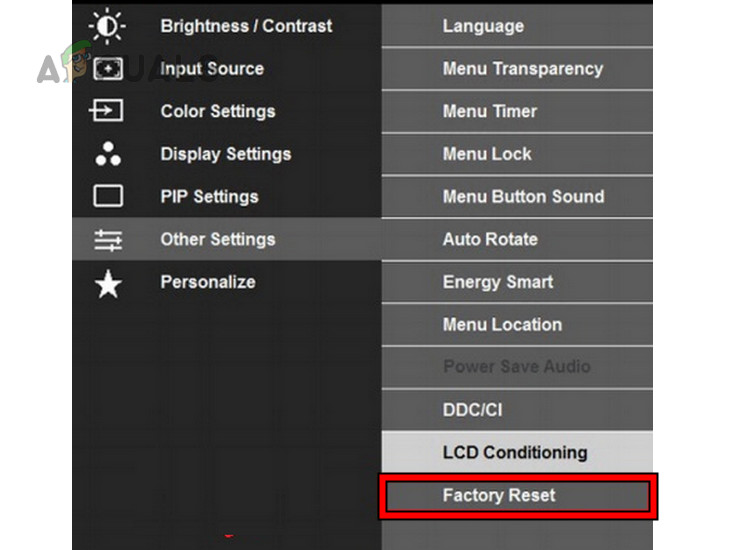
Factory Reset the Monitor - Choose this option and confirm your selection to initiate the reset process.
- After resetting, restart the monitor and verify if the black lines have been eliminated.
6. Check for a Loose Connection on the Monitor’s Motherboard
Loose connections on a monitor’s motherboard can cause black lines to appear on the display, often occurring after the monitor has been moved. Inspecting and securing any loose connections may resolve the issue.
- Power off the monitor and unplug all cables from it.
- Press the power button for a minute, ensuring that you follow proper ESD protection protocols.
- Place the monitor on a flat, soft surface to prevent scratching the screen.
- Remove the screws from the back of the monitor and carefully take off the back cover.
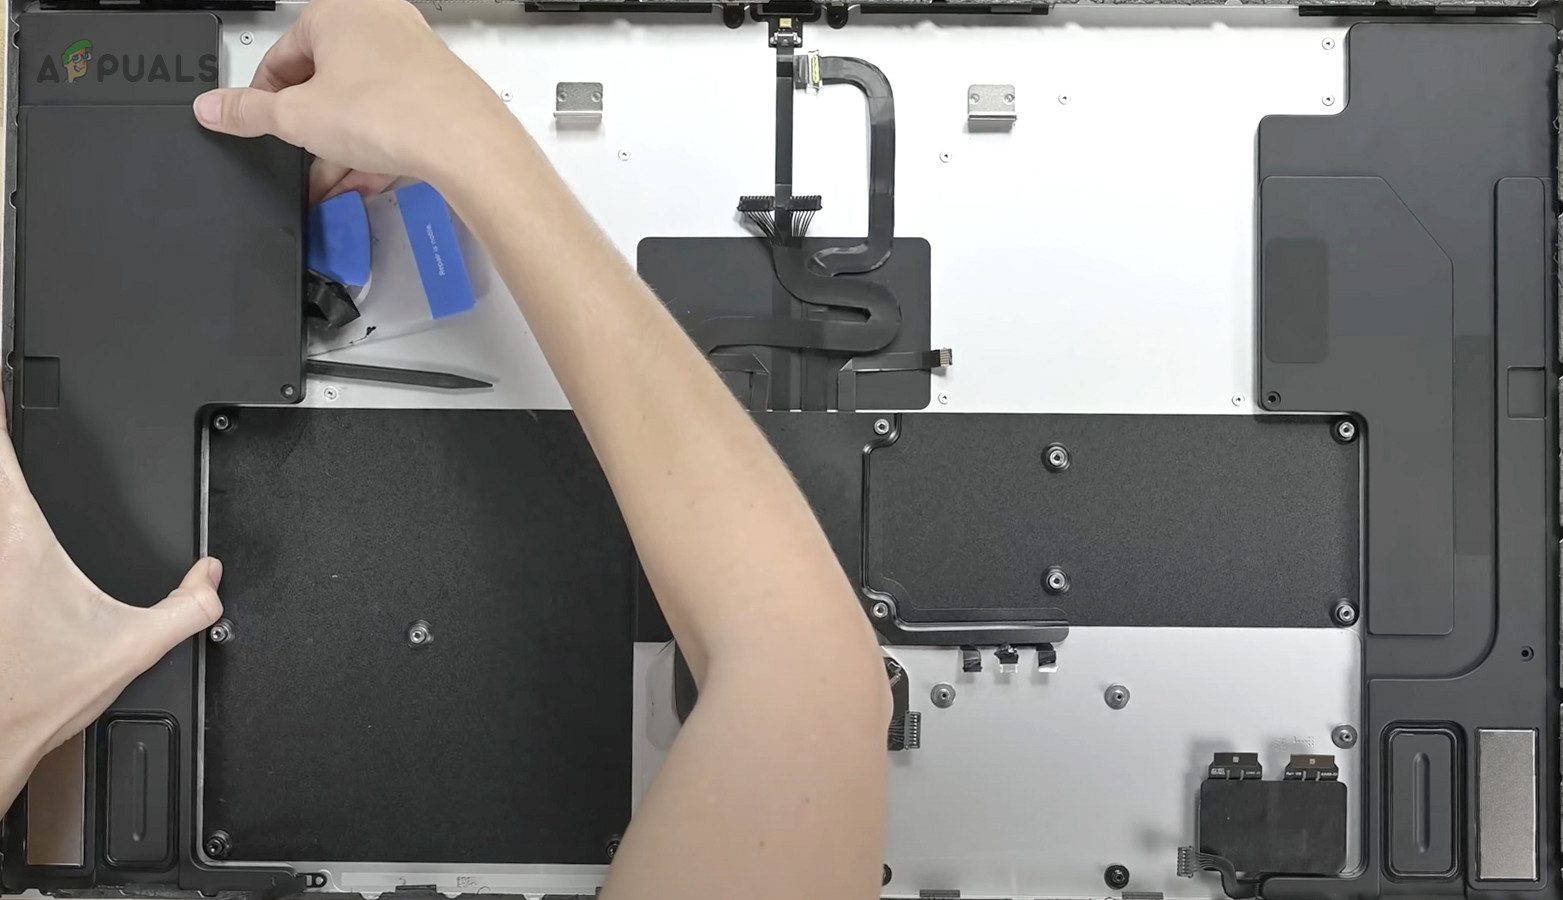
Clean and Reseat Internal Components of the Monitor - Clean the internal components and the board if necessary.
- Reseat all cables and look for any evident physical damage, such as a blown capacitor.
- Reassemble the monitor, replacing the back cover and securely fastening the screws.
- Reconnect the monitor to the system, power it on, and check if the black lines have disappeared.
System-Specific Solutions
1. Change the System’s Refresh Rate
If black lines appear because the monitor does not support the system’s current refresh rate, adjusting the refresh rate may solve the problem.
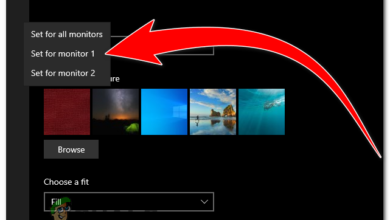
- Right-click on the desktop and navigate to Settings > System > Display > Advanced Display settings.
- Set the Refresh Rate to the lowest possible value to see if the lines disappear. You can test different refresh rates to determine which one resolves the issue.
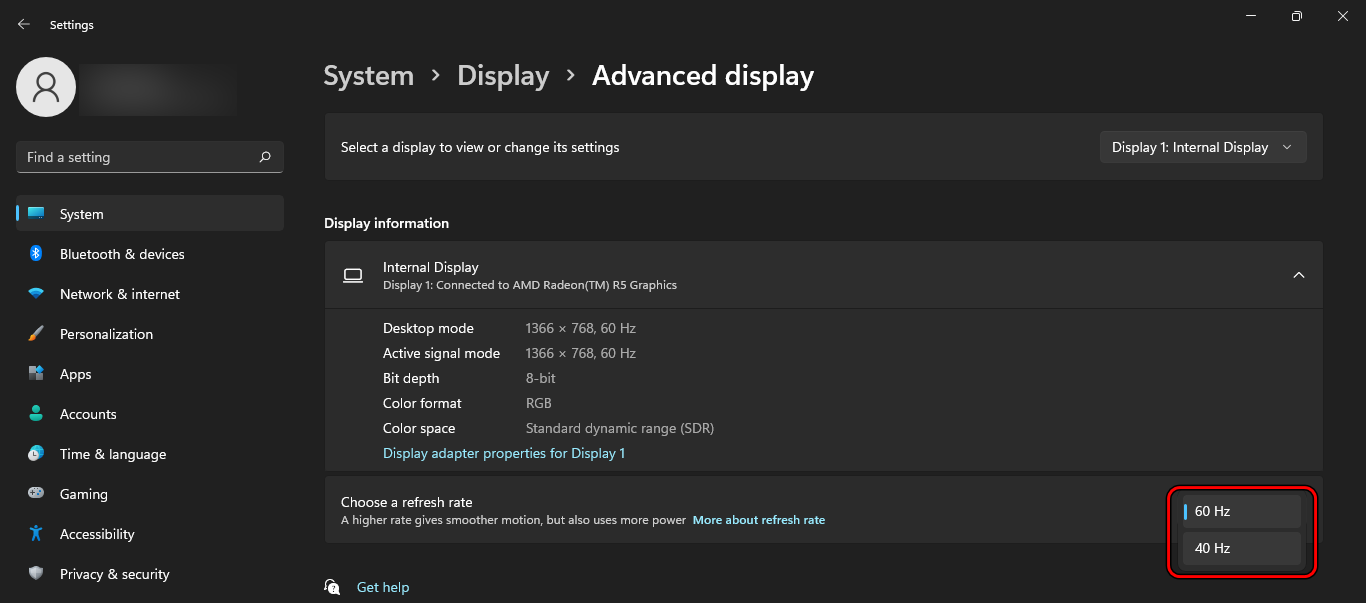
Lower the Refresh Rate of Your Display
2. Disable HDR in the System Settings (if applicable)
Problems with High Dynamic Range (HDR) processing or incompatibility with the monitor’s capabilities can cause black lines. Deactivating HDR in the system settings may correct this issue.
- Navigate to Settings > System > Display > HDR.
- Turn off Use HDR and check if the black lines no longer appear.
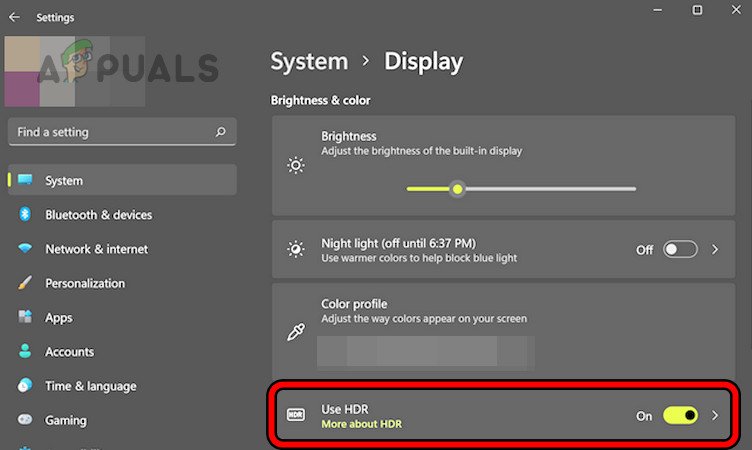
Disable HDR on Windows 11
3. Disable V-sync in the System Settings (if applicable)
When a monitor is not correctly synchronizing with the system’s variable frame rate output, it may display black lines. This can be due to V-Sync or similar technologies that alter the frame or refresh rate. Turning off these features could remove the lines.
- Launch the Nvidia Control Panel and select Manage 3D Settings.
- Toggle the Vertical Sync setting to off and apply the changes.
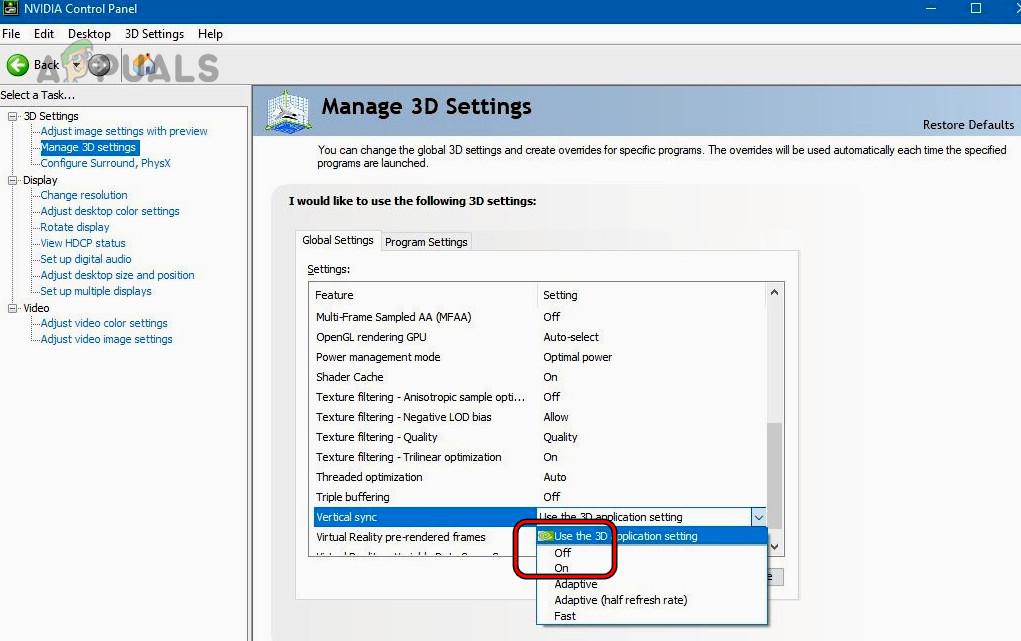
Disable V-Sync in the Nvidia Control Panel - Restart your system and check if the black lines have been removed from the display.
4. Check for a Conflicting App on the System
Occasionally, certain applications may conflict with a system’s display modules, causing black lines on the monitor. Identifying and disabling or removing the conflicting app may resolve the issue.
- Start your PC in safe mode and determine whether the lines are still present.
- If not, clean boot your PC and verify if the issue is rectified.
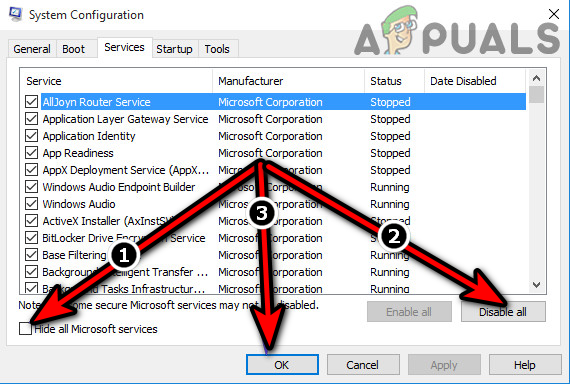
Clean Boot the Windows 10 PC - If the lines are gone, re-enable the services and processes one at a time to isolate which one is causing the issue.
After identifying the problematic app, uninstall it or prevent it from starting with the system. For example, if the Snip app or Snipping Tool on Windows is responsible, removing it should fix the issue.
- Right-click on the Start button and navigate to Apps & Features.
- Find the Snipping Tool and click on its options.
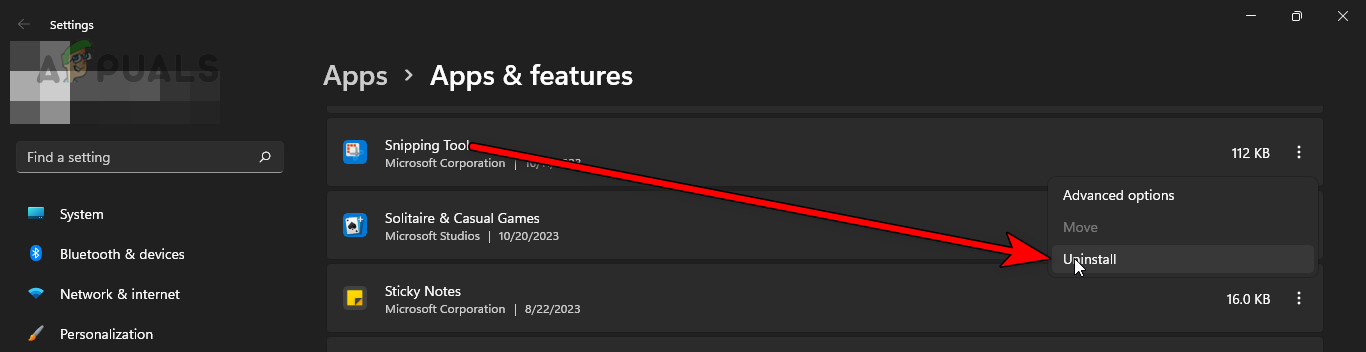
Uninstall Snipping Tool on Windows - Select Uninstall, confirm the action, and follow the prompts to remove the app.
- Restart your system and check if the display is functioning normally.
5. Reinstall the System’s Graphics Driver
A compromised graphics driver installation can lead to issues like black lines on a monitor. Reinstalling the graphics driver may resolve this.
- Download the most recent graphics driver from the hardware manufacturer’s website.
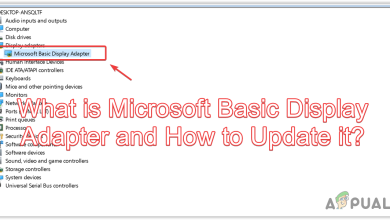
- Right-click on the Start button and select Device Manager.
- Expand Display Adapters, right-click on your graphics device, and select Uninstall Device.
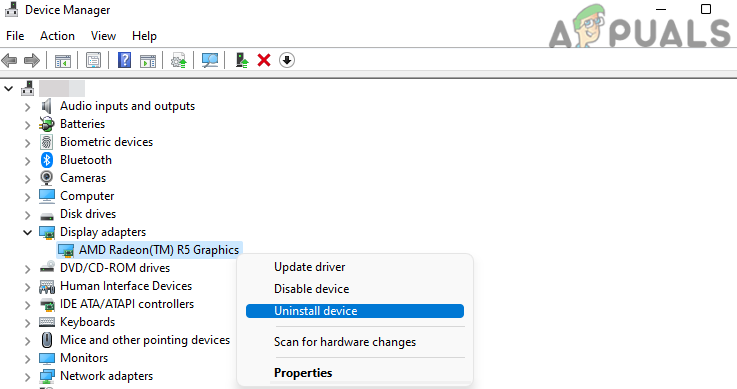
Uninstall the Graphics Driver in the Device Manager - Tick the box for Delete the driver software for this device if available, and then click Uninstall.
- Once the uninstallation is complete, restart the system.
- Install the previously downloaded graphics driver and restart the system again to confirm if the issue has been resolved.
- Should the problem persist, use a software like Display Driver Uninstaller (DDU) to remove the driver completely, and then install the most recent driver. Check if the black lines are no longer appearing.
Further Troubleshooting
If none of the aforementioned solutions resolve the issue and it appears to be related to the monitor, reach out to the monitor’s manufacturer for hardware-specific troubleshooting advice.
If the problem is specific to the system, consider performing a factory reset or reinstalling the operating system.