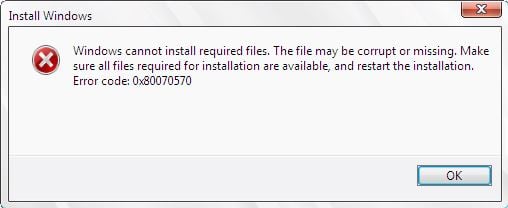
Fix: Windows Cannot Install Required Files Error 0x80070570
Error 0x80070570 usually occurs when you are installing Windows 7. There are numerous suggestions all over the internet for resolving this issue, some of which are quite time-consuming, such as running Memtest, which takes a couple of hours. Don’t worry if you don’t know what Memtest is; we’ll come to it. In this guide, I’ll start with the easiest methods. Begin with Method 1 and continue until you find the one that works for you.
Method 1: Retry Installation (0x80070570)
While the installation is in progress, and you encounter the error “0x80070570,” press OK and return to the previous screen. Restart the installation process and redo it without restarting the system. Attempt this method 3-4 times, as it has worked for some users. If the error does not reappear, you can stop at this method.
Method 2: Remove Your RAM.
If you have only one memory stick, then proceed to Method 3. However, if you have more than one, try removing each one individually. For example, if you have 4 DDR2 sticks, remove 1, then test, remove the next one and test, and continue this process until it works. If none of them work, replace all of them and proceed to Method 3. If it works, the stick that was removed when it worked is likely faulty. However, you must always have a 2GB stick installed at all times. If you have 1GB sticks, test with 2 installed – the aim here is to find the faulty RAM, if there is any.
Method 3: Memory Test.
Now, run https://www.memtest.org/ – From their site, you can find a bootable precompiled ISO. You can simply download and boot from it by writing it to a USB drive or a CD drive. You will need to change your boot order.
When you run Memtest, here’s what the screen will show: if the test fails, you will be shown a message on screen.
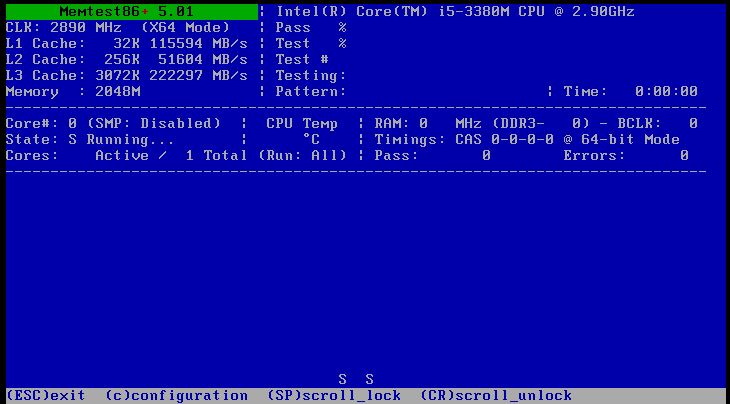
If it reports a fault with the memory, then the one stick you’ve been using is faulty and needs to be replaced. If it doesn’t, then proceed to Method #4.
Method 4: Rewrite ISO.
Download the Windows 7 ISO file on a different computer and write it to a USB drive. I have an article written on this topic, explaining how to do it – ‘Create a Bootable Windows 7 USB‘. Once this is done, you can boot from the USB and attempt to install it.
Method 5: Account Creation Using Command Prompt
When you are prompted by the error, perform the steps provided below.
- Hold SHIFT and press F10 (SHIFT + F10) to open the Command Prompt
- Type “CD C:\windows\system32\oobe” and press Enter. (If you are already in “C:\windows\system32” or if an error occurs, type “CD oobe” only.)
- Type “msoobe” and press Enter.
Now, a Windows account creation wizard should be open in front of you. Follow the on-screen instructions to create a generic user account and then reboot the system. This should solve the error.
Method 6: Using the MMC.
- Hold SHIFT and press F10 (SHIFT + F10) to open the Command Prompt.
- Type MMC.
- Click “File,” and then select “Add/Remove Snap-in…
- Click on Computer Management.
- Click “Add.
- Click on the local computer.
- Click “Finish,” and then press “OK.
- Click on Computer Management.
- Select System Tools.
- Select local users and groups.
- Select users.
- Double click Administrator
- Uncheck “Account is disabled” and select “OK.
- Right-click “Administrator” and select “Set Password…”.
- Choose a password that you desire.
Now restart your computer and it should solve the problem.
Method 7: Using the Up and Down Keys
A quick solution for this is to use the up and down keys. When you see the first black screen during the restart of your PC, start pressing the up and down arrow keys on your keyboard.
This doesn’t always work, but it is known to solve the issue for a considerable number of users, so it’s worth a try.
Method 8: Activating Default Administrator Account
If the above methods didn’t solve your problem, or if you can’t see the “Local Users and Groups” option in method 2, then this should solve the problem. The “Local Users and Groups” option isn’t available on some versions of Windows, especially the Windows 7 Home version.
So the steps given below are an alternative way to activate the default administrator account
- Hold SHIFT and press F10 (SHIFT + F10) to open the Command Prompt.
- Type “net user administrator /active:yes” and press Enter.
- Type net user administrator [password] /active:yes and press Enter. (Note: Replace “password” with the actual password that you want to set for the default Administrator account.) (Not sure about this step; please check before posting.)
- Restart your computer