How to Fix “Bddci.sys” Blue Screen Error on Windows
The bddci.sys Blue Screen errors mainly concern the .sys files. These files are system files that are used by Microsoft DOS and Windows operating systems and contain system settings and variables, in addition to functions that run the system. In Windows, .sys files are commonly used to store device drivers.

If you are experiencing a blue screen while using your PC, then you are likely experiencing hardware failure, outdated firmware, corrupt drivers, or other software-related issues (for instance, after installing the latest BitDefender updates).
In this guide, we will walk you through several methods of resolving the issue at hand in detail. Let’s get right into it!
Use System Restore
System restore points are images of the configuration and settings in the Windows Registry that help restore the system to a prior time when it was operating smoothly. Before making any changes to the system settings or installing or uninstalling critical programs, Windows 10 automatically creates a restore point.
Creating restore points manually is also an option, but since Windows 10 does that for you, you are unlikely to need to do it often.
A good solution to resolve bddci.sys Blue Screen error is to use the system restore feature and restore your operating system to a previous state.
If this does not work for you, proceed with the next method below.
Uninstall BitDefender Antivirus (If Applicable)
In several cases, it has been discovered that the error hand is being faced by the latest updates of the BitDefender antivirus program. Most users were able to fix the issue by uninstalling the program, which is why we encourage you to give it a shot if you are using BitDefender as well.
Here is how you can do that:
- Press Windows + I keys simultaneously on your PC to open Windows Settings.
- In the Settings window, select Apps and then head over to App & features.
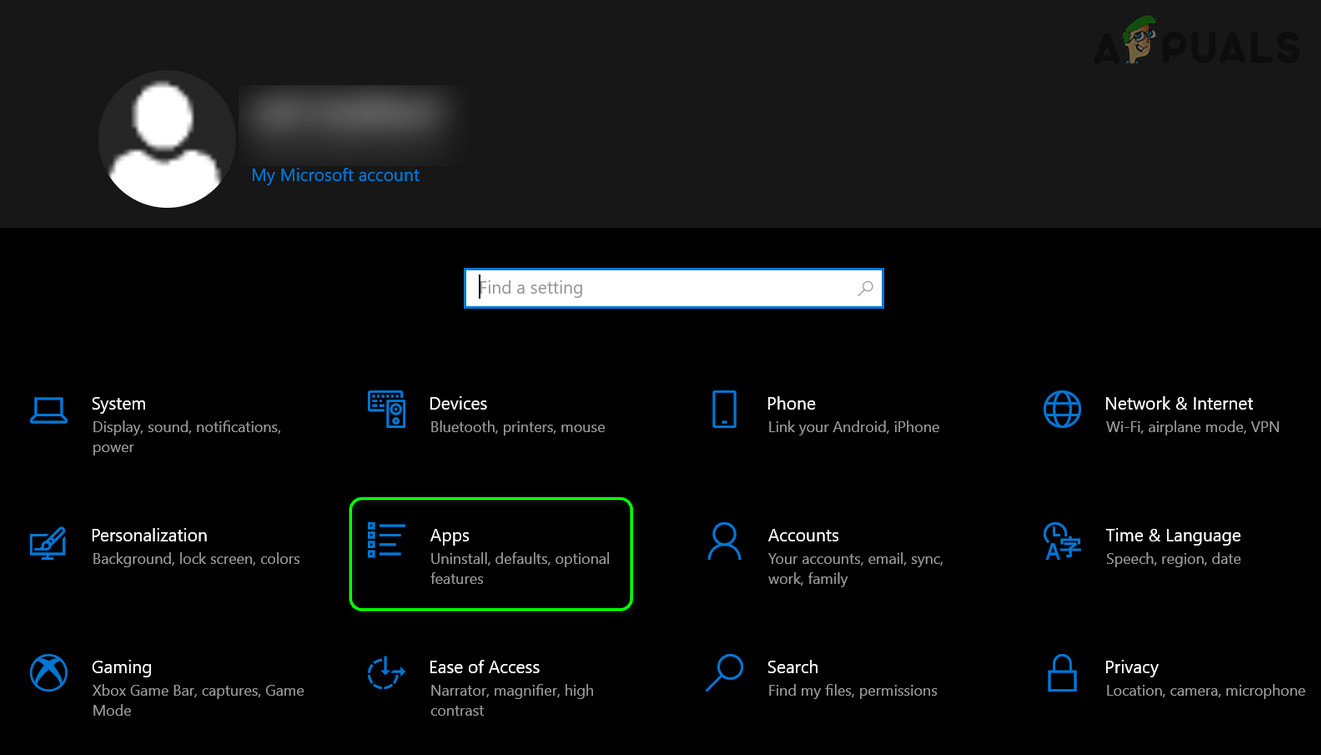
Open Apps in the Windows Settings - Now locate BitDefender in the right pane and click on it.
- Hit Uninstall and follow the on-screen instructions to proceed.
- Once the program is successfully uninstalled, restart your PC and check if the bddci.sys Blue Screen is resolved.
Rename the Sys File
Alternatively, if you don’t currently use BitDefender but did so in the past, then there is a possibility that you are experiencing the issue due to leftovers of that software on your system.
In this case, renaming the bddci.sys file should resolve the issue for you. Renaming the file will prevent it from loading unnecessarily during startup, thus eliminating the conflict in the process.
Here is what you need to do:
- Launch File Explorer and click on This PC.
- Access the (C:) drive and head over to the Windows folder.
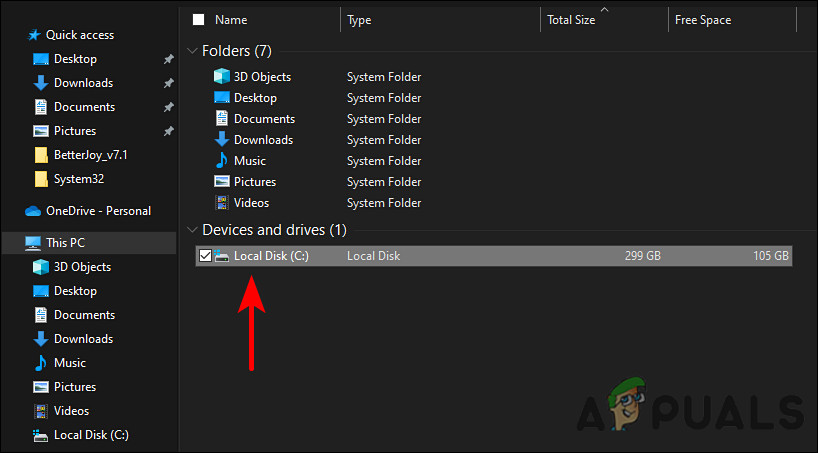
Launch the C drive - Click on Windows > System32 and then select drivers.
- Now right-click on bddci.sys and select Rename from the context menu.
- Rename this file as bddci.old.
- Once done, restart your PC and check if the issue is resolved.
You can also try renaming the bddci.sys file present in C:\Program Files\Bitdefender Antivirus Free\web\ folder. Most often, this is the location when BitDefender is installed on your system.
Uninstall Windows Update
Did the problem begin after you installed a recent Windows update? If that is the case, then the Windows update was corrupt and instead of benefitting the system, it may have caused errors like the bddci.sys Blue Screen issue.
If this scenario applies to you, follow the steps mentioned below:
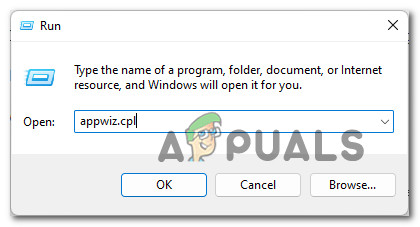
- Open a Run dialog box by pressing Windows + R keys simultaneously on your PC.
- In the text field of the dialog box, type appwiz.cpl and hit Enter to launch the Programs & features window.
Access the uninstallation utility - Click on View installed updates and then scroll down to the Microsoft Windows section.
- Right-click on the faulty update and select Uninstall.
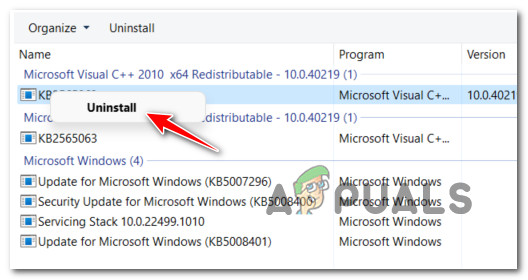
Uninstall the KB5007247 update - Click Yes in the confirmation prompt and then check if the issue is resolved.
Run SFC and DISM Scans
Issues like bddci.sys Blue Screen can also be caused by some kind of system file corruption.
In most conventional cases of system file corruption, you should be able to resolve the problem by using two standard Windows utilities – SFC (System File Checker) and DISM (Deployment Image Servicing and Management).
The SFC tool retrieves a locally cached archive of system files and replaces each corrupted file with its healthy counterpart. You do not need to connect to the Internet to use System File Checker. The DISM, however, does not work without stable Internet access, since WU is used to replace corrupt files with healthy ones.
Here is all that you need to do:
- Type cmd in the search area of your taskbar and click on Run as administrator to launch Command Prompt with administrative privileges.
- Inside the Command Prompt window, type the command mentioned below and hit Enter.
sfc /scannow
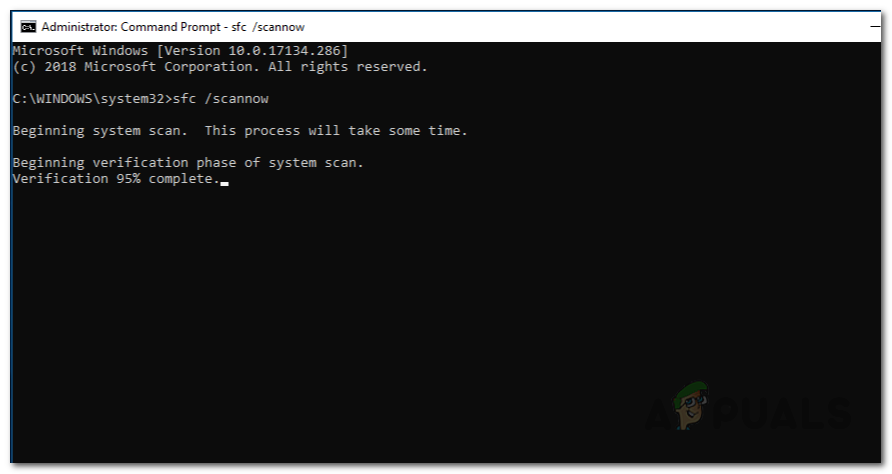
Performing SFC Scan - From the same elevated CMD window, do a DISM scan after the SFC scan (regardless of the results).
DISM /Online /Cleanup-Image /RestoreHealth
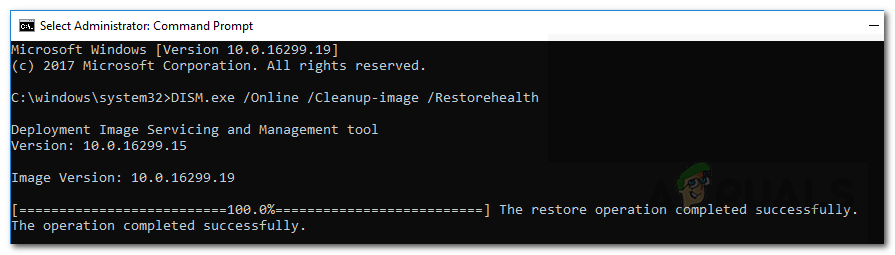
Repairing Corrupted System Components - Finally, restart your PC and upon reboot, check if bddci sys Blue Screen error is resolved.
Delete Bddci.sys File
Another way to resolve the bddci.sys Blue Screen is by deleting the bddci.sys file. To do so, we will be using Command Prompt in Windows Recovery Environment. Typically installed in a separate partition, Windows 10 Recovery Environment (WinRE) can help troubleshoot, recover, and boot from external media.
Follow these steps to do so:
- Click on the Windows icon on your taskbar and select the power icon.
- Now click on Restart while holding the Shift key.
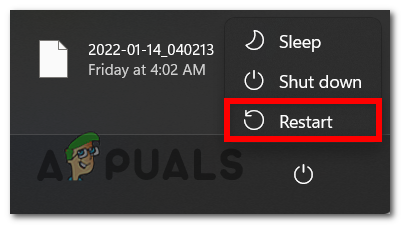
Restarting the PC - Then click Troubleshoot and select Advanced Options.
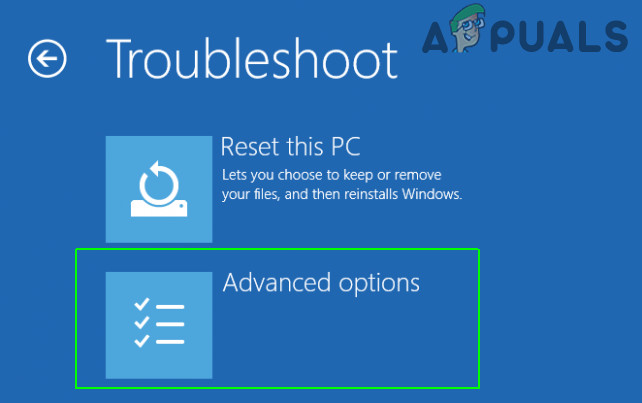
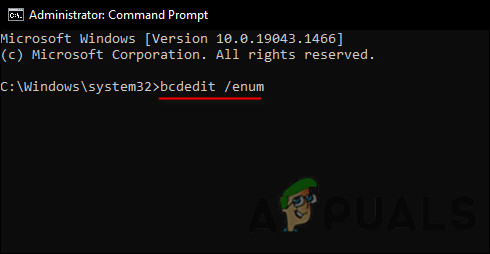
Opening up the Advanced Options menu - Now select Command Prompt and inside the Command Promot window, type the command mentioned below. Hit Enter to execute it. Doing so will show you your Windows partition.
bcdedit /enum
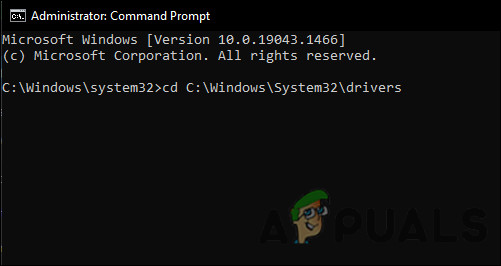
Execute the bcdedit /enum command - Then, run the following command to access the System32 drivers folder.
cd C:\Windows\System32\drivers
Launch the drivers folder - Now, execute the following command to delete the file.
del bddci.sys

Delete the bddci.sys file - You can verify that the file has been successfully deleted by running the following command:
dir bd*.*You may now exit the Windows Recovery Environment. Hopefully, this will resolve the bddci.sys Blue Screen issue once and for all.


