Fix: 100% Disk Usage by System and Compressed Memory in Windows
High disk usage by the System and Compressed Memory process is often due to paging file misconfigurations, memory leaks in third-party software, or the Superfetch service in Windows.
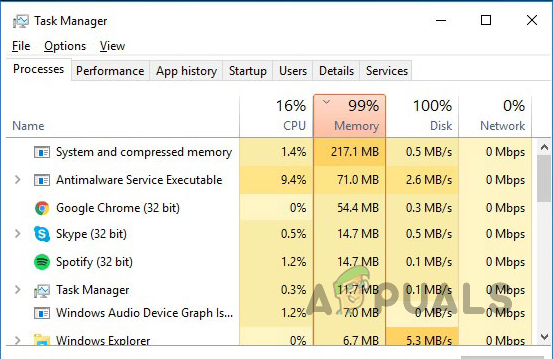
This process aims to compress the total size and usage of RAM and disk space on your computer. However, it may not perform effectively if there is an inconsistency with the related software.
Use the solutions in this article to resolve the 100% disk usage issue with the System and Compressed Memory process.
1. Reset Paging File Settings
Begin by resetting your computer’s paging file configuration. Incorrect settings can cause the System and Compressed Memory process to consume excessive disk resources.
- Open the Start Menu and search for Advanced System Settings, then open it.
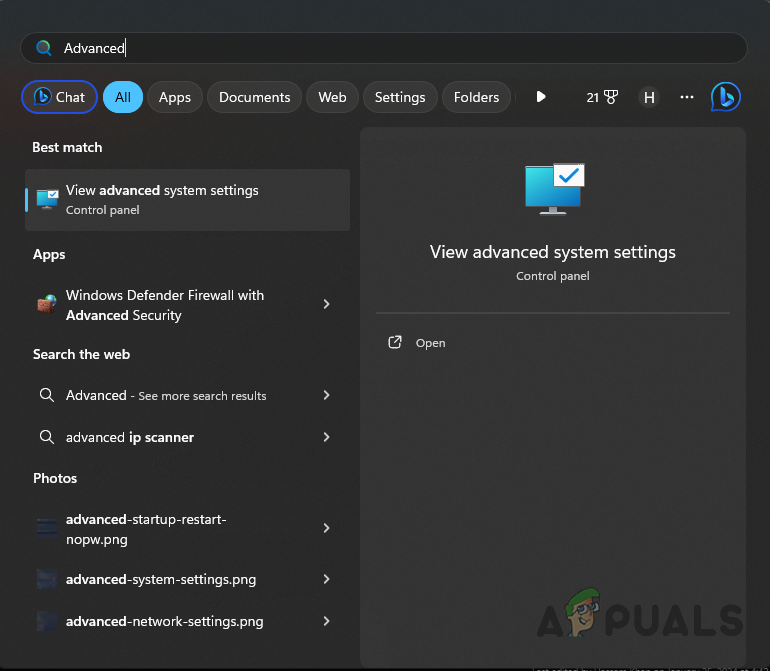
Opening Advanced System Settings - Click on the Settings button in the Performance section.
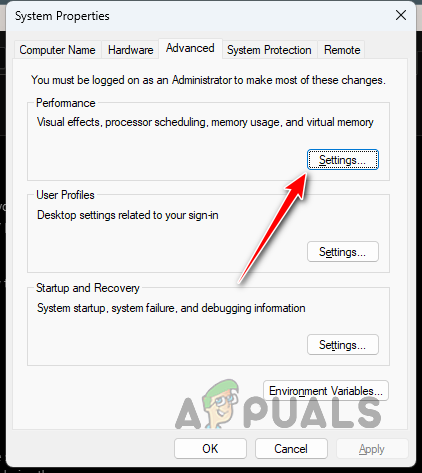
Navigating to Performance Settings - Switch to the Advanced tab and select Change.
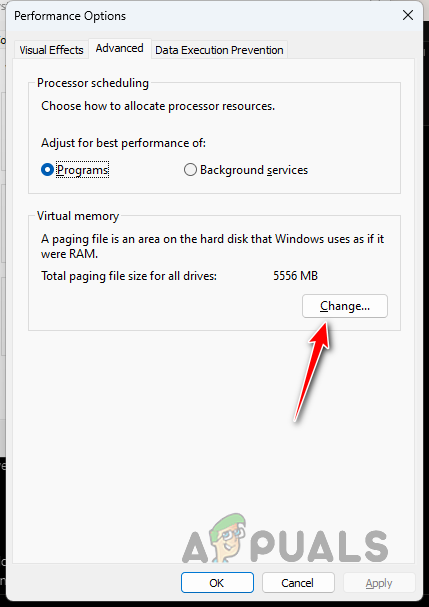
Navigating to Virtual Memory Settings - Check the box for Automatically manage paging file size for all drives.

Automatically Manage Paging - Click OK and restart your computer.
- Check if the problem has been resolved.
Note: If the automatic configuration was already selected, try setting a custom size for the paging file. Aim for a size between 1.5 to 3 times your RAM’s capacity to determine the appropriate minimum and maximum sizes for your PC.
2. Adjust Windows for Best Performance
High disk usage by the System and Compressed Memory process can also result from Windows’ visual effects when they are not properly compressed in the background.
You can decrease these visual effects by adjusting Windows for best performance.
- Open the Start Menu and search for Advanced System Settings, then open it.
Opening Advanced System Settings - Select the Settings button for the Performance section.
Navigating to Performance Settings - On the Visual Effects tab, choose Adjust for best performance.
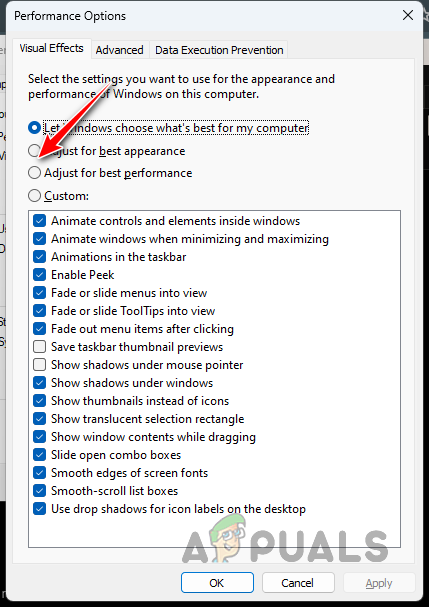
Adjusting Visual Effects for Best Performance - Click Apply and then click OK.
- Determine if the issue persists.
3. Run SFC Scan
Corruption or damage to Windows components can cause the process to consume excessive disk resources. Running a system scan can help verify the integrity of Windows system files.
This can be achieved using the System File Checker (SFC) and Deployment Image Servicing and Management (DISM) utilities.
- Open the Start Menu and search for Command Prompt.
- Select Run as Administrator.
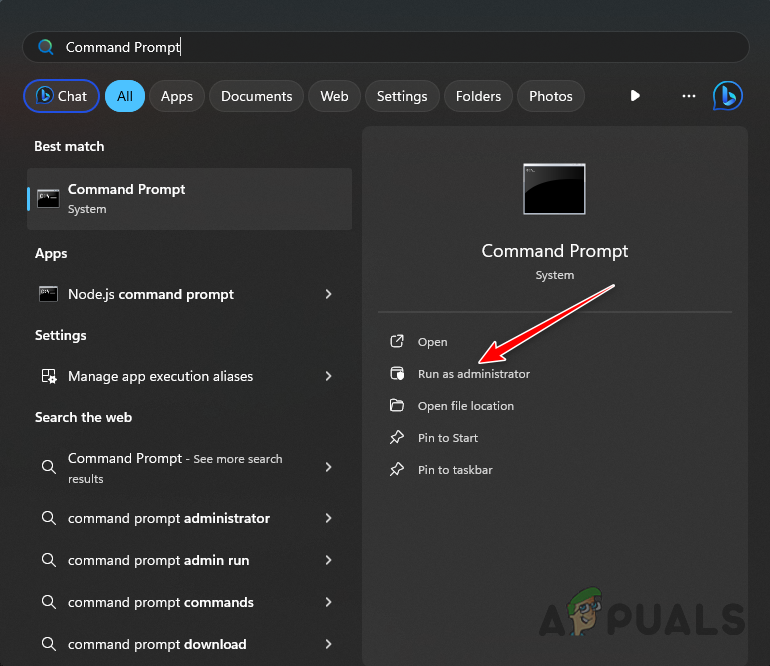
Opening Command Prompt as Admin - Type the following command and press Enter:
sfc /scannow
- Wait for the completion of the scan.
- Type the following command and press Enter:
DISM /Online /Cleanup-Image /RestoreHealth
- Wait for the process to complete.
- Restart your PC and check if the problem has been resolved.
4. Check Drive Health
Sometimes, high disk usage issues stem from the health of your drive. A failing or deteriorated drive may hinder system processes.
To check your drive’s health, use tools like Hard Disk Sentinel, which can be downloaded from the official source here. Install and run the utility to get a status report on your drive.
5. Disable Superfetch
Superfetch improves startup times for frequently used applications by preloading them into memory. However, issues with Superfetch may impede the System and Compressed Memory process, leading to high disk usage.
Disable the Superfetch (SysMain) service in Windows by following these instructions, but note this may affect app load times:
- Open the Run dialog by pressing Win key + R.
- Type services.msc and press Enter.
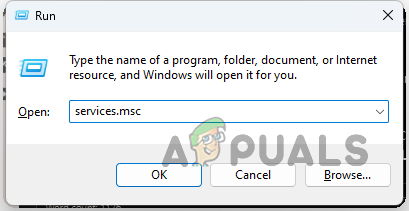
Opening Services Window - Locate the SysMain service in the Services window.
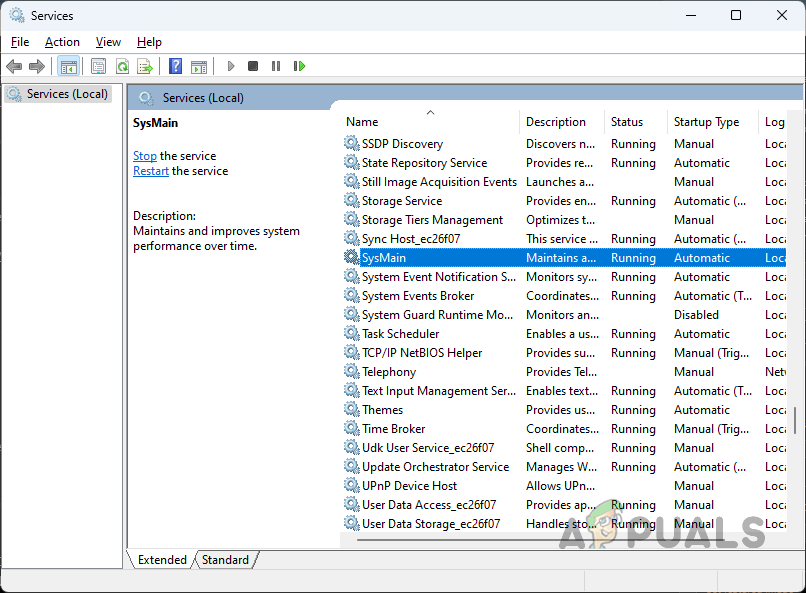
SysMain Service - Right-click on the service and select Properties.
- Set the Startup type to Disabled, and click Stop if the service is active.

Changing SysMain Startup Type to Disabled - Click Apply and OK.
- Confirm if the issue persists.
6. Disable Memory Diagnostic
Disabling the memory diagnostic service, which can address memory issues, may also solve high disk usage problems.
- Open the Start Menu and search for Task Scheduler. Choose Run as administrator.
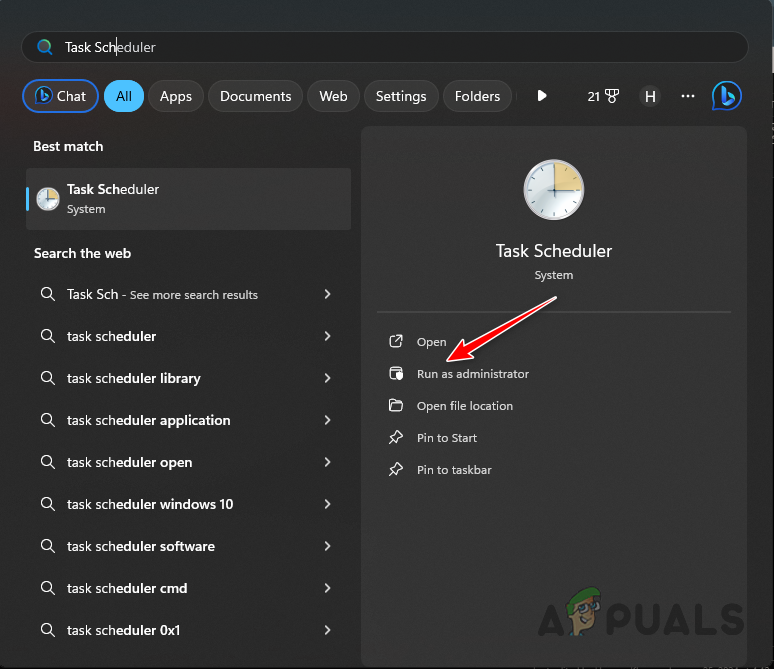
Running Task Scheduler as Admin - Navigate to Task Scheduler Library > Microsoft > Windows > MemoryDiagnostic.
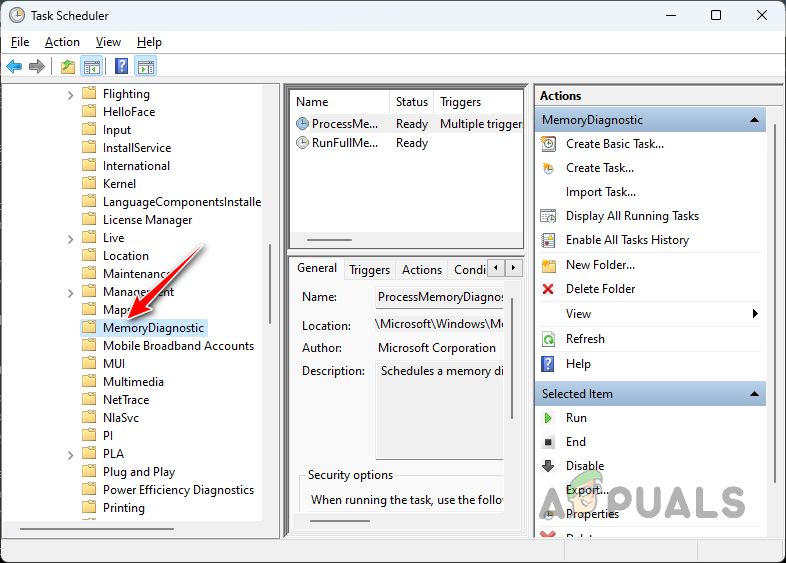
Navigating to MemoryDiagnostic - Select the RunFullMemoryDiagnostic entry and click Disable on the right.
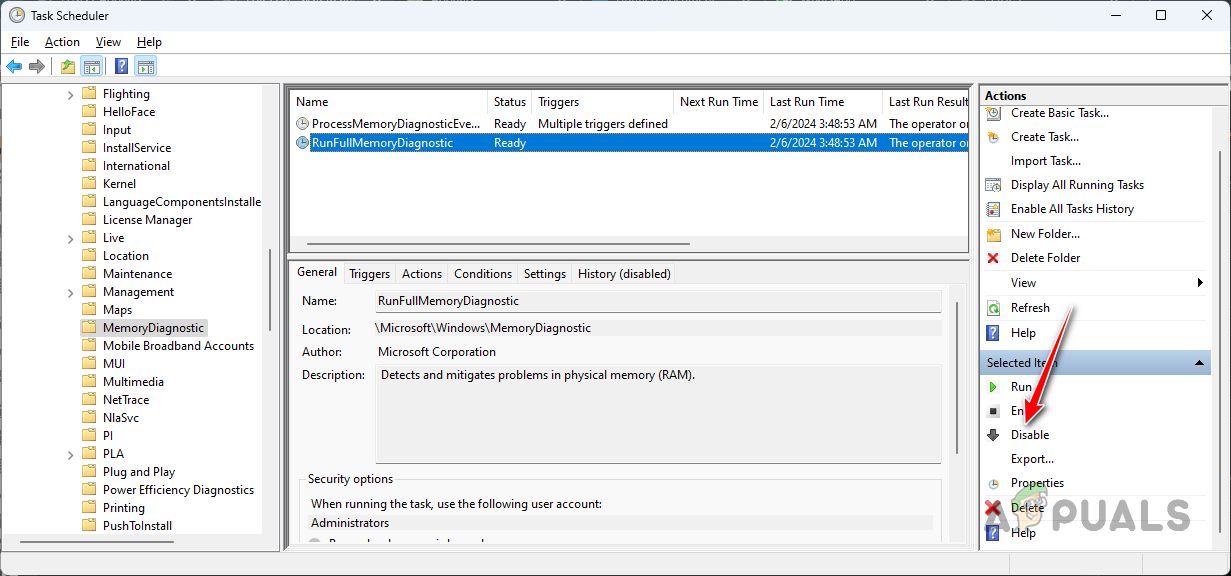
Disabling Memory Diagnostics
7. Perform Clean Boot
Third-party applications can also lead to high disk usage. If a background app has a memory leak, the System and Compressed Memory process may not terminate properly.
To diagnose this, perform a clean boot, which launches Windows with only essential services. If the problem disappears in clean boot, identify the culpable software by gradually enabling services.
- Open the Run dialog by pressing Win key + R.
- Type in msconfig and press Enter.
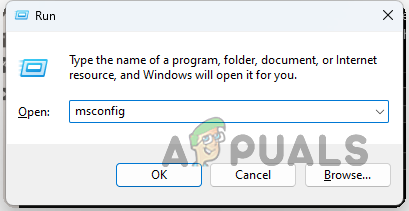
Opening System Configuration - In the System Configuration window, go to the Services tab and select Hide all Microsoft services.
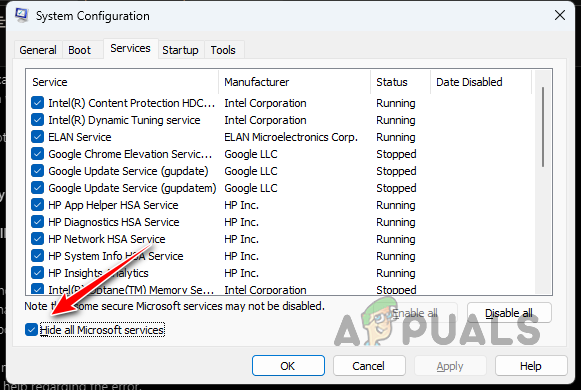
Hiding Windows Services from the List - Click Disable all, then Apply.
- Switch to the Startup tab and select Open Task Manager.
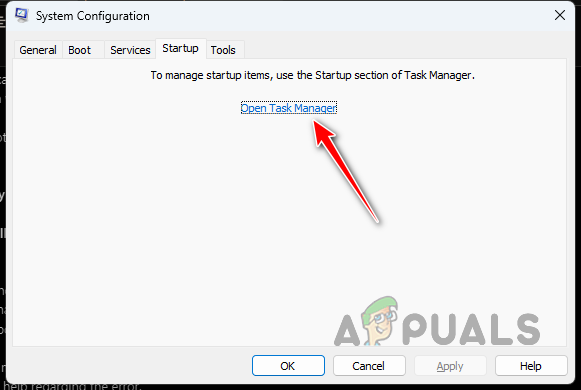
Opening Task Manager - In Task Manager, individually disable third-party startup apps.
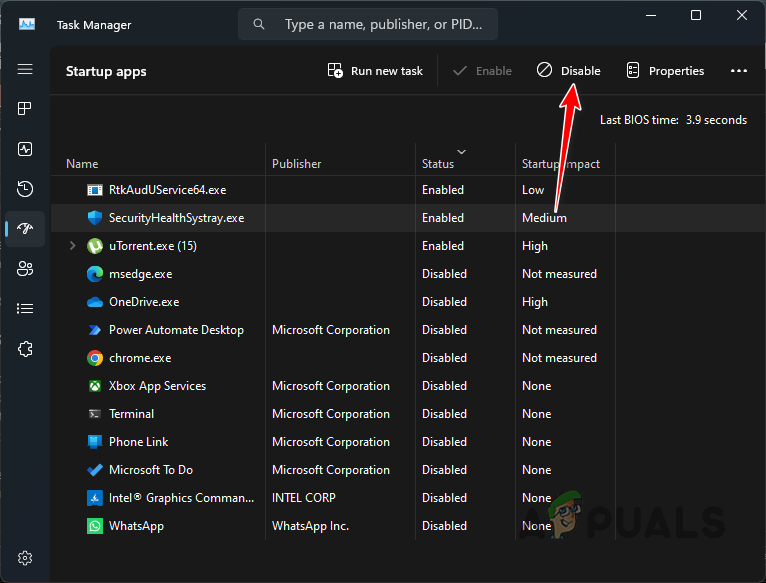
Disabling Startup Apps - Restart your PC for a clean boot and check if the problem reoccurs.
8. Reinstall Windows
If none of the above solutions work, consider reinstalling Windows as a last resort. This will address any underlying software issues.
Please refer to our comprehensive guide on clean installing Windows. Ensure you back up your important data beforehand since you will need to format the system partition.